The Grow Awards 2026 🏆 


Likes
Comments
Share
@phobic94
Follow
Het is mijn eerste kweek, voor mijn eerste keer vind ik dat alles vrij goed is verlopen. De white widow van dp heeft zeer goed gepresteerd en heeft mij een mooie oogst bezorgd. Na het drogen geef ik een recensie over de smaak en geur.

Likes
16
Share
@Sethstover
Follow
Always used the least amount of calmag if this specific plant and it was always darker green than I'd like but that's jus the picky plant

Likes
10
Share
@carjos
Follow
48 hours in wet paper towel, after to the coco peat pellet.
the pellets really expand, hydrate them first.
I am not trying to be an example of coco medium, this is my first time working with it, diary for documentation.
Once I had a good menu of nutrients I started to look at the coco. spent a good couple of weeks with free time to read about the coco, not as easy as prepared potting soil but a few have said it is good results once you get the hang of it. so i am set to go.
I also have one seed from a retail cannabis package. It is from GAGE - Strawberry fire OG, Packaged AUG 2020, Purchased Sept 2021. One seed inside. I will see, it is in the wet paper towel at the moment.
thanks and best to you's'
day 7 from number one sprout: I am omitting the pH down 2 feedings now, little yellow tone in the first two seedling, going to balance straight forward from now on. number one seedling has now pushed up, ready for calmag tomorrow , number two is 7 days on thursday but looking like a good push start still a bit tall although straight. i will be rotating calmag - root booster for the first week of feeding. the pH down is a powerful concentrate, 6.5 to a hard 4 with a few drops in a 4L. wow! so I am using one 4L as a pH down to get a rusty orange (that is on pH water drops for the feedings). I have not tested but I think the root booster and calmag will pH down as is, so I am looking to pre-mix each in separate 4L. (20-12-21 4:20PM)
** interesting observation - I am used to wet paper towel to (as some say ) "pop the seed" which in my experience results in a tail like growth, (that is a few drops of water on seed between paper towel between saucers). but with a cup of slightly warmer than room temperature water covered in foil, the result was a seed split down the middle like a clam looks. ok thanks! - number three was germinated in cup of water.
Likes
44
Share
@RakonGrow
Follow
Note :
+ jegliches Zubehör wird in der GermniationsWoche aufgelistet . Zeitraffer Videos folgen immer nachträglich.
+ videos werden so geschnitten das nur ein geschlossenes Zelt erscheint , ergo Fehlen paar reale Minuten (ca 1 Std) .
+ Feuerzeug ist 7.5cm hoch und 1.7cm breit
+ WEIHNACHTS ZEITRAFFER 2024- SPEZIAL HINZUGEFÜHGT !!!
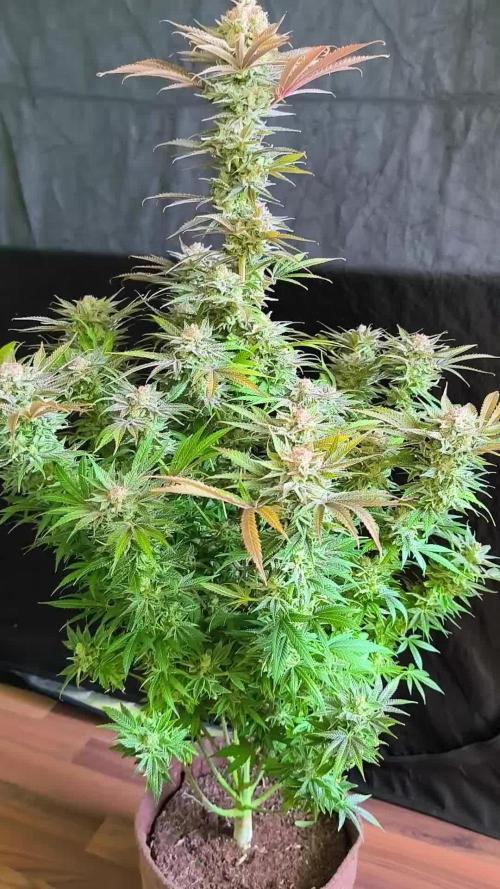
Ich hab keine Ahnung was es wiegt , da ich keine Zugwage hatte. Ich hoffe die Bilder geben ungefähr wieder was es wohl werden wird . Eigentlich hab ich nur gegossen und gedüngt, den Rest hat der Zwerg selber gemacht. Hätte nie gedacht soviel aus dem Zwerg zu bekommen.
Update : hochgerechnet waren es 550g nass.
Getrocknet : 99g mit Popkorn Buds aber weitgehenst von Stängeln befreit bzw jede knospe einzelnt abgeschnitten, ausser bei den TopBuds .

Likes
11
Share
@Mr_nugs_lover_David
Follow
She's looking very healthy and happy and strong, she has developed perfectly during this last 3 weeks since she was planted and I cannot wait to transplant this lady and start giving her the bushy discreet shape that I need! Let's get to work! 💚❤️💛


Likes
7
Share
@Canabisseurs
Follow
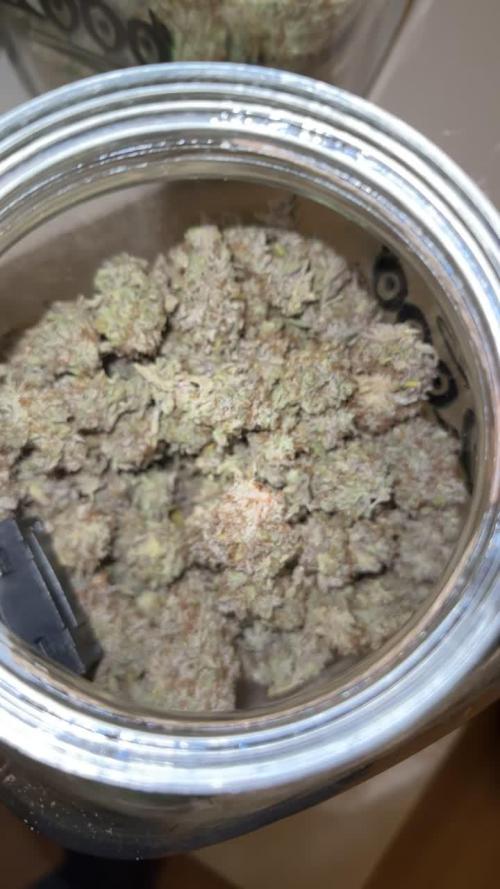
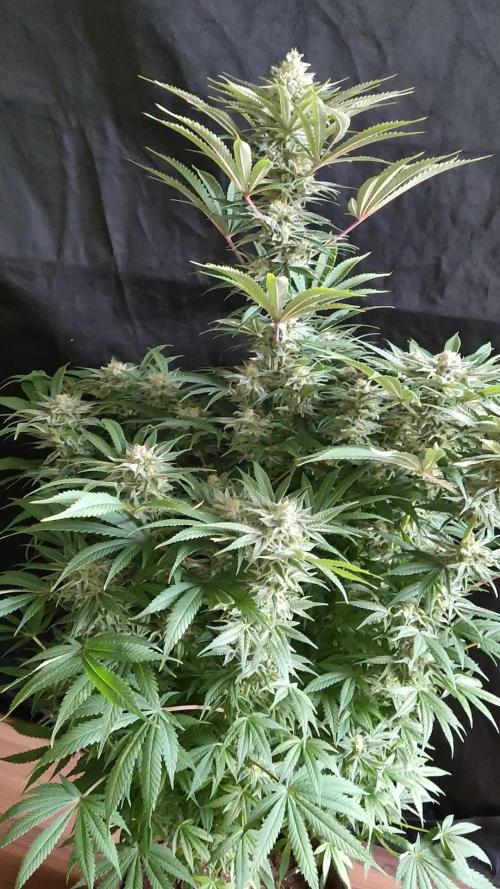
T-minus 3-ish weeks until chop day and the Blue Cheese lady knows it – frosting up like she's competing in a winter baking show. The buds are sticky, and putting out that unmistakable creamy-berry funk that makes you start rolling before they’re even dry.
Trichomes are mostly cloudy with the odd clear straggler, so we’re not rushing. Upper canopy is stacking hard, while the lowers are still bulking – perfect for a staggered harvest plan.
Current status:
Feeding bloom mix with a side of patience.
No pests in sight – just a room full of sweet, stinky flower.
The plan:
1 more week of bloom feed, then switch to ripener.
Harvest upper buds first when they’re mostly cloudy/amber.
Give lowers an extra 5–7 days to pack on a bit more weight.
Every day from here is basically a slow-motion unwrapping..

Likes
21
Share
@BLAZED
Follow
W16 (16-5 to 22-5)
16-5
Temperature: 25.4 degrees (lights on) 19.8 degrees (lights off)
Humidity: 68% (highest) 48% (lowest)
Watering: 1000 ml.
17-5
Temperature: 24.8 degrees (lights on) 20.1 degrees (lights off)
Humidity: 69% (highest) 51% (lowest)
Watering: None.
No pictures.
18-5
Temperature: 25.1 degrees (lights on) 21.1 degrees (lights off)
Humidity: 67% (highest) 42% (lowest)
Watering: None.
19-5
Temperature: 25.7 degrees (lights on) 19.1 degrees (lights off)
Humidity: 64% (highest) 44% (lowest)
Watering: 1500 ml.
No pictures.
20-5
Temperature: 25.8 degrees (lights on) 20.9 degrees (lights off)
Humidity: 68% (highest) 45% (lowest)
Watering: 1500 ml.
21-5
Temperature: 25.9 degrees (lights on) 20.6 degrees (lights off)
Humidity: 67% (highest) 51% (lowest)
Watering: 1000 ml. (Only with Silica and Calcium)
22-5
Temperature: 25.9 degrees (lights on) 19.6 degrees (lights off)
Humidity: 68% (highest) 47% (lowest)
Watering: None.


Likes
84
Share
@Van_Terpen
Follow
LIVING SOIL DEMETEARTH SYSTEM
THE HIGH CHAMELEON 🦎
⚡-15% + 2 Seeds⚡
CODE PROMO : VAN-TERPEN420
https://linktr.ee/vanterpen


Likes
43
Share
@R_Dank
Follow
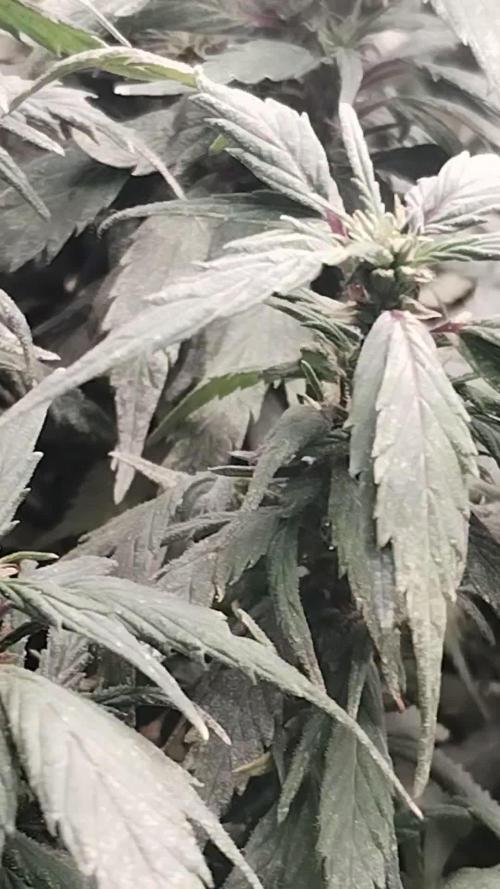
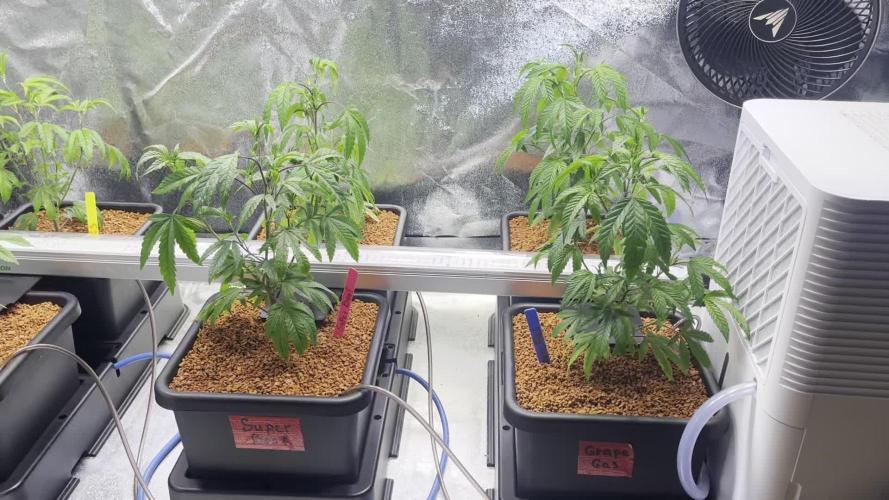
It’s not all glam fam, Im being challenged by the heat so I added another fan + adjusted hps light to max! These biches have sprouted like no other I’ve experienced in the past, and the smell is incredible already, strawberry being the most pungent 💯
Jah bless 🙏💨

Likes
35
Share
@Sider79
Follow
Seems to always stop in the 3rd to 4th week 😕 but they are starting fill out now.
Banana Blaze 🍌 out now little longer then I'm used too but I'll take it.
Likes
47
Share
@DonPeyote
Follow
Requiere mantener bastante baja la humedad en las últimas semanas ya que lo grueso de las colas las hace propensas a la botrytis, ojo ahí.
La planta en si es resistente pero es el grosor de sus flores, lo denso de las colas lo que te obliga a tener muy controlada la humedad en etapas avanzadas, creo que es más para tirarla programando la flora para el verano


Likes
1
Share
@sunshinegroww
Follow
Very big girl for sure hopefully she will finish as hermied a little bit so far pulled few banana 🍌 sacks and checking her every day buds are looking a bit funny but all of them so i will ignore for now and keep an eye apart from wow she is big yielder

Processing
Likes
10
Share
@GrowerGaz
Follow
Very happy this week as my friend gave me a female Mac x Purple Punch he was using as a mother plant. That is in an 18 litre soil pot. The 3 Rado Z are now in 15 l autopots fitted with airdomes. A soil mix was made with dutch vega bio soil , Bio grow and silicium flash. The MacPunch I have stripped the lowers and trained it using easy bend clips.