The Grow Awards 2026 🏆 


Likes
Comments
Share
@jackh3rrer
Follow
The ladies don't seem to be hungry that much. I slightly introduced them for the first time with some nutrients from General Hydroponics and CalMag.

Likes
8
Share
@RunWithIt
Follow
Did the switch i was talking about last week, moved my tent plants to the closet and closet plants to the tent. Made a video explaining briefly my rationale behind it. Hopefully they will speed up growth in my warm closet.
The next week will be an update for when ALL the plants are starting 🌼. Ill also be starting them on that Fox Farm Big Bloom i was talking about last week, and supplementing them with some Cal-mag by Botanicare as well. Cheers all, you wont be seeing me until there's visible flowers in the closet! ✌️


Likes
12
Share
@Desertfarmer
Follow
Starting week 6 of flower and everything is growing nicely and stinking up the place. This strain is not a huge yielder but it makes up for it in quality! Buds will still bulk up quite a bit in these last few week (she’s goes to 9 weeks). I will be doing 1 more defoliation of some bigger fan leaves that are blocking the light to the lower canopy sometime this week. Other than that the girls are cruising right along.
Likes
3
Share
@Elguacho420
Follow
Buenas a tod@s... Segunda semana y las nenas de momento van bien, algo de enraizante, muy poco y listo... Eh tenido unos problemas pero todo bien, nada sin solución... Vamos a ver q tal siguen... 💪🏻💪🏻
Buenos humos para tod@s!💨💨 😎💎
🇦🇷🤝🏻🇪🇦

Likes
5
Share
@Levinho14
Follow
from the original grow ive only kept the 2 pineapple express and the 3 grandaddy purples... ive sent one of the grandaddy purples to flower its probably in week 2 right now and i will be making a diary about it. the northern light ive turned into a mother so its no longer a part of this grow diary since its going to be kept in the vegetative state.
ill be sending 1 pineapple express and 2 grandaddy purples to flower in the flower tent. as of next week.. i will feed them bud ignitor an begin the process :)


Likes
2
Share
@Ninjabuds
Follow
Purple Kush – man, just saying the name makes me think of cool vibes. This little seedling is gonna be a star someday. I can just picture it, all grown up with those gorgeous purple buds. I check on it every chance I get and it's looking strong and healthy so far. Can't wait to see how huge it gets!

Processing
Likes
4
Share
@2x4auto
Follow
Good week of growth. Fed twice throughout the week. Couple signs of insects but hoping it's just the few fruit flies I have in the vicinity. Also continued with LST, both plants seem to like it. Growth on Alaskan purple is slow due to the shitty Amazon light overjead I believe. Seemango has a mars hydro ts1000 overtop.


Likes
4
Share
@Chrisandweed
Follow
Puues ya queda meenos, o una semana si corren o dos, pero no mas. Las puntas blancas! Jajajajaja blaancas infestadas de resina.


Likes
11
Share
@SBCannabisCo
Follow
Looking & smelling super fire 🔥 so there is some seeds but I only see it in one section , hopefully it’s not in the rest of buds. 2nd indoor grow here. 1st indoor grow with a real light😎 Luxx led pro 600 💯

Likes
16
Share
@NMGDOC
Follow
Semana del 3 al 9 de Mayo.
Como puse en la pregunta de la semana anterior, ya vieron que tengo una chica hermafrodita. No tengo otro indoor para ponerla, así que la saqué a otra habitación y le puse la TGL60 a ver que pasa. Las otras tres plantas siguen en el indoor con la TGL 220.
Como estaban con la malla, me costó mucho sacarla del indoor. Tuve que atarla porque las ramas no se sostenían muy bien por si mismas, así que ahora tengo este ramo que cocecharé más o menos el 16 de mayo.
No parecen engordar mucho los cogollos, creo que los insectos afectaron más de lo que pensaba, sobretodo porque estos atacan las raíces.
Las luces estaban a 15cm porque es lo que sugiere el fabricante para este periodo. Consideren que no es el clásico led y ya está. Ahora están a 20cm por miedo a que vayan a sufrir algún estrés lumínico.
Likes
33
Share
@PEAKYPLANTERS
Follow
hi all, brothers of the old weed!
Welcome back for a new adventure in the PEAKY gardens
These beautiful little girls loved the scrog treatment and appear to be in excellent health
The MSNLs are the front and back ones while the Barneys are the central two
Good nuggets look forward! 🤗🌱

Likes
21
Share
@BB_UK
Follow
Was supposed to update my diaries yesterday but literally forgot lol #edibles but they’re flowering nicely and stretching as they go! They’re truly loving life under the ts1000 can’t wait to see what the next week brings!
Likes
Comments
Share
@SkunkyDog420
Follow
Hallo zusammen 🤙.
Sie wächst sehr schön und macht keine Probleme.
Likes
9
Share
@ValhallaBKK
Follow
25/09-01/10
I black them out on 23-24 September. Then changed the light cycle to 12/12 on 25 September. So 25/09 is the first day flowering!


Likes
3
Share
@Organic473
Follow
This is my longest veg time with this strain…I’m truly surprise after 3 months her height is so stunted…I may veg her out for another 2 months.

Likes
31
Share
@HomeGrowBro
Follow
🌱First Grow🌱
🗓️17/12/2021
Hi. This time of the year my work gets Hectic!! Did not share any new images this week. Still managed to water regularly.
Thanks for reading.
🌍 Weather:☀️☀️☀️☀️☀️⛅⛅
🌱Nutrients:
Fish tank water as nutrients: (K)
Likes
7
Share
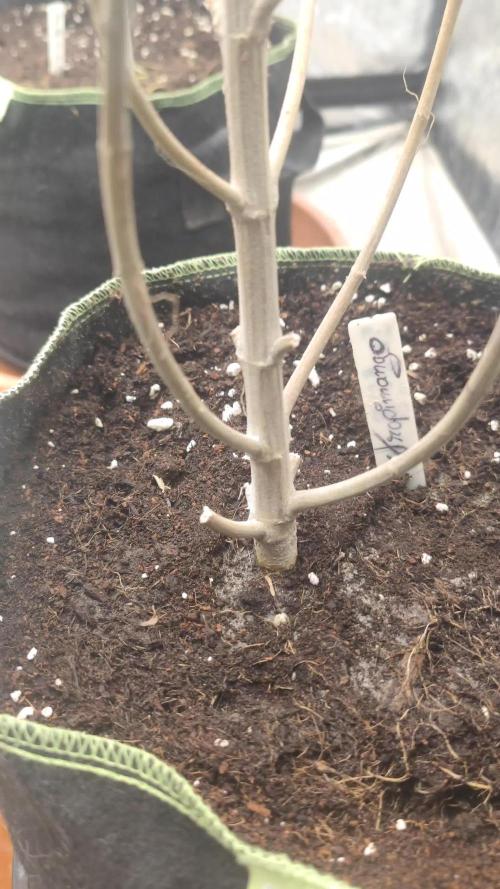
@Scoota710
Follow
I gave her her first feed with the Emerald Harvest nutes. Still yellowing out on me anyone know what could be wrong?
Likes
9
Share
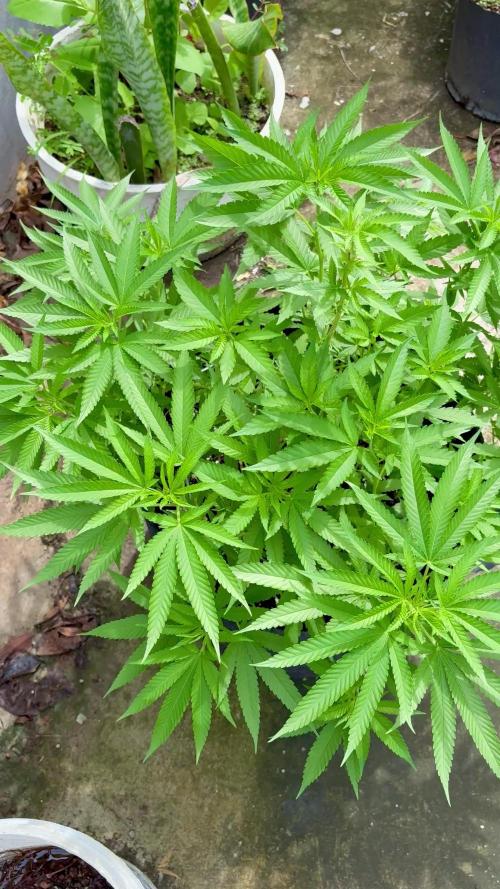
@Dehxa
Follow
Great experience which grat taste on second grow even with obstacles made by myself 😅😂 love that taste!