Kushycat Here we go—the outdoor gardening season has begun 🌱🌞
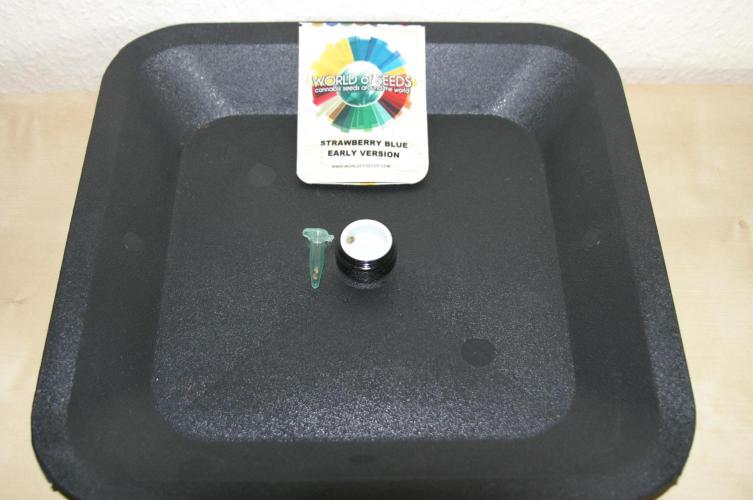
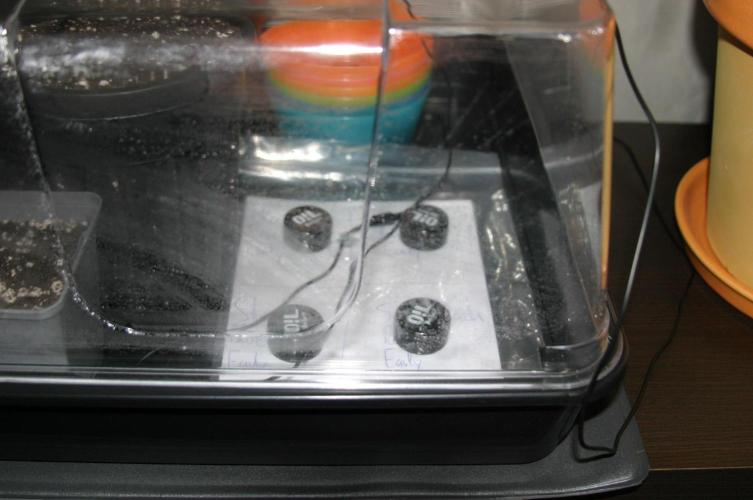
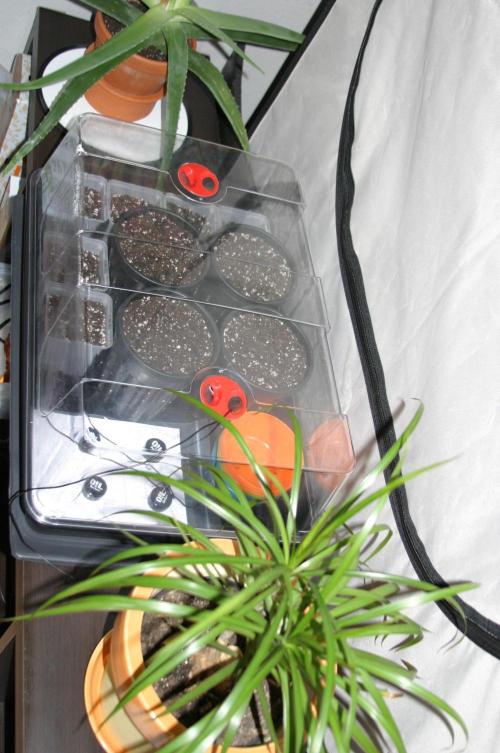
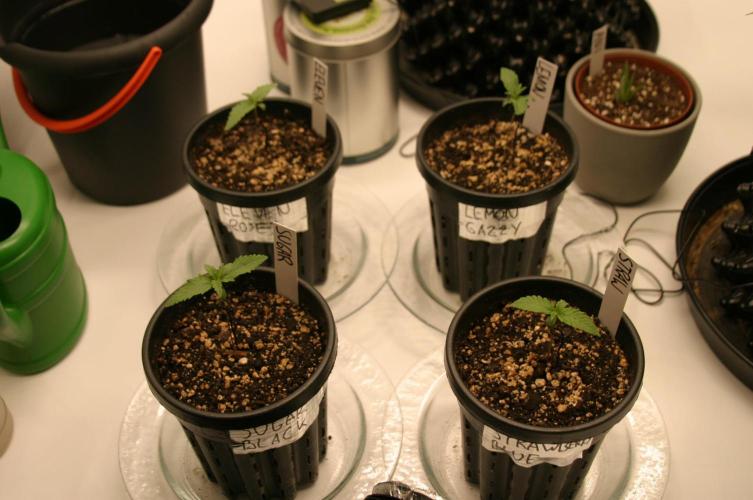
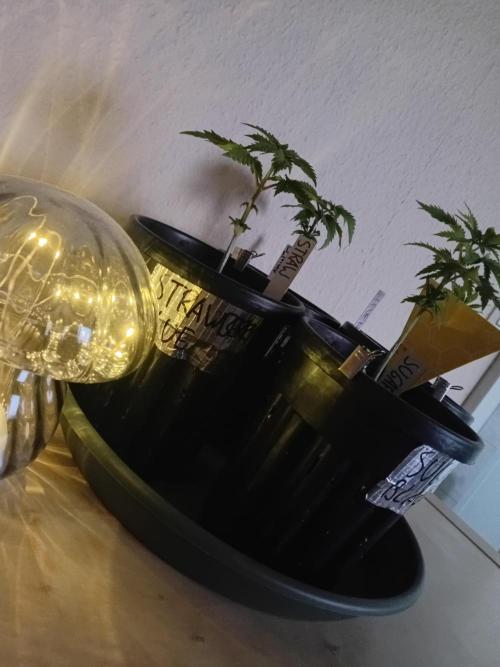
The seedlings will be started indoors for about 14 days 🏡🌿, so don’t be surprised to see them in the tent at first. I’ve chosen four early varieties: three from Delicious Seeds 🌿 and one from World of Seeds 🌍 (see other posts).
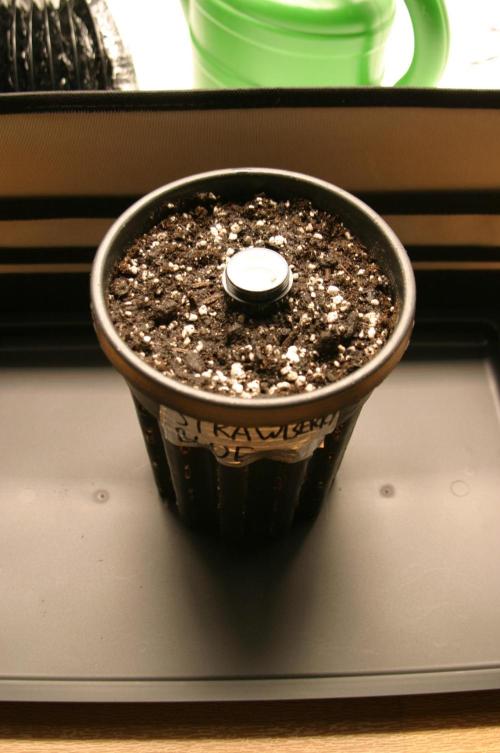
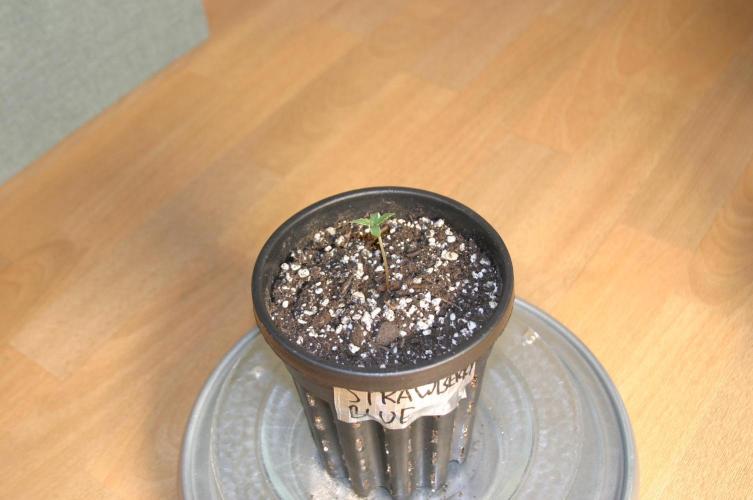
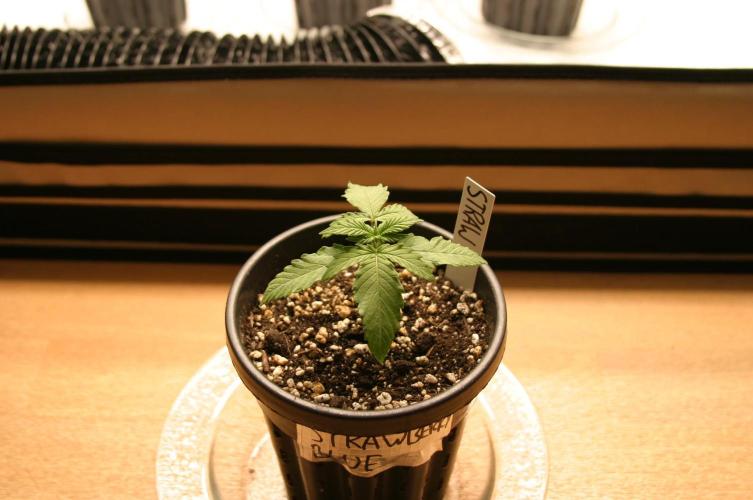
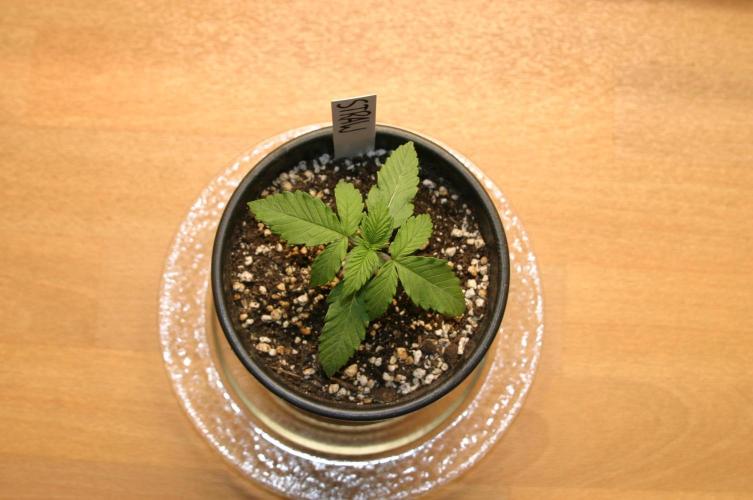
I’m using Terra Preta soil from Frux ?, which I’ve inoculated with INOQ mycorrhiza for balcony and garden plants. In one of the pictures, you can already see how the mycelium has started to colonize the soil 🍄.
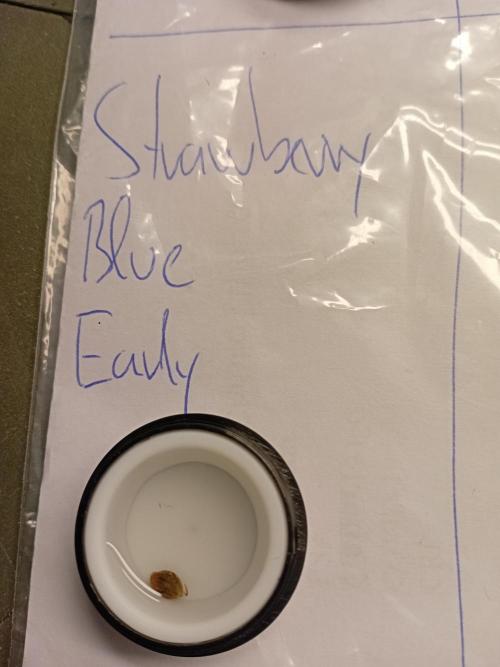
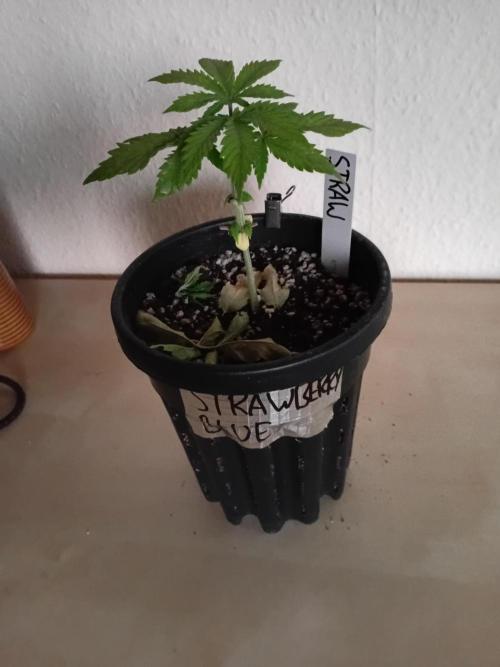
I let the seeds germinate in small jars ? and then planted them into their new home for the first few days.
Once they’ve acclimated to outdoor conditions 🌤️, they’ll be moved outside into 19-liter geotextile pots ?🌿.
14 likes
9 comments
Share
Used method
Other
Germination Method
1
Week 1. Vegetation
1mo ago
1/9
7 cm
Height
18 hrs
Light Schedule
29 °C
Day Air Temp
6.5
pH
41 %
Air Humidity
24 °C
Solution Temp
24 °C
Substrate Temp
20 °C
Night Air Temp
1.3 l
Pot Size
0.2 l
Watering Volume
70 cm
Lamp Distance
Nutrients 1
Calmag
0.5 mll
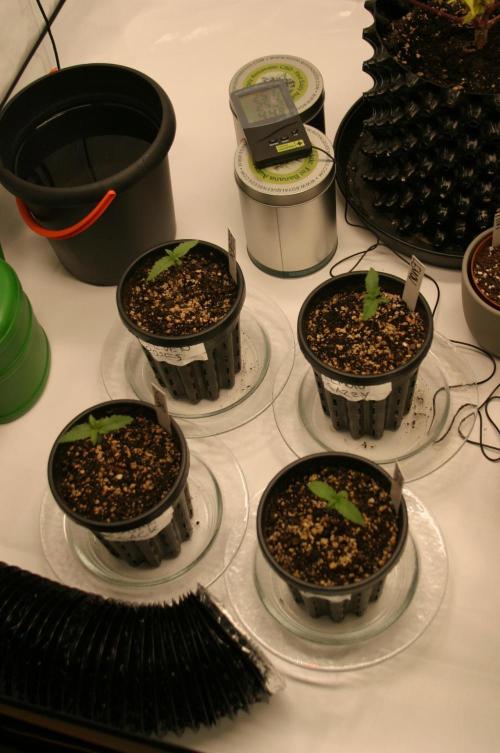
Kushycat They seem to be doing well so far 🌱😊
At first, I was a bit worried about the low RH, but since there’s still a flowering plant in the tent, it’s manageable for now. Over the next 2–3 weeks, I’ll gradually acclimate them to outdoor conditions and move them outside little by little 🌤️🌿
I water them as needed from both the bottom and the top, being careful not to overwater them in order to encourage strong and healthy root growth 💧
I use tap water that has been sitting at room temperature for at least 24 hours, and every second watering gets a small dose of CalMag ⚗️
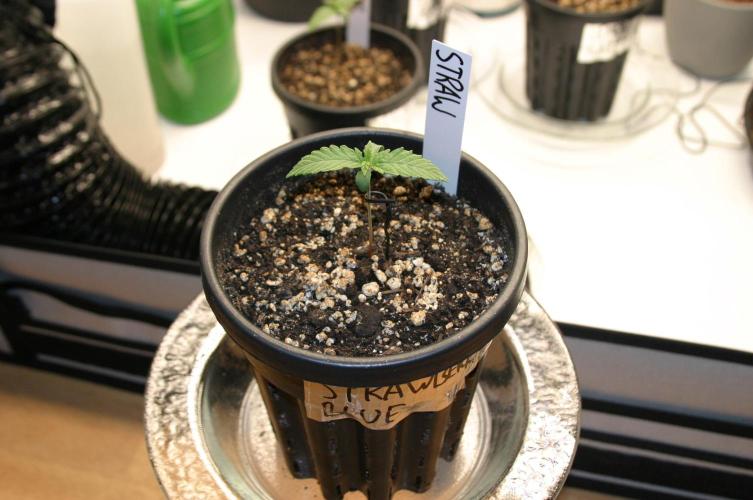
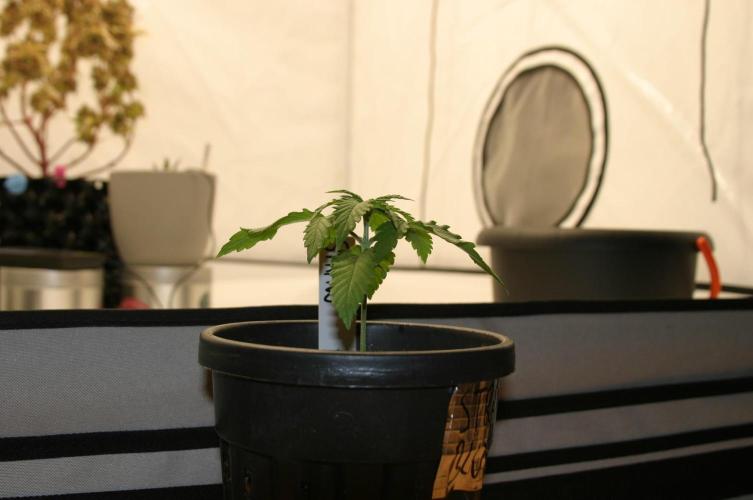
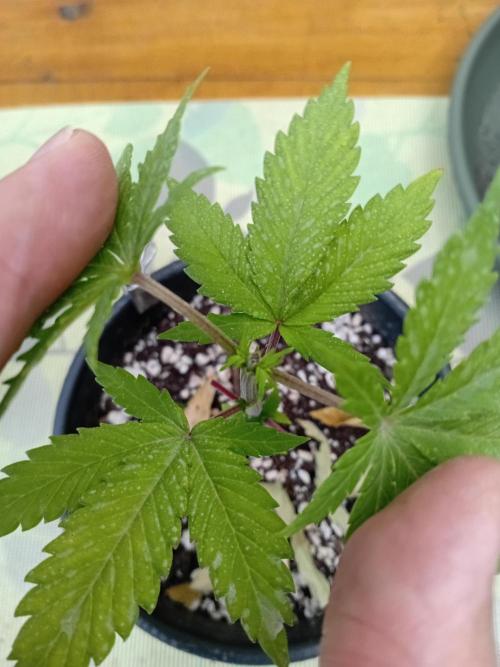
The stems were a bit weak in the beginning, so I supported them lightly to prevent them from falling over or snapping 🌱😄
Right now, a gentle breeze is helping strengthen their stems so they’ll be able to support heavy flowers later on 🌬️💪🌸
19 likes
7 comments
Share
2
Week 2. Vegetation
24d ago
1/5
7 cm
Height
18 hrs
Light Schedule
29 °C
Day Air Temp
6.5
pH
43 %
Air Humidity
24 °C
Solution Temp
24 °C
Substrate Temp
19 °C
Night Air Temp
1.3 l
Pot Size
0.2 l
Watering Volume
70 cm
Lamp Distance
Nutrients 2
Calmag
0.5 mll
Pro Start
0.5 mll
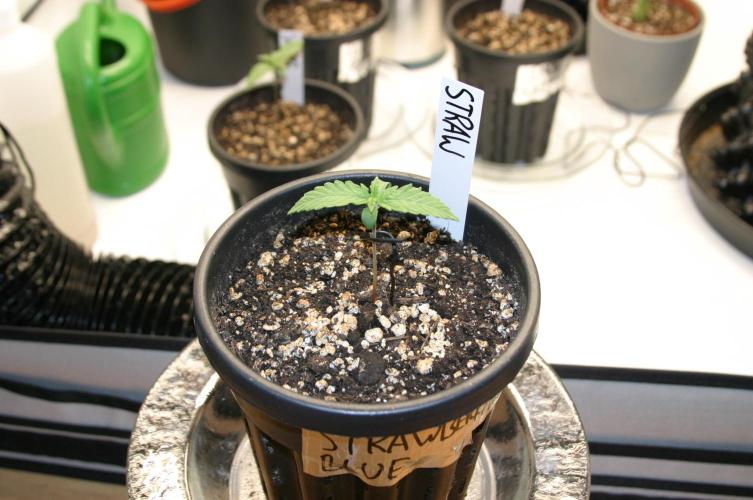
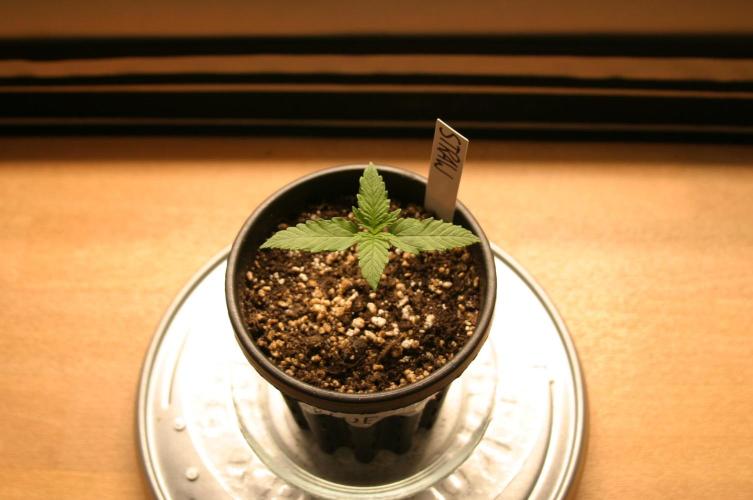
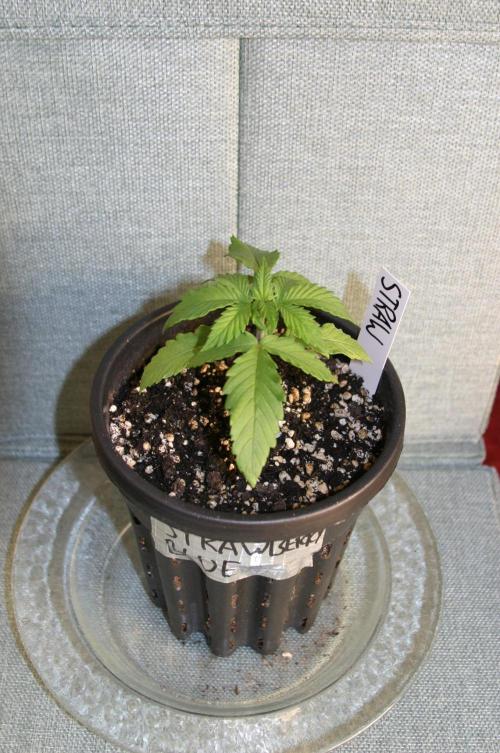
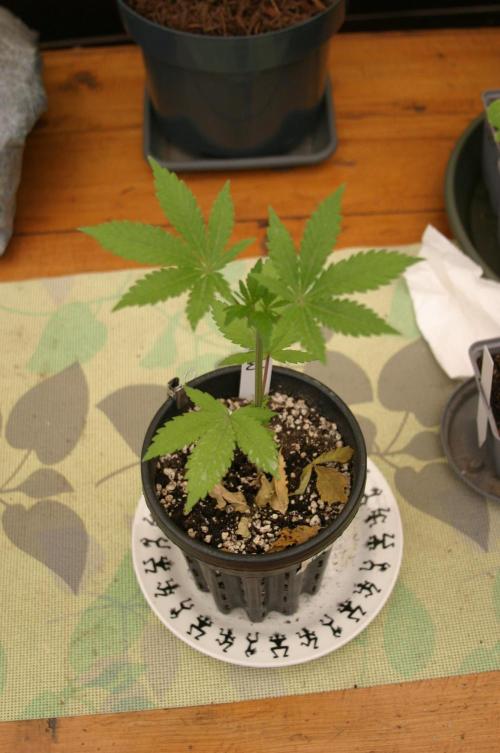
Kushycat Everything is going well so far. I think she’s developing just as well as her sisters of the same age have up to this point. The roots are already peeking out of the bottom of the pot, which surprises me. Although the pot isn’t huge at 1.3 liters, I’ve never seen such rapid root growth before in the 0.5-liter pots I used for starting them. The pots seem to be working exactly as intended, and I can now fully share the enthusiasm @Stony_German .
Furthermore, I think the mycorrhizal preparation I used for the first time is also contributing to this.
Unfortunately, I have a few fungus gnats in the tent—not a major infestation, but still annoying, and their larvae aren’t good for the roots either. I’ve hung up yellow sticky traps and treated them with neem oil. I suspect the fungus gnats are coming from the Neudorff seed-starting mix, since they only appeared after I introduced the zucchini plants into the tent. I thought Neudorff would be more careful about things like that. From now on, I’ll only use Frux seedling soil—I’ve used it before, and the small plants are in it as well.
Even though the larvae are probably already in the zucchini soil, I also watered the small Kushy Cadets with a neem solution as a precaution.
I actually meant to keep this short—I don’t think most people will read this far anyway. 😹😛
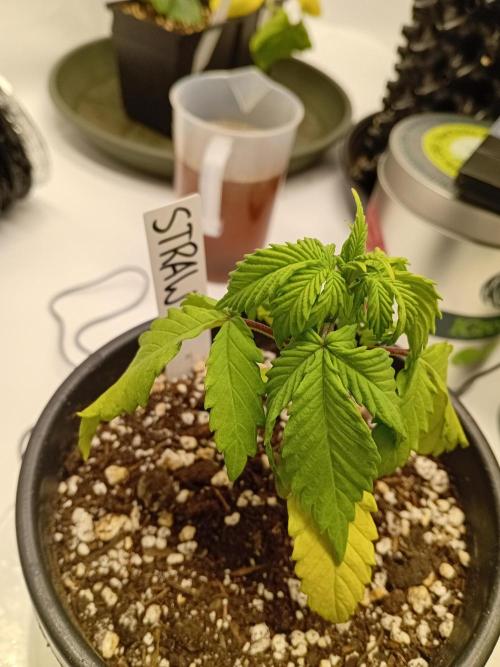
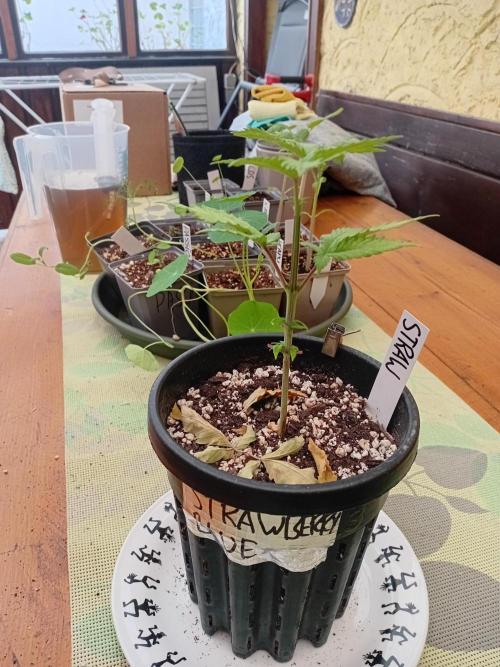
17.05.2026 Being the klutz that I am, I went a little overboard with the watering again, and the day before yesterday I noticed the leaves drooping slightly. Well, long story short, the lower part is looking a bit pale and yellowish now. I loosened the top layer of soil a little, and it’s slowly drying out again.
For now, I’m just going to leave them alone and keep my hands off. I think it’s only minor damage, and they should look better again in a few days.
I’m hoping for good weather this week so they can harden off properly. After that, they’ll still have plenty of time to grow big and strong before flowering in the garden this fall.
17 likes
10 comments
Share
3
Week 3. Vegetation
17d ago
1/6
11 cm
Height
18 hrs
Light Schedule
30 °C
Day Air Temp
6.5
pH
43 %
Air Humidity
25 °C
Solution Temp
26 °C
Substrate Temp
21 °C
Night Air Temp
1.3 l
Pot Size
0.1 l
Watering Volume
70 cm
Lamp Distance
Nutrients 1
Pro Start
2 mll
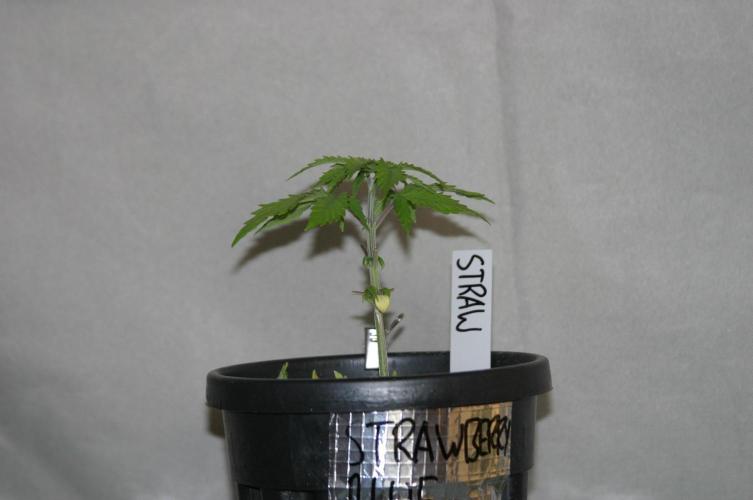
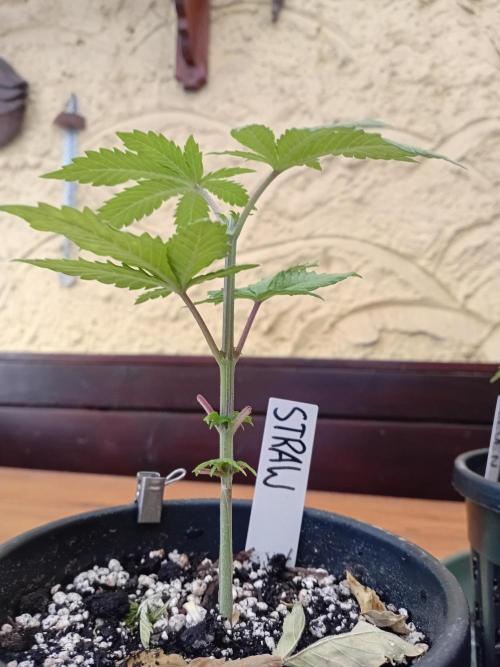
Kushycat As I mentioned in last week’s report, I unfortunately ended up with water damage on top of my roof damage. xD No, seriously — I meant well, as I’ve done too many times before, and it really makes you feel like an idiot when you keep making the same mistake over and over again…
Well, they’ve already recovered somewhat, but of course I still couldn’t keep my hands to myself and ended up pruning her and her sisters, removing the drowned leaves in the process. I know that might sound a bit drastic, but basically I was the deer in the forest, and now she’s developed a strong survival instinct and will come back with full force in a few days. 😹
Like her sisters, she’ll still have a long vegetative phase outdoors before flowering begins, and I think by the next update we’ll finally meet again in the outdoor garden.
17 likes
5 comments
Share
Used techniques
Defoliation
Technique
Topping
Technique
4
Week 4. Vegetation
9d ago
1/5
11 cm
Height
18 hrs
Light Schedule
30 °C
Day Air Temp
6.3
pH
No Smell
Smell
61 %
Air Humidity
25 °C
Solution Temp
26 °C
Substrate Temp
17 °C
Night Air Temp
1.3 l
Pot Size
0.05 l
Watering Volume
70 cm
Lamp Distance
Nutrients 1
Pro Start
3 mll
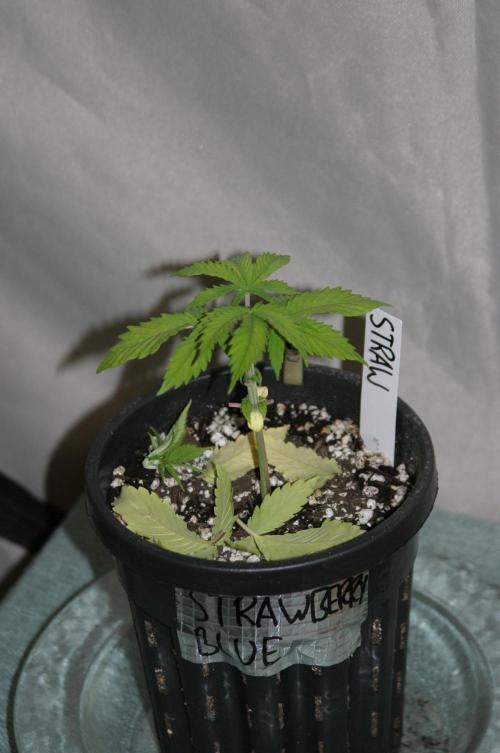
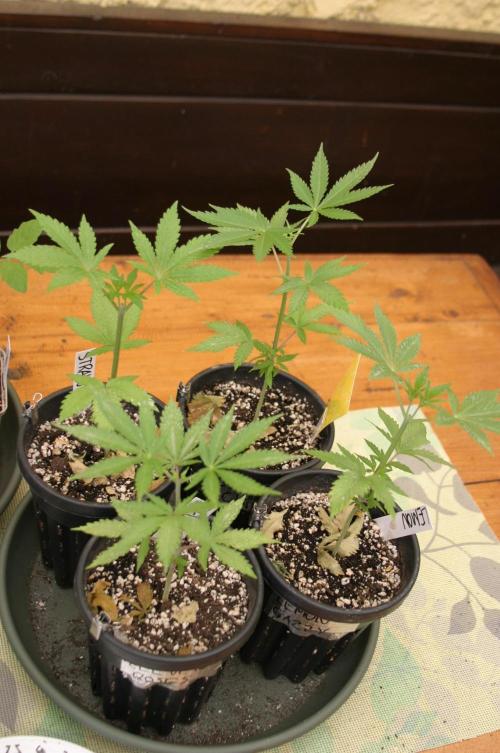
Kushycat The flood victims have recovered quite well and are now back outside, although they’re still under cover with plenty of light but no direct sunlight. After all the water and the stress from pruning, I wanted to give them a little time to recover.
Over the next few days, I’ll be looking for a better spot where they can get more direct sun and won’t have to stretch as much. They, along with their sisters, have already been topped—see the previous update for details.
I’m also thinking about bending the main stem a bit further. I’ve come up with a plan and just hope I don’t damage them in the process. 😅
They won’t be staying in their current pots for much longer. Soon they’ll be transplanted into 19-liter geotextile pots and given their dose of Biotabs to help them settle into their new home.
@RabbitHole, Das wäre schön – nach den beiden letzten Jahren draußen, in denen das Wetter nicht mitgespielt hat und so viel wegen Fäule in der Tonne gelandet ist. 🙏🏼🍀🌞
@SundancerS, Danke!Haha, ja – immer schön den Teller leer essen und unnötig viele Fotos machen 😄📸
So eine echte Digicam ist schon ein lustiges Spielzeug. Nur das Resizing bei GrowDiaries ist echt etwas nervig 😛
Hey there, if you can increase your temp above the 25°C and raise your rH up to 65% for some days, you'll see your gnats Population decreasing significantly. I am growing in the basementand this is the only way to keep em away permanently. Have a good one and much success!🤞
@Oims_Finest, Macht auch Sinn. Dafür müsste ich allerdings nachts die Heizung anmachen, und das möchte ich ehrlich gesagt nicht mehr. Die Kleinen sollen ja bald ausziehen, und ich denke, die Trauermücken sind mit dem Neem in ein paar Tagen Geschichte. Zumindest hatte ich damit zusammen mit Gelbtafeln bisher immer Erfolg bei meinen Zimmerpflanzen, als ich damals mal die falsche Erde verwendet hatte.
Trotzdem danke für den Tipp — und sollte das nochmal passieren, habe ich jetzt immerhin noch ein Ass im Ärmel.🐱
Edit: Bodentemperatur müsste doch auch gehen oder also Ergo eine Heizmatte? Hab ich gar nicht mehr dran gedacht das ich die noch habe ^^
I had fungus gnats in the plants in my living room. I used predatory mites and nematodes. That helped.
Fungus gnats come with (cheap) potting soil. That’s why I decided to grow all the plants in my tent in Plagron-soil. Even the zucchini’s and corn got to grow in Plagron-soil.
I’m sorry you bought a nice, special cannabis-soil and still got fungus gnats. That really sucks!
@India_Calcoen, I think they came from the potting mix. This time I used Frux potting mix again and haven't had a single one.
Yeah, nematodes are great—I've used them before, along with yellow sticky traps and neem oil added to the water. After that treatment, everything calms down.
The Plagron soil is definitely great; I also like their fertilizers and am now using them instead of BioBizz for the other indoor run. But I find them too expensive—or rather, it bothers me that anything labeled “grow” etc. immediately costs 10 euros more. Frux potting soil costs about 5 euros for 10 liters and is perfect. Terra Preta with natural clay—not too hot but still pretty potent, especially for the first few days. I mix it with perlite, some Myrkohzia Silicate algae lime, and a pinch of neem cake, and then it’s awesome—as long as you don’t drown it 😹 . Sorry, I always tend to give long answers but hey ya know me a few Days longher now.
@Kushycat, I like the long answers 😁 it gives me a lot of information to think about. You are right, Plagron is expensive. I don’t know Frux, but I’m happy that it is working for you now.
I used Culterra potting soil for my houseplants and I had an invasion of fungus gnats. Fortunately they didn’t reach my growing tent 🙏 In our living room the little black flying fuckers were flying around my face and bothering me. I used nematodes and mites against them. I’m never using Culterra inside my house ever again!
Schaut Gesund und Haappy aus. Ich liebe diese gut belüftenden Töpfe. In den ersten Wochen sogar besser als stofftöpfe. Als Tiefwurzler liebt Cannabis Platz nach unten. Macht das ganze sehr Stabil und beim umtopfen ist das Risiko die Wurzeln zu beschädigen minimal. Ist ein guter mix aus Plastiktöpfen und Stofftopf Eigenschaften. Das Beste aus beiden Welten😉
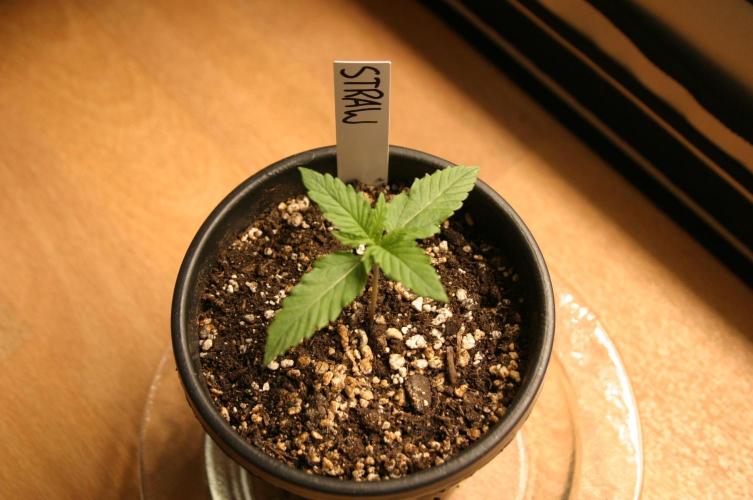
@India_Calcoen, Everyone likes strawberries, right? Well, okay, there are people who are allergic to them—I can only imagine how awful that must be 🍓😿
I was actually planning to grow them indoors, but things turned out differently, so I'm just going to give it a try.