


Likes
Comments
Share


@420DeepGrow
Follow
💐 🍁 La variedad Mob Boss es una genética de cannabis rara y especial que ha podido ser salvaguardada y estabilizada por Anesia. Con sus flores extremadamente escarchadas y resinosas y su alta producción se ha hecho un nombre e inspira a todos los cultivadores que alguna vez la cultivaron. Los cogollos son impresionantemente cristalinos y a menudo de color rojo o pruple. Los efectos de Mob Boss son duraderos, extremadamente fuertes y rápidos. Tiene un contenido de THC de hasta el 28,7% y está especialmente recomendada para usuarios experimentados.
Mob Boss es una planta perfecta para los metodos SCROG, ya que producira grandes colas en ramas laterales bien entrenadas y continua creciendo mas densa hasta la proxima vez. Esta planta parece dar la mejor combinación de rendimiento y calidad cuando se cultiva hidropónicamente.
🌻 🚀 Consigue aquí tus semillas:
https://anesiaseeds.com/es/product/mob-boss/
💡 Mars Hydro TS 3000, como la lámpara de cultivo LED más grande de la serie TS, ofrece suficiente cobertura para un área de 4 × 4 pies con un precio asequible y rendimientos de calidad; a cambio, se puede aplicar tanto al cultivo doméstico como al cultivo comercial.
Potencia - 450w
Cobertura Vegetal – 5×5 pies
Cobertura de flores - 4 × 4 pies
La opción abrumadora para la mayoría de los productores que la aplican en tiendas de campaña.
Consigue aqui tu lámpara:
https://marshydro.eu/products/mars-hydro-ts-3000-led-grow-light/
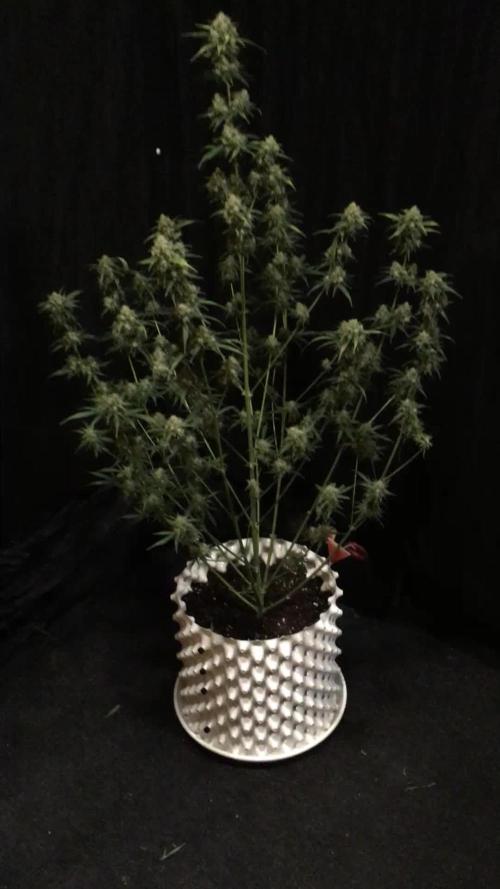
📆 Semana 8:
Engordando como locas, esto va que vuela 😍, la resina esta cada vez mas presente ❄️ , los cogollos empiezan a madurar.
Esta semana estará el TS-3000 de MarshHydro al 100% y 30cm de distancia.
Se estan desarrollando mejor que nunca, con una floracion mucho mas rapida, noto una gran mejoria gracias al Marshydro TS-3000.
Continuo con defoliaciones
Aplico una solución con nutrientes EC 1500 y otra con agua del grifo reposada y PH 6.6



Likes
3
Share


@ScouseCityLX
Follow
Week 5 we seen a very fast entrance into flower. We have it it's first feeding of supercharged flower feed at a small dose.
I took a good amount of leafs but not too many as don't want to stress her out too much
Likes
1
Share

@Pierito420
Follow
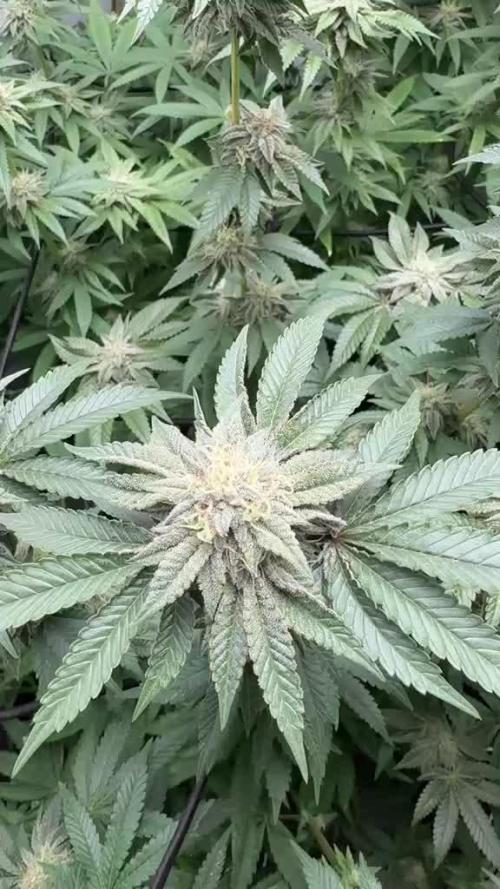
5ª SEMANA DE FLORACIÓN.
COGOLLOS YA COMENZANDO A ENGORDAR.
PARAMOS CON EL BIG BUD.
AUMENTO DE LA POTENCIA DEL LED AL 100% PARA QUE ENGORDEN AL MÁXIMO LAS FLORES.


Likes
2
Share

@AstrasGrow
Follow
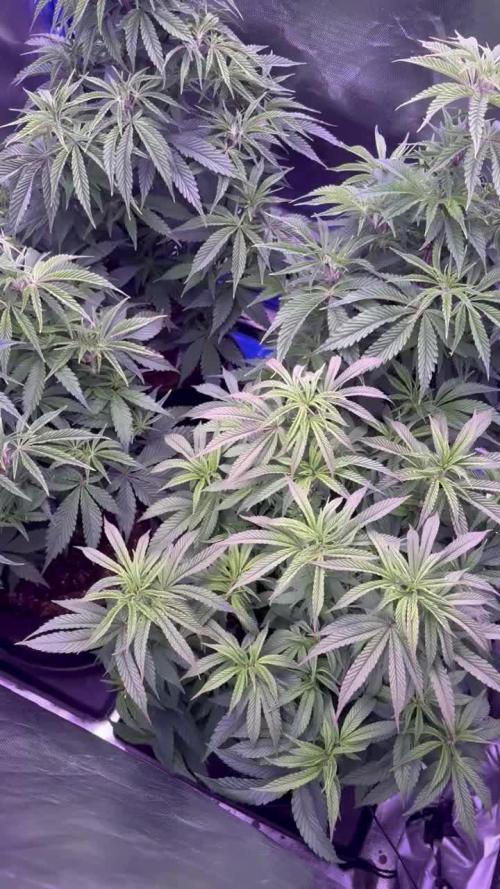
Jeden Tag ein paar Blätter entfernen damit alle Blüten genug Licht bekommen


Likes
6
Share


@w4tch2gr0w
Follow
D1
Start into week 14 could be her last week depending on how fast the look of trichomes develops in the next days. she still feels a bit shy and afraid of getting cut, but i take it slowly but surely
D7
Will give her one more week for more amber trichomes but in general she feels ready and the switch to the new fertilizer in between made her get back some more saturated green. Let’s go can’t wait to finally harvest her.


Likes
4
Share

@Spanish_dre_Grows
Follow
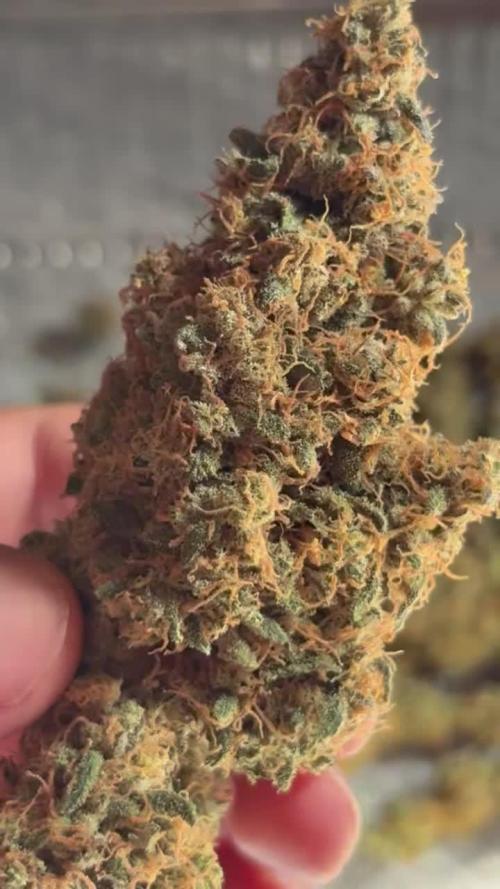
What a great run, Very resistant plant I left the light on 3 times for 24 hours on three separate occasions and it did not herm. Very funky and almost like a pine and menthol taste to it..definitely worth growing again. Got some huge, dense nugs !!!

Likes
10
Share


@Bvercuiel
Follow
Finally My Gelato Bin Laden’s has started to flower. I haven’t defoliated this week and might need to clean up some leaves to open up the bud sites, i’ll do it later this week. The plant on the left has a lighter green colour to it, bot sure why, I’m not too concerned about her, she get’s the same feed and attention as the girl on the right. Let’s see how they start to change in the coming weeks.

Likes
8
Share


@RFarm21
Follow
Semana 15 abril - 21 abril
16 abril feeding day (1.5l)
20 abril feeding day
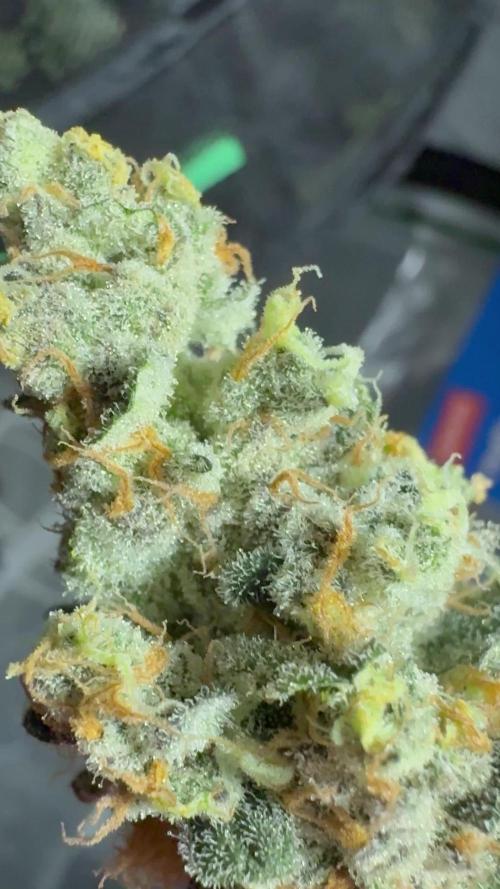



Likes
101
Share


@DogDoctorOfficial
Follow
All going kind off as planed, appart from the SuperGlue Girl. just did a big 2,5 gallon Flush on her and now waiting for the soil to dry and start over the feedings. clean her good so i'm hopping for the best 😅 lets see how they react and if they cacth up 😍😋
Loving this LED Tec 😍
Girls:
1-BlueBerry
2-Alaskan Purple
3-Poyote Gorilla
4-Hindu Kush
5-Whitw Mango
6-Super Glue
7-Badazz Cookies
8-S.A.D.
tent -8x8 / 2.4x2.4 but i'm only using 1/2 so 4x4 / 1.2x1.2
Led - Lumatek 465w Compact Pro at 100%
All i Grow is medicine for myself,
Stay safe, stay tuned and B Happy
Peace out
D


Processing
Likes
6
Share


@Grass_slinger
Follow
This week was a slow week due to my lack of attention as I’ve been extra busy sorting my outdoor garden,ready for the guerilla grow This summer.
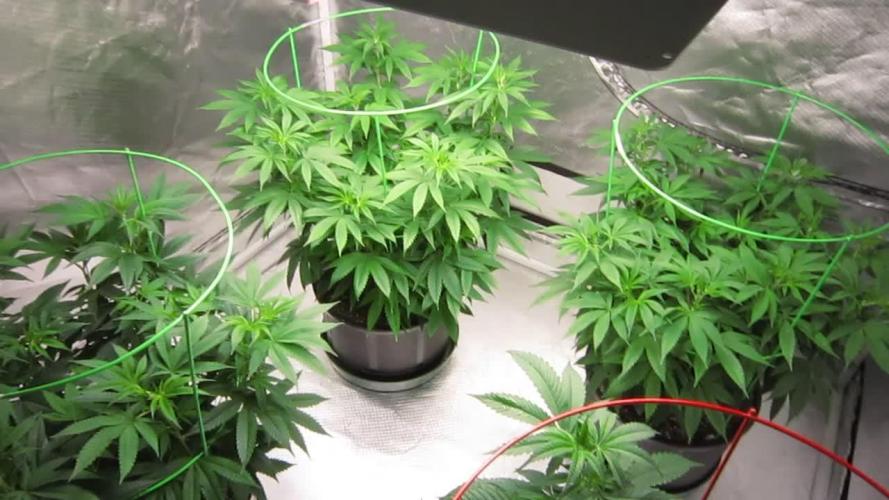
Anyway I’ve decided to transport these to perky little plants into the final pots , one being the OFFICIAL ZAMNESIA POT. The other pot was just once of the many I have laying around. They’ve both got the same mix in them consisting of coco, perlite, Monster bud mix sachet and ph water to around 6.2. Should be able to start some training off soon as they take to their new homes.
Likes
2
Share

@Chucky324
Follow
Hello. This is the end of week 9 and the beginning of week 10 of veg.
Things are going well in here. Would like to do some trimming up, this week, getting ready for flowering.
Getting some smell now, when I open the tent up. Funky is what it smells like. Sorta funky Cheezie with some citrus hints.
OK. Be Cool.
Chuck.
Likes
14
Share


@TherealNICOGREEN
Follow
Er VIRKELIG BLEVET SÅ OVERRASKET 😱. Den er jo virkelig en god lille stærk pige med stor potentiale til at kunne leve op til sit mål om at få en top 10 placering bare ;) 🙏🏼💚
Processing
Likes
3
Share


@ZJRDUDEZ
Follow
I got my Optic 1 xl 100w COB LED in the mail just a few days ago and I’m super impressed with this light. The intensity honestly rivals a 250or400w HID light. The light was not at all super expensive. Only $203 after shipping, and it’s well worth it. ( I’m not at all trying to sell this product, I just haven’t see very many journals or reviews on them. Hopefully this journal will help give my view on this light) This is the start of week 1 in bud. I flipped the lights to 12/12 6days ago. And I’ve definitely noticed a stretch from each of these ladies. I think I’ve forgot to mention it but I’ve been using the TNB natural CO2 enhancer. It seems to be doing a great job. I feel like these ladies are definitely growing faster than the plants from my last round that didn’t have any CO2 enhancement. As you guys can see from the pictures and video I’ve installed a trellis net and started spreading these plants out. Over in my veg then the Hyer up plant that I’ve been waiting on to grow up a bit before I throw her into bud ended up being a male. So that means the only plant from this round I haven’t thrown into bud yet is my ATF which has also been in the veg tent with the Hyer Up and the clones. She’s only about 1 &1/2 foot tall from her soil. So I’m gonna give her an extra 2maybe 3 weeks before I get clones from her and put her in the bud room with the other ladies. In the video you can see a kinda gap or hole in the trellis in the back left corner. That’s where I plan to put the ATF when it’s time. Other than that everything is moving along great. I did another top feeding of dry amendments for the ladies I just put in bud. I’ll put those pictures in there as well. Thanks for checking out the garden. If you enjoy this grow be sure to check out my tropic moon series. 🤙