


Likes
8
Share


@NikoRussia
Follow
Очередное посещение. Высокий куст 100см, другой 80см, остальные 60см. Внёс на 10литров воды 2гр МФК и 2гр сульфат магния (Буйские удобрения). Опрыскал от насекомых вредителей. Нижние листья едят улитки и слизни. Следующая неделя 30-32 градуса, если не будет дождей пойду поливать.

Likes
3
Share

@Krazy_K_Buds
Follow
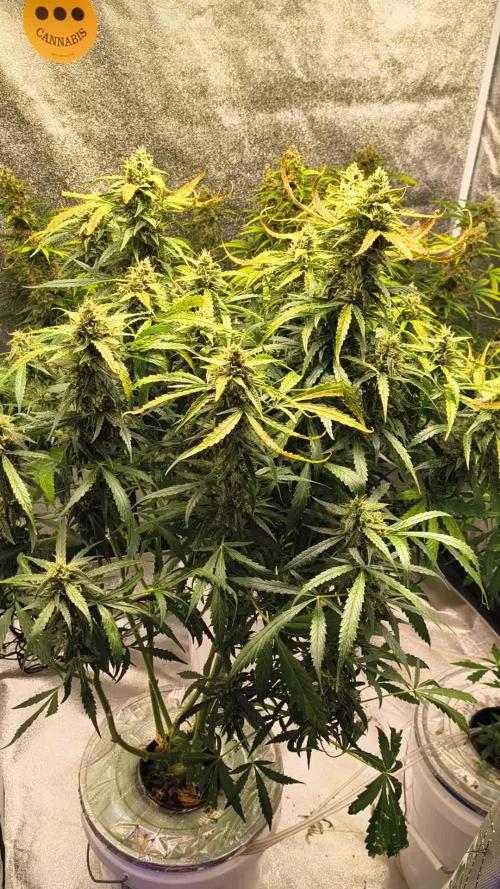
These ladies here have been fighting me all the way lol but everything still seems to be coming out good. They are stacking nice and buds are rock solid already. Just gonna keep doing what I can to keep these 2 girls happy lol.

Likes
90
Share


@MrCOCO
Follow
Hi everyone...🍃🍃🍃On day 15 I added netting to be ready for top buds...🍃🍃🍃Everything is going well, just watch and water...🍃🍃🍃
Happy growing...🍃🍃🍃


Likes
9
Share


@Rckeh
Follow
Day 58 - I started seeing these yellow/brow spots, maybe its a calcium deficiency? I have been giving her calcium so it could be a ph problem. I´m also worried because my neighbor tree has leaf septoria so it could be it aswell, i will keeping a real close eye.
Last night rained heavily, so today i sprayed her again w/ Botryprot. Humidity here is really high, i think it´s already helping! Next 3 days will continue raining. When raining stops, i´ll spray when possible.
Day 61 - Today i fed her the above chart. We are in week 3, so i cut Fish-mix as she´s focusing on her flowers now. The deficiency stopped developing so im happy, but im always seeing crickets on my plant. I remove all of them by hand, regardless every time i get back i see 3 at least. They are loving the blueberry. Forgot to mention i added acti-vera this time, to help stalks get stronger and healthier. Let´s see how she reacts to it, when she was young she didn´t enjoyed acti-vera
Day 64 - These last days have been very hot, with a maximum of 30ºC. Will feed her tomorrow at the beginning of week 4. Will keep same feeding, she didn´t complaint about acti-vera now. :)

Likes
8
Share


@ZanderZone777
Follow
What a successful experiment! People said you couldn't grow and flower good weed in an Aerogarden so I had to prove them wrong. When I first started this grow experiment I would have been happy with a quality oz of bud. I never imagined pulling more than 2 oz's from 1 gallon of soil and only 45 Watts of light. That's 1.4 grams per watt! Already have a second Aerogarden going. This time it's Bud Bud Bling-Tingz✨ Give it a look!


Likes
17
Share

@StonedSteve
Follow
Zdarec všichni✋
tak je to tady, dnes po 92 dnech pěstu, 13.7. proběhla sklizeň.
Co k tomuto growu říct, nebyl náročný a probíhal hladce. Tenhle strain ''Major Toke''💪 můžu jen doporučit, je hladovější na hnojky hlavně na CalMag😏, krásně voní, vyhovuje mu když se na něj minimálně šahá (kromě nutné defoliace a nějakýho toho přeložení listů nic víc nepotřebuje), na konci to všechno vrátí v podobě obrovských tvrdých palic. Nevím jestli jsem měl jen kliku na semínko, nebo je to tím že jsem na něj pražil 24/7, ale za mě tenhle mini grow 60x60 dopadl brutálně shout-out "Mephisto Genetics"
Tady je pár fotek a 1 video, zbytek přidám po usušení.
Speciální poděkování patří "Hombre_Seeds" ,kterej nám začátečníkům, ale i pokročilým growerům věnuje mrtě času na deníkách a nejen tam a taky všem na Discord skupině, kteří když je potřeba ihned a dobře poradí bez týhle berličky by to nešlo, děkuju všem a ať se vám daří.
Likes
15
Share


@Drtomb
Follow
It's been a long minute since I've grown chocolopez.. Or as I like to call her Choco Lopez. I recall her being a very fruitful bud. Very sativa and not super dense buds. Delicious chocolate tastes.
Ive never grown this out as a full screen before. Stay tuned.
Ive been vegging these girls for about 5 weeks as the gorilla glue 4 was a week longer then expected.
These have all been topped to 3 tops for a grand total of 27 tops. Leveled the canopy to 18" tall and moved them into flower.

Likes
75
Share


@Roberts
Follow
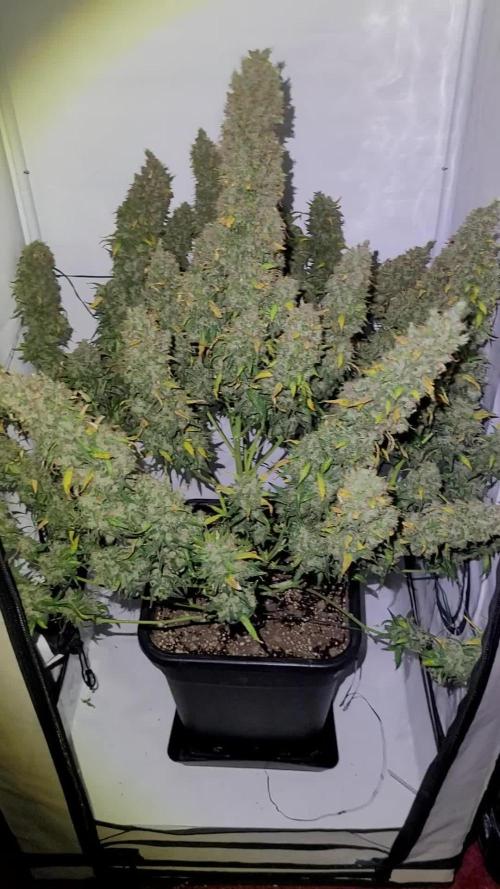
Gushers is growing really well under the SpiderFarmerG500/UVR40 lights. She is showing some fat indica leaves as well. She is stacking and very hungry. Everything is looking great beside She is getting close to the light. 🤞🏻 she is done stretching. Thank you Spider Farmer, Athena, and Royal Queen Seeds 👸. 🤜🏻🤛🏻🌱🌱🌱
Discount code: GROWERS20
Thank you grow diaries community for the 👇likes👇, follows, comments, and subscriptions on my YouTube channel👇. ❄️🌱🍻
Happy Growing 🌱🌱🌱
https://youtube.com/channel/UCAhN7yRzWLpcaRHhMIQ7X4g
Spider Farmer Official Website Links:
US&Worldwide: https://www.spider-farmer.com
CA: https://spiderfarmer.ca
UK: https://spiderfarmer.co.uk
EU: https://spiderfarmer.eu
AU: https://spiderfarmer.com.au
G5000 Light Amazon Link:
amzn.to/4643esa
UVR 40:
https://www.amazon.com/dp/B0BR7SGTHS
Discount code: saveurcash (Stackable)


Likes
5
Share

@Webacca
Follow
Sie entwickeln sich. Sehr schön stabil, buschig, geil.
Auch die Sherbet, die ich natürlich beim LST abgeknickt habe (soo ein Otto. Das Geräusch ist echt eklig), wächst einfach munter weiter.
Solar Fang ist immer noch kompakt, aber hat sich auf 25cmchen geschraubt.
Das darf alles gerne so weiter gehen, zumal sich die ersten Blütenansätze zeigen 😍
Und es duftet nun auch.
Zeitraffer der letzten Woche, heute mit Rucklern, am Ende der Bildreihe. Liegt am Arbeiten im Zelt, wo ich an die Kamera gestoßen bin und das Bild sich verstellt hat.


Likes
8
Share


@LokalGrenz
Follow
Week 6
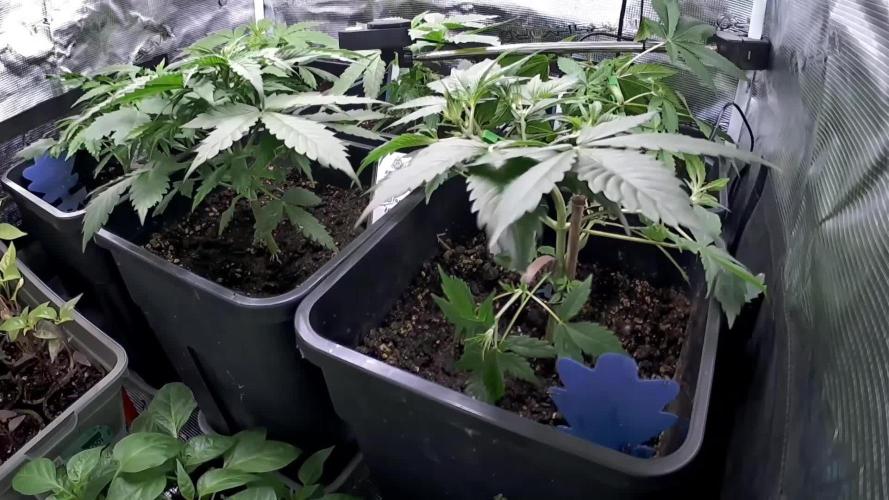
Started today transplanted them sat it’s Thursday now this Saturday March 9th is a week since looks like they are taking tk the new home okay so far hope this keeps up
March 8th did a second topping today on both but on every top just two on each plant and I’m done topping March 9th is one week since transplant next Thursday I thinking I will flip then or that Saturday just want them to show stronger signs of growth by then
March 9th some deflation everything still looking okay

Likes
Comments
Share
@JamesRenato
Follow
Já faz 11 dias desde a ultima atualização, tinha me programado para colher dias atras porem, mudei de ideia ao ver que os buds estão ganhando mais volume. Nos últimos dias falhei na rega e a ela acabou passando sede por um dia, logo senti a diminuição do cheiro, provavelmente esse estresse volatilizou alguns terpenos. Eu já estava regando no modo flush mas, por conta do ocorrido decidi retornar com alguns suplementos (Cal-Mag, Silica e alguns Carboidratos), com a intenção de estimular a produções de novos óleos. Estarei observando os tricomas e quando os primeiros estiverem mudando a coloração, ai sim vou colher.

Likes
Comments
Share

@Count-Dooku
Follow
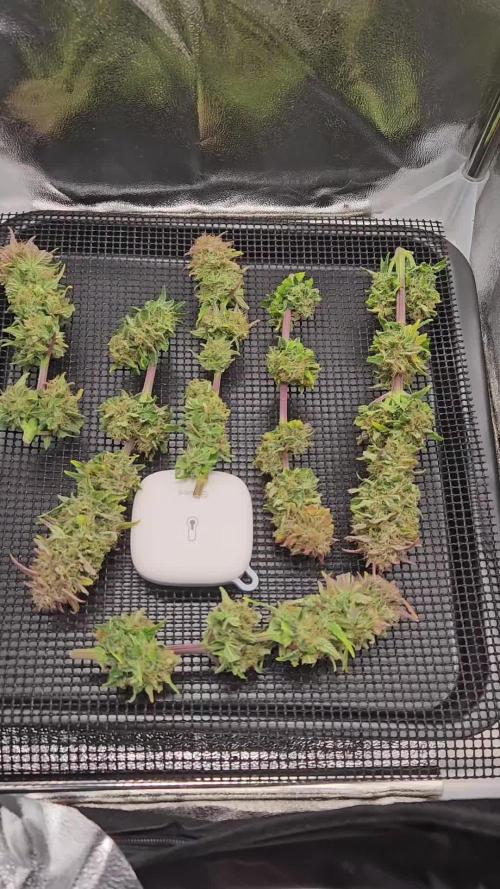
Popped the top for a sampler, probably take the rest down in a week.


Likes
4
Share


@MaroonWater
Follow
My biggest white widow is getting 24 hours of darkness before I chop and hang the whole plant for a long dry and cure.

Likes
74
Share
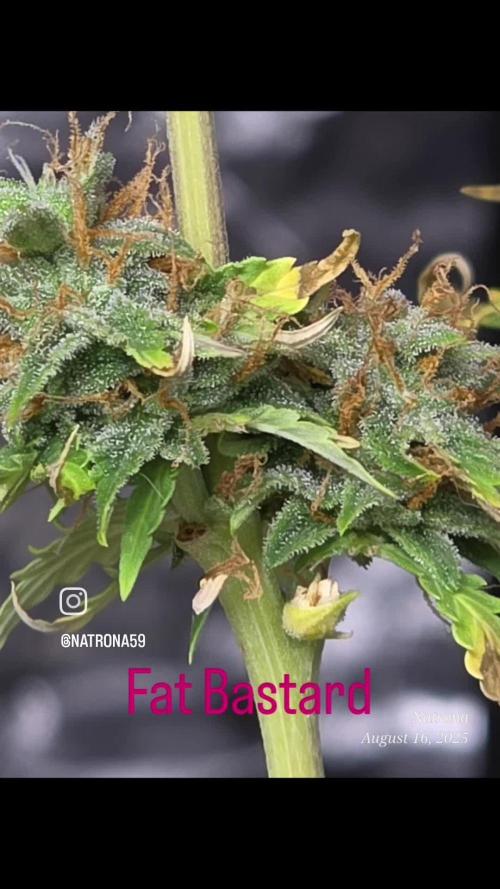

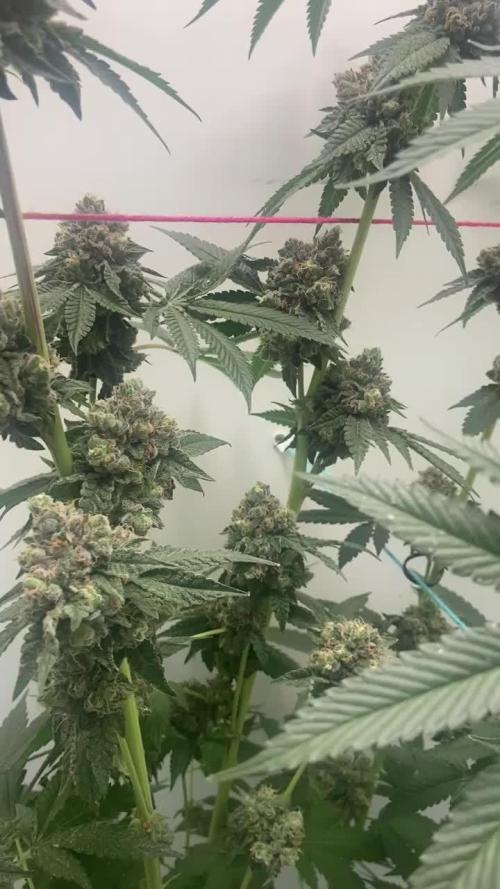
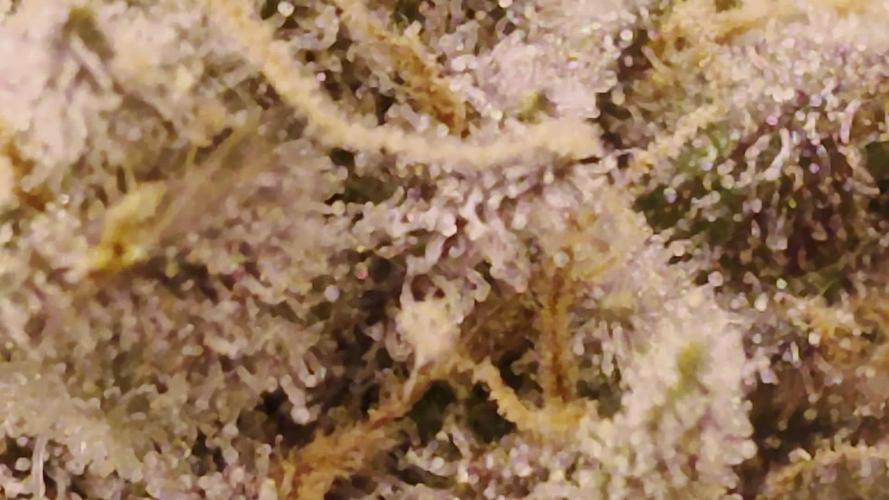
@Natrona
Follow
Harvested day 51 due to bananas 🍌. He is under developed and needed 5 or 6 more weeks. I'll dry and test, probably go in edibles.


