


Likes
Comments
Share


@GrowWiththeBro
Follow
10 days dry and bagged for curing. Sampled a little, the high is very heavy. Definitely growing again


Likes
5
Share


@FOB_Chronic
Follow
~~13JUN18 - 19JUN18~~
Not to much changed this week just waiting for the flower to be ready. Did a lot of prepping for the next run. They are all stretched out and topped so they just grow up. Lots of space so light and go through easily. They will be getting the Advance line-up, Stay tune and see my second run.
Harvested - 19JUN18 (D+62)


Likes
63
Share


@Ganjagrandaddy
Follow
Day 28 and we are in flower !!!.
The Purple monkey have really accelerated their growth this last week and have been building flowers for the past 3 days. They are all really healthy looking with nice strong limbs to support the upcoming fruits. There are 2 different phenotypes by the look of them with #3 being slightly different to the other 2 .
I have been gently shaping them towards the pots edges without stunting their growth too much vertically. They are very long limbed from their stretching and the nodes lengths are a fairly medium distance from each other so won't be forming donkey di#$s buds but should have some very nice cluster buds with their overall indica leaning sides. At around 18 inches tall and still stretching, these girls could be great yielders. No signs of any issues at all with the addition of the sumo boost which will support the flowering cycle but won't stop the stretch as other boosters can do. this means I can use it from the start of flowering.
Banana mash have spent the week stretching past rhe tries and opening up for light. They are a little behind the Monkey girls but are showing starts of flowers now. Their limbs are a lot less solid than the other strain too with a loose limbed appearance more like a bush. 2 of them have been set in a more splayed out mainline approach to keep them low and get the lowers into the canopy too .i have included some pics of the lst to show howbi did itThey have a lot of potential mains now that the apical dominance has been broken. hopefully a ring of buds should form on them both now. the #1 is more natural with a topping only to stop her getting too tall. She has some nice mains forming now too. The Mutant Banana is a really odd lady. she has so many growth tips close together in her bunched up appearance. She is starting to stretch now so will finish quite good I think. I have been growing out 2 seeds that came from previous grows of exotic strains. sadly the pollen "donated " came from another breeders strain but hit most of the crop on a couple of buds so gave me seeds. i am testing a couple out with this run so include them for their exotic connections. The mango cream X is doing brilliant and had to be supercropped over into an s shape to hold her down a little. def female so far and growing very quickly. The Exotic ? is just starting her real growth now but will be a squat lady by the look of her so far. no idea which she is but will be an interesting grow out for fun. The fact that one went into flowering already is a good sign of an auto genetic at least. So there we have it growmies another week done and exciting times ahead in flower. be a safe and well.


Likes
2
Share


@Fayah_Burn
Follow
Think this is gonna be my new FB favorite, smelling strong looking stronger 💪, hope that gorilla punches hard..
Ill tell you guy's more in the final report after everything is dry n cured..
Unfortunately i have not taken any post harvest pictures eather 😞 you can imagine all that lack of information resumes down to just one thing, lack of time.. sorry for that!

Likes
33
Share


@Hawkbo
Follow
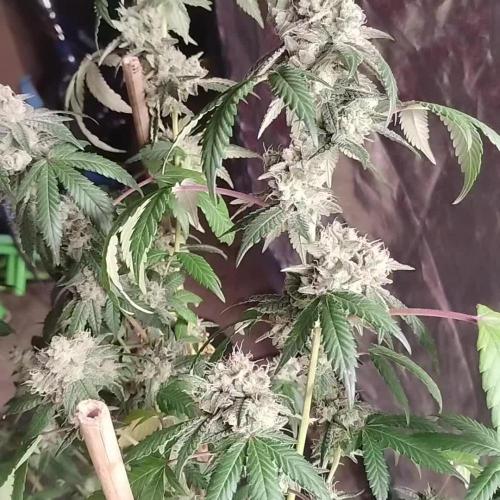
I transplanted everything over the past 3 or 4 days and am just giving them some time to break in their new shoes before I flip them. I got a new bottle of calmag I think the one I was using was old it's been on the shelf for a while. The heat is still a little lower than I would like and now with the bigger pots humidity has gone way up.



Processing
Likes
9
Share


@TheWeedPimp
Follow
Damn they fine looking Ladies!🌿😍
Doing LST on the next week

Likes
4
Share

@TKCS_Pinoy
Follow
🌱 Woche - Week 8 Review (Umtopfen in den Garten)(Repotting in the garden)
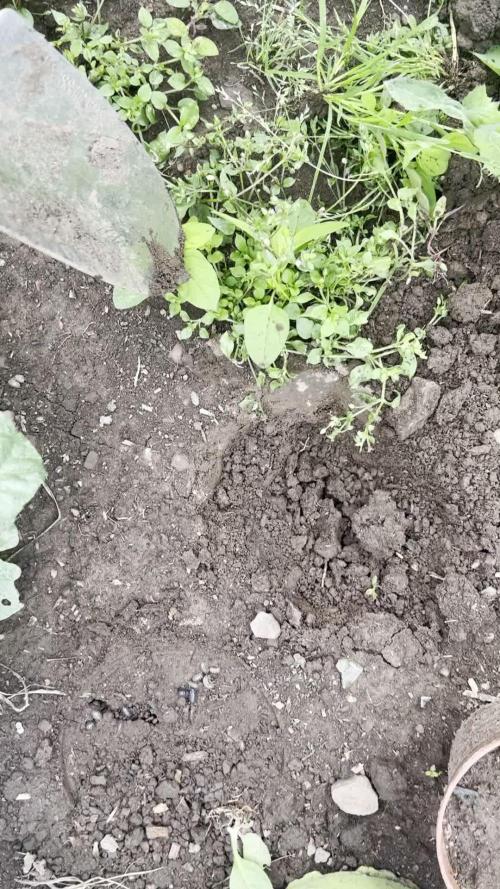
📈 Wachstum: Diese Woche der große Umzug – die Pflanze wurde in den Garten verpflanzt 🌱➡️🏡. Sie hat dort mehr Platz für die Wurzeln. Wächst etwas schräg, wirkt aber stabil und vital 💪.
💡 Licht & Energie: Volle Sonne wird sehr gut angenommen ☀️, keinerlei Stress sichtbar.
🌿 Blattgesundheit: Nach kurzer Eingewöhnung zeigt sie wieder volle Kraft.
💧 Wasser & Nährstoffe: Direkt nach dem Umpflanzen mehr Wasser benötigt, jetzt wieder im Gleichgewicht.
🔄 Entwicklung: Noch volle Wachstumsphase, jetzt mit mehr Raum zur Entfaltung.
ℹ️ Hinweis: Normalerweise ist eine Gorilla Zkittlez Auto nach etwa 75 Tagen fertig. Bei mir dauert es wohl länger – aber das ist völlig okay, da es meine allererste Pflanze überhaupt ist 🌱. Keine Growbox, kein Indoor, einfach draußen – mein erstes richtiges Grow-Erlebnis.
✅ Fazit: Erfolgreich im Garten angekommen, bereit für die nächste Phase 🚀.
-------------------------------------------------------------------------------------------------------------------------------------------------------------
📏 Growth: Big step this week – transplanted into the garden 🌱➡️🏡. More space for the roots now. Growing a bit tilted, but still strong and healthy 💪.
💡 Light & Energy: Full sun is well received ☀️, no stress signs.
🌿 Leaf Health: After a short adjustment, vitality came back.
💧 Water & Nutrients: Needed extra water right after transplant, now balanced again.
🔄 Development: Still in full vegetative growth, with more space to expand.
ℹ️ Note: Normally a Gorilla Zkittlez Auto finishes in about 75 days. For me, it will probably take longer – but that’s fine, since this is my very first plant ever 🌱. No grow box, no indoor, just outside – my first real grow experience.
✅ Overall: Successfully settled in the garden, ready for the next stage 🚀.
Likes
6
Share

@SzkolaZiola
Follow
Day 60 of 12/12
HARVEST TIME
They are soooo fine I barely have words.
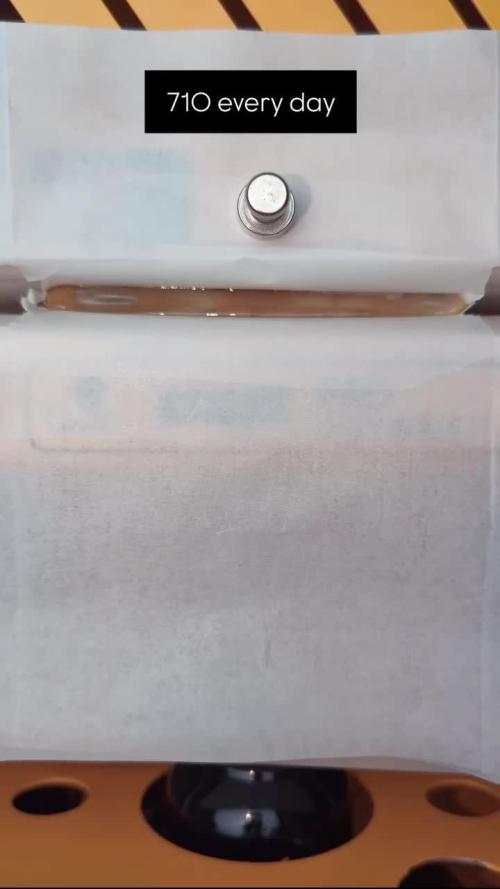
Weak-neck gland trait is a fact. I was collecting FRESH, "WET" (non-dried) flowers for Fresh Frozen - the amount of trichome heads just breaking off during that process was astounding. Air was full of trichome heads every time I touched a branch or a bud.
I repeat - it was non-dried flowers, straight from a branch, from alive, watered plant - and I collected a few grams of loose heads in my TrimBin. Crazy stuff. I also pressed it and I got top-shelf rosin - without dryiyng and sieving or bubble ice wash. Mind blown 🤯
8 plants
60 days (8.5 weeks) of flowering under 12/12
4x4 ft tent
466W Mars Hydro light
= 2166g
of Whole Plant Fresh Frozen material (just trimmed buds + some trichome-covered leaves)
Now floweres are in deep freeze -36°C waiting to be washed for bubble hash and pressed into live rosin in the near future.


Likes
19
Share


@Mr_Juice
Follow
3x anesia seeds/frozen black cherry
1x sweets seeds/skywalker og runtz auto xl
I love Spanish seed banks ❤️
the plants in the back contain guanocalong, the plants in the front are fed with plagron


Likes
14
Share


@Black_Widow
Follow
Привет садоводы
Цветок потихоньку растет
на днях я сделал еще одну одну обрезку ,разделив ее рост с 2 веток на четыре и пересадил в горшок побольше
сегодня я сделал еще одну последнюю обрезку, разделив 4 ветки на 8

Likes
1
Share


@OldDrGreen
Follow
Una settima dal travaso nei vasi da 6 arrivate all’altezza di 25cm pronte per la fioritura passaggio a 12/12

Likes
4
Share


@Exoticfarm99
Follow
El viernes 21 regamos foliarmente con Delta 9 preparándolas para floracion



Likes
15
Share


@No_Clout
Follow
Flowering is starting well, starting to see trichs so I’ve gave them their first feed with bloom nutes (C4) which is also 95% organic which is always a bonus imo and I’ve not grown anything using organic products so I’m anticipating to see the end results. Their all 3ft tall or just under which is abit taller than usual but overall we’re looking fine, did some minor defoliation and lollipoping on the bottoms 1/4 of all 3.

Likes
17
Share


@OrganicBuds030
Follow
Langsam bilden beide Terpene. Für mich sind Terpene der wichtigste Punkt bei Cannabis. Der Geschmack bzw. Terpene haben großen Einfluss auf die Wirkung, deshalb bin ich sehr auf das Terpenenprofil gespannt und ob ein Phenotyp vielleicht ein Keeper wird. Das ist nicht mein erster Run, aber die Vorfreude ist genauso groß wie beim ersten Mal. Ich denke ich konnte die Sorte Melonade Runtz (fem) bis hier hin schon ganz gut repräsentieren 💚🍀

Likes
14
Share

@BlaKX
Follow
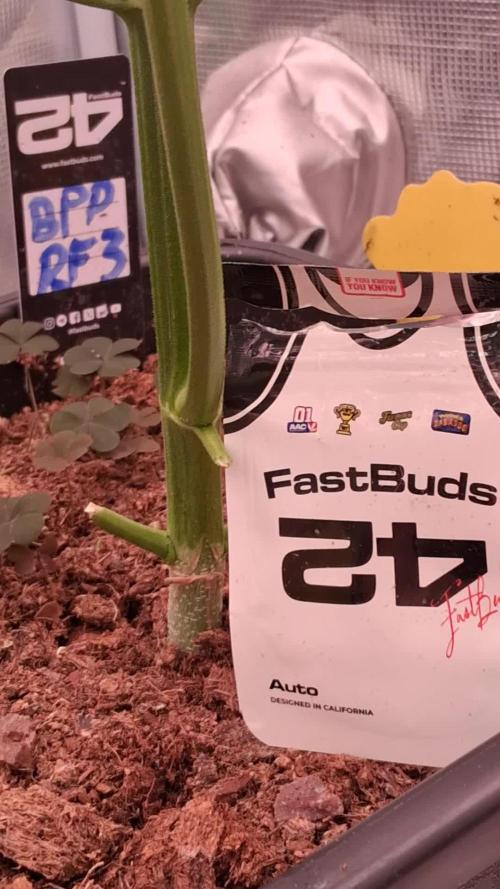
High Growmies das RF3 hält bis jetzt was es verspricht!
Es ist erstaunlich wie gut sich diese Pflanze entwickelt hat sie hat ihre Größe in diesen 7 Tagen exakt fast verdoppelt hat schon angefangen Haare zu entwickeln genau wie auch Blütenkelche die sogar schon Lila sind!!! Sie wird definitiv die 1m Marke knacken.
UV:40min IR:30min Deep Red:20std. 17% statt 10% Anteil.