The Grow Awards 2026 🏆 


Nature's Living Soil BEGINNER GROWER

VEG
SMD3535 Light Emitting Diodes/600W
SMD3535

FLO
SMD3535 Light Emitting Diodes/600W
SMD3535

Tent
The Budgrower
The Budgrower
Soil
Custom
Indoor
Room Type
LST
weeks 7
HST
weeks 7
Topping
weeks 7
FIMing
weeks 7
Defoliation
weeks 7
ScrOG
weeks 7-10, 12
19 liters
Pot Size
0.95 liters
Watering
Start at Harvest
G
Germination3y ago
StanTheMtnMan March 29th- Paper towel method with Homegrown Cannabis Co. (HCC) Germ Genie
- 7 Drops of Germ Genie in 16 oz water
- Leftover Solution went into a spray bottle for keeping the paper towel moist if needed. I only did like a drop or 2 near the bean on top of the towel and let it soak over to it. I did this once a day maybe, then let it sit for a few minutes and then dried up any standing water on the plate under the towel and put the towel and plate-shell back together. ( I also used the rest of this to moisten the soil after I dropped the germ in there!)
All Beans Popped in 24 hrs.
Ready for Soil in 48
UPDATE ON GROW DETAILS WITH LIVING SOIL RECIPE:
SEEDS:
Homegrown Cannabis Co.
- Sour Diesel Autoflower (SD)
o Purchase Date: 11.28.023
o Batch ID: 68890413
o Day 1 for Germ: 03.29.023
o Size Pot: 5 Gallon
- Girl Scout Cookies Autoflower (GSC)
o Purchase Date: 11.28.022
o Batch ID: 68890413
o Day 1 for Germ: 03.29.023
o Size Pot: 5 Gallon
- Deelite Autoflower (D) /// (Mini-D)
o Purchase Date: 03.20.023
o Batch ID: 10541006
o Day 1 for Germ: 02.29.023
o Size Pot: 5 Gallon /// 3 Gallon
NOTE ON THE SEEDS:¬
**I am not, in any way, at all, affiliated with Homegrown Cannabis Co. I am just adding a note here about my experiences purchasing seeds from and providing them here for anyone that might find it helpful.**
When I ordered my first round of seeds in Nov. of ‘022, there were some really great specials going on for a first-time grower, which I was (and still am really!). I was able to get some great deals on free seeds with nutrients, and promotional giveaways for signing up, and the holidays.
For about $100 bucks I was able to get:
8 Sour Diesel
4 Girl Scout Cookies
4 White Widow
Full-Cycle Nutrient Pack
I was able to get a grow cycle in since then making ample mistakes and learning while researching more.
Now, I still have some beans (that are looking viable already with the GSC sprouted above the soil after only 72 hours from first placing it on the paper towel) off my original investment to apply the knowledge I gained. Because knowledge is only powerful if it is put to use.
And I just got some Moby Dick Feminized from them that I am going to start soon for an outdoor grow attempt, but that came with more freebies that are the Deelites, so…. Thanks Homegrown Cannabis Co. for making it easy to get started!
Here is the Soil Recipe the I am going to use:
- Nature's Living Soil Autoflower Concentrate (NLS) {This stuff is so, so, so stinky...! It has to be good right? I mean seriously. Like the “Bog of Eternal Stench”.}
o Recommended at 1 lb per 5 gal of growing medium.
I followed the recommendations for the living soil recipe (my process described below).
*NOTE: I did use a scale to weigh the 1 lb. but I found it was pretty close ratio of 4 loose scooped pint glasses to equal 1 lb. of the concentrate. I measured each pot I was doing individually, and this was roughly the same over each of the 3 pots I did.
Also, this stuff really does smell like straight up F*%&ing S%*t. I saw a review from Highigan on trying to manage this this and they suggested to keep some of the PLAIN potting soil aside and “top dress” if you will, to in effect Poo-Pourri the smell down by adding that barrier on top.
- FoxFarm Ocean Forest (FFOF) & FoxFarm Happy Frog (FFHF)
o 50/50 ratio + extra FFHF for the transplant hole
I wanted to blend these to take some of the nutrient “heat” out of the FFOF but keep the nutrient profile in soil reserves for later stage growth and still have the earlier stage nutrient profile of the FFHF, and the eventual consumables available to the mycos addition as the medium substrate, post nutrient-depletion.
Also, I am going to use just the straight FFHF (A Pint Glass size amount) in the transplant hole.
- Plantonix MycoBliss Powder Premium Mycorrhizal Inoculant
o 3 Tbs per 5-gallon pot + extra for the transplant hole
Going to overdue this I am sure, but I am just going to go for it here. Most of the reading I have done says you “can’t” overdue it. Whatev’s. Let’s learn together, if you dare!?
- Perfect Plants Organic Perlite
o 3 pints per 5-gallon pot
I know I should have taken the time to take pictures building the soil. I did not.
I am taking the time to write it now for you to read, and reading is rad anyway.
Supplies:
Small-weight scale (Optional. The “rough ratio” [I know you read that as Scooby Doo speaks, don’t lie] I found is 4 loose scooped pint glasses of the Nature’s Living Soil = 1 lb. If anyone has found different, please correct me, I couldn’t find anything.)
Large Tub (For Mixing)
Soils & Amendments (Listed Above)
Pots – I am going to have the Sour Diesel (SD), Girl Scout Cookies (GSC), & Deelite (V) in 5 Gallon POTLAB LST Grow Bags. The 3 Gallon is some generic fabric pot.
14” Clear Trays- These are a bit big for my tent (Das hat sie gesagt) but I don’t know… 12” seemed too small… and I am too immature to continue this. Read the dimensions in the descriptions before you buy stuff or go to the store and play with stuff in the Gardening Section. If you suffer from social anxiety, ya… uhhhmmm could be why you are growing your own ganja…. And if it isn’t, maybe it should be. Just saying. Look it up.
Methodology:
1. Open the bag of NLS Auto-Concentrate and scoop or weigh into the pot and then immediately reclose the bag. (*Believe in your heart of hearts that this stench will soon turn into that sweet & spicy sticky-icky that you desire! Believe. Receive.)
2. Add Equal Parts of the FFOF & FFHF filling to about halfway
3. Add the 3 Pint Glasses of Perlite
4. Continue adding soils in equal parts until you can rest the Pint Glass on the surface of the soil and it is about 2” from the top rim of the pot. *Place it in the center and leave it there. (Or whatever level of soil looks appropriate so that the glass isn’t too far above the rim of the pot). This is going to be our transplant hole for the germinated seed.
a. *Tip: Fill the pint glass with FFHF right now. This way as you continue to add your back fill in Step 5, and you will have this “clean” fill amount left behind for the transplant hole to be refilled.
5. With the pint glass in the center of the pot continue to backfill 50/50 with FFOF and FFHF.
6. Once level with the top of the pint glass, remove the pint glass that is full with the FFHF only and set aside, then empty the entire pot into your large mixing tub.
7. Mix to combine.
8. Add 3 Tbs of Mycos Powder, in 2 sets of 1.5 Tbs each, with mixing in between sets.
9. Begin to refill pot with mixture and, same as before, place the pint glass at the appropriate time and location and continue filling to the top.
10. Once filled, remove pint glass and sprinkle sides of the hole with mycos powder and while loosely filling the hole with the content from the pint glass, sprinkle mycos powder with this filling dirt. Sprinkle, sprinkle.
Post-Germination:
- OK. So, the beans popped, and I made my soil.
I made a hole with my pinky a little deeper than each taproot in the center of each pot and then gently placed in the seed with the taproot facing down into the hole.
Another sprinkle sprinkle of the mycos directly onto the taproot and a gentle covering with the soil.
- Using the Germ Genie Solution, I gave a generous spray on top of the transplant area, enough in my mind to moisten the area around the taproot at least and not immediately evaporate off.
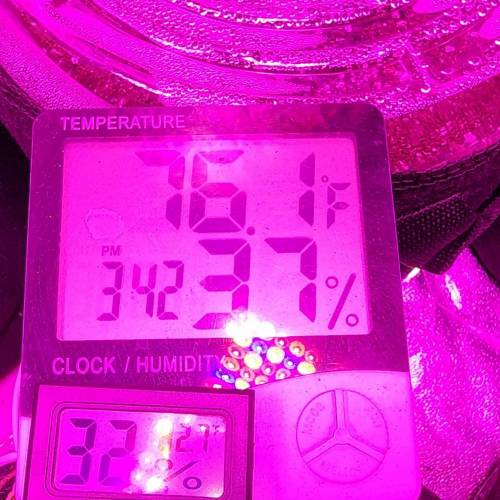
- Pots into my tent that is finishing a character building and learning first-ever grow cycle at 75°F & about 40% RH, with clear plastic covers over the soil to “greenhouse” them and not loose the moisture.
Any comments or suggestions about what I am doing or help you want to offer me will be accepted with gratitude!
Thanks!
Water 04.01.023
*PH adjustments made using Citric Acid and Baking Soda, respectively for Down & Up.
PH: 6.6 @ 61.7°F 2 Drops GermG / 2C - 1C ea. for SD & GSC
PH 6.4 @ 61.7°F 2 Drops GermG / 2C - 1C ea. for only D
Nothing for Mini-D
UPDATE: 04.02
Temp: 75.6°F
RH%: 45%
VPD: 1.47
No Watering
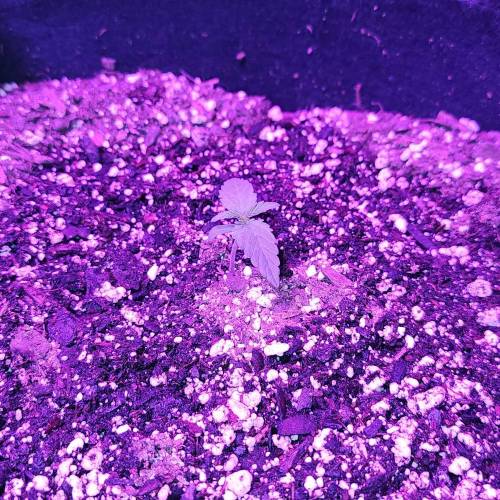
I removed the clear trays (domes) from the top of all but the Sour D (I probably will tonight or tomorrow once she has popped through the soil a bit better and is standing up, you can see she is barely poking through the soil right now...).
I have a small clip-on oscillating fan going in there as well as a cheap humidifier ( I have a reptile fogger coming soon so once set up I will detail that), but I can't see any shaking of the seedlings and the stalks already look super sturdy, so I am not concerned about that damaging them at all or seedling stretching that would indicate insufficient light or other issues.
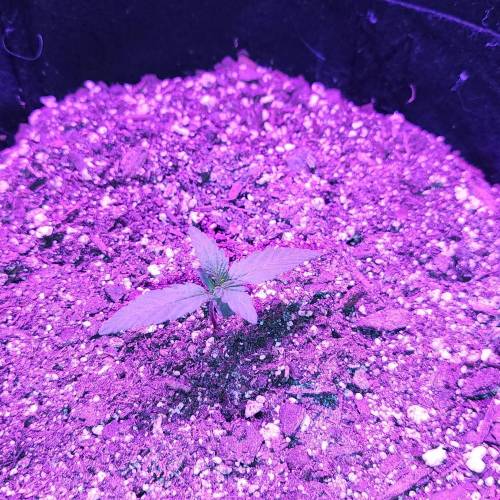
I added a couple of close ups of the Deelite and the GSC to see the stalk better and at a better angle.
UPDATE: 04.04.023
Water :
PH 6.5@ 61.3°F Add 2 Drops Germ Genie/2Cups - 1 Cup for GSC
PPM: 383
Moistened the soil with Germ Genie spray bottle on the others.
Tent:
Temp: 77.6°F
RH%: 55%
VPD:
Air Vapor Pressure Deficit (VPD) 1.4 kPa
Leaf SVP 2.9 kPa
Leaf Vapor Pressure Deficit (VPD) 1.2 kPa
Small fan on
Couple tube vents open
Bottom-side "Mesh" vents open
Room Temp is about 65°F-70°F & RH of around 30%
Small Humidifier (1 L Walgreens) set about 0.75-0.5 open --> Reptile Fogger should arrive today will update photos and setup.
4 likes
4 comments
Share
Used method
Paper Towel
Germination Method
1
Week 1. Vegetation3y ago
5.08 cm
Height
24 hrs
Light Schedule
24 °C
Day Air Temp
6.6
pH
200 PPM
TDS
65 %
Air Humidity
24 °C
Solution Temp
18.93 liters
Pot Size
0.95 liters
Watering Volume
StanTheMtnMan Water on 04.04 - 2C ea
+2 drops of Germ Genie
Water on 04.07 - 2C ea
+2 drops of Germ Genie
Water on 04.10 - 2C ea
+2 drops of Germ Genie + 2Tbs Molasses(per gallon)
likes
comments
Share
2
Week 2. Vegetation3y ago
7.62 cm
Height
24 hrs
Light Schedule
26 °C
Day Air Temp
6.6
pH
200 PPM
TDS
65 %
Air Humidity
24 °C
Solution Temp
26 °C
Night Air Temp
18.93 liters
Pot Size
0.95 liters
Watering Volume
8.89 cm
Lamp Distance
1 like
comments
Share
3
Week 3. Vegetation3y ago
7.62 cm
Height
24 hrs
Light Schedule
26 °C
Day Air Temp
6.6
pH
300 PPM
TDS
65 %
Air Humidity
24 °C
Solution Temp
26 °C
Night Air Temp
18.93 liters
Pot Size
0.95 liters
Watering Volume
8.89 cm
Lamp Distance
1 like
comments
Share
4
Week 4. Vegetation3y ago
12.7 cm
Height
24 hrs
Light Schedule
26 °C
Day Air Temp
6.6
pH
300 PPM
TDS
65 %
Air Humidity
24 °C
Solution Temp
26 °C
Night Air Temp
18.93 liters
Pot Size
0.95 liters
Watering Volume
8.89 cm
Lamp Distance
1 like
comments
Share
5
Week 5. Vegetation3y ago
12.7 cm
Height
24 hrs
Light Schedule
26 °C
Day Air Temp
6.6
pH
300 PPM
TDS
65 %
Air Humidity
24 °C
Solution Temp
26 °C
Night Air Temp
18.93 liters
Pot Size
0.95 liters
Watering Volume
8.89 cm
Lamp Distance
StanTheMtnMan Deelite in the 3 gal is in full flower. Others are about to switch.
Last defoliation probably and lolly-poping done 05.05
1 like
comments
Share
6
Week 6. Flowering3y ago
55.88 cm
Height
24 hrs
Light Schedule
24 °C
Day Air Temp
6.6
pH
Normal
Smell
300 PPM
TDS
55 %
Air Humidity
24 °C
Solution Temp
24 °C
Night Air Temp
18.93 liters
Pot Size
0.95 liters
Watering Volume
8.89 cm
Lamp Distance
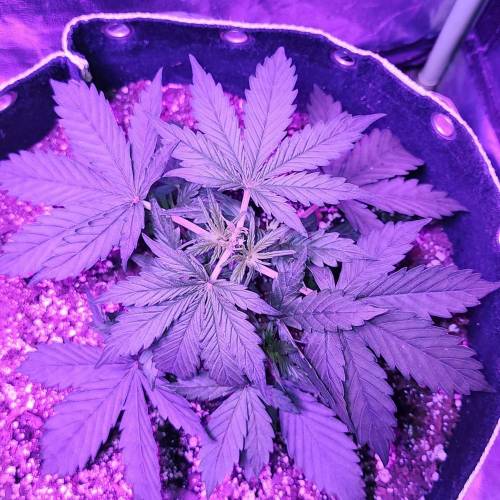
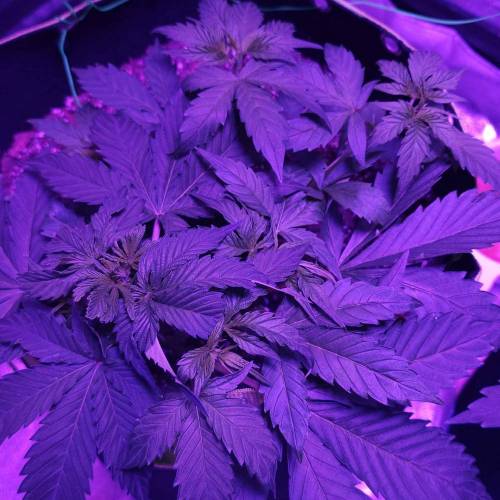
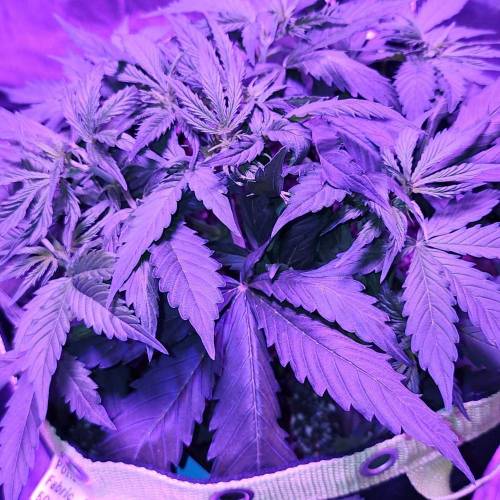
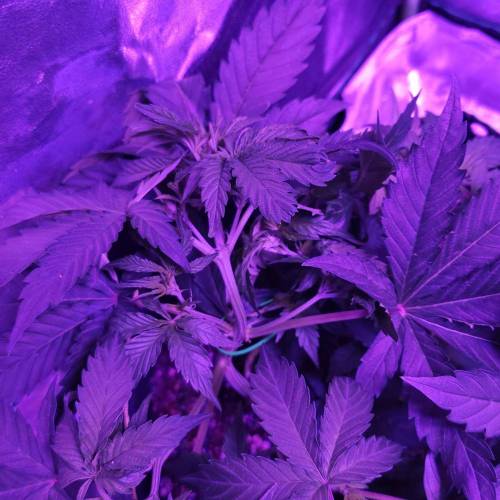
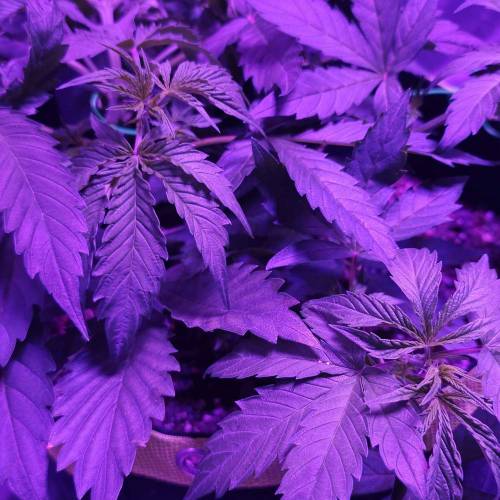
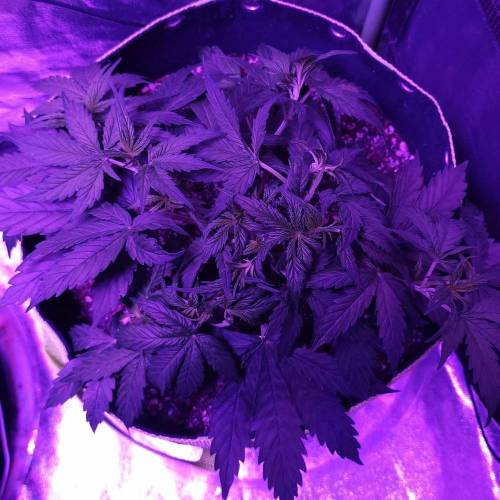
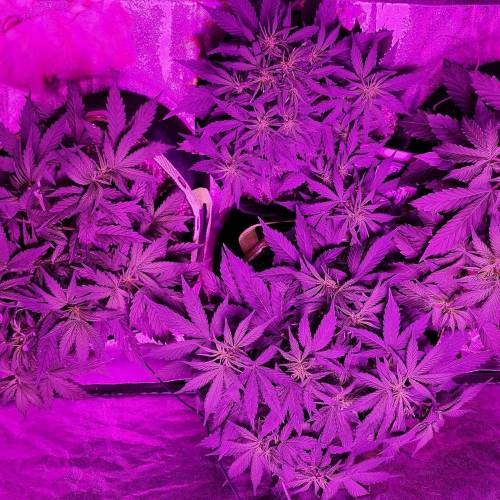
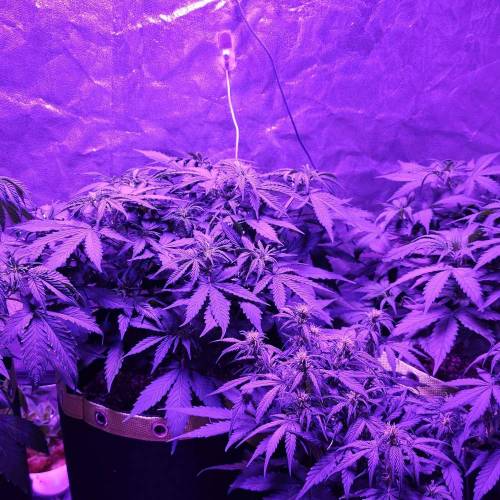
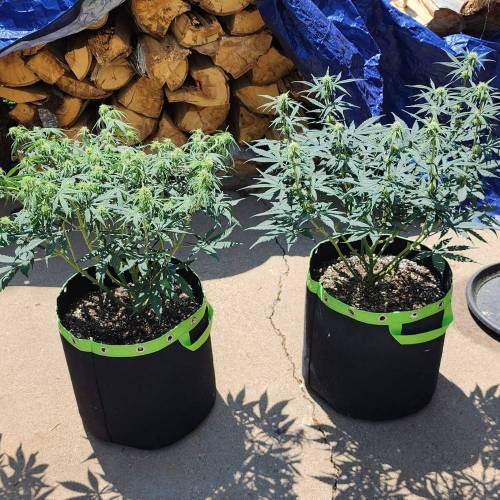
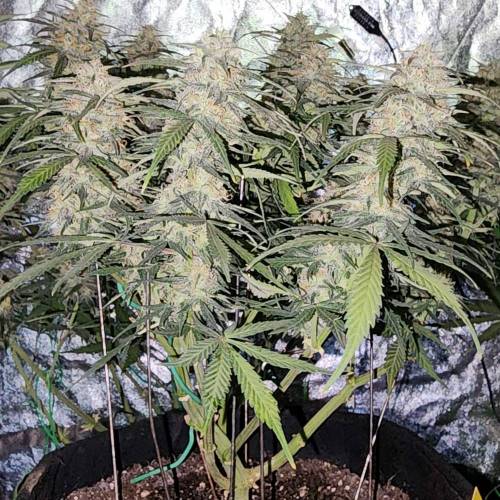
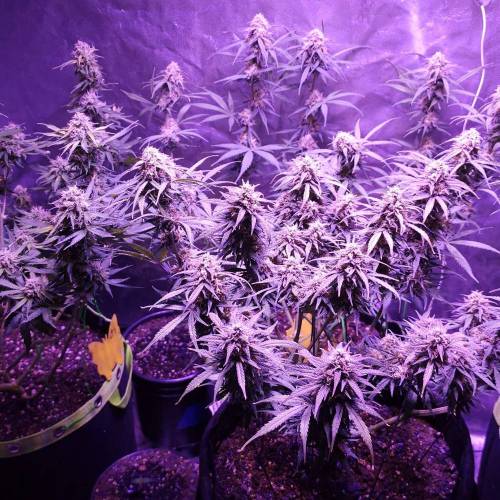
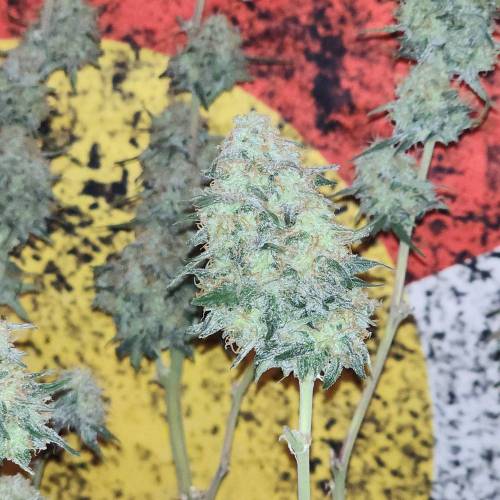
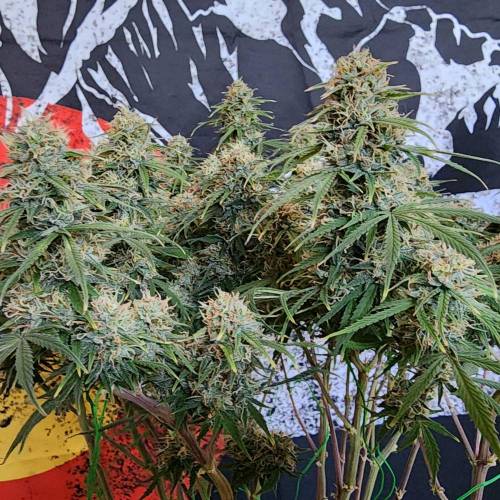
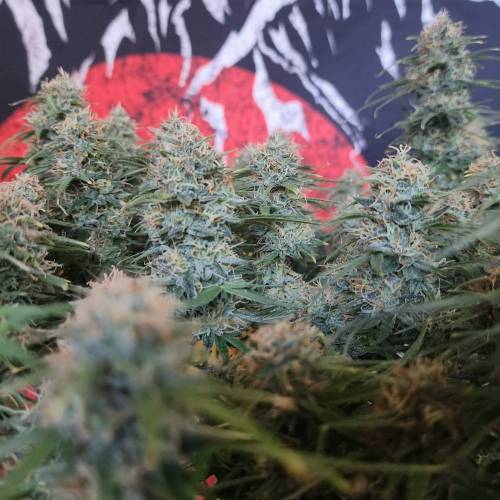
StanTheMtnMan You can see how the various training styles are fairing.
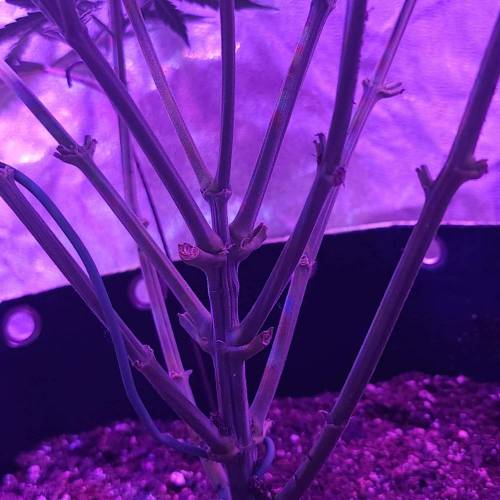
The GSC got Topped, Kushman Chiro w/ 3-5 recovery days in between, and then some spreading LST to keep the canopy even. defoliation and slight Lolipopping
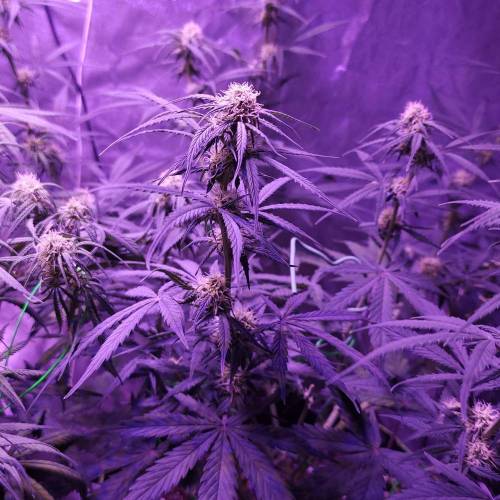
The Sour Diesel got Topped and SCROG'd (or a kind of variation I suppose) without any netting though. Kushman Chiro, and Lolipopping.
The 5 gallon Delite just got some LST and you can see I doubled back the main stem to give everything else time to catch up. Kushman Chiro and Defoliation at stages as well
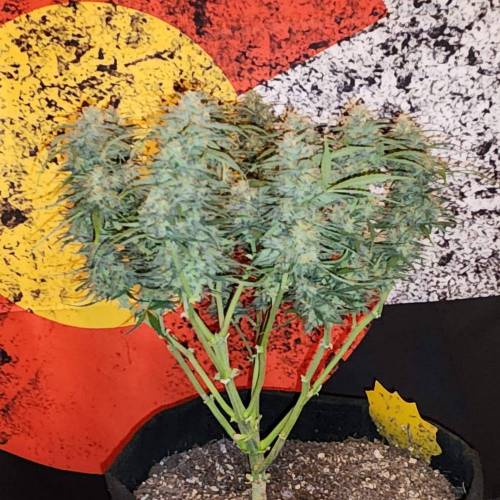
The 3 gallon Delite (just a rockin' SuperStar) got topped and some more aggressive LST, Kushman Chiro and very light defoliation at stages.
I was worried it was going to stunt a bit in the 3 gallon with that much training, but with this update (now in week 10) it is a gorgeous lady.
1 like
comments
Share
7
Week 7. Flowering3y ago
45.72 cm
Height
24 hrs
Light Schedule
24 °C
Day Air Temp
6.6
pH
Normal
Smell
300 PPM
TDS
55 %
Air Humidity
24 °C
Solution Temp
24 °C
Night Air Temp
18.93 liters
Pot Size
0.95 liters
Watering Volume
8.89 cm
Lamp Distance
1 like
comments
Share
Used techniques
LST
Technique
HST
Technique
ScrOG
Technique
Topping
Technique
FIMing
Technique
Defoliation
Technique
8
Week 8. Flowering3y ago
45.72 cm
Height
24 hrs
Light Schedule
24 °C
Day Air Temp
6.6
pH
Normal
Smell
300 PPM
TDS
55 %
Air Humidity
24 °C
Solution Temp
24 °C
Night Air Temp
18.93 liters
Pot Size
0.95 liters
Watering Volume
8.89 cm
Lamp Distance
1 like
comments
Share
Used techniques
ScrOG
Technique
9
Week 9. Flowering3y ago
45.72 cm
Height
24 hrs
Light Schedule
24 °C
Day Air Temp
6.6
pH
Normal
Smell
300 PPM
TDS
55 %
Air Humidity
24 °C
Solution Temp
24 °C
Night Air Temp
18.93 liters
Pot Size
0.95 liters
Watering Volume
8.89 cm
Lamp Distance
1 like
comments
Share
Used techniques
ScrOG
Technique
10
Week 10. Flowering3y ago
45.72 cm
Height
24 hrs
Light Schedule
24 °C
Day Air Temp
6.6
pH
Normal
Smell
300 PPM
TDS
55 %
Air Humidity
24 °C
Solution Temp
24 °C
Night Air Temp
18.93 liters
Pot Size
0.95 liters
Watering Volume
Nutrients 1
water
1 mll
3 likes
1 comment
Share
Used techniques
ScrOG
Technique
10
Week 10. Harvest3y ago
Happy Harvest Day!

8/10
Rated
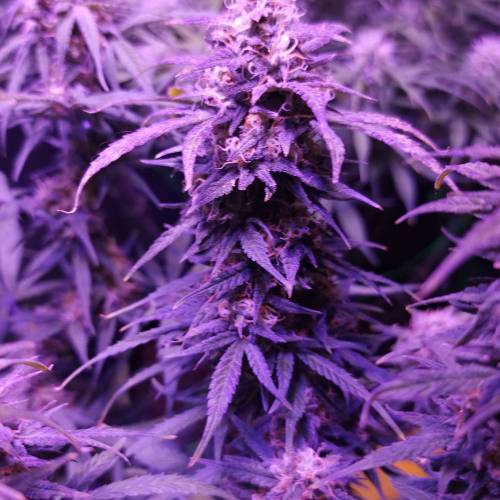
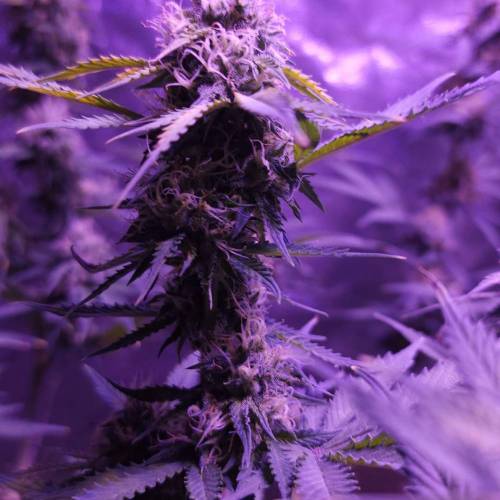
Freebie Seeds from Homegrown Cannabis Co. Curing now but a fresh-dried toke was bliss.
T-Check 23%
Show more
Translate
Spent 75 days
Ger Veg Flo Har
30 g
Bud dry weight per plant
Easy
Difficulty

Giggly, Relaxed, Sleepy
Positive effects

Dry mouth
Negative effects

Anxiety, Insomnia
Medical effects

Berries, Earthy, Woody
Taste
Height
Day air temperature
Air humidity
PPM
PH
Light schedule
Solution temperature
Night air temperature
Pot size
Lamp distance
1 like
comments
Share
12
Week 12. Harvest3y ago
Happy Harvest Day!
Spent 75 days
Ger Veg Flo Har
Height
Day air temperature
Air humidity
PPM
PH
Light schedule
Solution temperature
Night air temperature
Pot size
Lamp distance
likes
comments
Share
13
Week 13. Harvest3y ago
Happy Harvest Day!

9/10
Rated
This Lady is about 4 days into drying and she smells Absolutely Phenomenal!!!
T-Check 25%
Show more
Translate
Spent 75 days
Ger Veg Flo Har
30 g
Bud dry weight per plant
Easy
Difficulty

Relaxed, Uplifted
Positive effects

Insomnia, Pain, Stress
Medical effects

Caramel, Herbs, Tropical
Taste
Height
Day air temperature
Air humidity
PPM
PH
Light schedule
Solution temperature
Night air temperature
Pot size
Lamp distance
StanTheMtnMan The one cut and curing in the jar is the first Deelite that was in the 3 gallon
1 like
comments
Share
13
Week 13. Harvest3y ago
Happy Harvest Day!
Spent 75 days
Ger Veg Flo Har
40 g
Bud wet weight per plant
1
Plants
Easy
Difficulty
Height
Day air temperature
Air humidity
PPM
PH
Light schedule
Solution temperature
Night air temperature
Pot size
Lamp distance
1 like
comments
Share

the end.
Enjoying this diary? Follow for more updates!
Prefer the old Diary view?
Go back to the old Diary view


