


Cicle Cherry R2


Cherry R2
B2B



VEG
LED Light Emitting Diodes/360W
Samsung EVO lm301h 120W + Samsung lm301h 240w
Lamp
LED
Light
Lamp
Samsung 600w EVO lm301h
Light
FLO
LED SAMSUNG Light Emitting Diodes/600W
LED 600W SAMSUNG EVO

Coco Coir
Carolina Soil Fibra de Coco

Indoor
Room Type
ScrOG
weeks 3
Lol
weeks 4
Topping
weeks 4
Lollipoping
weeks 3-4
Defoliation
weeks 3-4
4 liters
Pot Size
Start at 4 Week
1
Week 1. Flowering1y ago
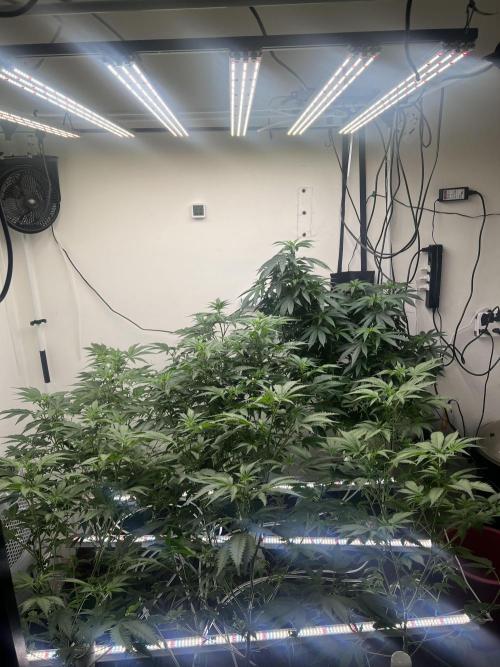
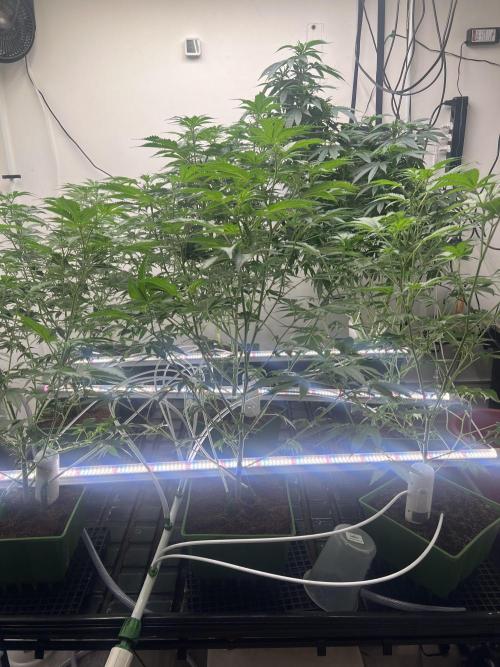
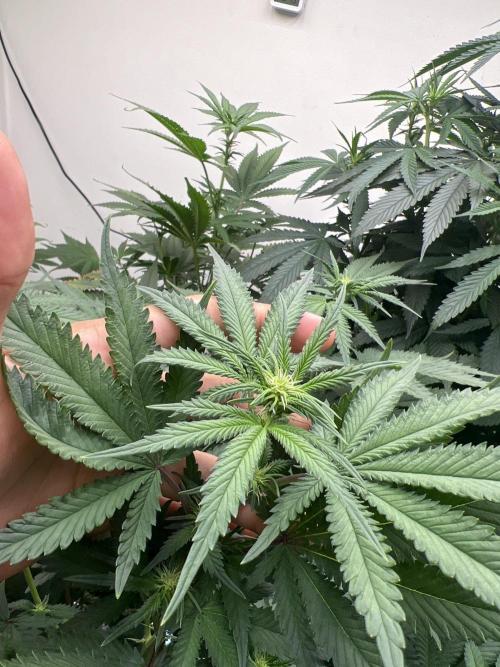
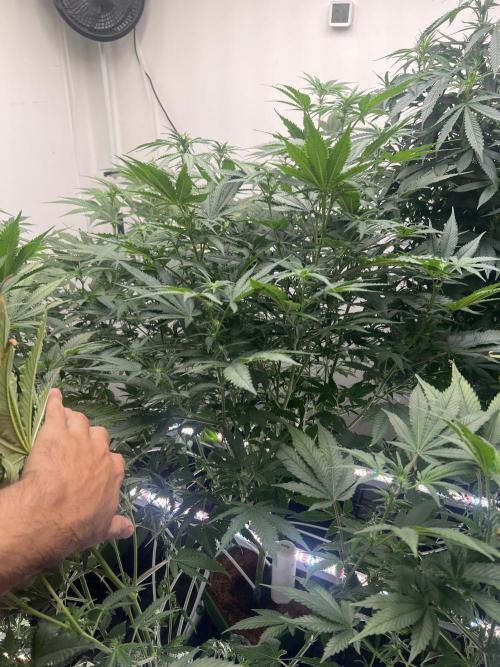
77 cm
Height
12 hrs
Light Schedule
25 °C
Day Air Temp
6.1
pH
Weak
Smell
950 PPM
TDS
60 %
Air Humidity
25 °C
Solution Temp
24 °C
Substrate Temp
26 °C
Night Air Temp
3 liters
Pot Size
1.2 liters
Watering Volume
60 cm
Lamp Distance
Nutrients 8
Trychoderma e Bacillus
1.95 mll

DualPart Coco Grow
1.5 mll

DualPart Coco Bloom
3 mll
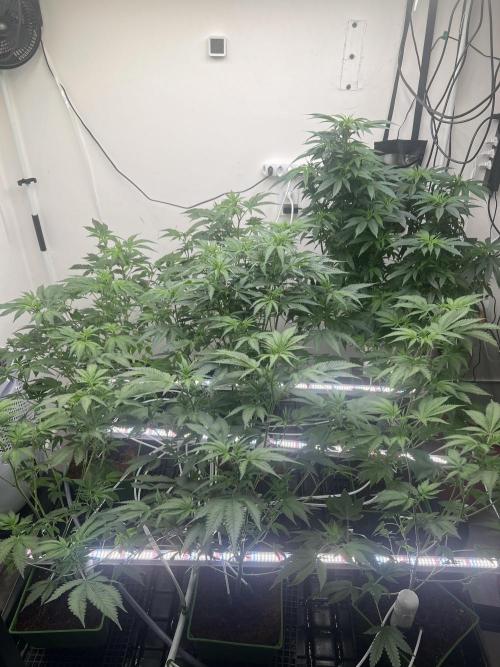
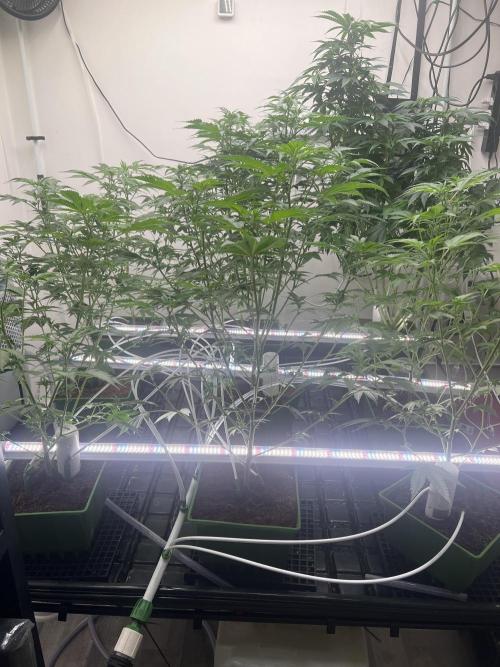
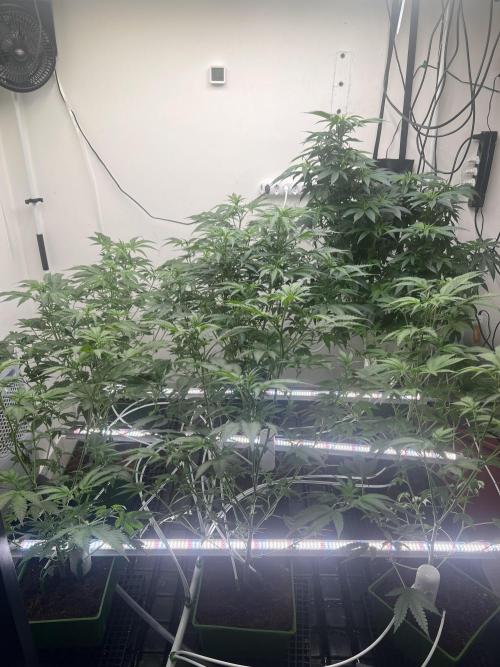
Hanakage Using pre-flowering dose until I switch to flowering nutrients according to the photo, adding CaMg to reach the calcium that was decreased due to part A having more calcium. I like to start increasing the EC to 2.0 - 2.2 before actually starting the flowering (formation of the first flowers). You can already see the stretching and greater opening of the pre-flowers. I keep the LED at maximum height maintaining the same PPFD as in the Vega, and as they seek more light/height, the PPFD over the flowers also increases. I start the definitive flowering dose when the first flowers begin to increase in size, signaling that the calyxes are multiplying after the node extension phase. Before increasing the flowering dose, I do a flush as usual. Initial dose at 750ppm until I see that it is asking for more nutrients, initial signs of deficiency.
1 like
1 comment
Share
2
Week 2. Flowering1y ago
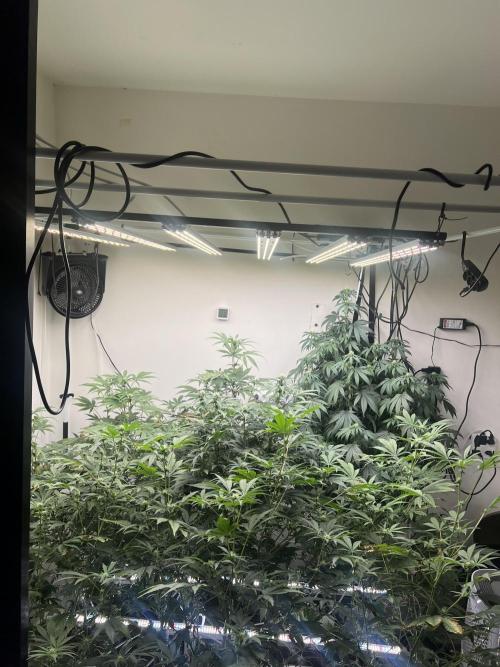
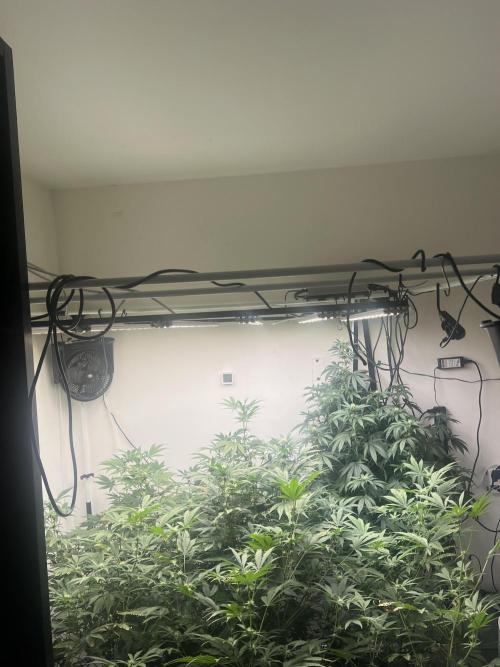
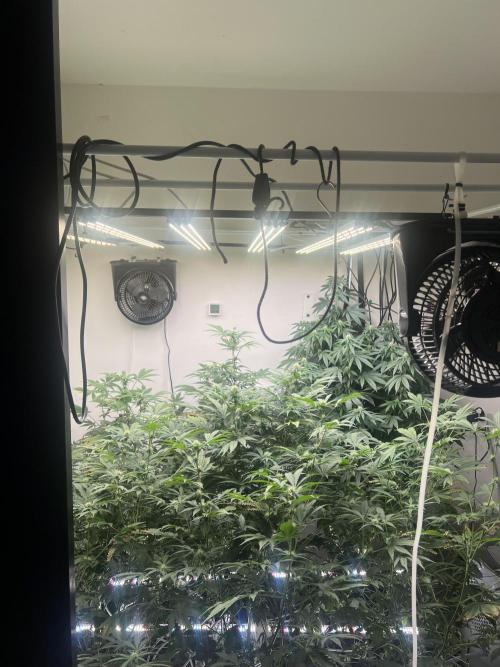
1.3 cm
Height
18 hrs
Light Schedule
25 °C
Day Air Temp
6.0
pH
Normal
Smell
850 PPM
TDS
50 %
Air Humidity
24 °C
Solution Temp
23 °C
Substrate Temp
23 °C
Night Air Temp
3.8 liters
Pot Size
1 liters
Watering Volume
45 cm
Lamp Distance
Nutrients 7
Trychoderma e Bacillus
1.95 mll
DualPart Coco Grow
3 mll
DualPart Coco Bloom
2 mll
Hanakage Stretching is slowing down and flowers are coming in more and more. Definitive flora dose, increasing P and K.
1 like
comments
Share
3
Week 3. Flowering1y ago
1.4 cm
Height
18 hrs
Light Schedule
24 °C
Day Air Temp
6.1
pH
Weak
Smell
900 PPM
TDS
63 %
Air Humidity
24 °C
Solution Temp
23 °C
Substrate Temp
23 °C
Night Air Temp
3.8 liters
Pot Size
1 liters
Watering Volume
45 cm
Lamp Distance
Nutrients 6
Trychoderma e Bacillus
1.95 mll
DualPart Coco Grow
3 mll
DualPart Coco Bloom
2 mll
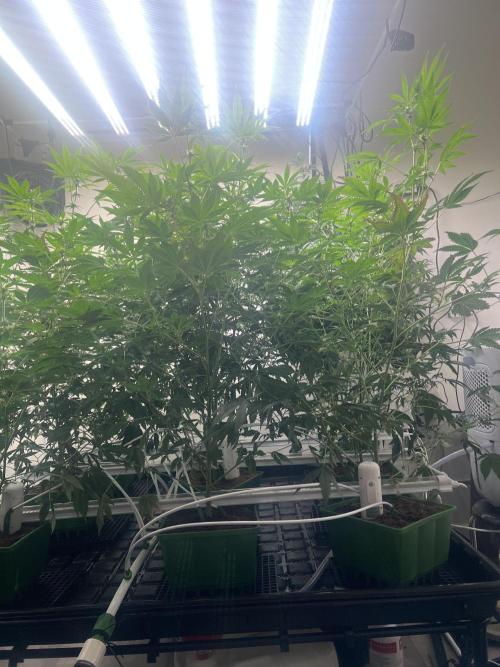
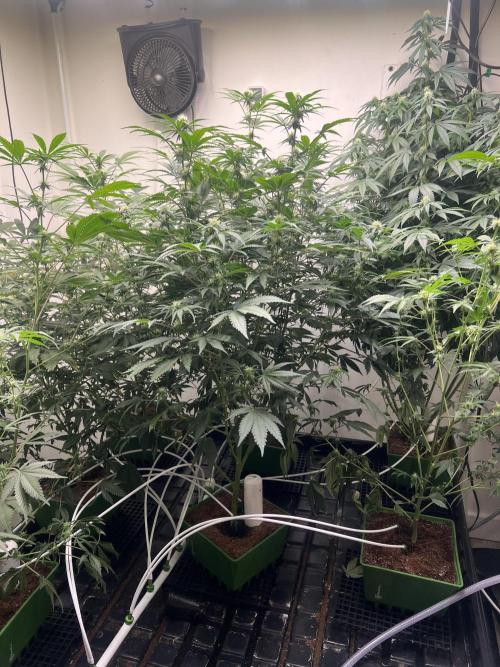
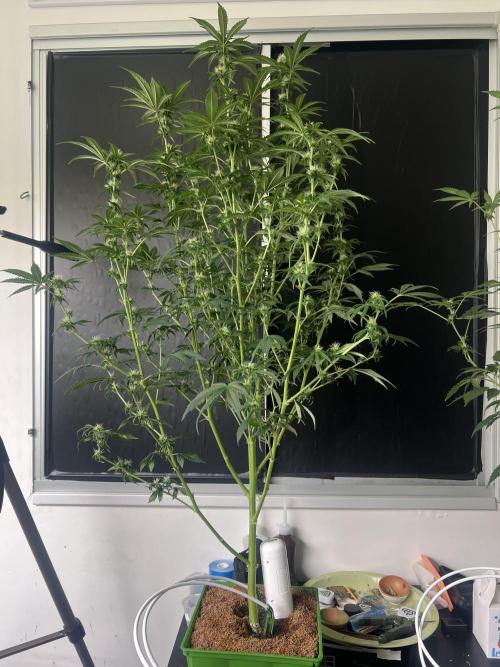
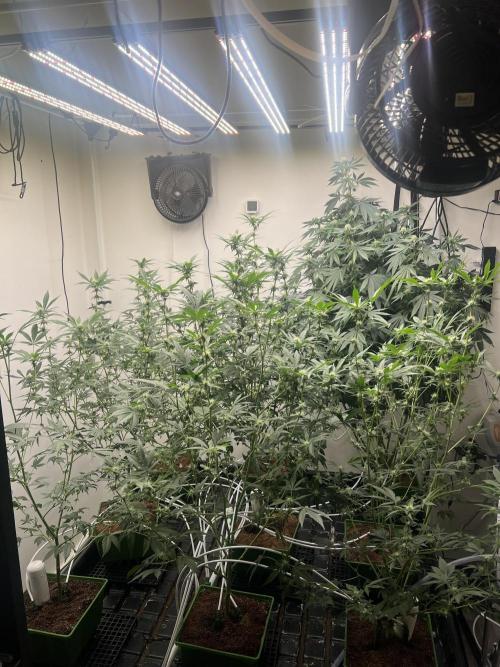
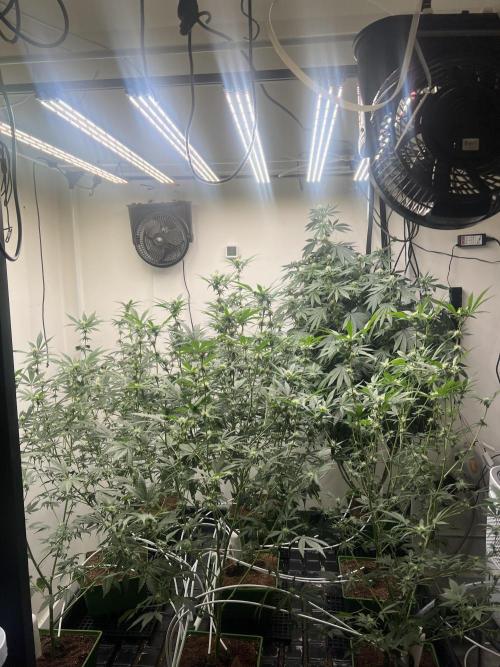
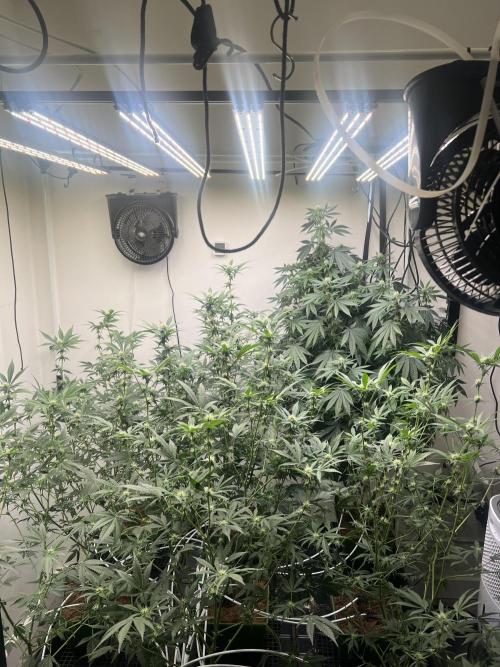
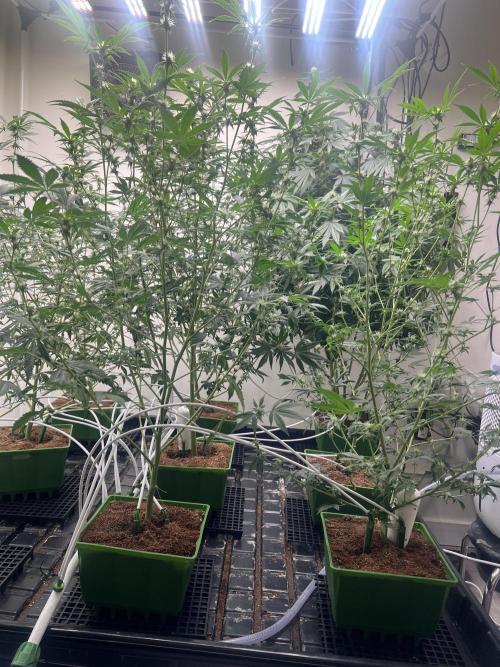
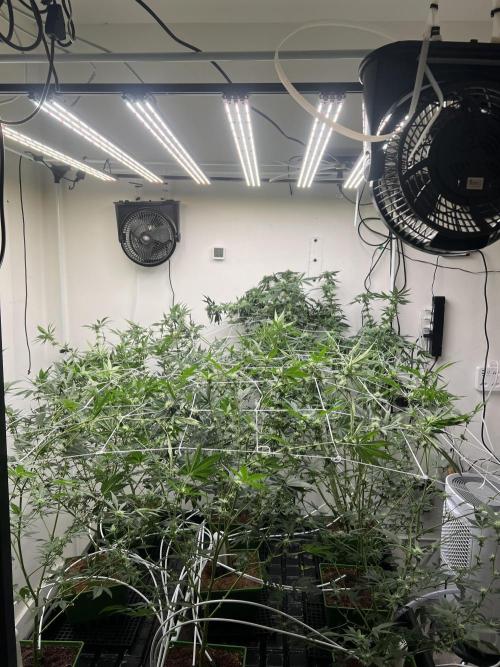
Hanakage First time growing this cherry, I still don't know how long the flowering will take for harvest, but I can already see trichomes popping out and the smell getting stronger and stronger. I believe it's a fast flowering strain with a max of 60 days. Defoliation on day 21 of flowering, I lowered the EC to 1.4 due to a phosphorus overage, I'll only raise it if she needs it; runoff was showing 2.8 EC. Then on day 22, I set up SCROG, now just waiting these last few days for her to position herself where cell multiplication ends and she starts focusing energy on 100% of the buds. Around week 4, I'll lower the LED to 30-40cm distance for maximum PPFD since they won't stretch anymore. I do weekly flushes with -60% of the nutrients, but now I did it with pure water to get rid of this initial excess. Watering 500ml per fertigation 2X a day, daytime dryback of 15% with a 5-6 hour interval. Nighttime dryback 30%, runoff 10%.
1 like
comments
Share
Used techniques
Defoliation
Technique
ScrOG
Technique
Lollipoping
Technique
4
Week 4. Vegetation1y ago
60 cm
Height
18 hrs
Light Schedule
26 °C
Day Air Temp
6.1
pH
Weak
Smell
900 PPM
TDS
63 %
Air Humidity
26 °C
Solution Temp
24 °C
Substrate Temp
26 °C
Night Air Temp
3 liters
Pot Size
1.5 liters
Watering Volume
45 cm
Lamp Distance
Nutrients 6
Trychoderma e Bacillus
1.95 mll
DualPart Coco Grow
3 mll
DualPart Coco Bloom
2 mll
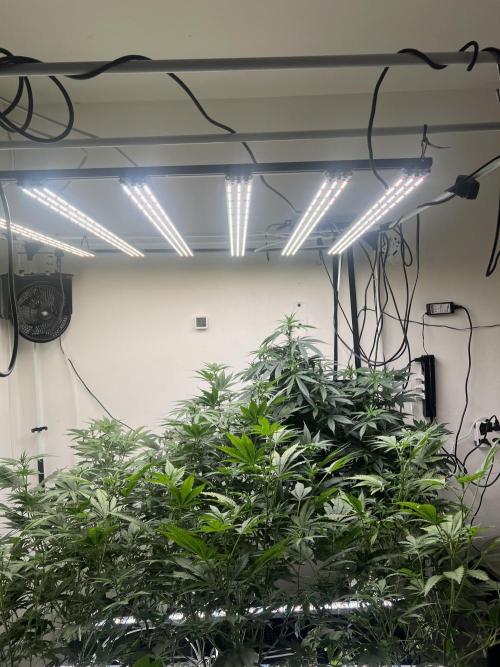
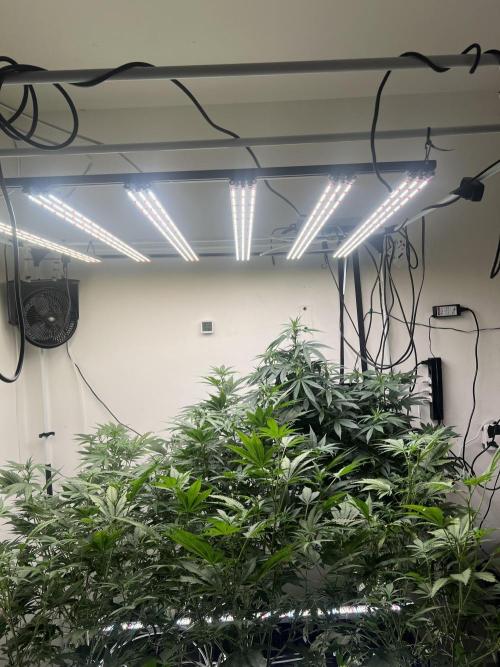
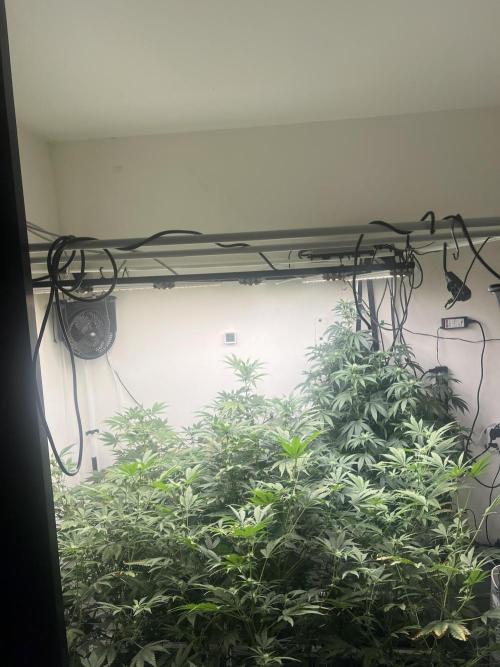
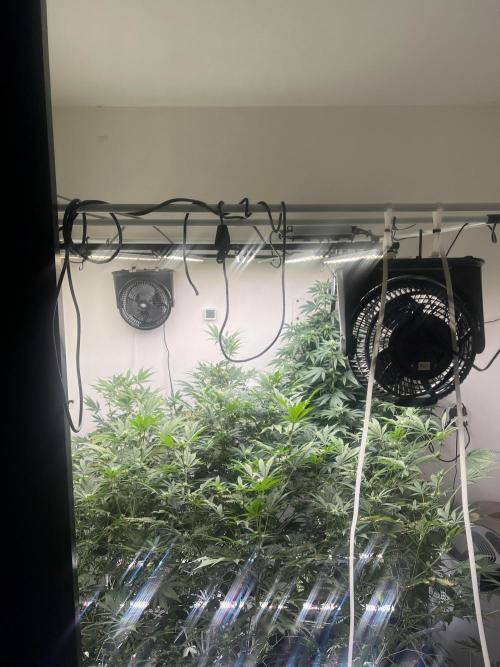
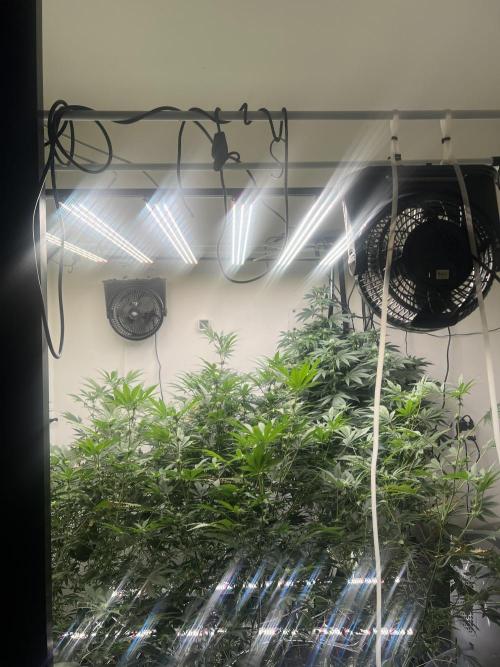
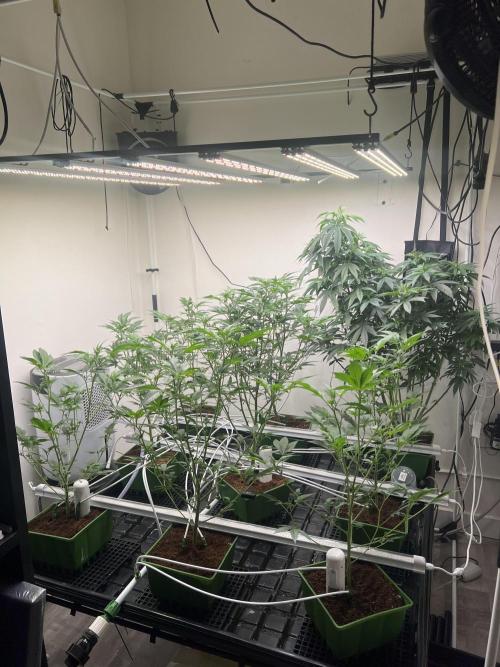
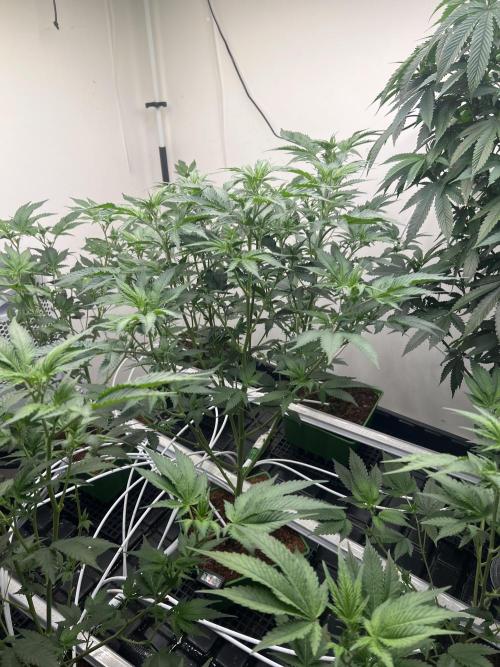
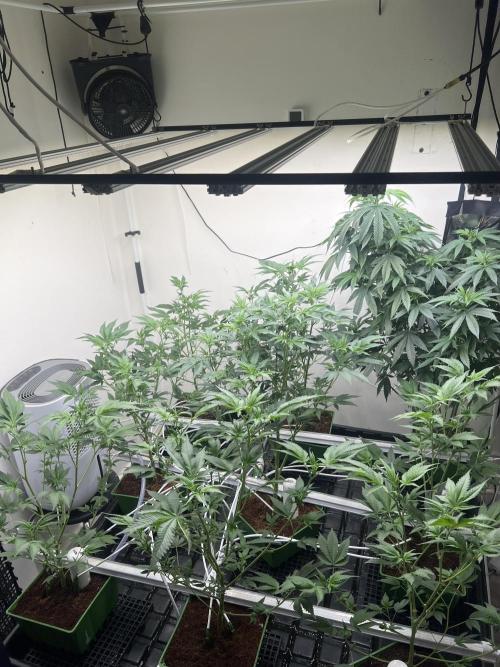
Hanakage Plants with 28 days post-defoliation (except OMG) Photos before and after Defoliation. Now waiting for them to recover (1 day) adjusting the nutrients for pre-flowering to up to 2.0 EC and PH 6.2 to stay in the range of higher absorption of P and K, because after recovery I will put LIGHT 12/12 to induce flowering. The supplements, as usual, I do weekly, except for Trychoderma and Bacillus which I do bi-weekly. From the beginning of flowering (post 12/12) I will increase the supplementation to 2 days a week.
Some important information about the SETUP:
-RO Water (Reverse Osmosis)
-Oxygenation pump in the reservoir 24H
-Automatic fertigation by arrows (Flora Flex)
-Dehumidifier maintaining humidity
-Air conditioning maintaining Temperature
*For greater distance between or in the indicated in several books is to lower the temperature from day to night by -2Cº. In my case, I already had a phenotype quite tall/strong in the middle, already nearing the limit of the LED, so I just needed the others below to standardize with the height.
1 like
comments
Share
Used techniques
Topping
Technique
Defoliation
Technique
Lol
Technique
Lollipoping
Technique
Enjoying this diary? Follow for more updates!
Prefer the old Diary view?
Go back to the old Diary view