By continuing to use the website or clicking Accept you consent to our cookies and personal data policy and confirm that you are at least 18 year old. For details please see Privacy Policy and Terms
gamberro Welcome to my microgrowing project!
This is actually my second grow attempt. My first one was outdoors, but sadly the plant didn’t survive while I was away on vacation. This time, I’m taking things indoors with a completely different approach: ultra-limited space, maximum automation, and plenty of enthusiasm.
Setup:
- Grow space: 35x48x52 cm (yep, almost impossible – it’s originally a clone tent).
- Pot: 4-gallon fabric pot cut down to around 5 liters, bonsai-style. The idea is to keep the plant lower and avoid it getting too close to the light, since vertical space is super limited.
- Automation: everything is controlled via Home Assistant + OpenGrowBox project . Humidity, climate, and ventilation are all automated as much as possible.
Strain:
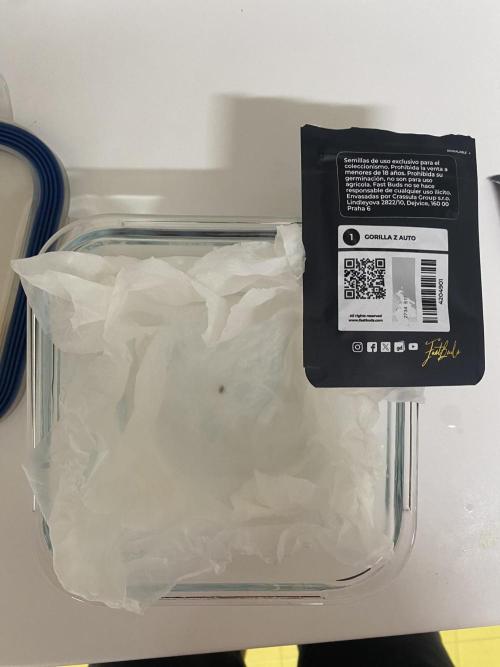
- Gorilla Z Auto (FastBuds) – a strong and popular autoflower. It was a gift from my grow.
Germination:
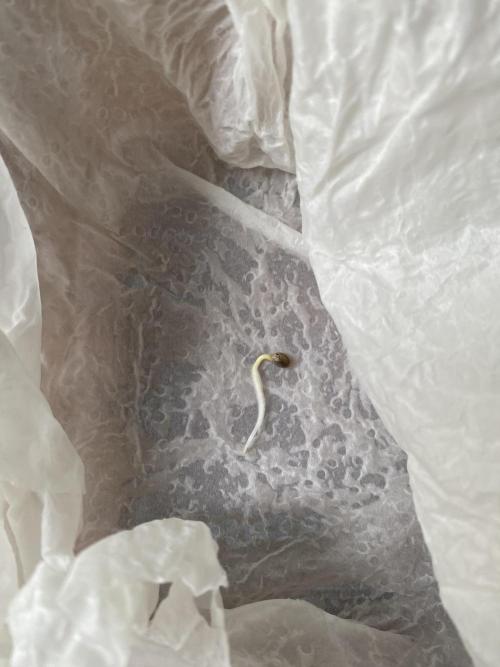
I started on Day 1 with the classic paper towel method. Within a couple of days, the seed cracked, showing a healthy white taproot.
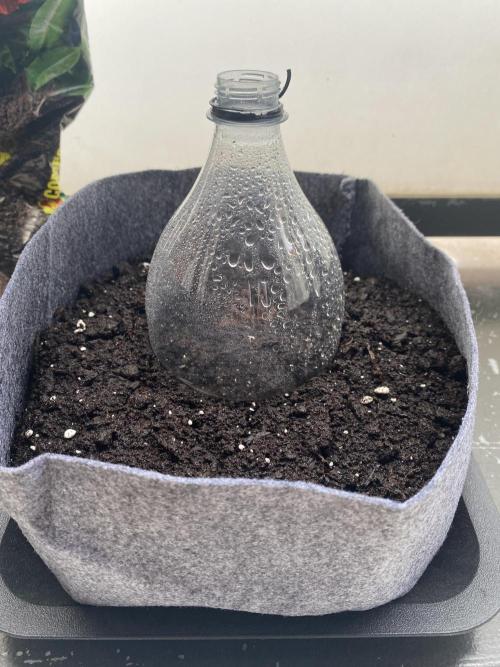
On Day 3, 48 hours from the germination date, I prepared the soil by moistening it with 100 ml of water, then transplanted the seed into its final pot. To maintain high humidity, I used a cut plastic bottle as a mini greenhouse.
Progress:
- Day 1: seed placed in paper towel.
- Day 3: taproot emerging strong, transplanted into soil after moistening with 100 ml.
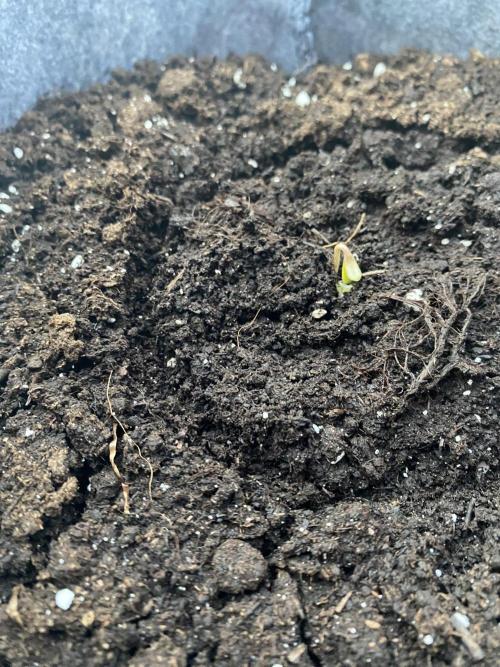
- Day 4: first sprout breaking through the surface.
Grower’s Notes:
- The space is ridiculously small, but it's the space that I have, which makes this a fun challenge.
- I’m very curious to see how FastBuds genetics will perform in such a restricted setup. It will need a lot of LST.
- This will basically be an experiment in extreme microgrowing, trying to make the most out of minimal resources.
2 likes
1 comment
Share
Used method
Paper Towel
Germination Method
1
Week 1. Vegetation
5d ago
1/7
7 cm
Height
16 hrs
Light Schedule
26 °C
Day Air Temp
6.6
pH
No Smell
Smell
65 %
Air Humidity
26 °C
Solution Temp
22 °C
Night Air Temp
5 L
Pot Size
0.01 L
Watering Volume
Nutrients 1
Acti-Vera
1 mll
gamberro This week marked the very beginning of the journey. On September 11th, the seedling received its very first watering: 50 ml with 0.1 ml of Acti·Vera by BioBizz, to encourage healthy root development and reduce early stress. A few days later, on Sunday the 14th, I repeated the same dose with another 50 ml.
Everything is being monitored through OpenGrowBox, and so far I’m really happy with the automation – it keeps the main parameters under control and makes things much easier. When it comes to watering, I still feel a bit uncertain: I’m giving small amounts because I don’t want to overdo it, but the substrate stays evenly moist, which tells me the plant is getting what it needs.
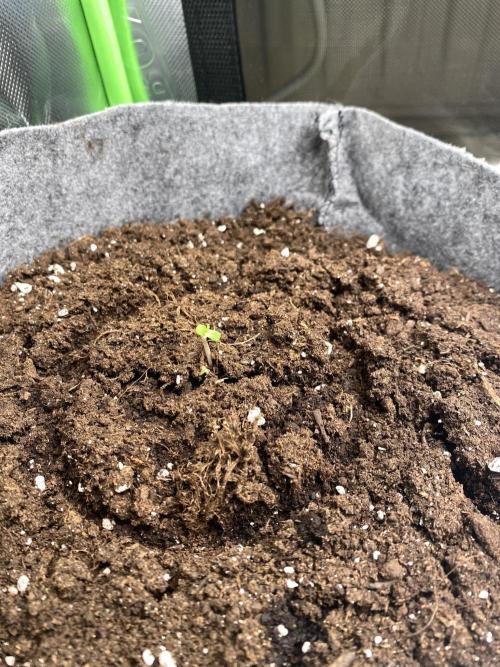
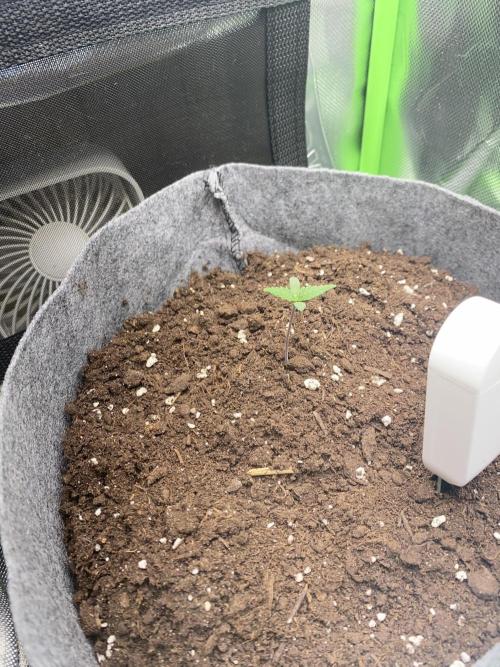
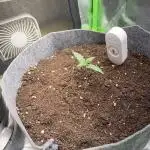
The pictures show the seedling evolving day by day: cotyledons opened strong, and within a couple of days the first set of true leaves appeared. The stem stretched a little, which is common in the early stage, but overall she looks healthy, with a nice green color and no signs of stress.
A promising start – the plant is settling well and ready to take off.
Day by Day – Week 1
Day 1 (Sep 11 – evening)
First watering after germination: 50 ml with 0.1 ml Acti·Vera (BioBizz). Cotyledons recently opened.
Day 2
The seedling is standing up straight, cotyledons are fully extended. Still small but looking healthy.
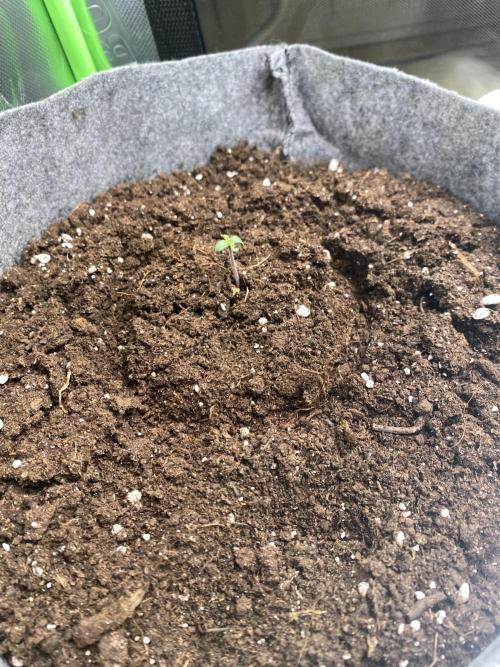
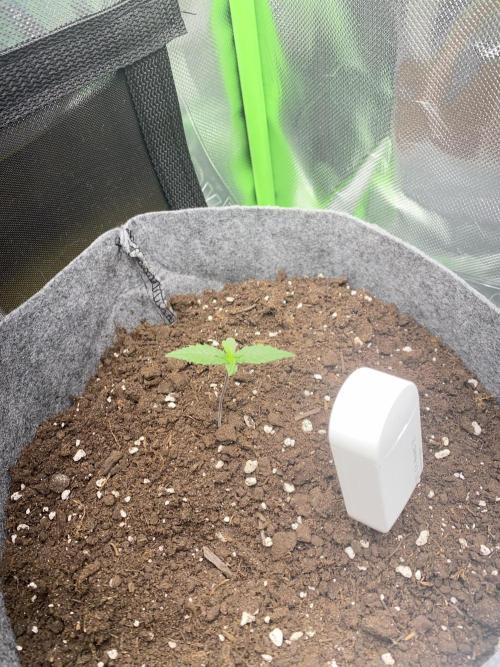
Day 3–4
The very first pair of true leaves starts to emerge. Stem elongates a bit as she reaches for the light.
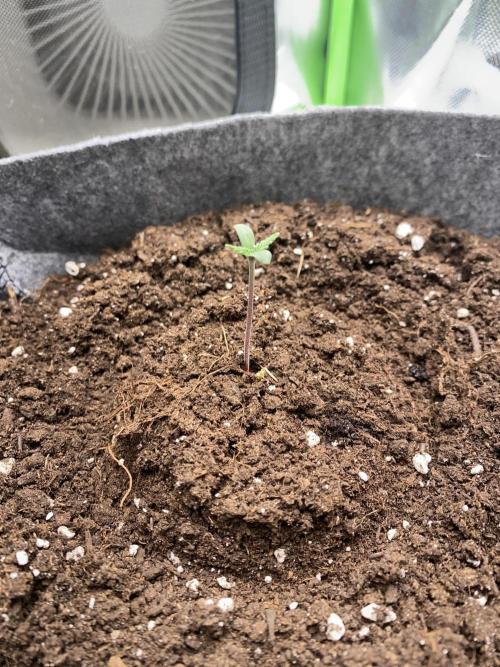
Day 5 (Sep 14 – morning)
Second watering: 50 ml with 0.1 ml Acti·Vera (BioBizz). Leaves show a nice green color, no signs of stress.
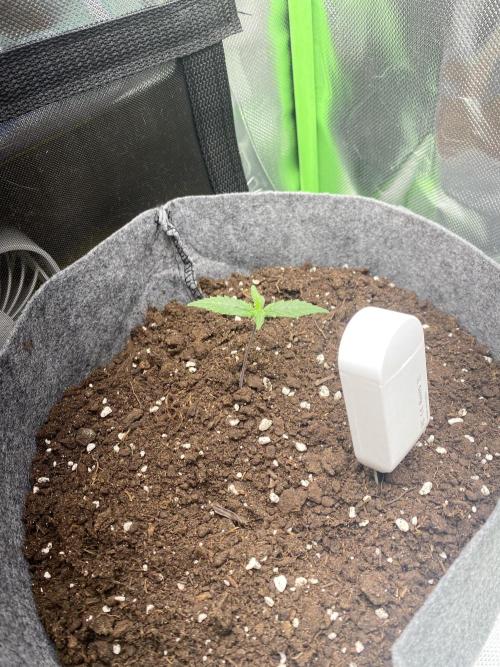
Day 6
True leaves grow larger, stem looks a little stretched but strong. Substrate stays evenly moist.
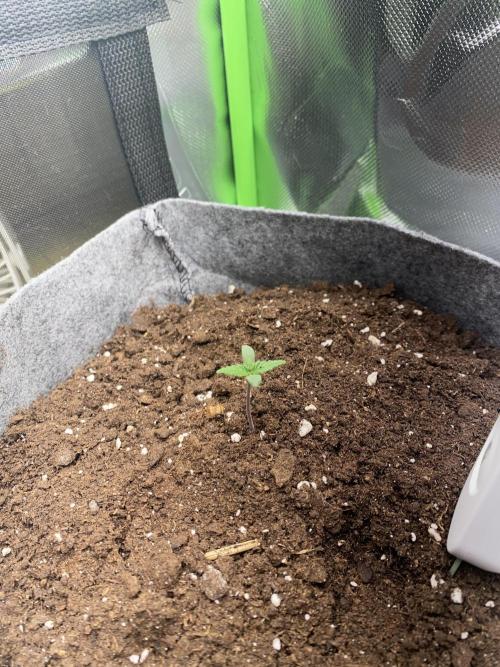
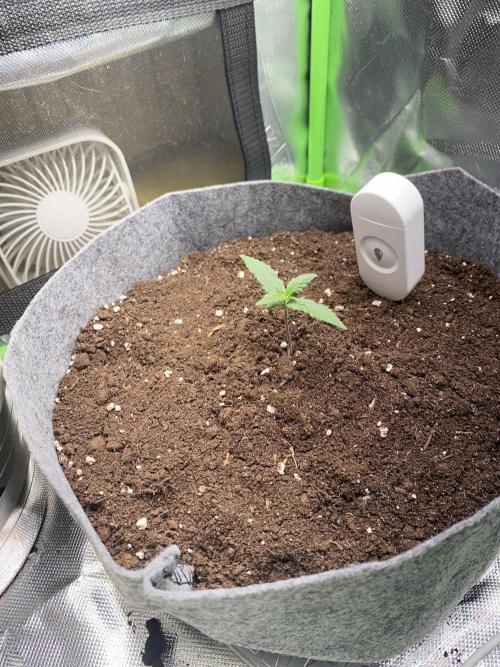
Day 7
The seedling is settling nicely, developing the second set of true leaves. Healthy start to the journey!