


14/14 Oreoz FEM "GB SEEDS"


Oreoz


VEG
Ledvance 14W Light Emitting Diodes/14W
Ledvance
VEG
Eluxe 700W LED Light Emitting Diodes/700W
Eluxe
FLO
Eluxe 700W LED Light Emitting Diodes/700W
Eluxe

Tent
60x60x80 2000D
Tent
Vevor 1.5x1.5m Mylar 2000D
Vevor


Light Mix Soil
Boom Nutrients!

Indoor
Room Type
ScrOG
weeks 10
Topping
weeks 4, 6-7, 9-10
14-14
weeks 13
Corte
weeks 27
Dry
weeks 27-28
Secado
weeks 27-28
Transplantation
weeks 4, 10
Esquejes
weeks 6
Defoliation
weeks 9-10, 12, 16
Main-Lining
weeks 6, 9
20 l
Pot Size
6 l
Watering
Start at Harvest
G
Germination7mo ago
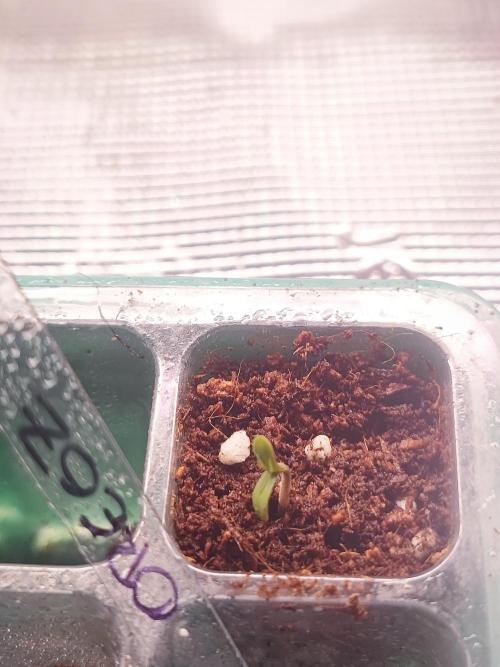
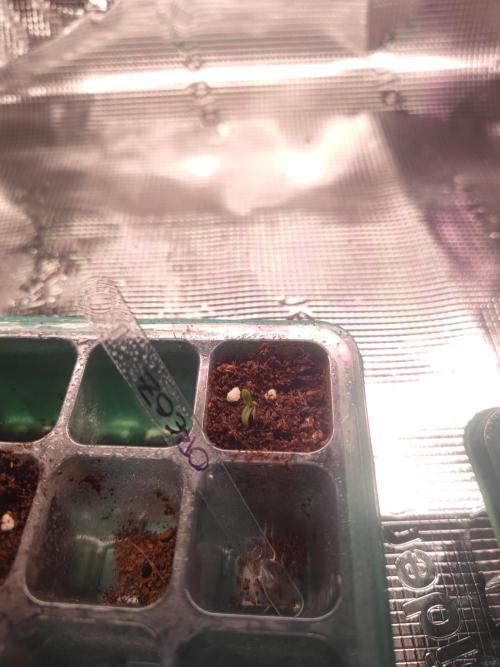
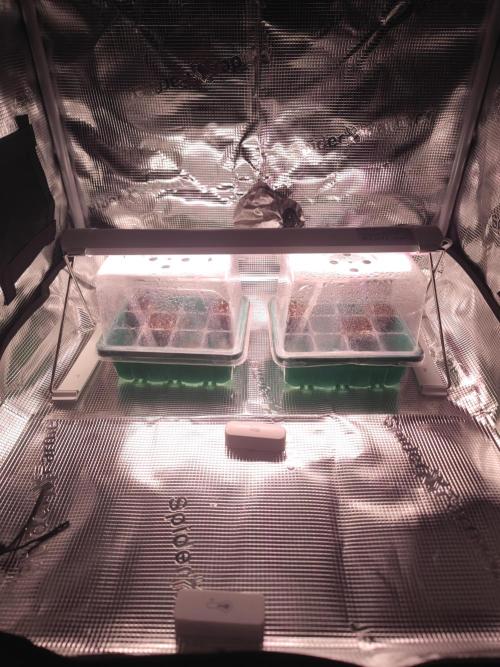
Chrisandweed Well, now that I have a small greenhouse for mother cuttings, etc., we're kicking off the 2026 grow!
Maybe I won't be able to attend to it 100% these first few weeks because I just had surgery and I'll need at least a month or two to recover, buuuut my wife is there taking care of everything until I'm good, doing the little things I ask of the plants.
So, I already planted this strain and couldn't harvest it; it had to go in the trash. The plant grew like crazy, +64 tops from doing main lining, buuuut my physical problems came up (in the beginning, a year and a half ago), the heat and more issues piled up, and it ended up dying when it started flowering. This time I'm going to do main lining again, but this time it won't die!!
I'm going to start main lining it as soon as the fourth or fifth node comes out, let's see how it goes, and when I finally put them into flowering, I'll probably try a different cycle, like 13/13, 14/14, I'll see...
1 like
comments
Share
Used method
Paper Towel
Germination Method
1
Week 1. Vegetation7mo ago
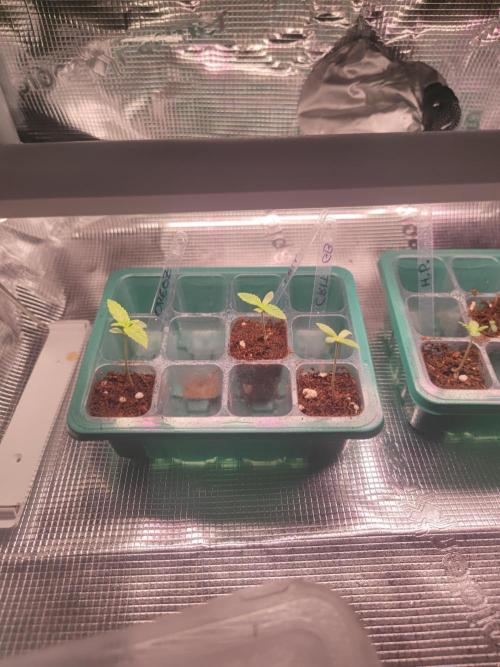
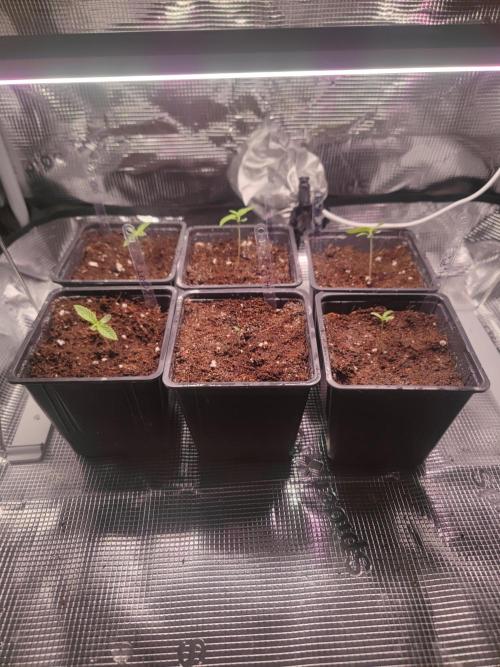
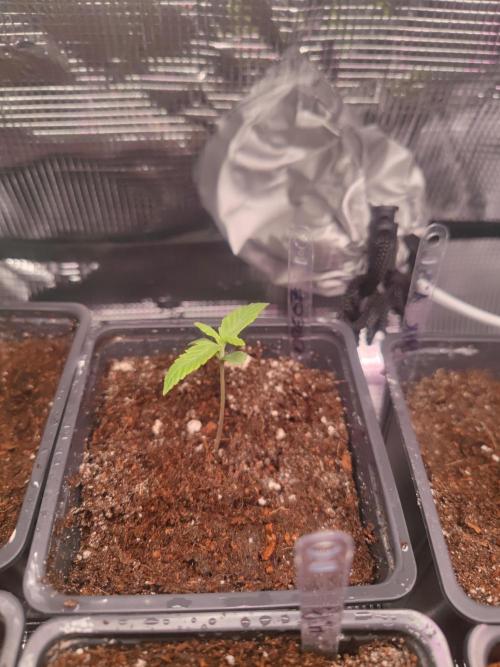
3 cm
Height
16 hrs
Light Schedule
20 °C
Day Air Temp
1 l
Pot Size
0.1 l
Watering Volume
5 cm
Lamp Distance
Nutrients 1

Root Boom
1 mll
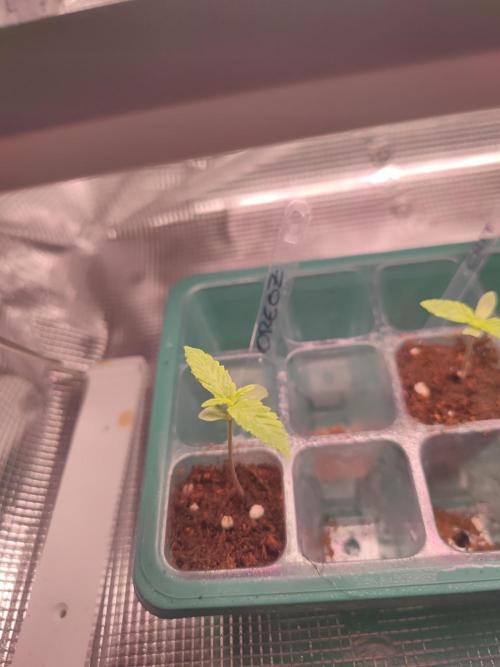
Chrisandweed First week after germination. I moistened the substrate on the day and I haven't moistened it again, it remains damp; what I do is hydrate them via foliar with high humidity.
Edit 01/27/2026: all transferred to 1L pots. I mixed the Light Mix substrate with diatomaceous earth to avoid early pests and unnecessary stress. Honestly, I feel that if I have a plant under stress, watering with diatomaceous earth (from the Diatical brand) helps it recover. Also, when I did the transplant, I moistened the soil and added 100ml of water with the Roots to get the root system working strong!
1 like
comments
Share
2
Week 2. Vegetation6mo ago
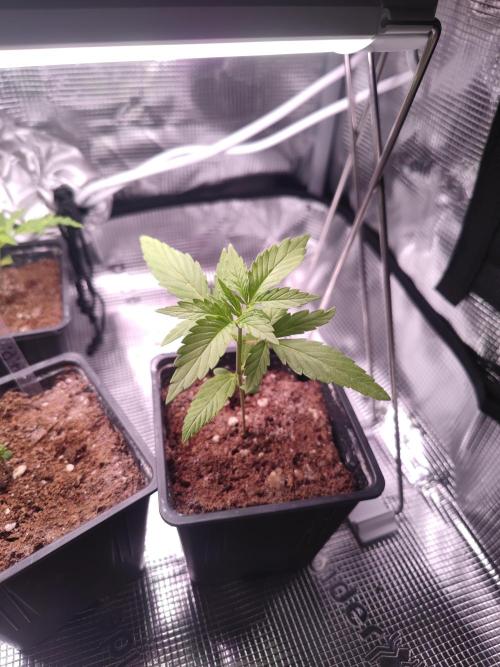
16 hrs
Light Schedule
20 °C
Day Air Temp
6.2
pH
1 l
Pot Size
0.2 l
Watering Volume
5 cm
Lamp Distance
Nutrients 4
Root Boom
1 mll

Calmag Boom
1 mll

Crecimiento Boom (Growth Boom)
1 mll
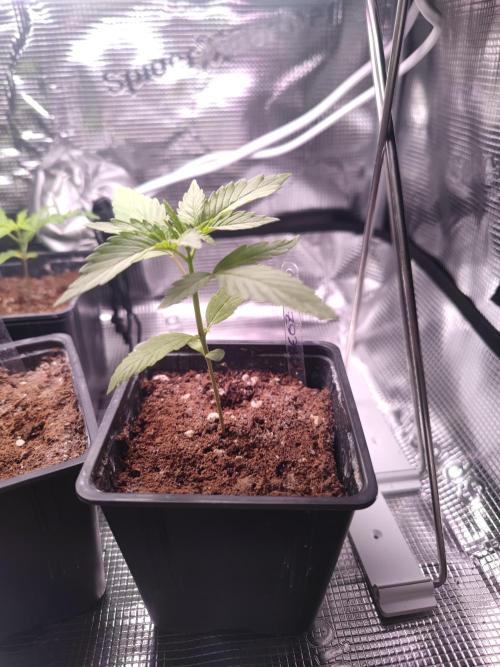
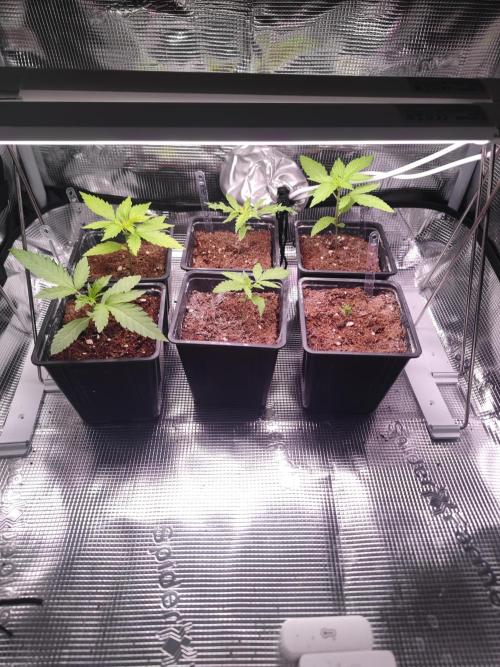
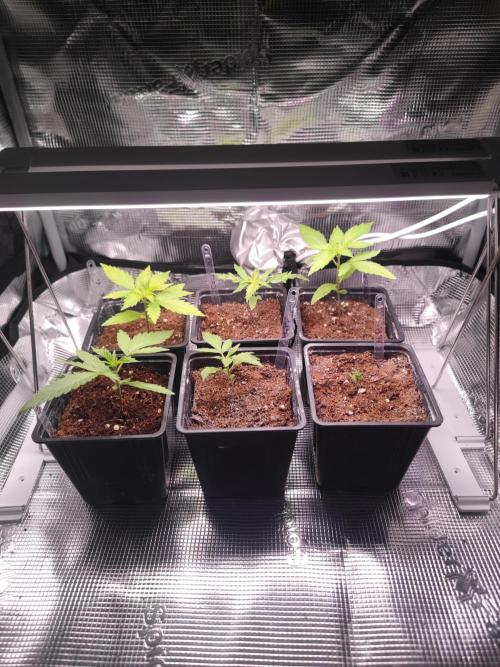
Chrisandweed I water with roots for the root system, growth boom, which has a drying effect with the root, and by the second week, we can start feeding them, silic boom to begin reinforcing the cell walls. All of this is done through watering, then I start applying calmag foliar as well, to strengthen it and thus prevent diseases, pests, or mold.
This one, along with the Critical, is the top of the batch, they grow really strong! I'm really excited about this one, especially because of the redemption of that grow I couldn't finish with this variety hahahaha.
2 likes
comments
Share
3
Week 3. Vegetation6mo ago
16 hrs
Light Schedule
20 °C
Day Air Temp
6.2
pH
1 l
Pot Size
0.3 l
Watering Volume
Nutrients 4
Root Boom
1 mll
Calmag Boom
1 mll
Crecimiento Boom (Growth Boom)
1 mll
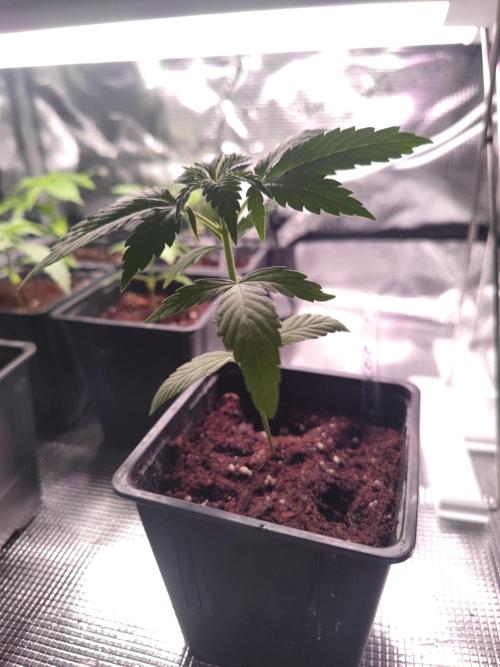
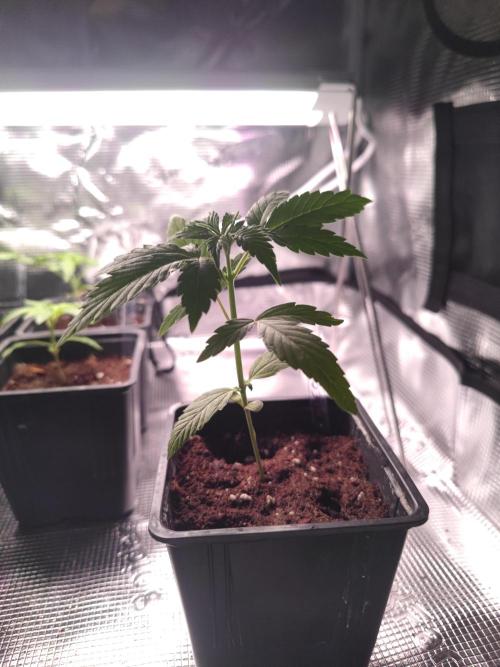
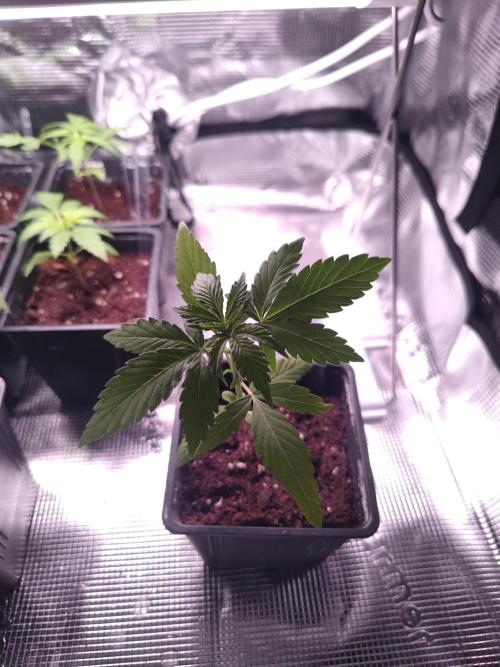
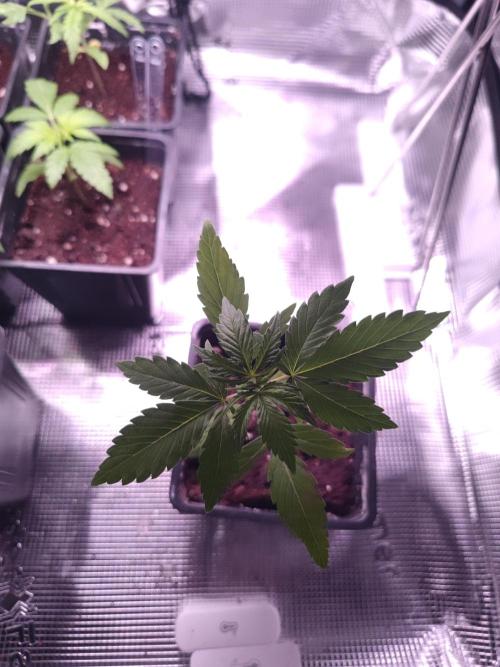
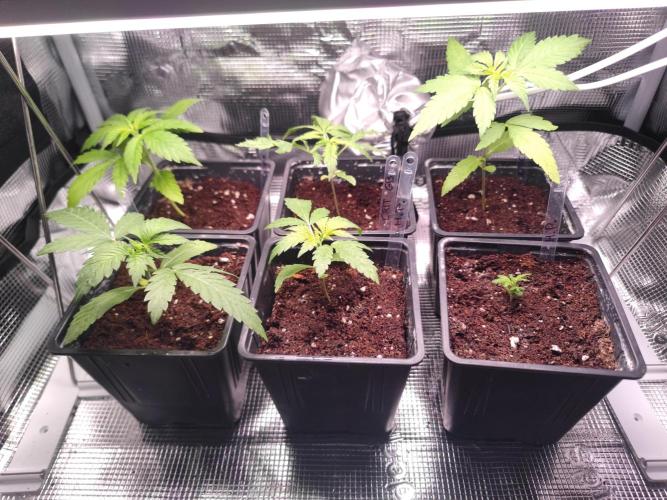
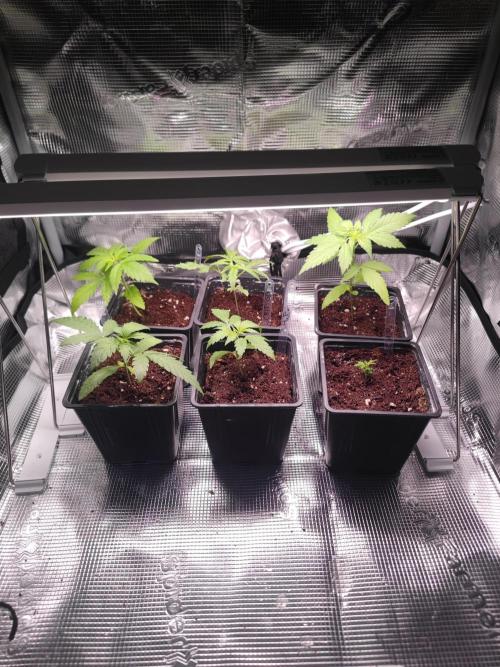
Chrisandweed Well, at the end of this week or the beginning of next, I'll do the first apical cut and we'll start preparing the ground for main lining.
1 like
comments
Share
4
Week 4. Vegetation6mo ago
16 hrs
Light Schedule
20 °C
Day Air Temp
6.2
pH
7 l
Pot Size
0.3 l
Watering Volume
Nutrients 4
Root Boom
1 mll
Calmag Boom
1 mll
Crecimiento Boom (Growth Boom)
1 mll
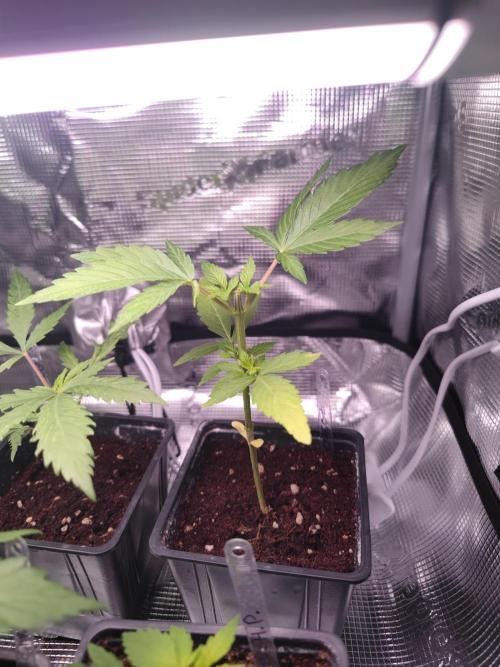
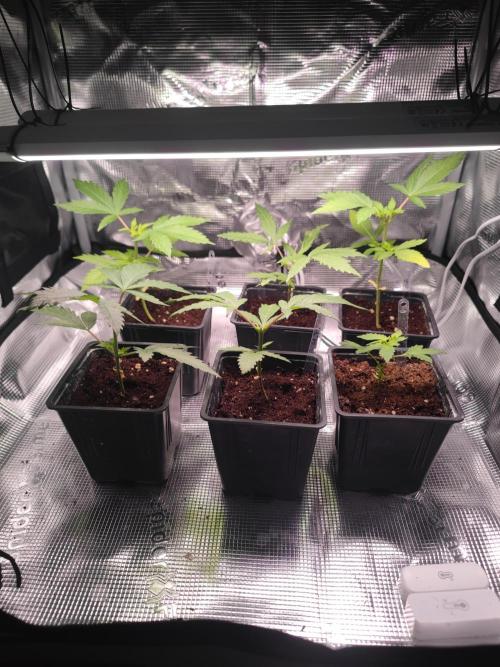
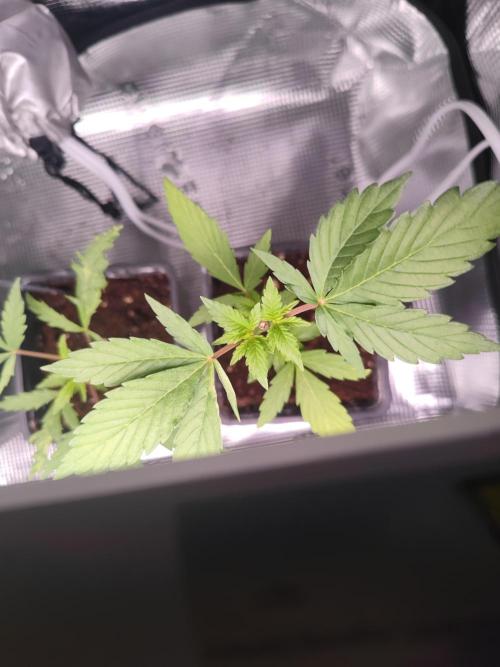
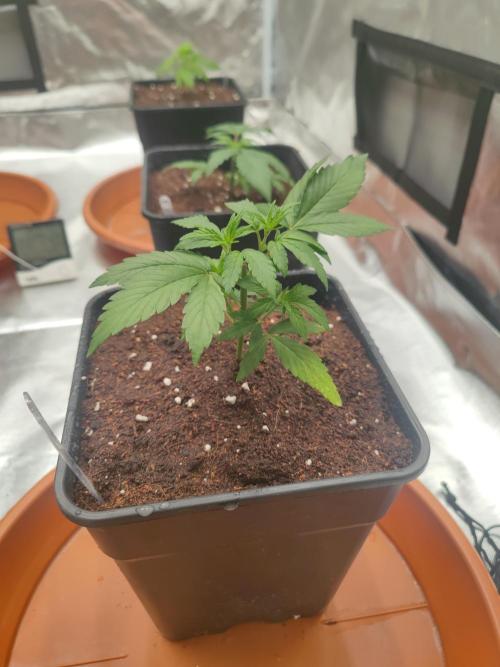
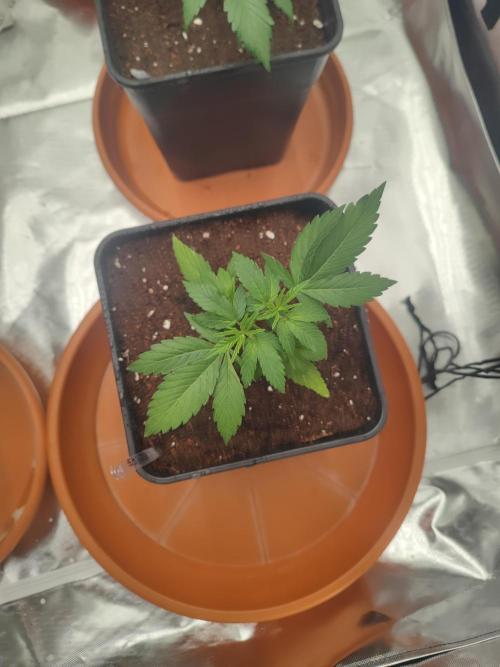
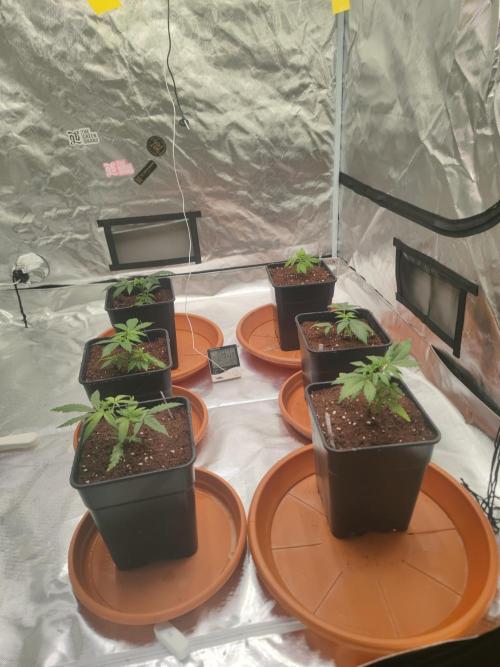
Chrisandweed Apical pod made and shoots and leaves that don't show anything, outside, to grow 4 shoots with strength, from which we will take 8 and so on.
I just harvested a plant from the gb strains bank and I liked it a lot, which makes me very hyped about this plant, plus it is growing very very well!
And to think that these lights cost me €7 each due to a deal from chollometro! 😂😂
Edit Sunday 22/02: changing cabinet, lights, and pot.
The cabinet is amazing, you can really feel the quality damn hahahahaha it's from the brand Vevor, not well known at the moment... But give it time, I also use their extractor and it really works great and is very quiet.
I have the lights at 300W since it's the minimum but quite far away, about 40/50 cm. They get an average of 11.12k ppfd.
And as mentioned, all transplanted into pots.
2 likes
comments
Share
Used techniques
Topping
Technique
Transplantation
Technique
5
Week 5. Vegetation6mo ago

16 hrs
Light Schedule
20 °C
Day Air Temp
6.2
pH
7 l
Pot Size
1 l
Watering Volume
20 cm
Lamp Distance
Nutrients 4
Root Boom
1 mll
Calmag Boom
1 mll
Crecimiento Boom (Growth Boom)
1 mll
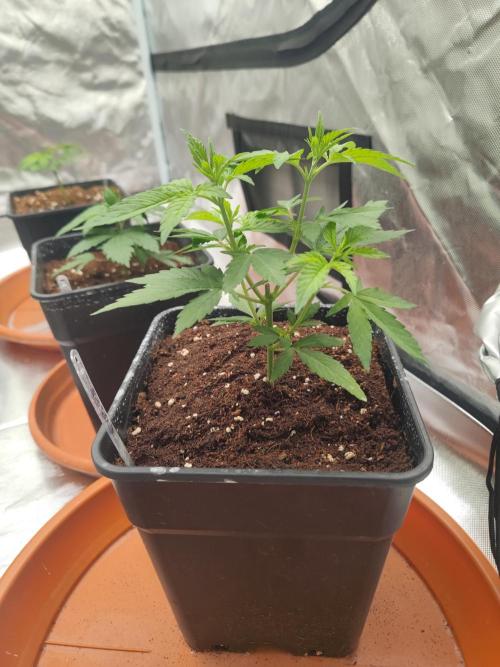
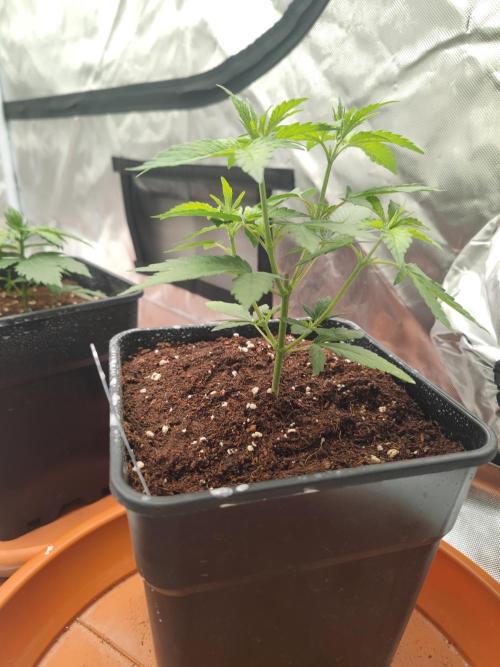
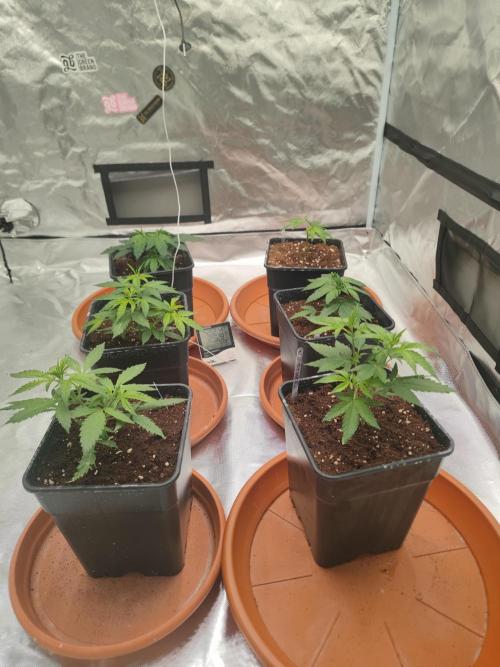
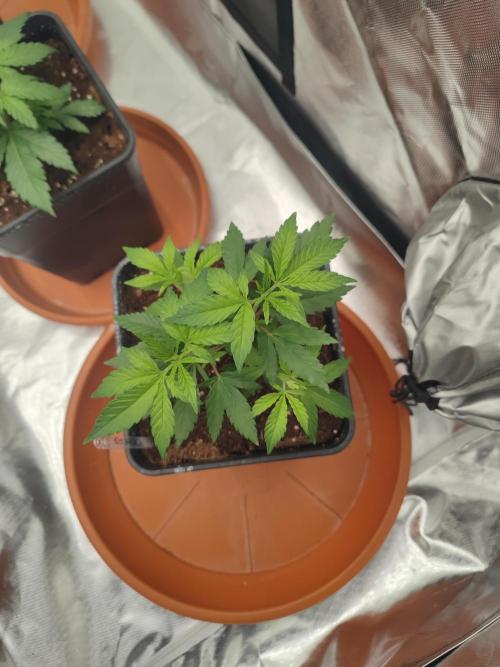
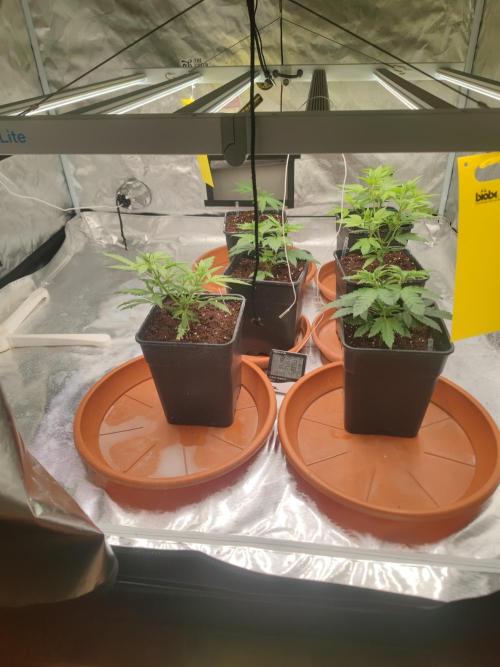
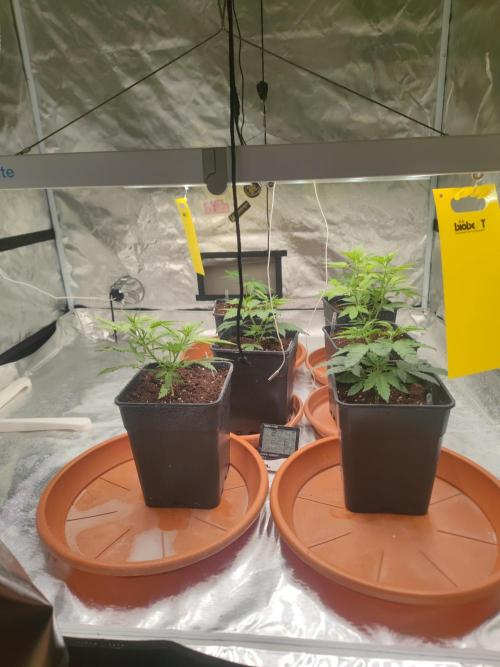
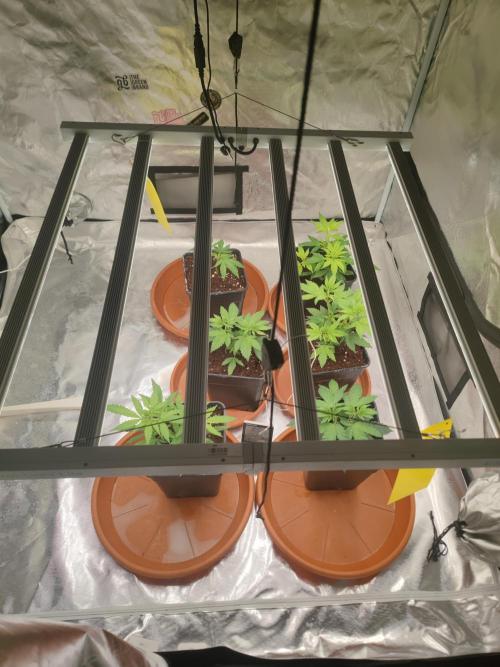
Chrisandweed Well, here's the thing, growing great. One of these days I'll do a foliar spray with sulfur to prevent issues, and the following week I'll do it with potassium soap and neem oil. I estimate they'll stay in the vegetative stage for a couple more weeks in these pots, and then I'll transplant to (I can't remember for sure if it's 11L or 13L) and they'll start flowering in a week or two.
I still have at least 2 more rounds of apical cuts to do, we're at 4 tops, my goal is 32 per plant.
With those apical cuts, I'll take cuttings.
2 likes
comments
Share
6
Week 6. Vegetation5mo ago
16 hrs
Light Schedule
20 °C
Day Air Temp
6.2
pH
7 l
Pot Size
1 l
Watering Volume
20 cm
Lamp Distance
Nutrients 4
Root Boom
1 mll
Calmag Boom
1 mll
Crecimiento Boom (Growth Boom)
1 mll
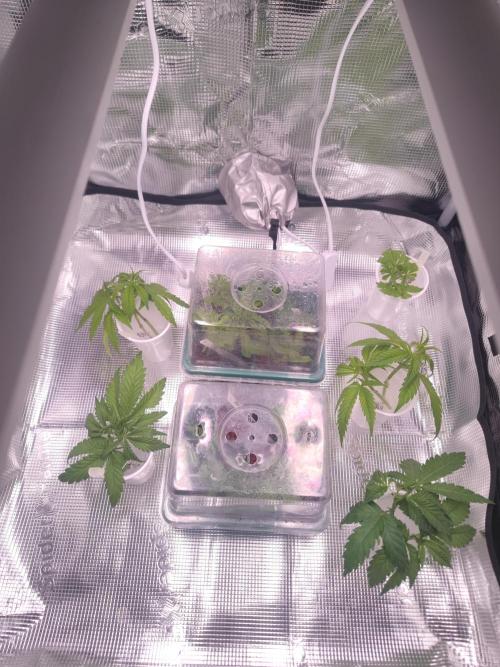
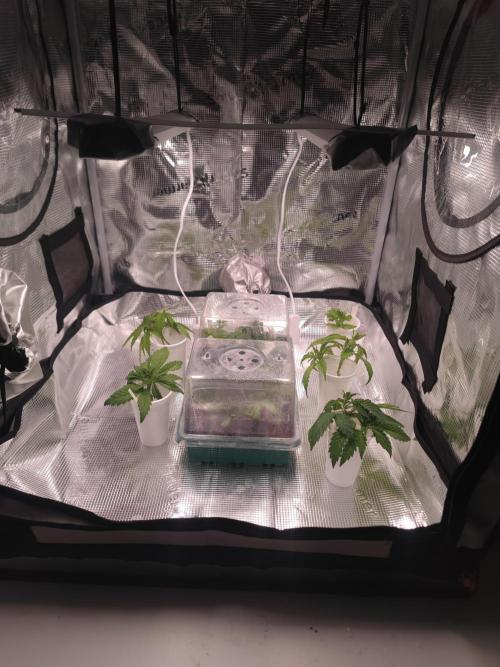
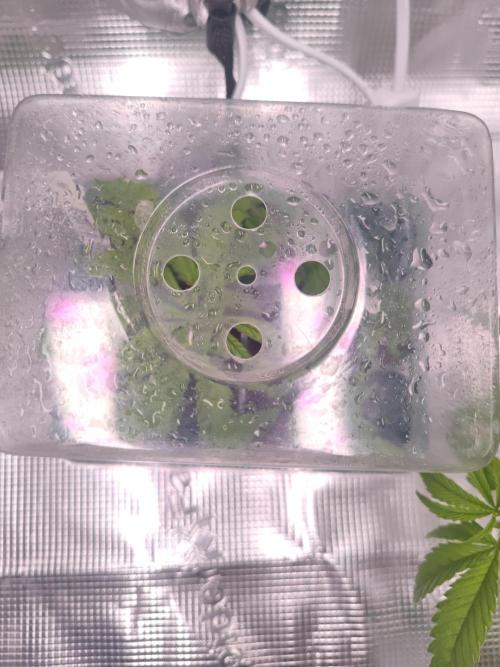
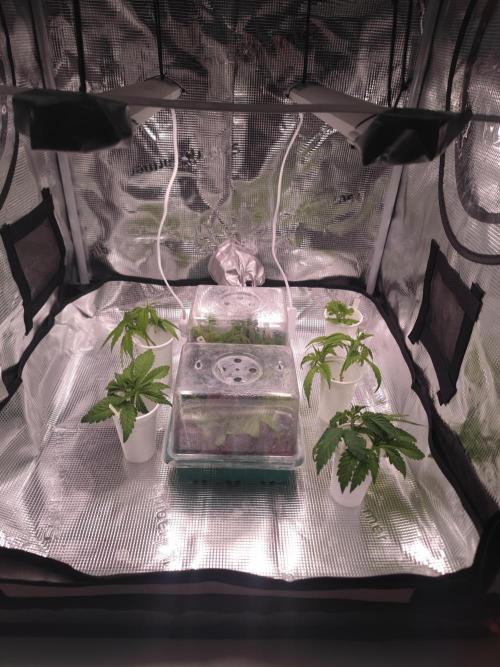
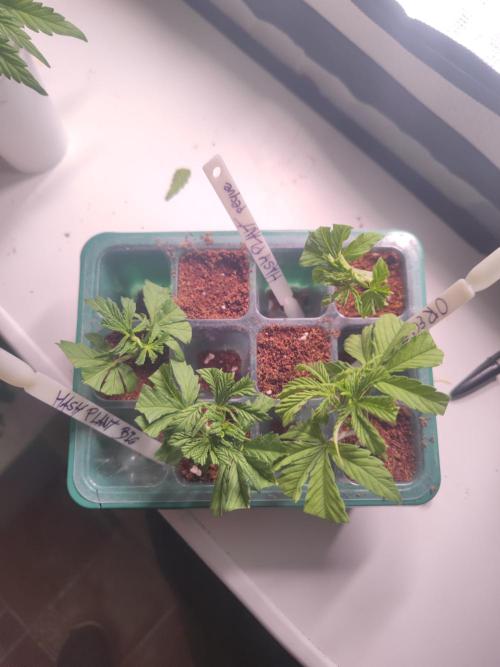
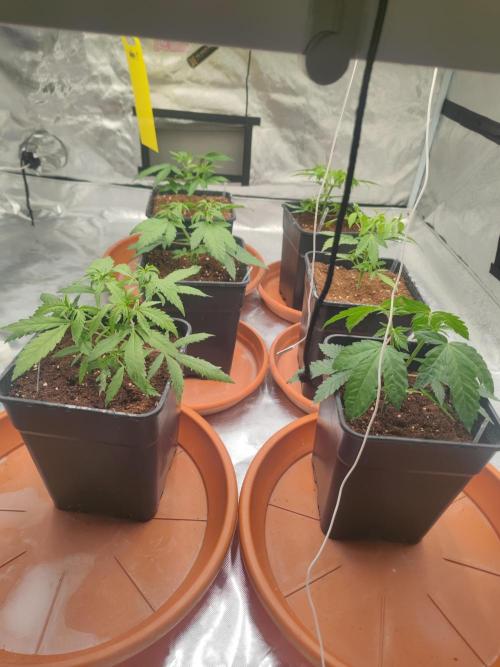
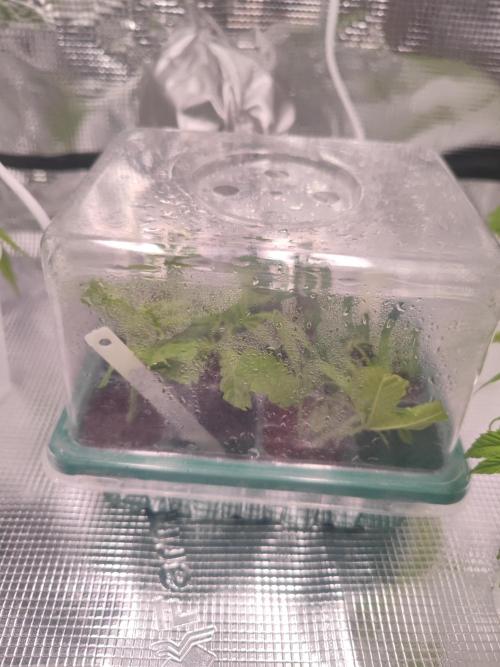
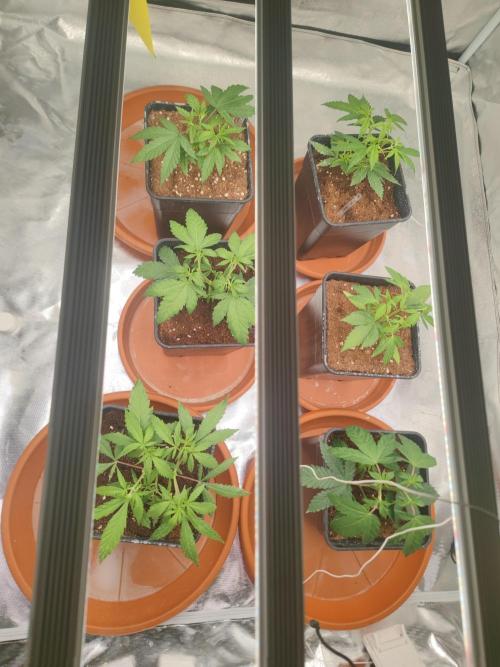
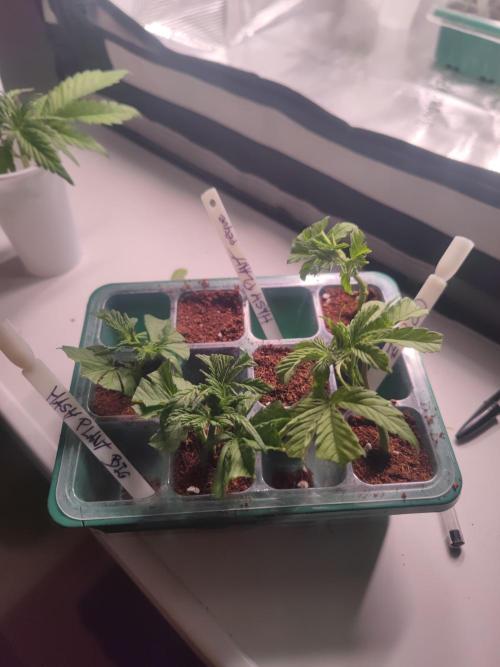
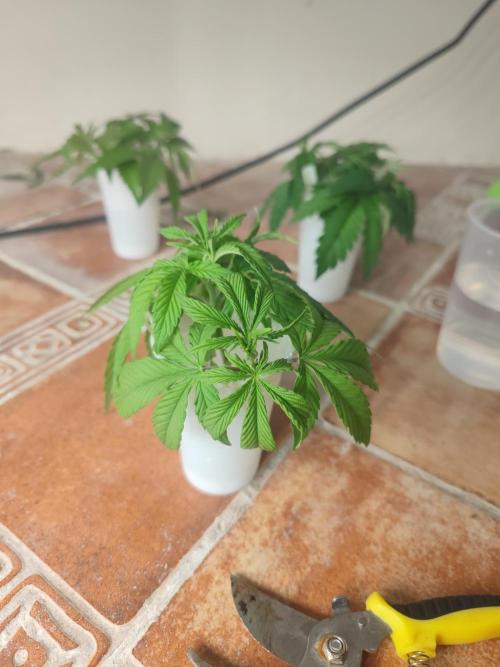
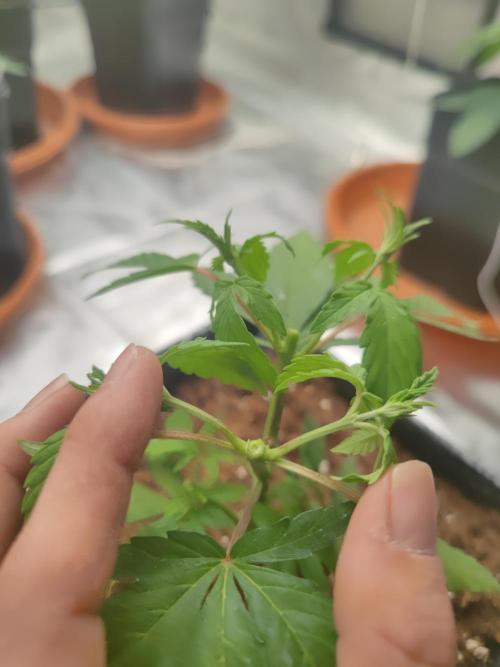
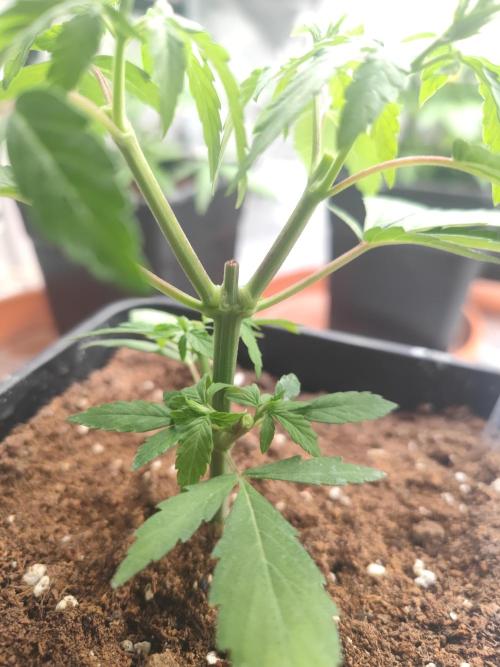
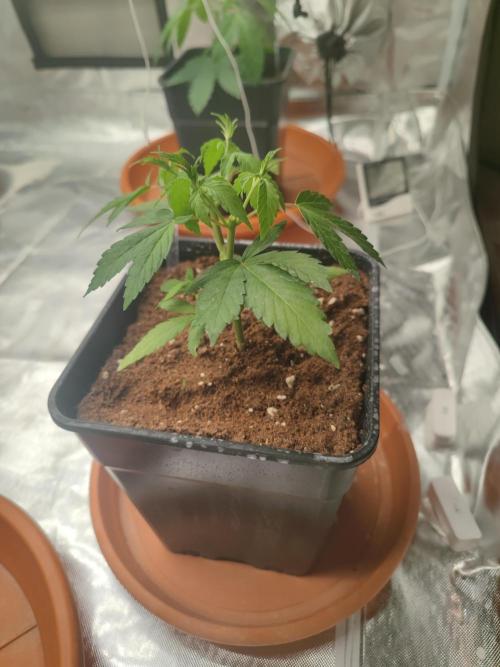
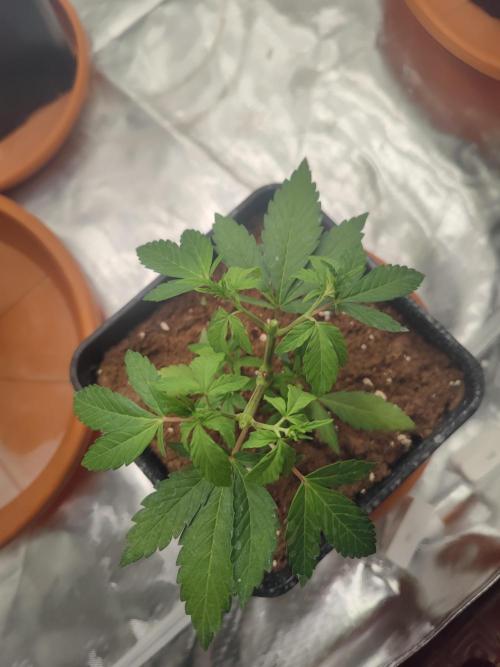
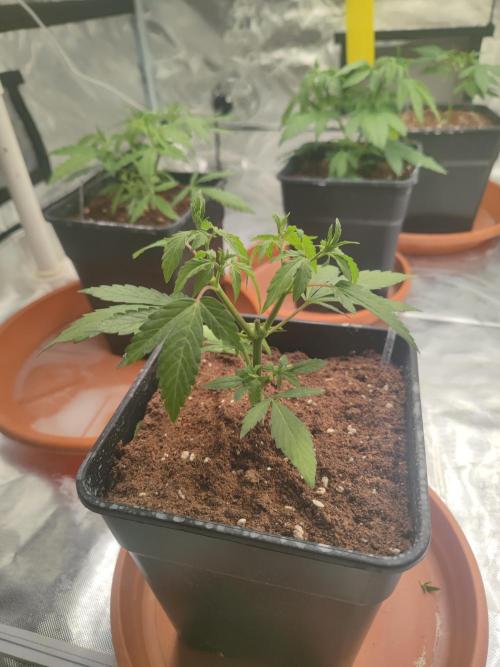
Chrisandweed Well, second apical pruning looking for that main lining. I've taken cuttings from each cut, generally between 3 and 4 per plant, rooting 2 in substrate in the seedling tray, and another 2 in a glass of water. So it's 2 and 2 per plant, except for a few that had to be 3 because some branches couldn't develop well, or the small hash plant, which due to unfavorable conditions from the start still doesn't have enough material to take cuttings. I love the pheno, it grows very fast, it's the one I've been able to take the largest cuttings from, and it feels strong, not as much as others but I think it has more because others are pure indicas and this one is a modern hybrid.
1 like
comments
Share
Used techniques
Topping
Technique
Main-Lining
Technique
Esquejes
Technique
7
Week 7. Vegetation5mo ago
16 hrs
Light Schedule
20 °C
Day Air Temp
6.2
pH
7 l
Pot Size
1 l
Watering Volume
20 cm
Lamp Distance
Nutrients 4
Root Boom
1 mll
Calmag Boom
1 mll
Crecimiento Boom (Growth Boom)
1 mll
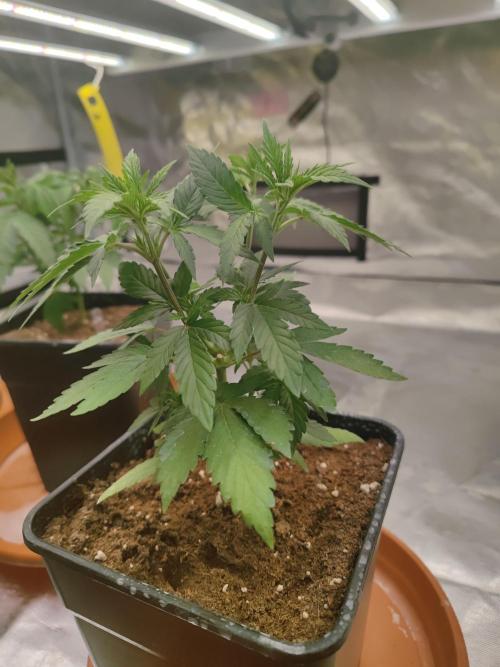
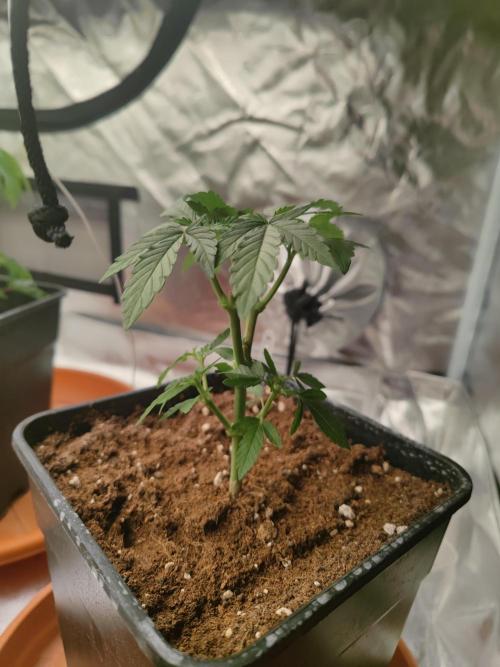
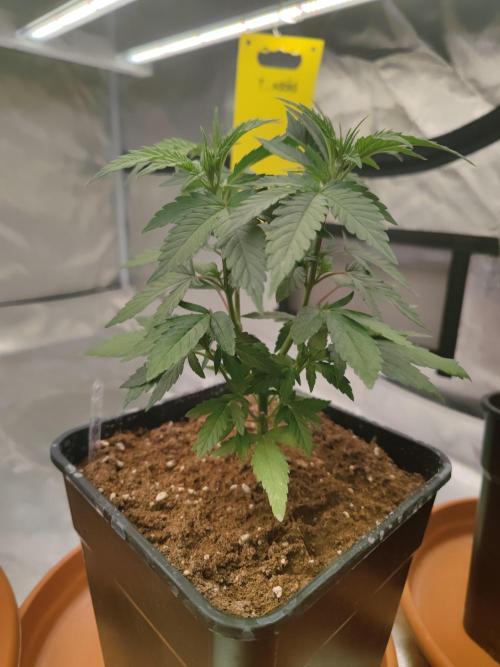
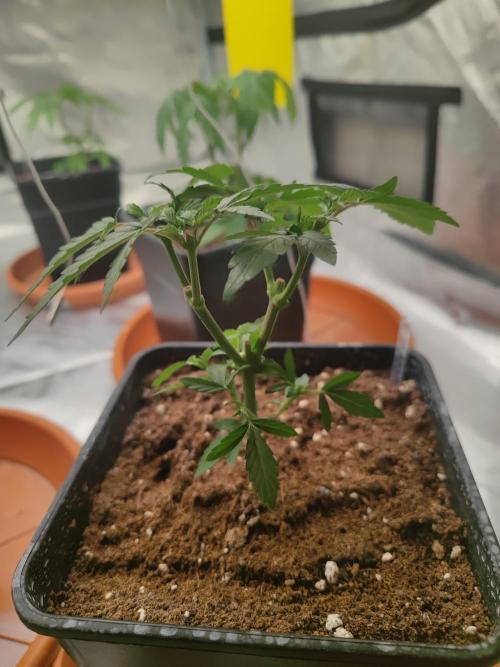
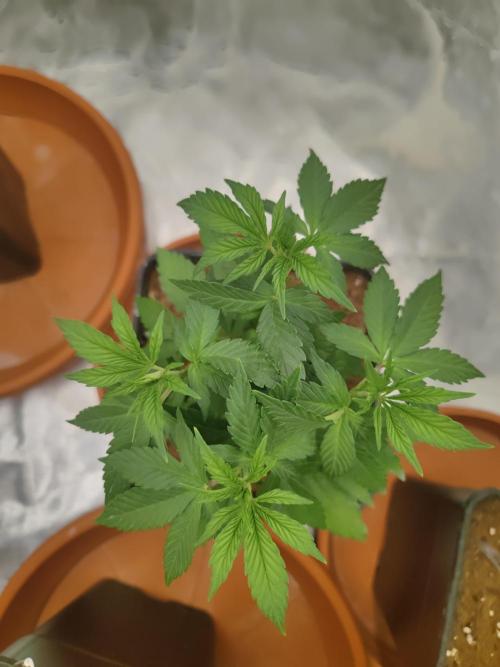
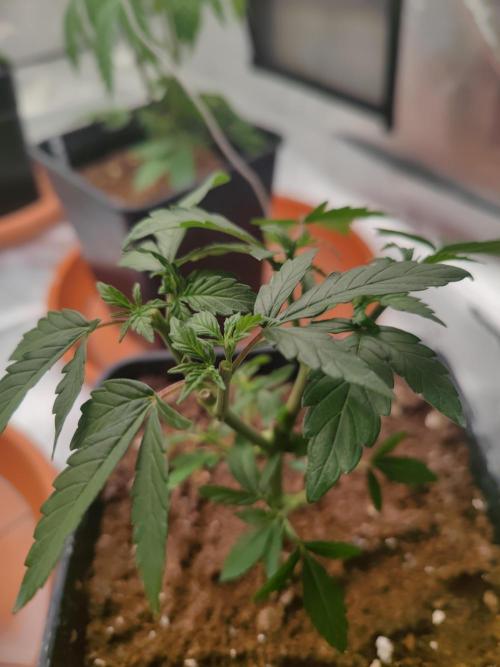
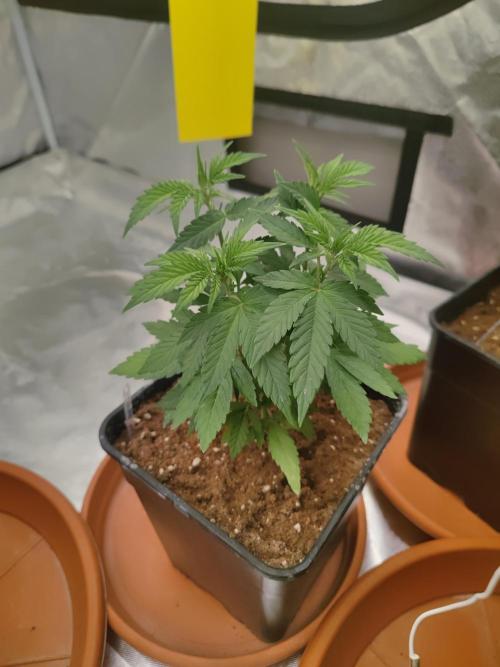
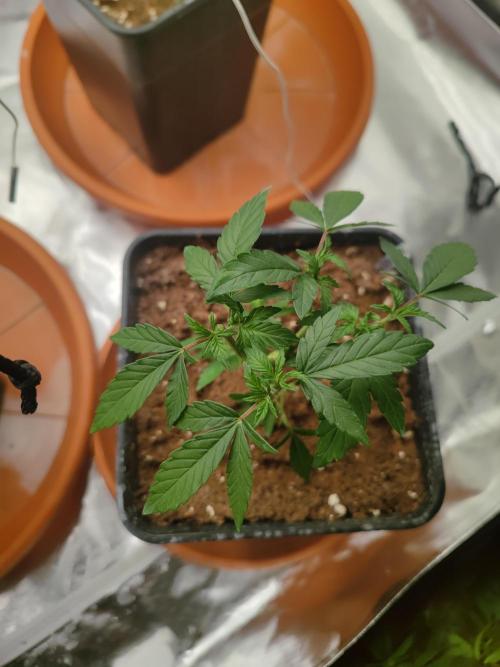
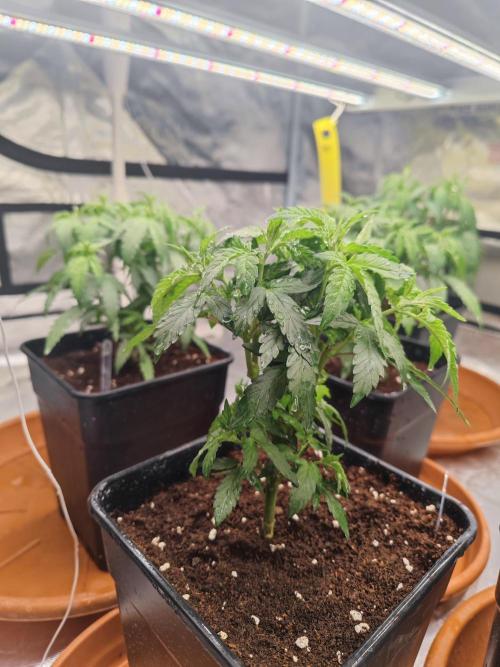
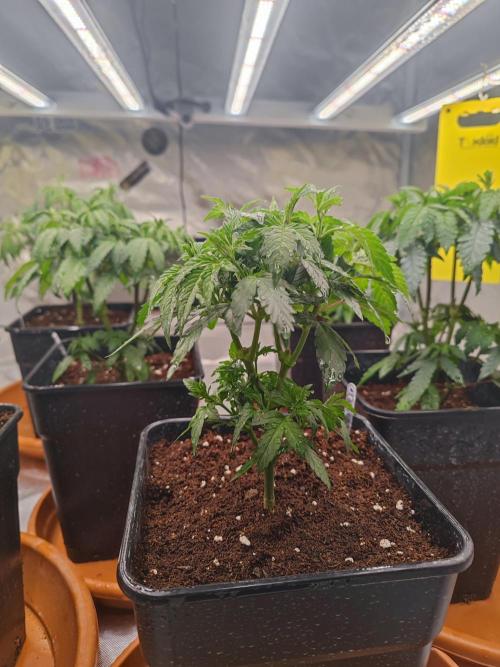
Chrisandweed Wednesday 11/03/2026 week and we're in the seventh week. Today I trimmed the tips again, making the apical cut, going from 8 shoots to 16 🔥🔥💪🏾. Most likely next week I'll transplant them into pots, I don't remember if they were 11L or 13L, I'll see when I make the change xD.
I'm doing 1 foliar application at the beginning of the week with neem oil and potassium soap as a preventive measure to see if we can get through the flowering without pests or mold.
The photos are from before and after the apical cut today.
1 like
comments
Share
Used techniques
Topping
Technique
8
Week 8. Vegetation5mo ago
16 hrs
Light Schedule
20 °C
Day Air Temp
6.2
pH
7 l
Pot Size
1 l
Watering Volume
20 cm
Lamp Distance
Nutrients 4
Root Boom
1 mll
Calmag Boom
1 mll
Crecimiento Boom (Growth Boom)
1 mll
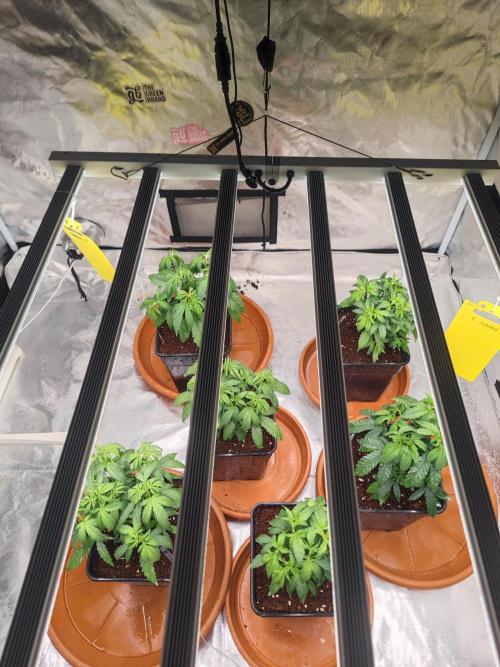
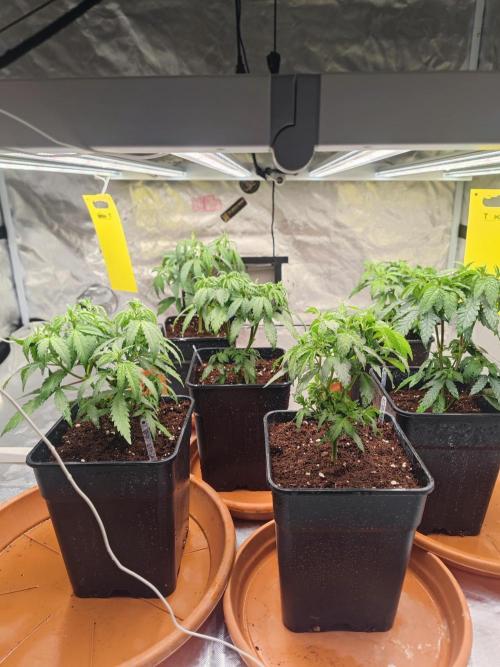
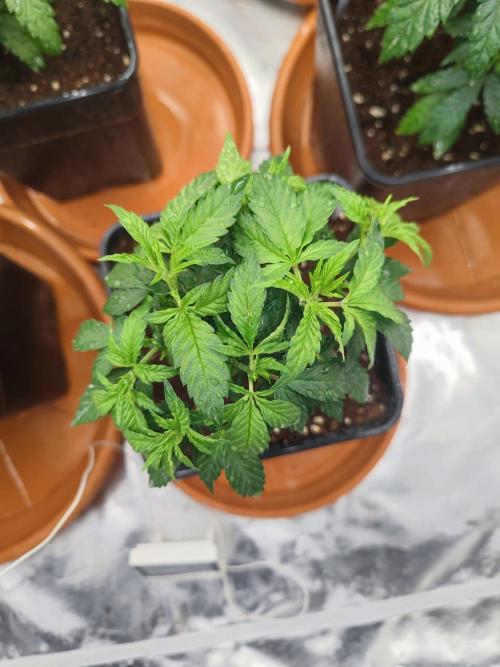
Chrisandweed Eighth week counting from germination. They are doing very well, I'm going to let them develop the last shoots from the apical ones that I did, and with that, we'll see how it goes, because I'm still really unsure about how to do it, whether to fill the 1.5x1.5 with flowers like crazy with hundreds of tops, but at the cost of taking longer and having a harvest from now until summer, or to rush it, put it into flowering by the end of this month or early next, while I prepare the next harvest with the cuttings and seeds in the greenhouse, and as soon as I cut, I’ll put the new ones in the big one, 2 weeks and into flowering too. The problem here is that I’ll probably be busy by July, but I would have harvested 2 times... I don’t know, it depends on these weeks, if the cuttings root well this time (I’ve already figured out what was going wrong, now all the new ones I do are going to be amazing), and on the other hand, if the last shoots from these plants develop more. Overall, they are all doing veery well and despite some occasional stress, they are developing quite nicely.
3 likes
2 comments
Share
9
Week 9. Vegetation5mo ago
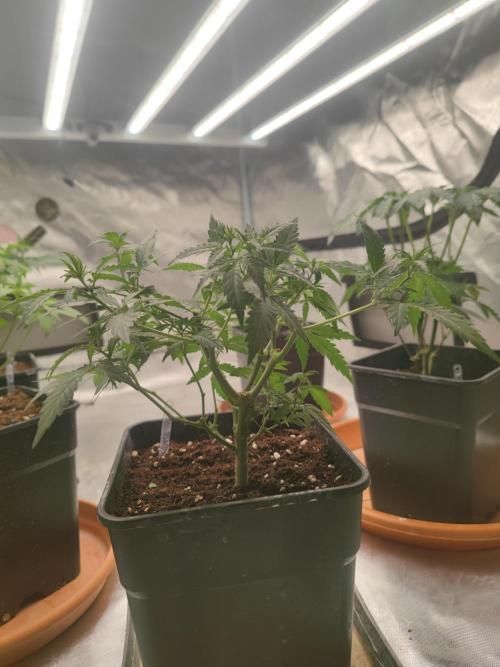
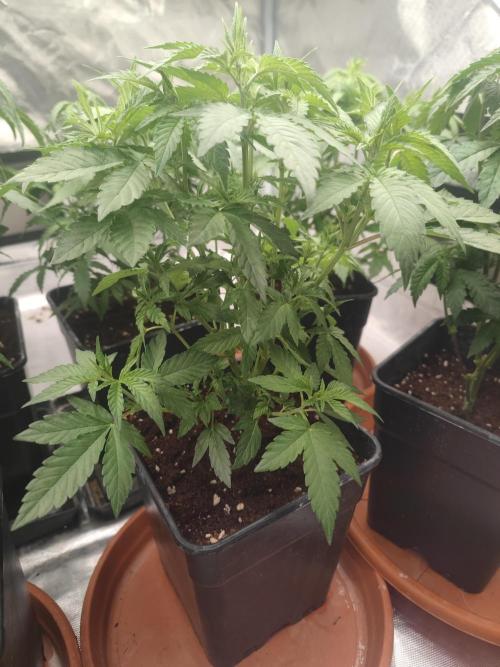
16 hrs
Light Schedule
20 °C
Day Air Temp
6.2
pH
7 l
Pot Size
1 l
Watering Volume
20 cm
Lamp Distance
Nutrients 4
Root Boom
1 mll
Calmag Boom
1 mll
Crecimiento Boom (Growth Boom)
1 mll
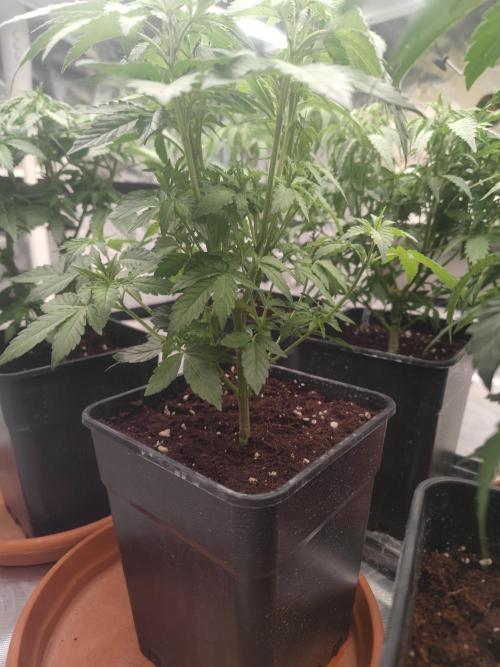
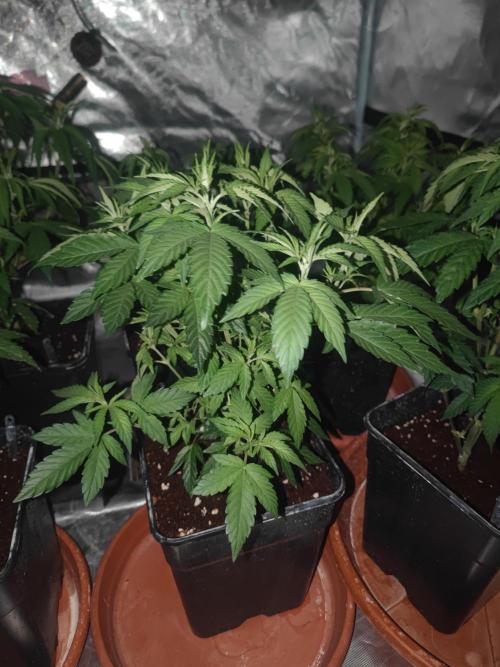
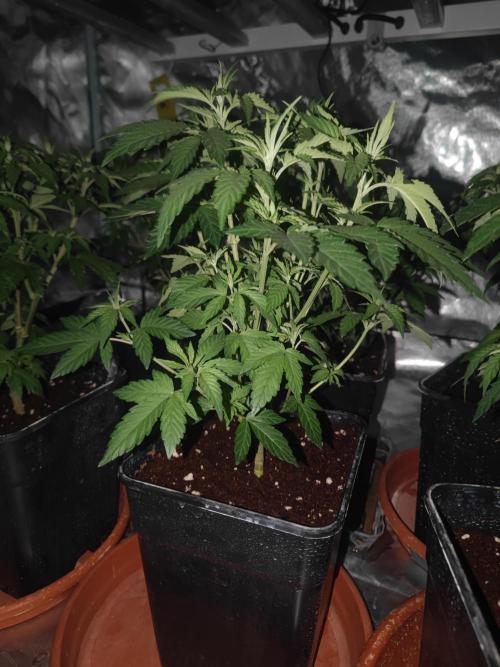
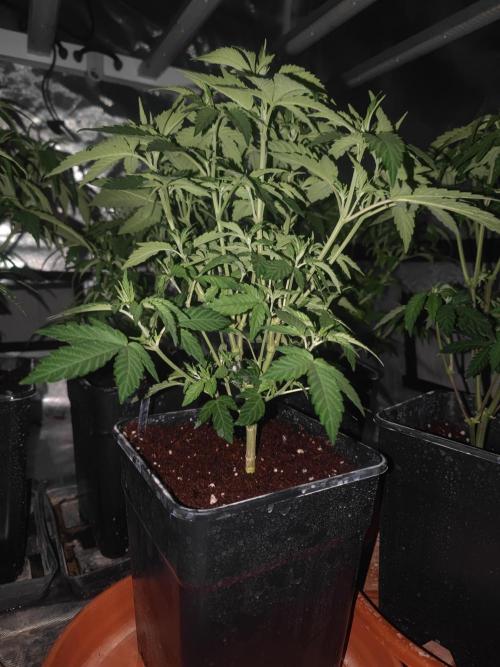
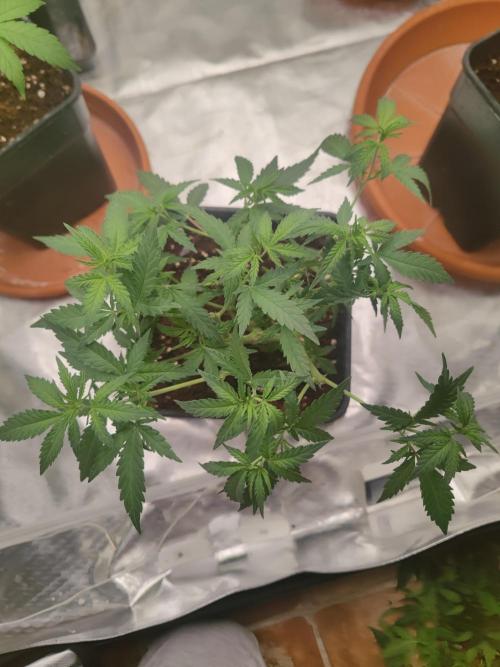
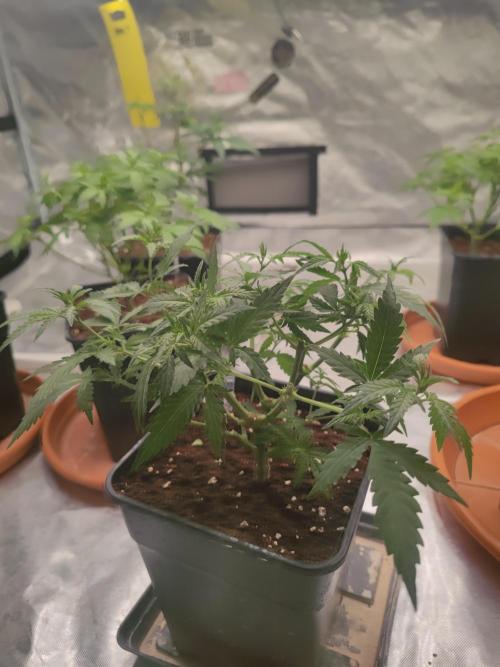
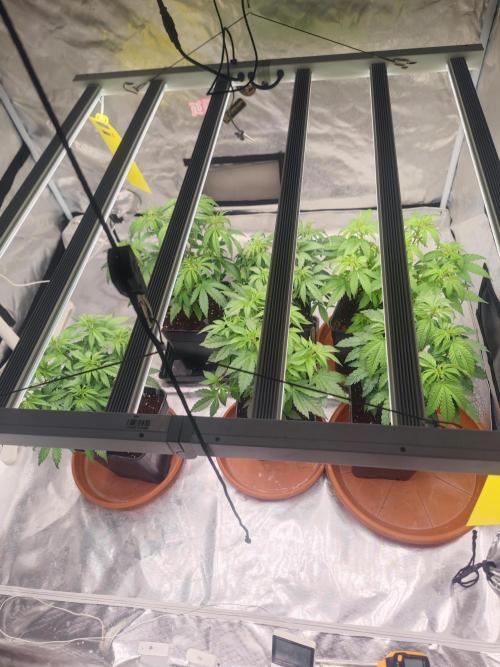
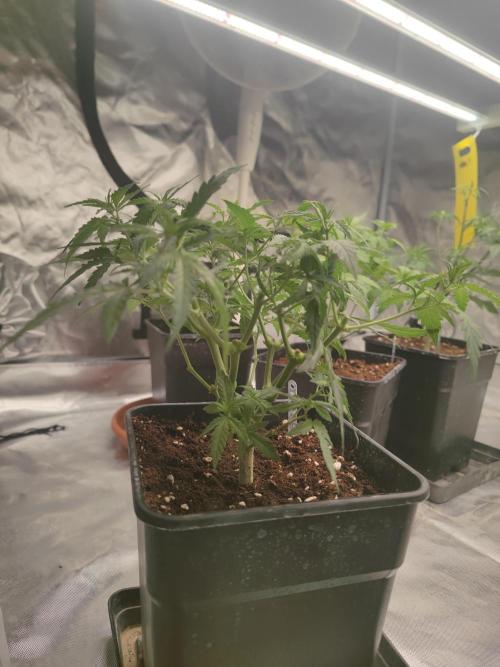
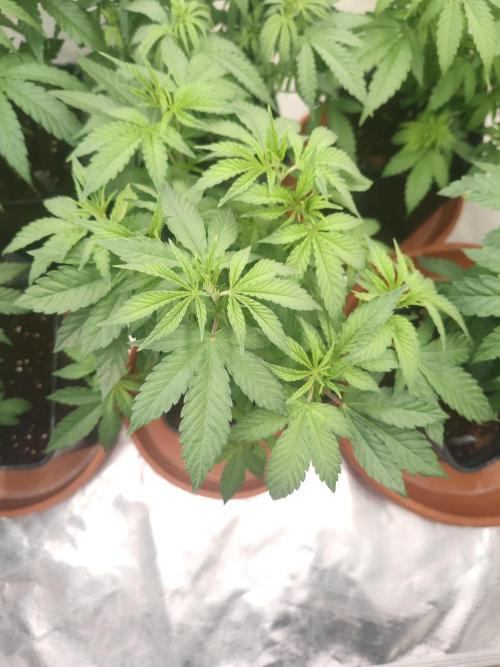
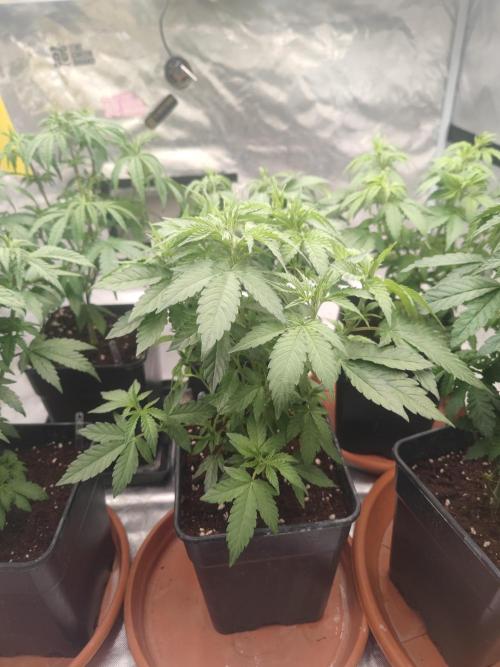
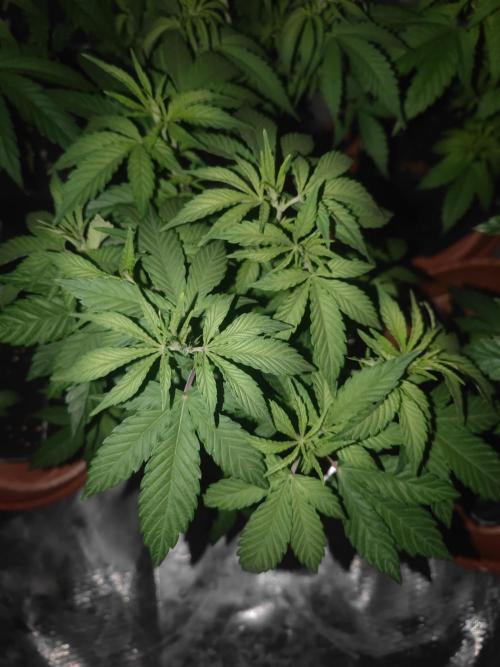
Chrisandweed 26/03/2026: the photos are the before and after of defoliation and possibly the last apical cut of main lining. They are doing very well, and the lower branches (I messed up in the previous cut by cutting the first node, but oh well) are already close to the height of the upper ones, and with that, we are getting closer to transplanting and the next flowering phase. The plants are very healthy, several cuttings have rooted, and I have them in 1L pots (they will be included in the diaries of the next grow), and with today's apical cuts, I took more cuttings.
2 likes
comments
Share
Used techniques
Defoliation
Technique
Topping
Technique
Main-Lining
Technique
10
Week 10. Vegetation4mo ago
16 hrs
Light Schedule
20 °C
Day Air Temp
6.2
pH
20 l
Pot Size
2 l
Watering Volume
20 cm
Lamp Distance
Nutrients 4
Root Boom
1 mll
Calmag Boom
1 mll
Crecimiento Boom (Growth Boom)
1 mll
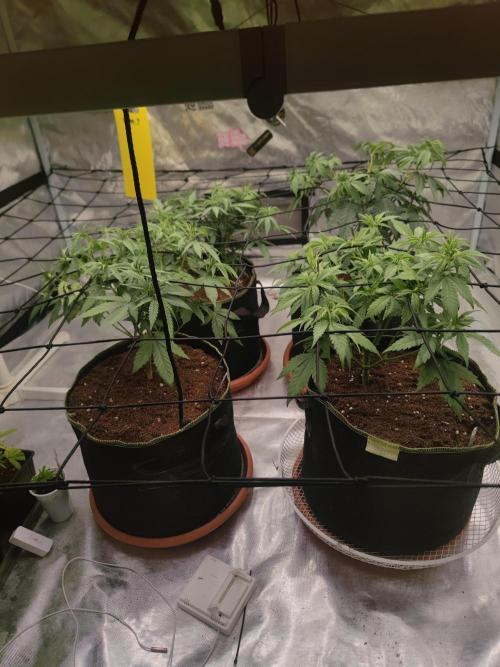
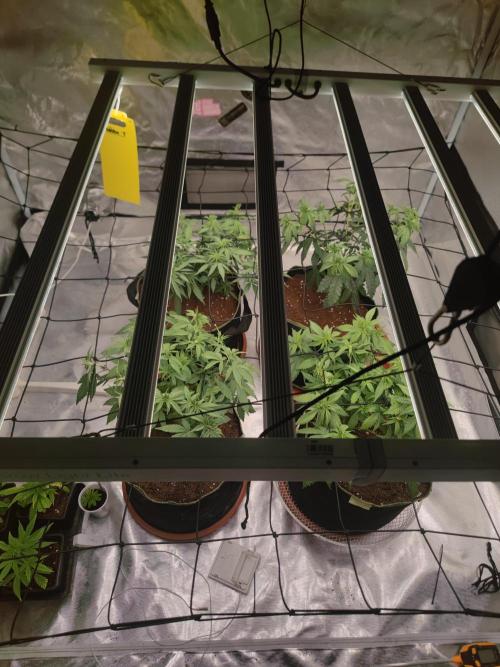
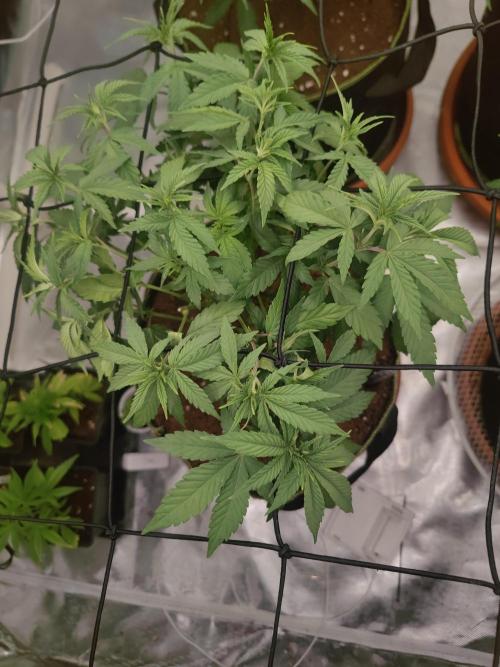
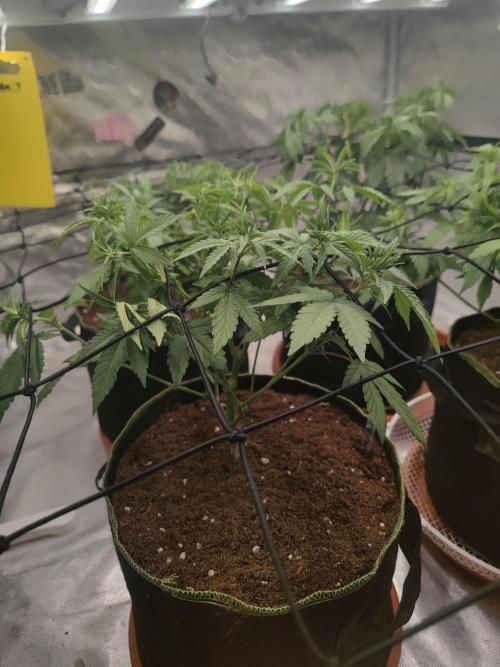
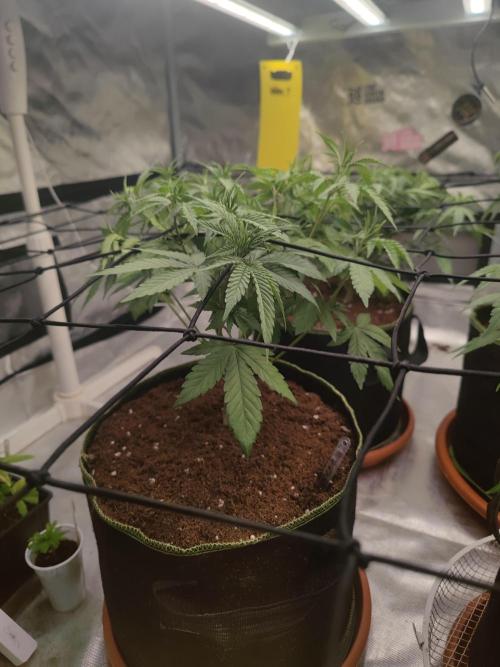
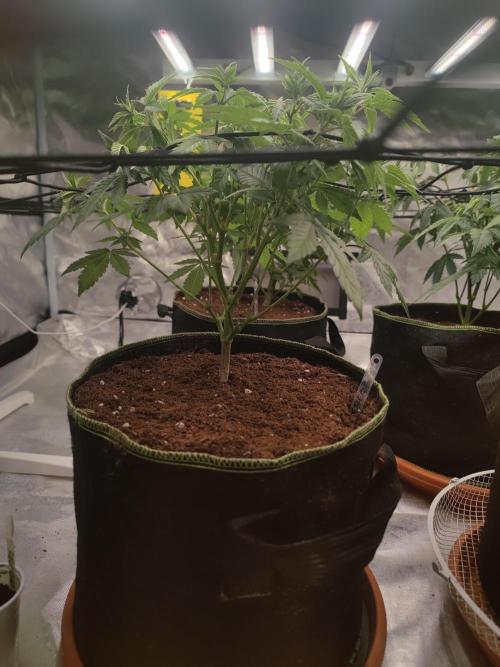
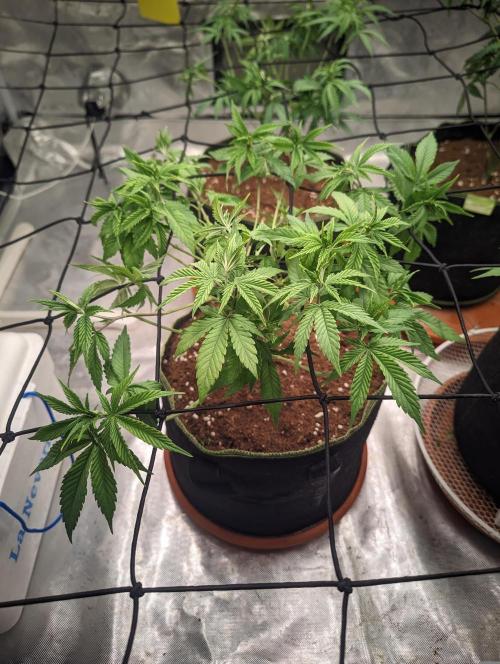
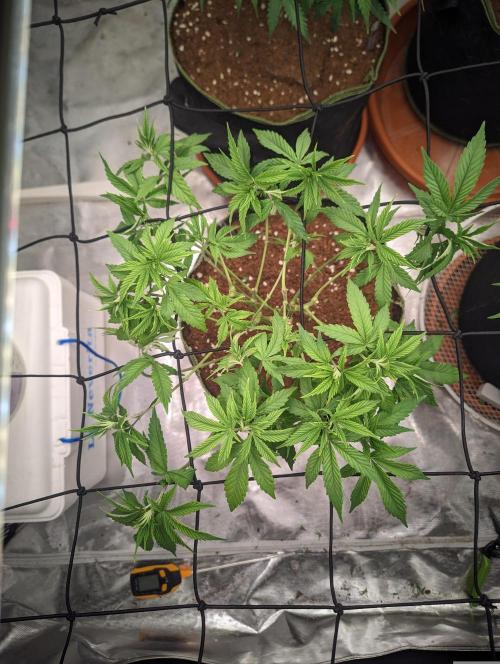
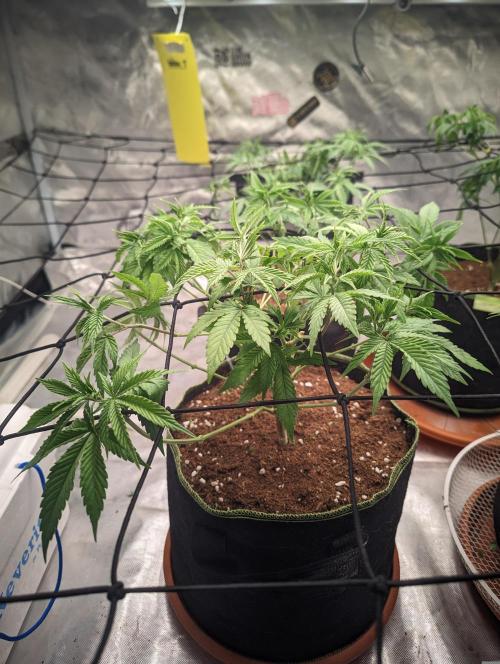
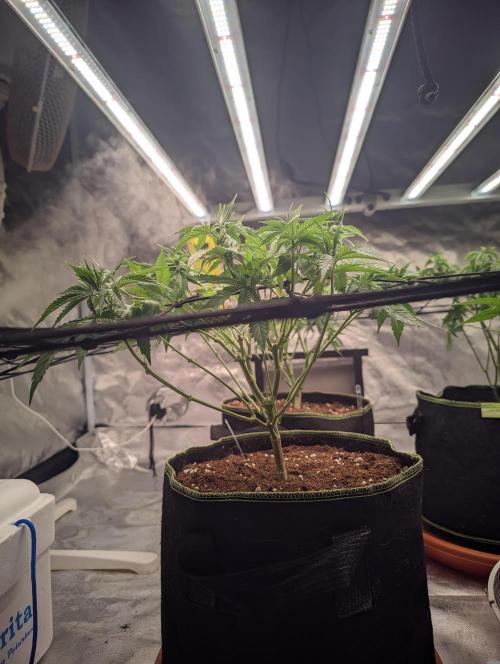
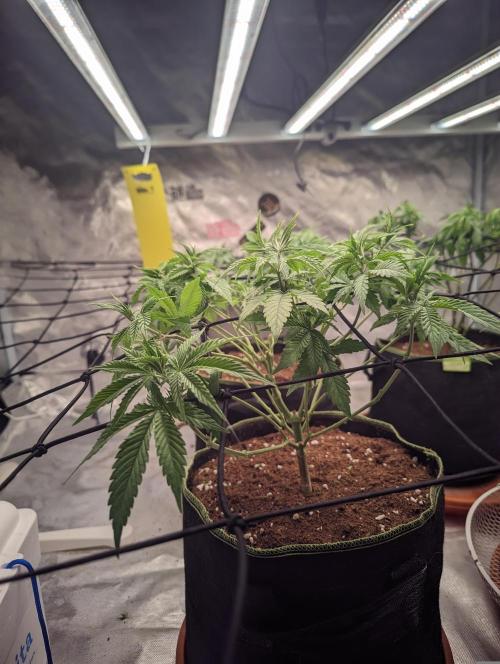
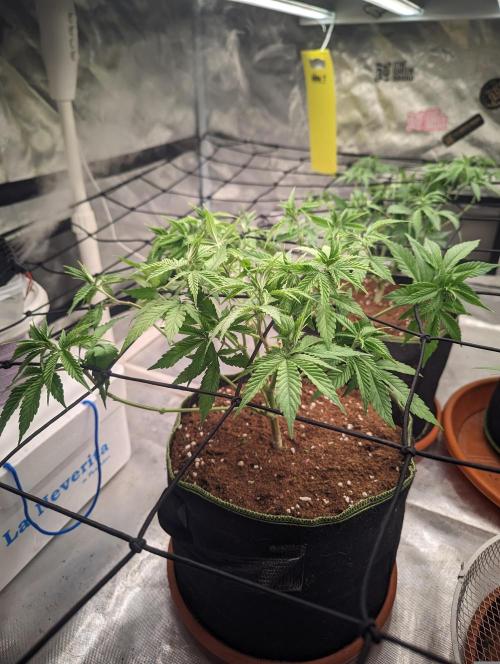
Chrisandweed Pues red de scrog puesta, la primera, que pondré una segunda mas adelante para soportar peso, esta la pongo para abrir las plantas.
Crecimiento maravilloso, van increibles. Hice trasplante de la maceta de 7L a 20L ya final que enseguida las pondré a florar.
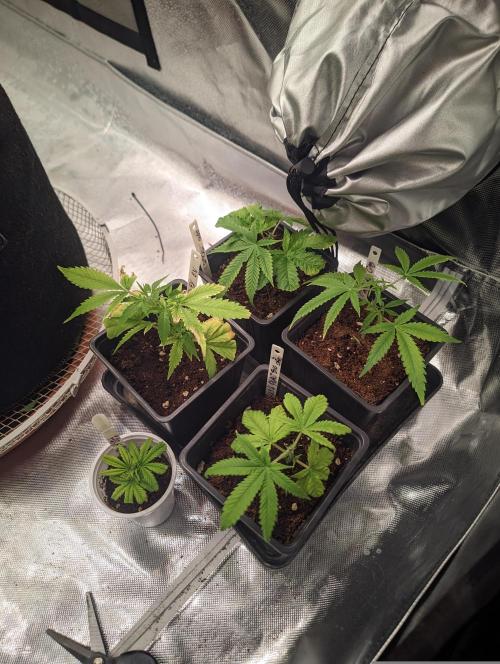
Actualización 05/04/2026 (la semana la subí/actualicé el miercoles 01/04/2026: he defoliado todas las plantas y a los primeros esquejes que me enraizaron y pasé al armario grande (porque en el pequeño la humedad es de +88%) les he hecho ya su primer corte apical.
Van geeenial! No hay marcas de plagas, apenas hay marcas de deficiencias o excesos nutricionales, van flying!! Jajajaja esta defoliación ha sido para prepararlas para la recta final para la floración la cual volveré a repetir a 14/14 pero esta vez espero hacerlo mejor, además de 2 o 3 cosillas que quiero probar, como un empuje hormonal en la preflora aplicando calmag directo a las hojas y alguna cosilla mas.
Aaah y también he cambiado las configuraciones de las fotos y a partir de ahora espero que la mejora de calidad se note 🔥🔥💪🏾
2 likes
comments
Share
Used techniques
Transplantation
Technique
ScrOG
Technique
Defoliation
Technique
Topping
Technique
11
Week 11. Vegetation4mo ago
16 hrs
Light Schedule
20 °C
Day Air Temp
6.2
pH
20 l
Pot Size
2 l
Watering Volume
20 cm
Lamp Distance
Nutrients 5
Root Boom
2 mll
Calmag Boom
1 mll
Crecimiento Boom (Growth Boom)
2 mll
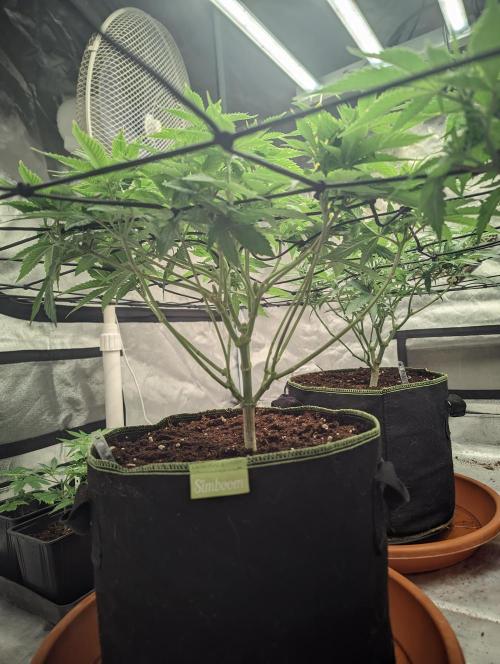
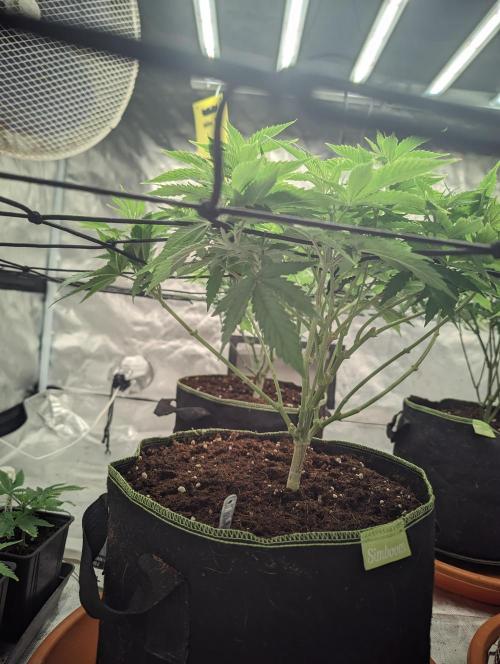
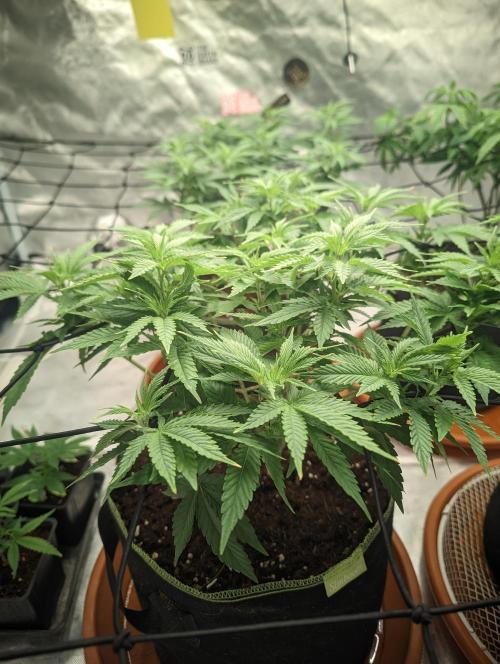
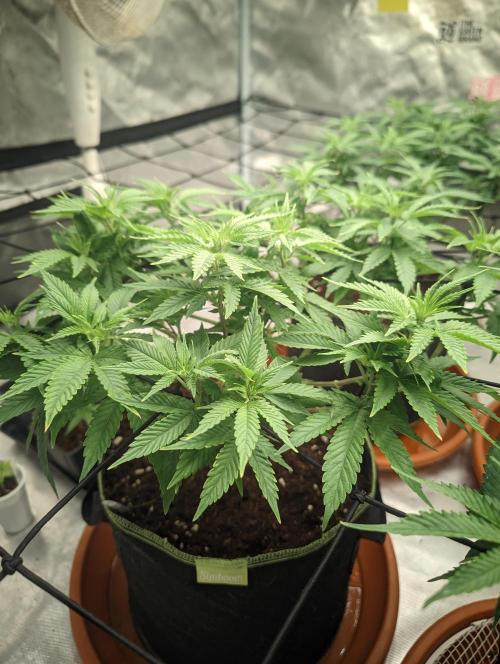
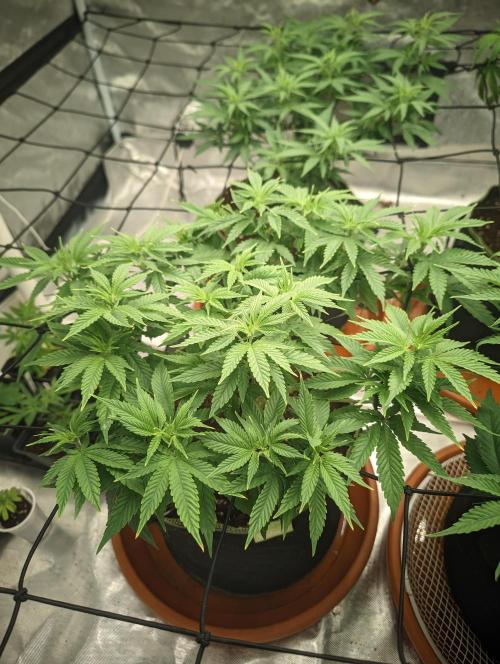
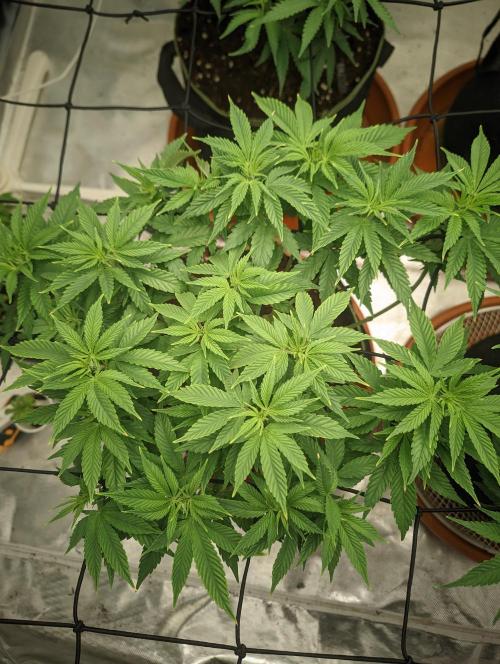
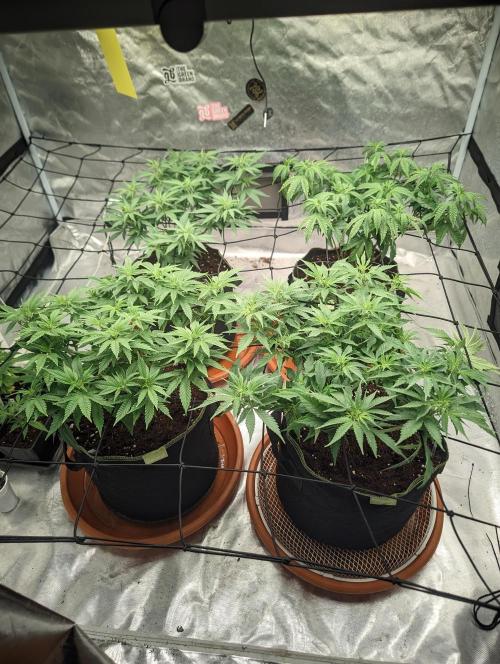
Chrisandweed Puuuues well, can someone explain to me the historical comeback of this plant? Hahahaha
I'M SURE THE BREEDERS WHO RELEASED IT DID AN AMAZING JOB!
I grew Oreoz back in the day, I got over 100 main tops by doing apical and main lining, and the plant delivered on all fronts! Everything! I couldn't harvest it because I put a cutting from a buddy in that cabinet, which brought viruses, pests, and all sorts of crap hahahahaha my bad for not having a little quarantine plan to ensure, but well, the cutting went into the cabinet, and out of 6 plants, 2 survived because I was cutting them soon, the ones that had more were gone and Oreoz was one of them, but this time I'm going to be able to redeem myself well, or so I hope.
Closer and closer to the goal, they're flying like crazy! Hahahahaha they're growing really well, expanding really well, and the nutrients are under control. There was a slight over-fertilization when I transplanted, but I already fixed it, the most affected plant out of the 4 was the normal "Critical," but I gave it 10L of water with a flush to wash out all the salts and such. I did the same for the other 3 but with 5L. Now that they're almost dry, it took them 3 days to dry plus today the whole day 4, they're wonderful, all with their strong leaves and looking up at the ceiling, the critical is the one that still has a little left, but with the next watering I think it will recover. Then, I'll see if I can plant an auto soon and put it indoors for about 2 or 3 weeks and then take it outside... I'll see honestly that I have certain difficult problems to control outside, among others, neighbors who don't know what the word privacy means 😅.
Aaahh I almost forgot!! There are some spotted leaves, that's because I gave them a nice foliar cleaning yesterday, front and back, to all the plants with one of those typical potassium soap + neem oil products, all together, like a 2 in 1. Among the things I've been learning with the grows, it's very important to make these applications and not just as preventive measures, but just water alone helps a lot, especially spraying it as hard as possible ON THE STEMS, on all the stems/branches of the plants. It's true that the bugs usually go to the leaves to eat buuuut in my experience, they base themselves on the stems and branches, yes, in the part closest to the leaves, buuuut on the branches! So at least once a week I try to give it a good spray as if it were a Karcher, and yes, the cabinet is new and I try to be careful, but so far everything is fine regarding pests.
Closer and closer to the goal, they're flying like crazy! Hahahahaha they're growing really well, expanding really well, and the nutrients are under control. There was a slight over-fertilization when I transplanted, but I already fixed it, the most affected plant out of the 4 was the normal "Critical," but I gave it 10L of water with a flush to wash out all the salts and such. I did the same for the other 3 but with 5L. Now that they're almost dry, it took them 3 days to dry plus today the whole day 4, they're wonderful, all with their strong leaves and looking up at the ceiling, the critical is the one that still has a little left, but with the next watering I think it will recover. Then, I'll see if I can plant an auto soon and put it indoors for about 2 or 3 weeks and then take it outside... I'll see honestly that I have certain difficult problems to control outside, among others, neighbors who don't know what the word privacy means 😅.
Aaahh I almost forgot!! There are some spotted leaves, that's because I gave them a nice foliar cleaning yesterday, front and back, to all the plants with one of those typical potassium soap + neem oil products, all together, like a 2 in 1. Among the things I've been learning with the grows, it's very important to make these applications and not just as preventive measures, but just water alone helps a lot, especially spraying it as hard as possible ON THE STEMS, on all the stems/branches of the plants. It's true that the bugs usually go to the leaves to eat buuuut in my experience, they base themselves on the stems and branches, yes, in the part closest to the leaves, buuuut on the branches! So at least once a week I try to give it a good spray as if it were a Karcher, and yes, the cabinet is new and I try to be careful, but so far everything is fine regarding pests.
2 likes
comments
Share
12
Week 12. Vegetation4mo ago
18 hrs
Light Schedule
20 °C
Day Air Temp
6.2
pH
20 l
Pot Size
3 l
Watering Volume
20 cm
Lamp Distance
Nutrients 6
Root Boom
2 mll
Calmag Boom
1 mll
Crecimiento Boom (Growth Boom)
2 mll
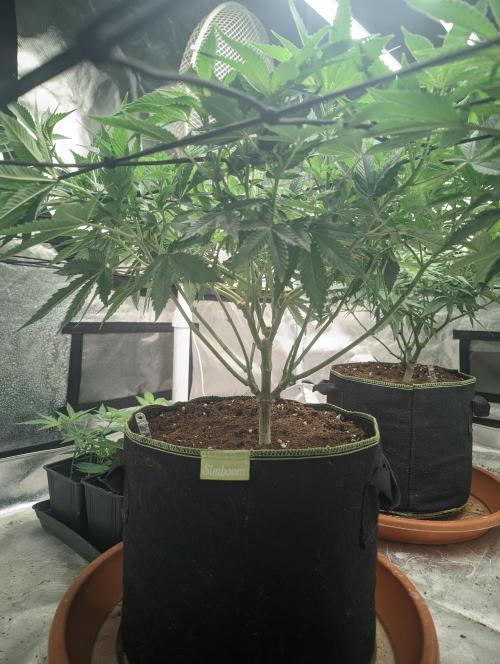
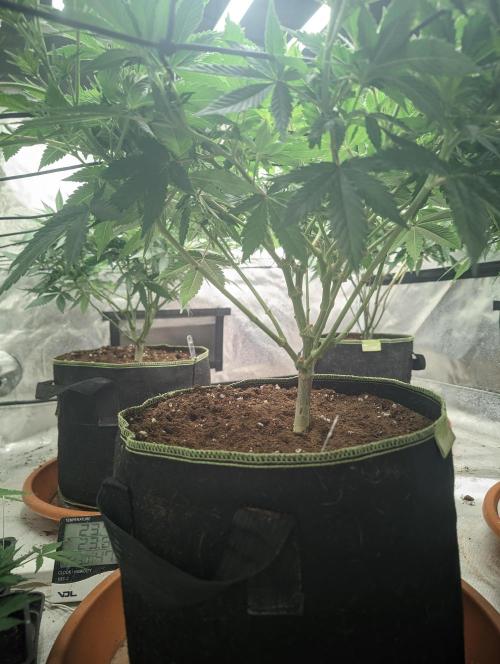
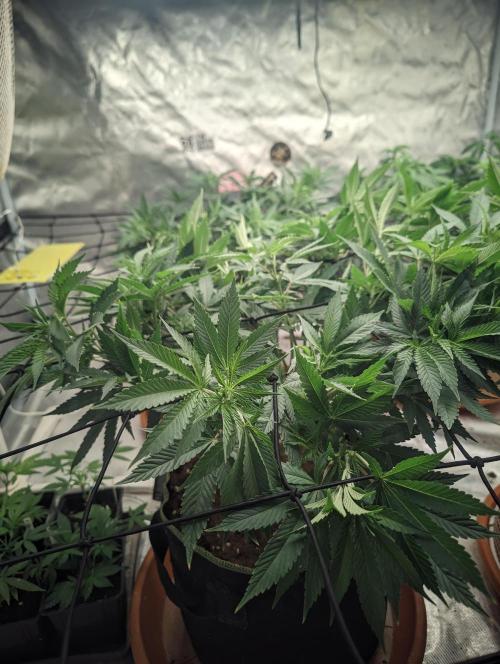
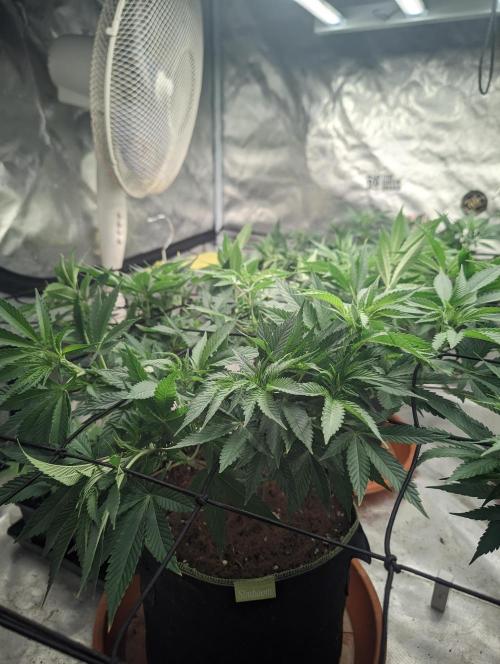
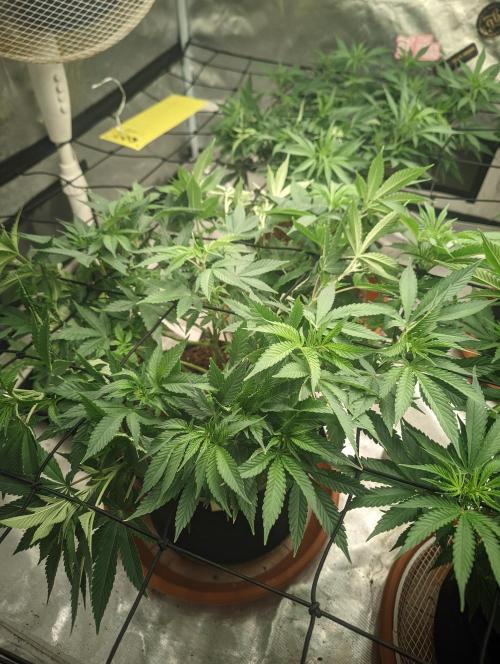
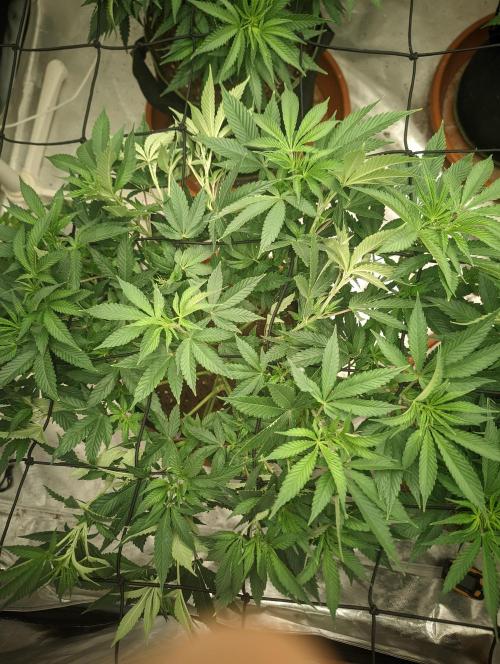
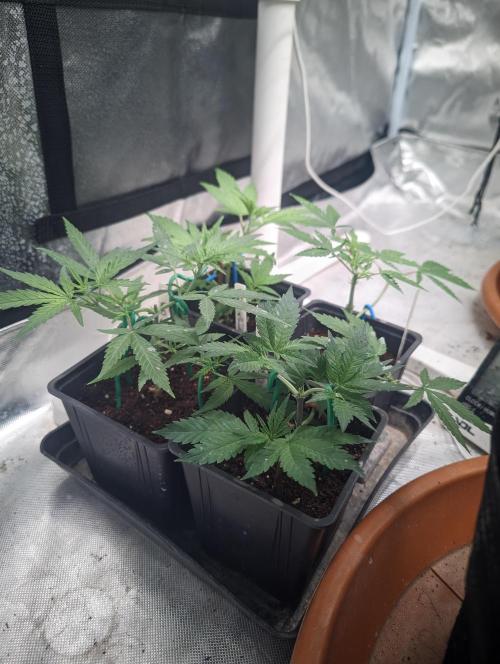
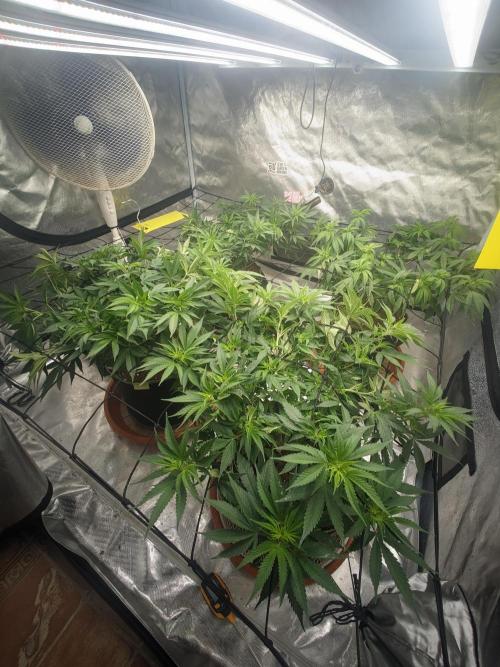
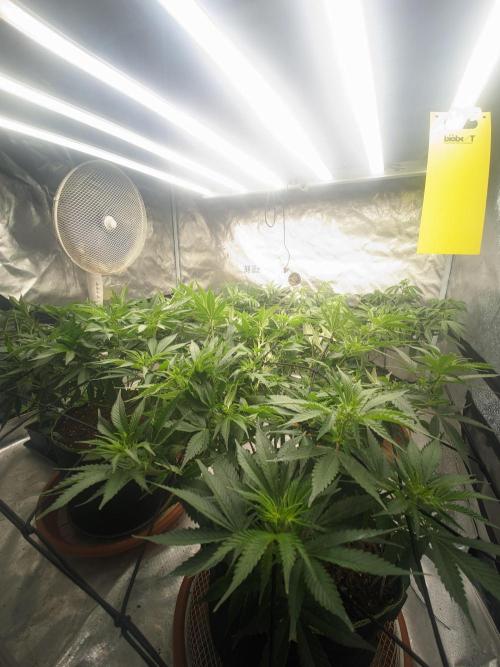
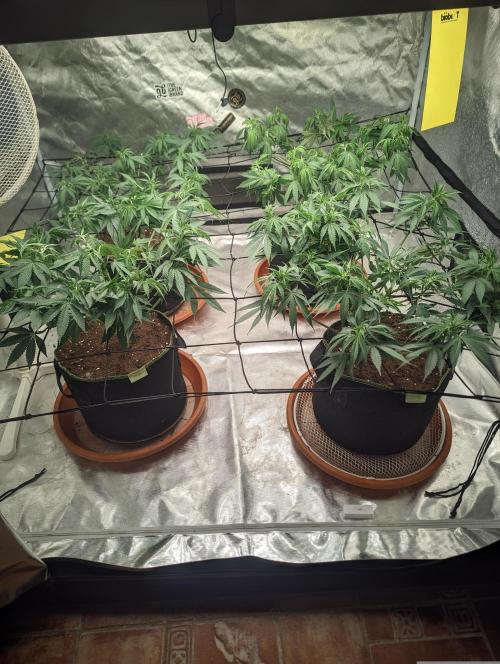
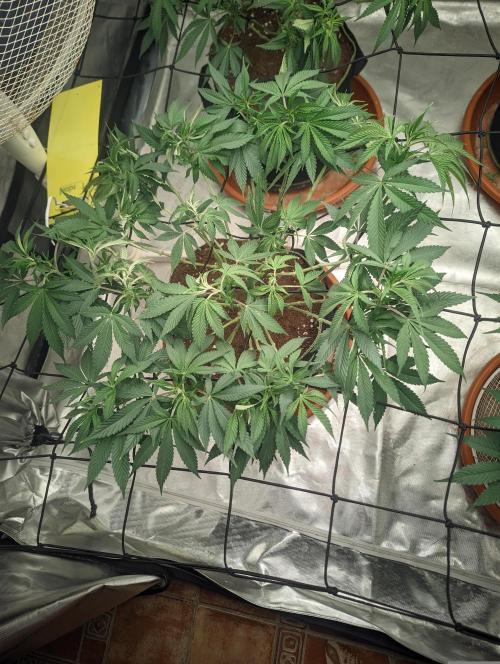
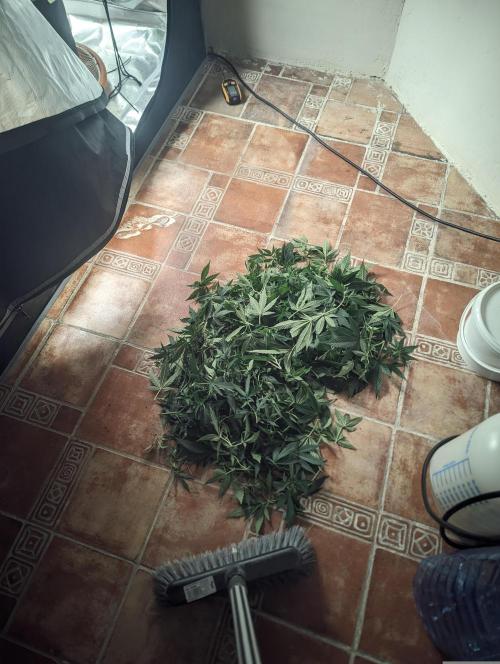
Chrisandweed They are wonderful, I can't stop saying it. I'm forcing the tips to stay below the net for now to keep expanding the plants a bit more. I used the Delta Boom product for foliar feeding on Sunday the 12th, so on the 22nd I'm changing the light cycle to 14/14!! The plants are eating a ton, I'm giving them about 3 liters every 3 days or so.
2 likes
comments
Share
Used techniques
Defoliation
Technique
13
Week 13. Flowering4mo ago
40 cm
Height
12 hrs
Light Schedule
20 °C
Day Air Temp
6.2
pH
20 l
Pot Size
3 l
Watering Volume
Nutrients 6
Calmag Boom
1 mll
Crecimiento Boom (Growth Boom)
1 mll

Silic Boom
0.5 mll
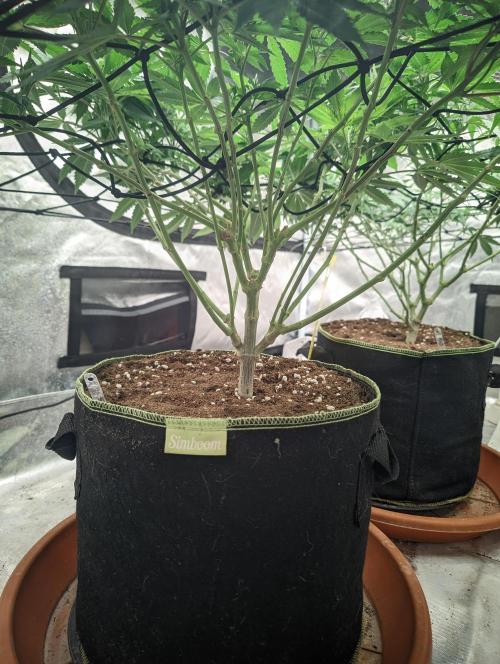
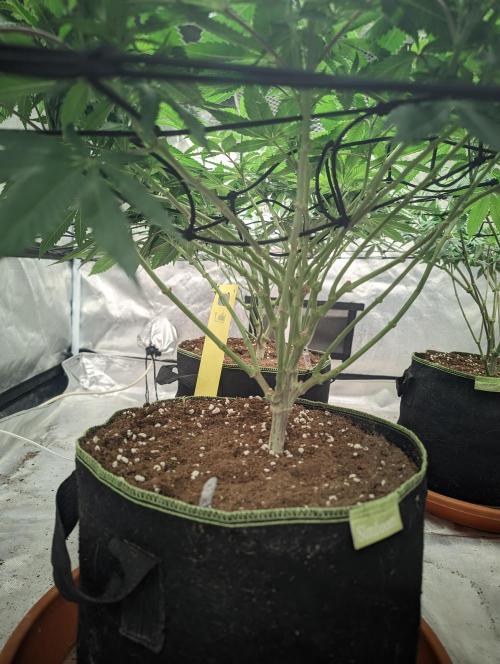
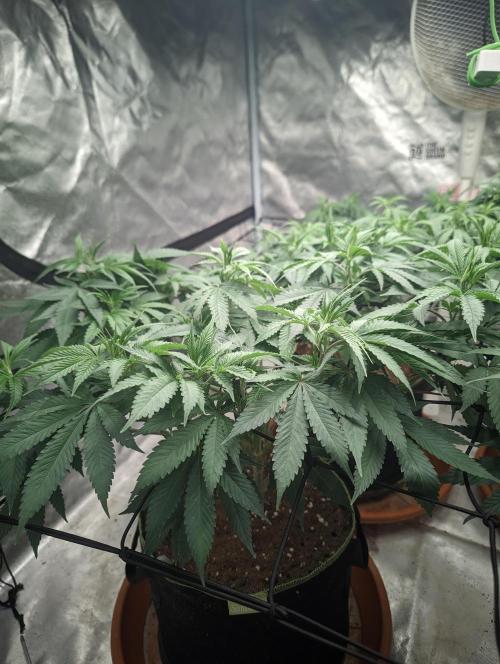
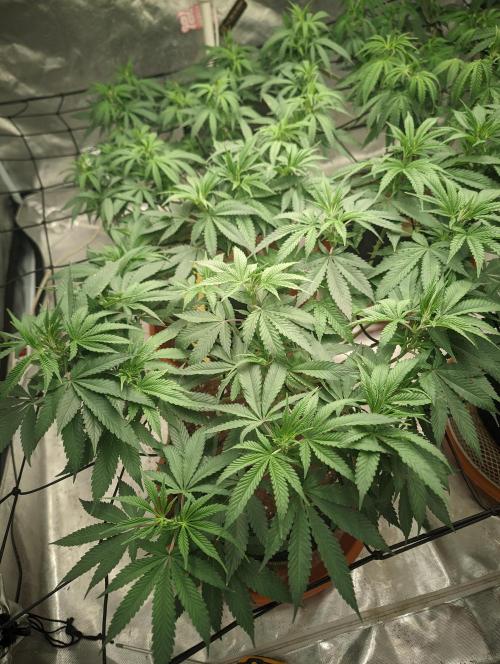
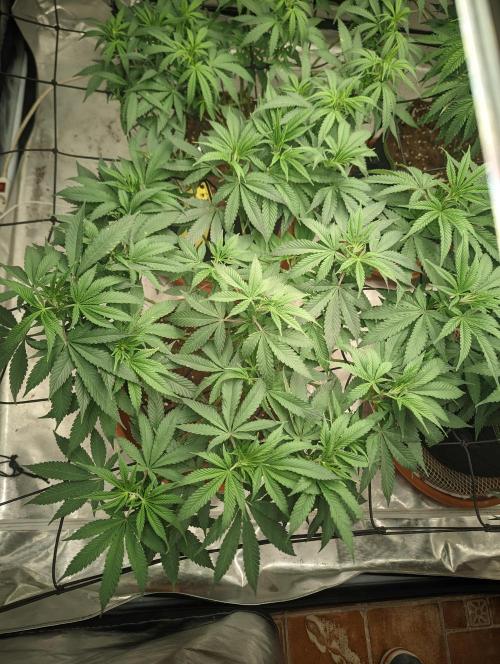
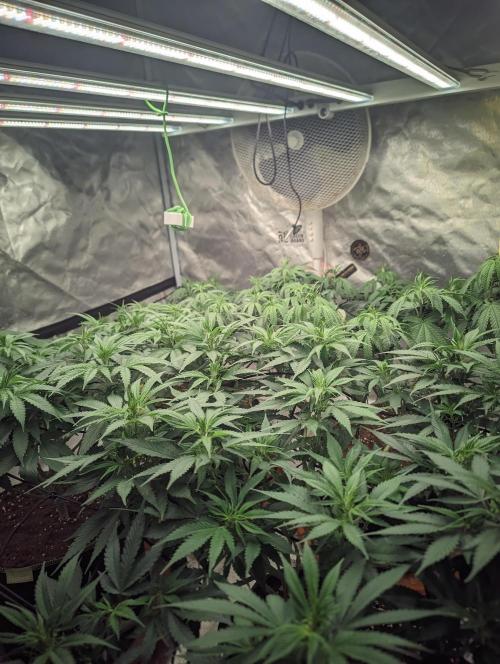
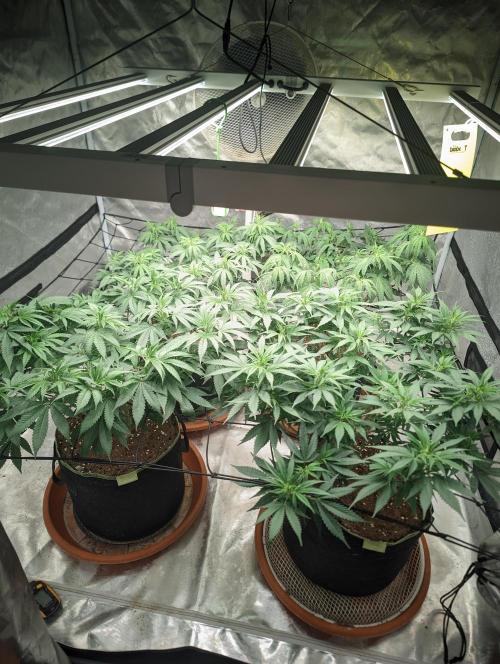
Chrisandweed Well, TODAY, Wednesday, April 22, I'm changing the photoperiod to 14-14! So far, everything is going as planned, main lining up to this point, vigorous and sturdy, they feel very healthy and drink a lot, currently 3 liters per plant every two days, we'll see how it goes now with the flowering.
This first week I'm going to do different applications looking for things hahaha today I'm going to do a foliar application of delta and I don't remember if I also needed to water. Then, something I'm eager to see is using calcium now between this week and next for foliar application, but this time not just to strengthen the plant, but to activate the Ca²+ hormone, I think it's called, which is basically the plant's messenger that tells it, hey, produce more resin because you're not producing enough! And that way it strengthens.. we'll have to see hahaha but well, today starts the 14 hours of light and 14 hours of darkness 🔥🔥
The plants, the canopy is about 40cm, I hope I don't have to do super cropping, I'm not a fan.
2 likes
comments
Share
Used techniques
14-14
Technique
14
Week 14. Flowering4mo ago
50 cm
Height
12 hrs
Light Schedule
20 °C
Day Air Temp
6.2
pH
20 l
Pot Size
3 l
Watering Volume
Nutrients 6
Calmag Boom
1 mll
Crecimiento Boom (Growth Boom)
0.5 mll
Silic Boom
0.5 mll
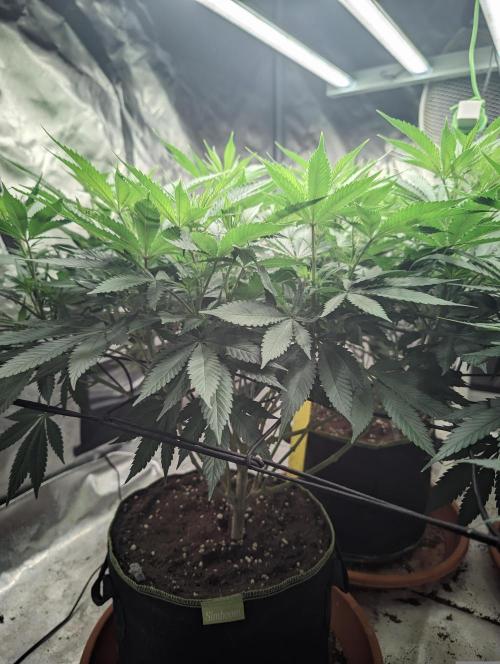
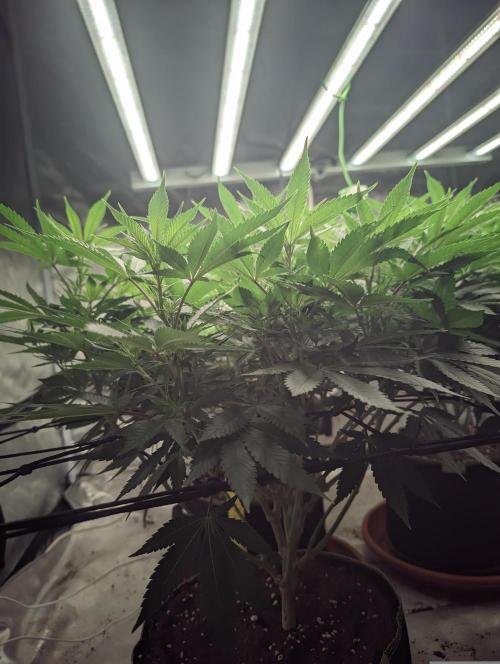
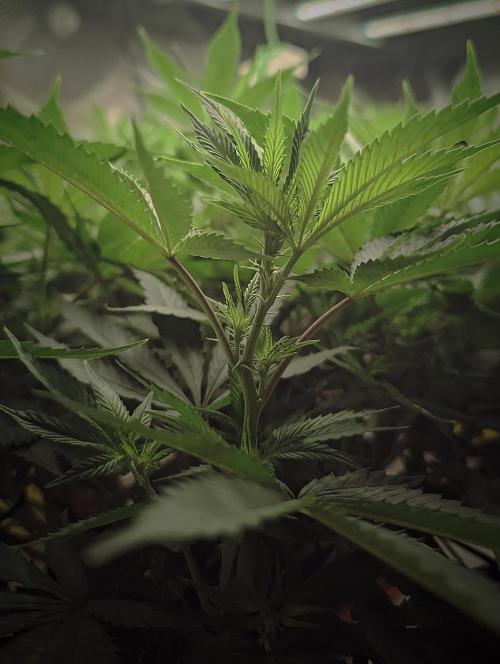
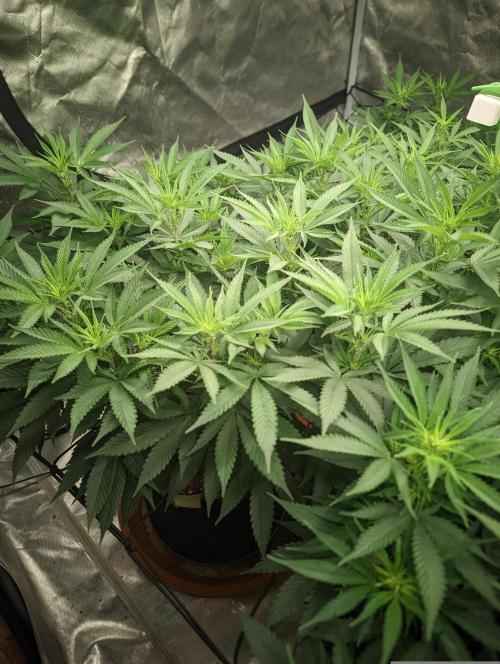
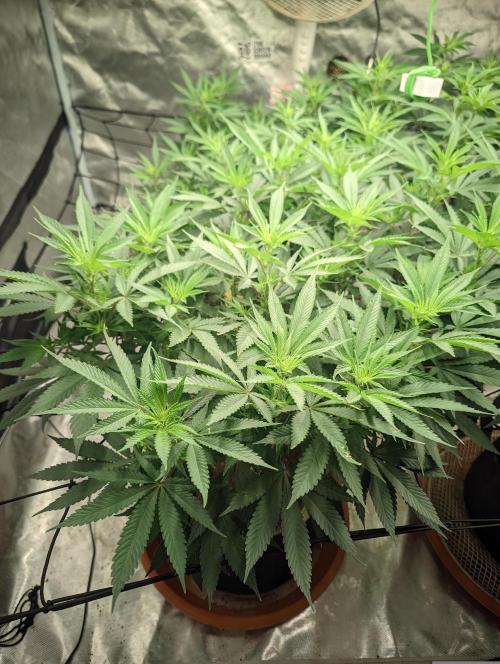
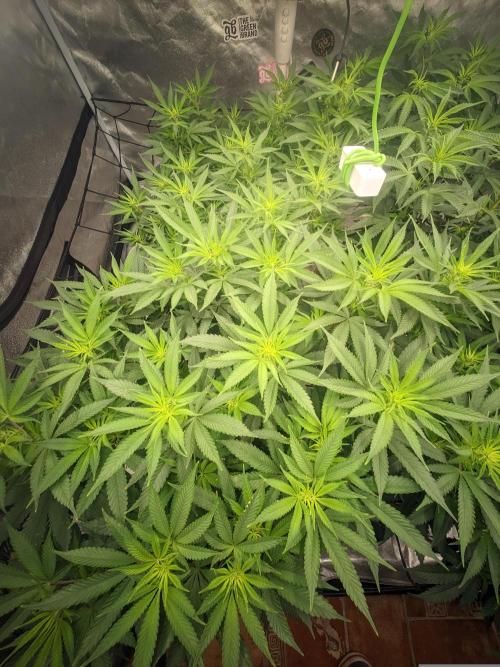
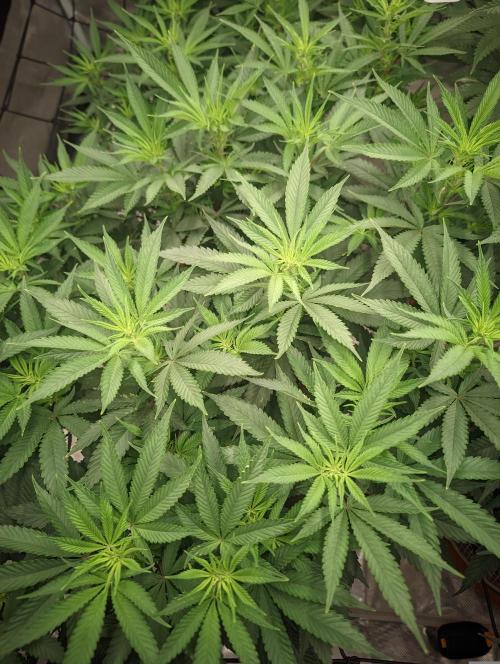
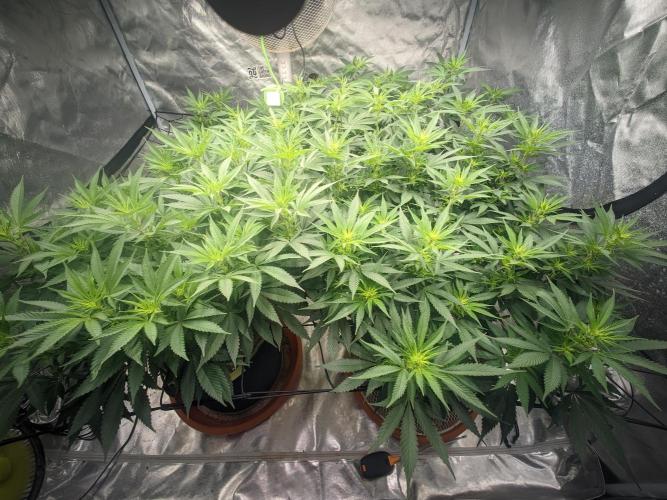
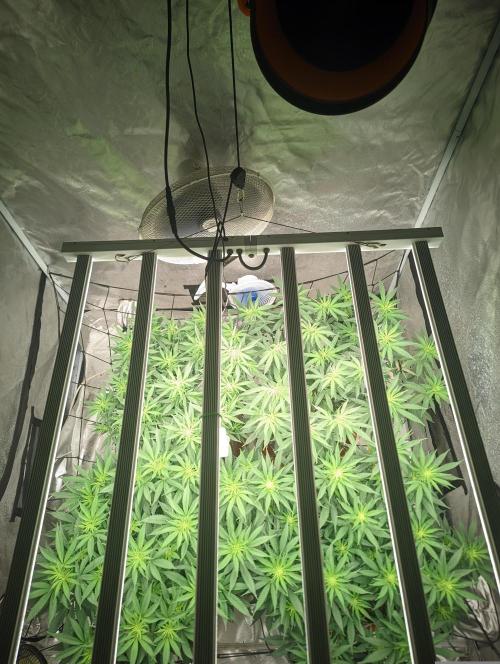
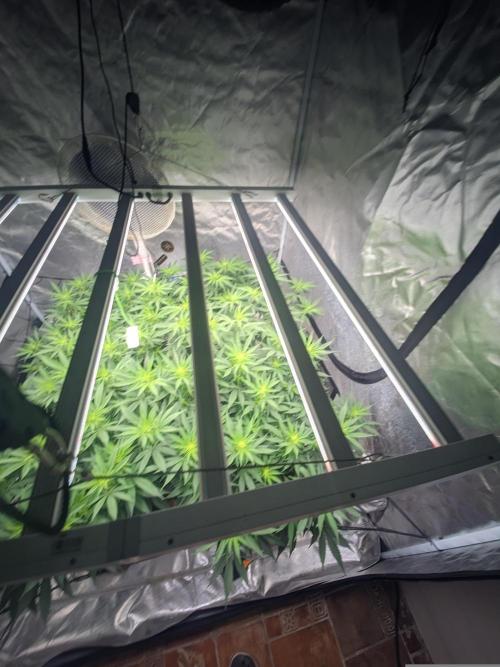
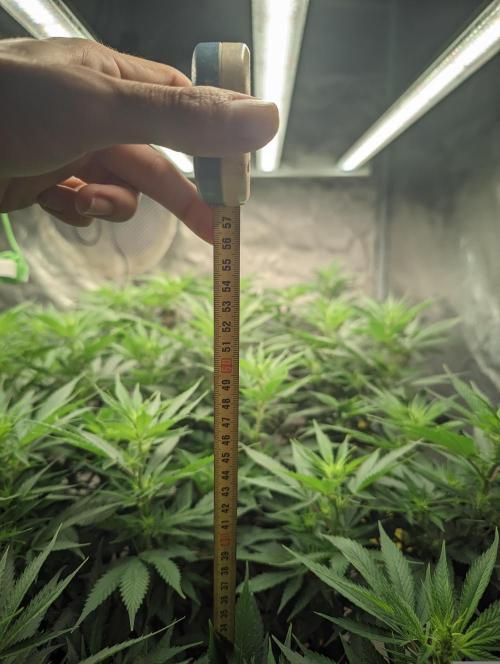
Chrisandweed Wow! Hahaha they are going strong! Hahaha maybe the most lush flowering I've had so far 🔥🔥🔥🔥 AND THIS IS NOTHING!!!! FOR THE NEXT GROW I'M GOING TO DO KOREAN NATURAL FARMING "KNF", which means making my own fertilizer myself, plus everything organic and that's going to be wild.
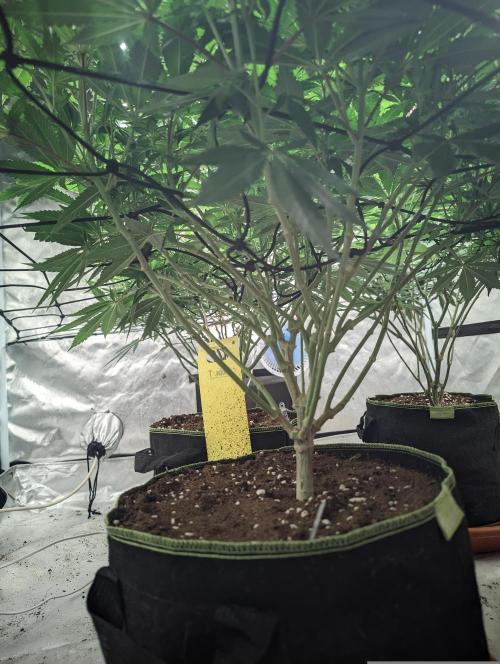
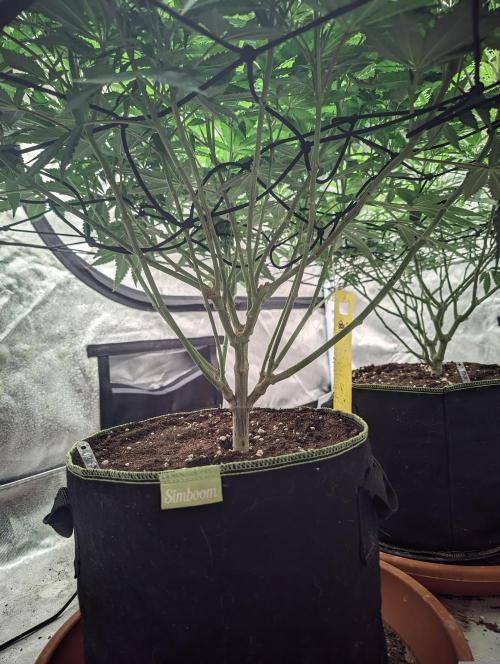
Well, regarding the plants, as I said, they're incredible hahaha they're really going for it, stretching a lot, with about 10cm between last Wednesday and this one in just the first week 😅.
Applying the silicon is also noticeable in their stems which are very sturdy, they don't feel flimsy, they're flexible but not soft, so they'll hold the weight of the buds very well, and when the time comes for fattening, I'll consider putting a second scrog net.
2 likes
comments
Share
15
Week 15. Flowering3mo ago
55 cm
Height
12 hrs
Light Schedule
20 °C
Day Air Temp
6.2
pH
20 l
Pot Size
3 l
Watering Volume
Nutrients 5
Calmag Boom
1 mll
Crecimiento Boom (Growth Boom)
0.5 mll
Silic Boom
0.5 mll
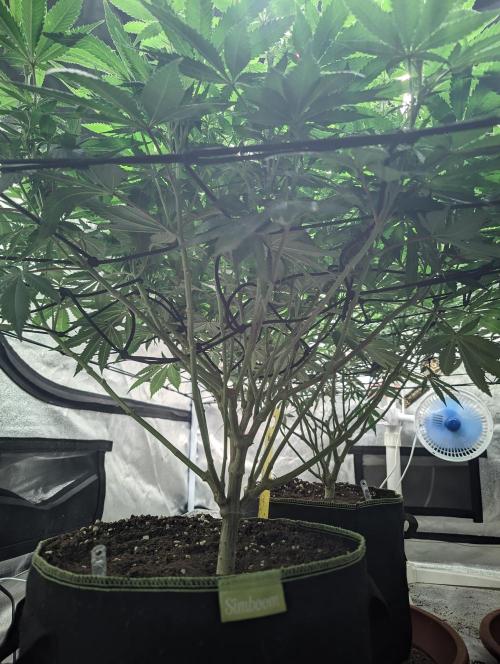
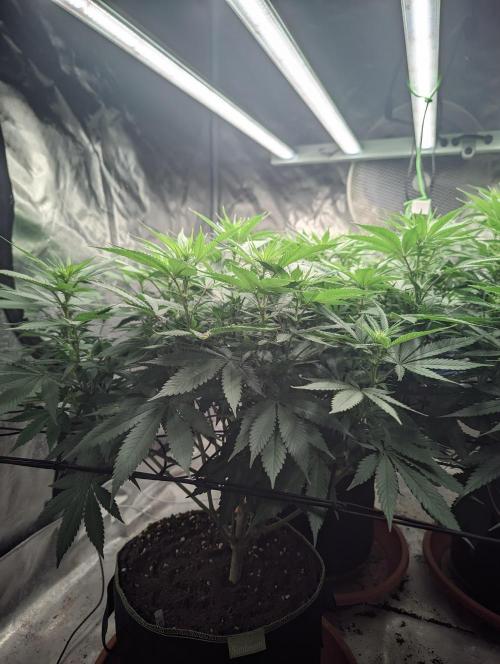
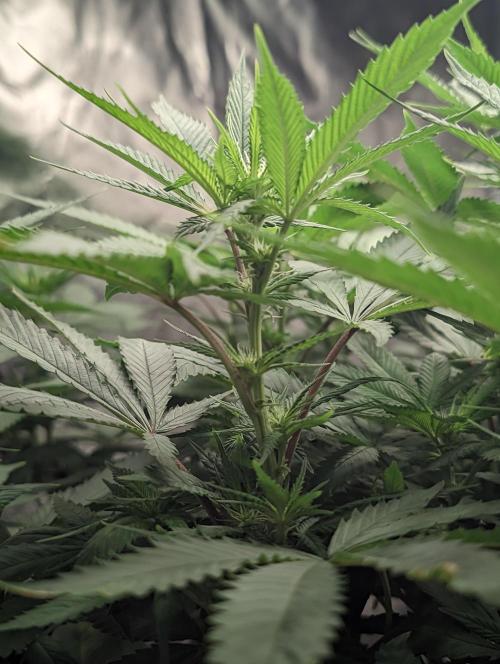
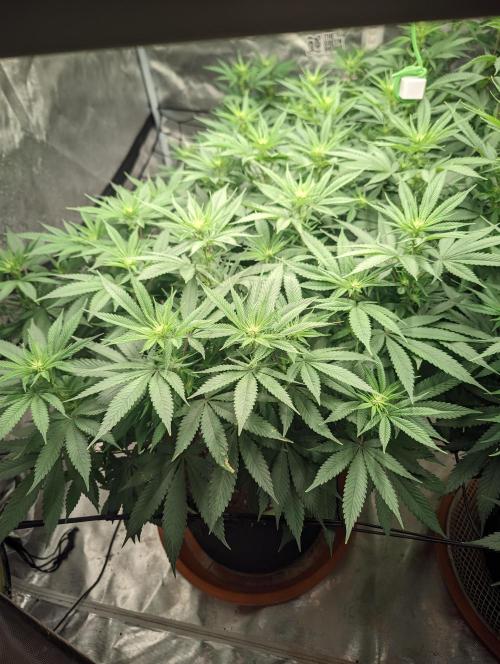
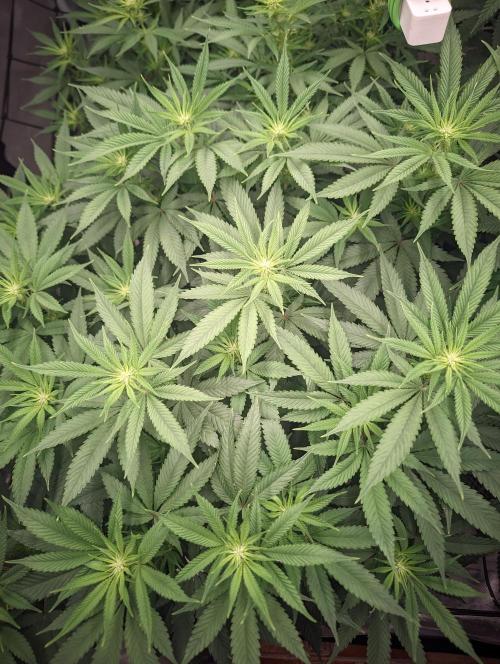
Chrisandweed I forgot to update the diary on Wednesday 😅, the photos are from Wednesday, May 6th, even though I'm updating it today, Saturday the 9th. They're doing really well, growing very strong and all, little by little.
2 likes
comments
Share
16
Week 16. Flowering3mo ago
55 cm
Height
12 hrs
Light Schedule
20 °C
Day Air Temp
6.2
pH
20 l
Pot Size
4 l
Watering Volume
Nutrients 7
Calmag Boom
1 mll
Silic Boom
0.5 mll

Floracion Boom (Bloom Boom)
1.5 mll
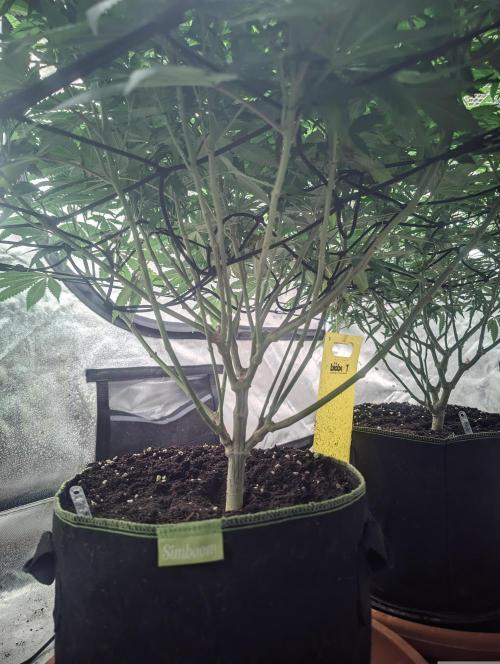
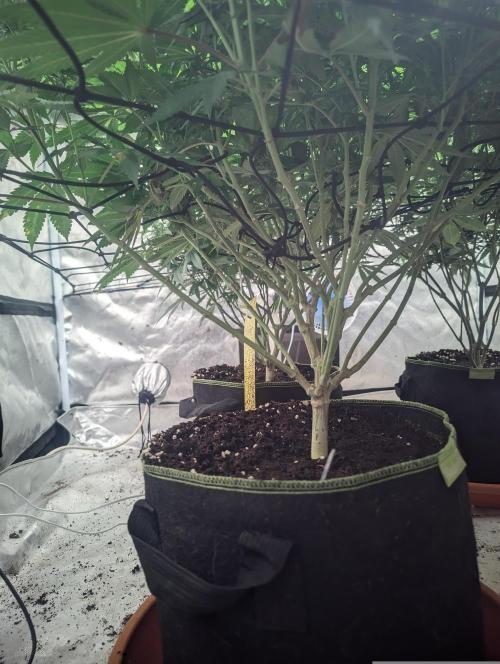
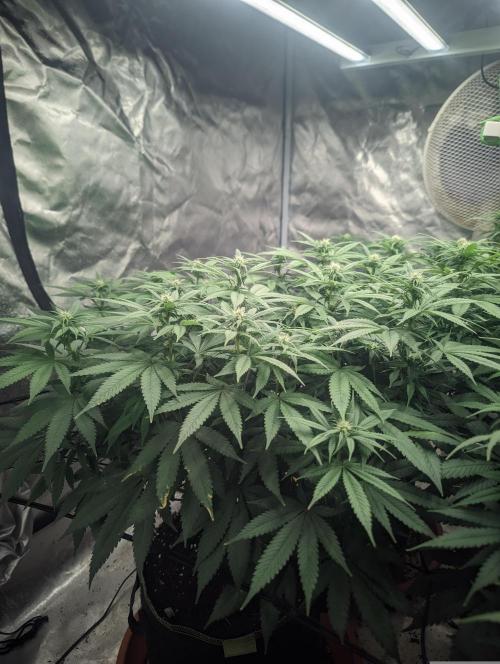
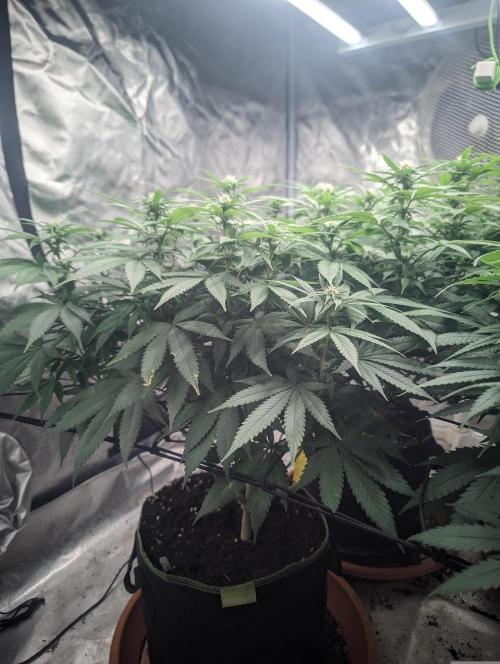
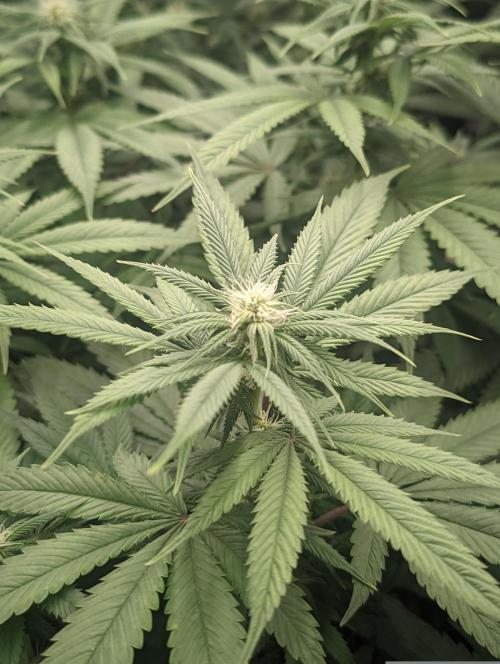
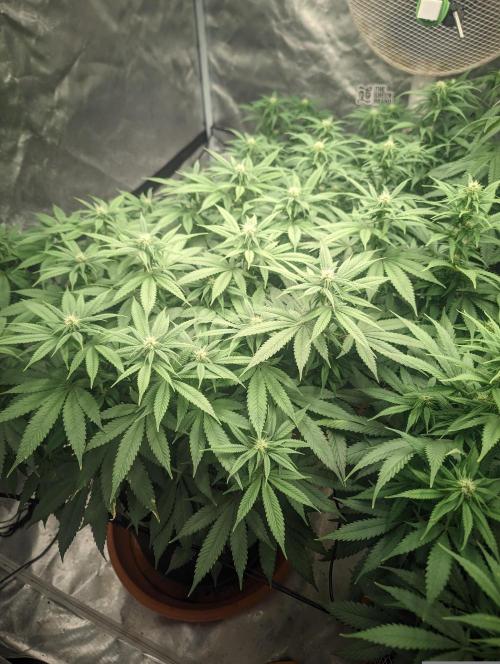
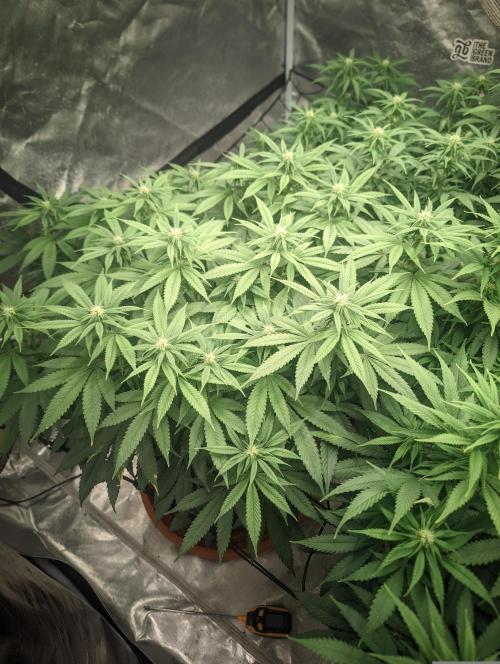
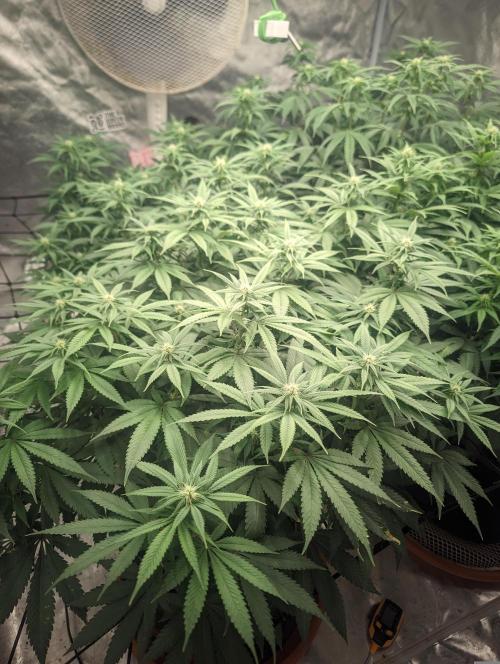
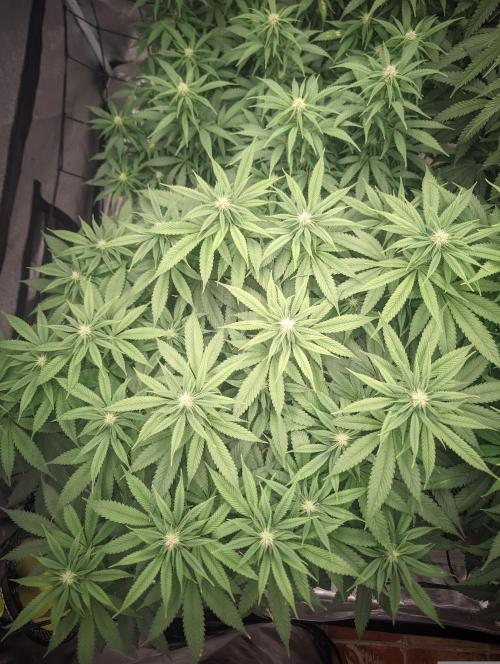
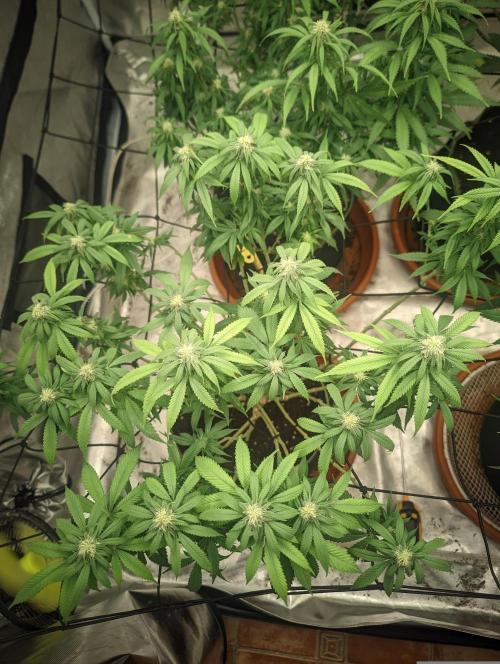
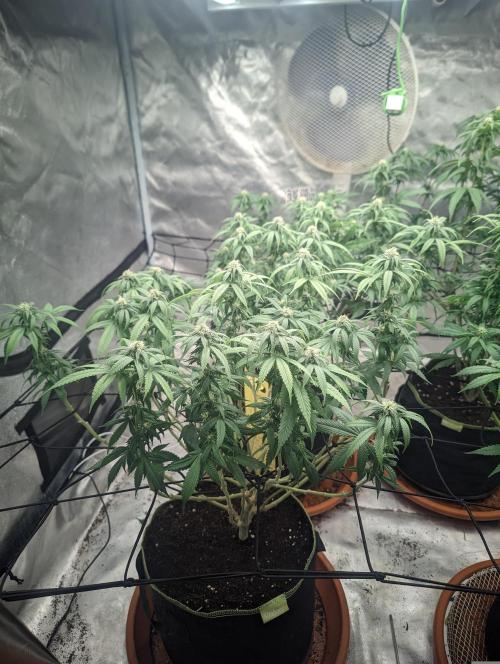
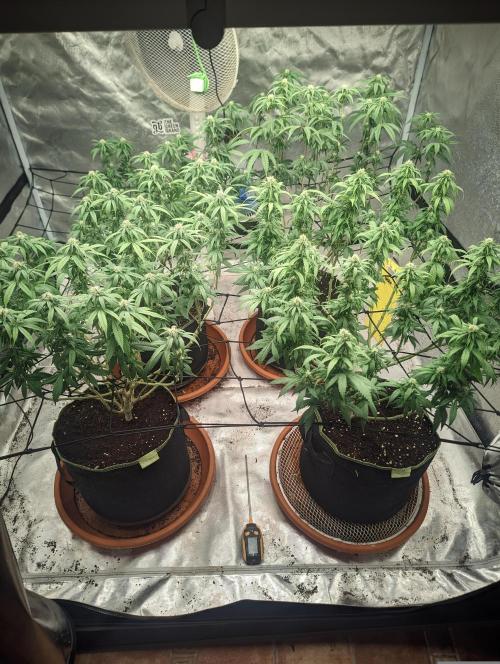
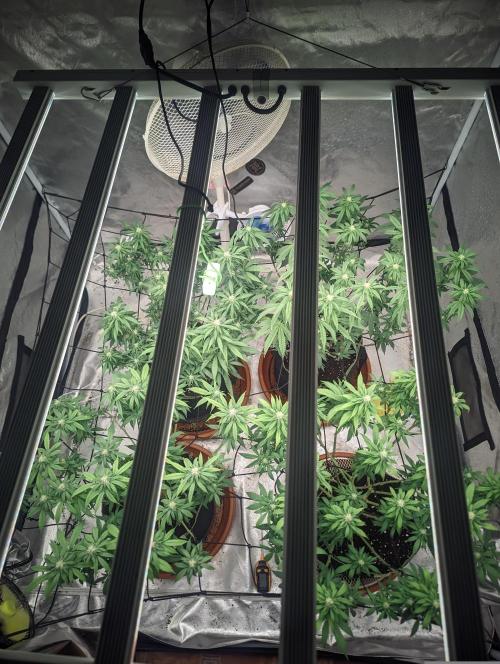
Chrisandweed Well, here we go, one week more, one week less.
This week, in principle, the stretching should end by this weekend and the beginning of next week. I've already started with the sugars, I've finished with the delta, and I've also started with the soil watering, not foliar, with the resin. This set will probably last this week and the next.
This weekend, I'll likely do the defoliation for "day 21," which is a bit delayed since I'm doing 14/14.
Then, I water every 2 or 3 days with 4L per plant and the nutrients; just in case I haven't mentioned it, I alternate watering with and without, the without isn't without fertilizer per se, I either add calmag or a little bit of silica using diatomaceous earth, I do a light watering basically between waterings with fertilization.
Resin is starting to come out, almost imperceptible for now... But it's coming xD.
4 likes
comments
Share
Used techniques
Defoliation
Technique
17
Week 17. Flowering3mo ago
55 cm
Height
12 hrs
Light Schedule
20 °C
Day Air Temp
6.2
pH
20 l
Pot Size
4 l
Watering Volume
Nutrients 7
Calmag Boom
1 mll
Silic Boom
0.5 mll
Floracion Boom (Bloom Boom)
1.5 mll
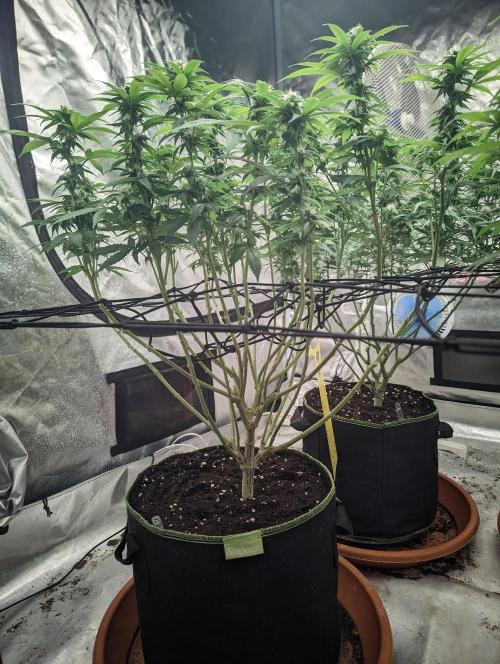
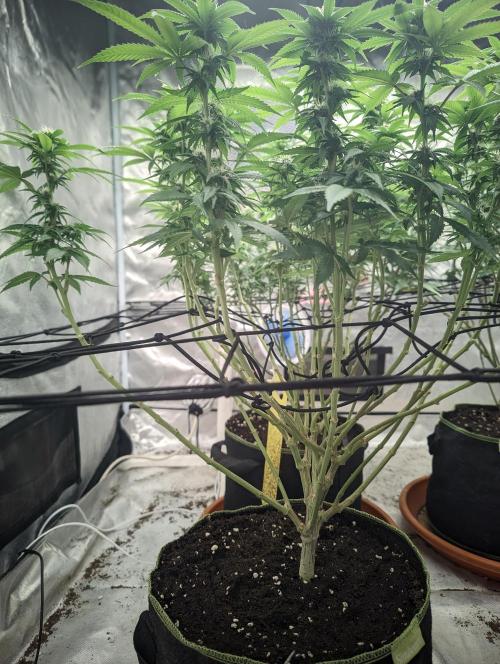
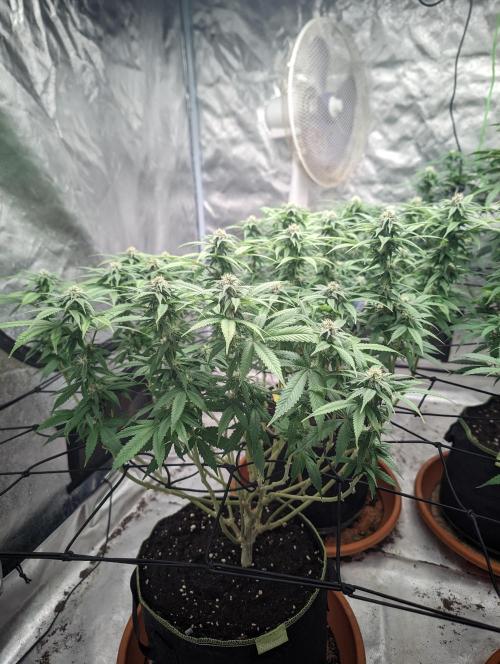
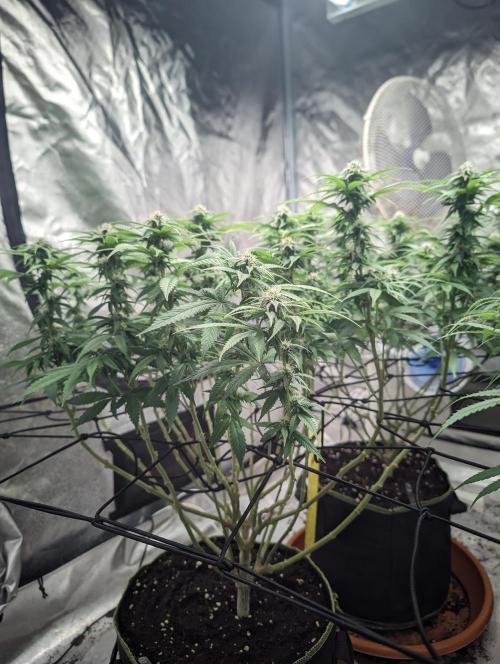
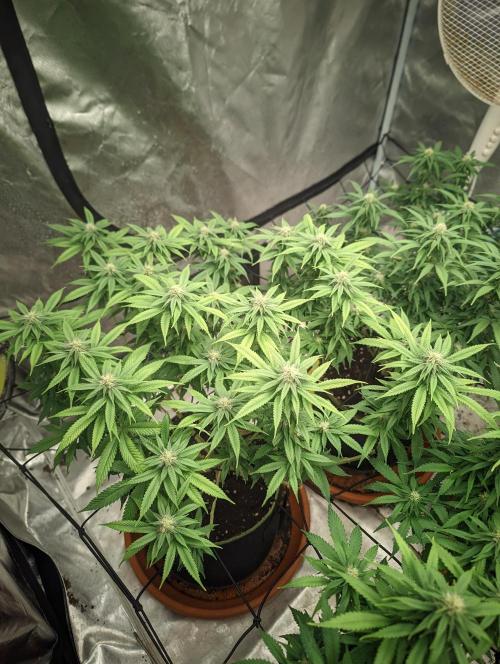
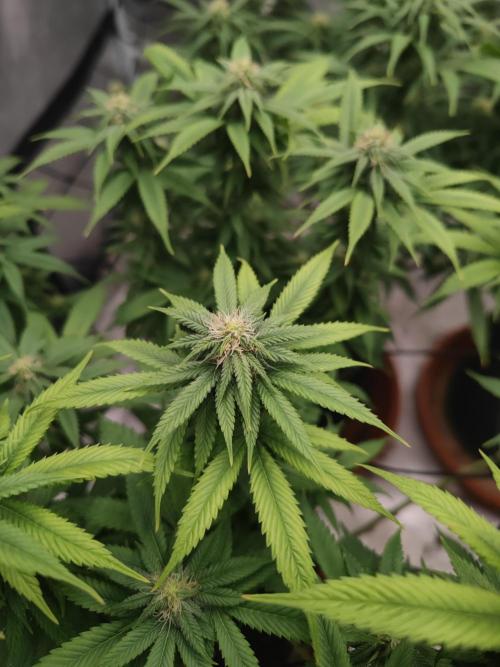
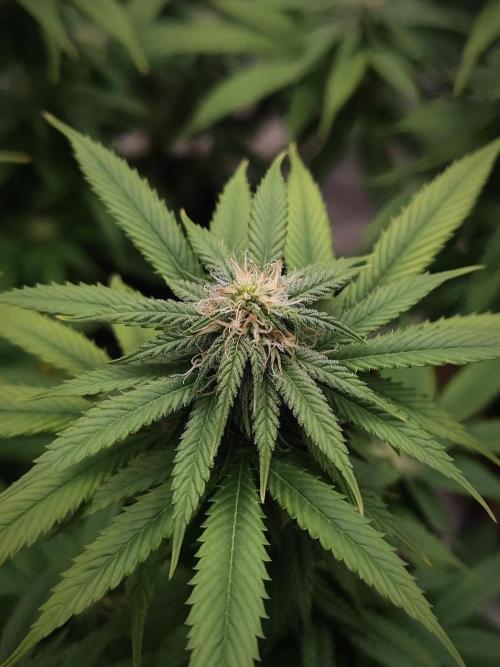
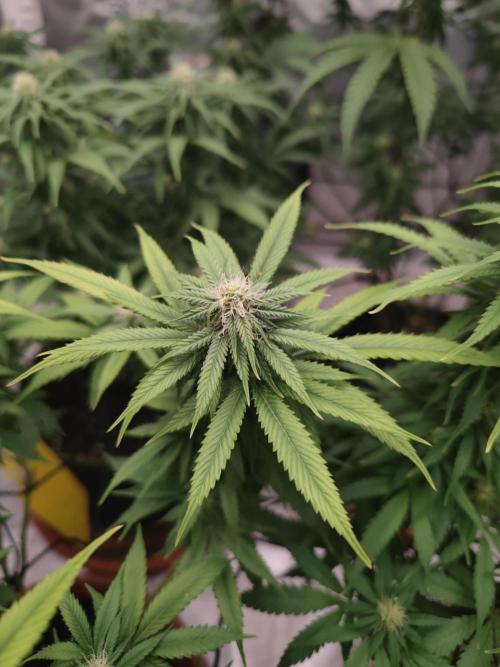
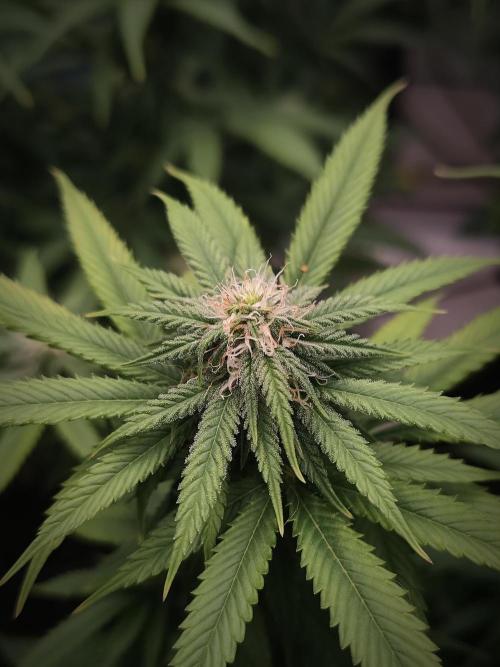
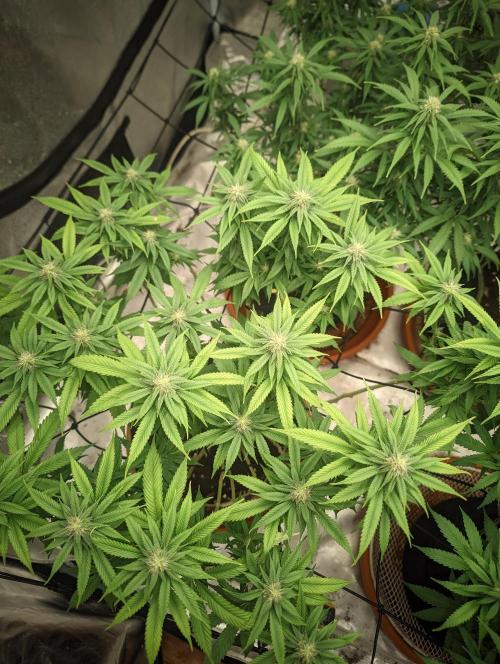
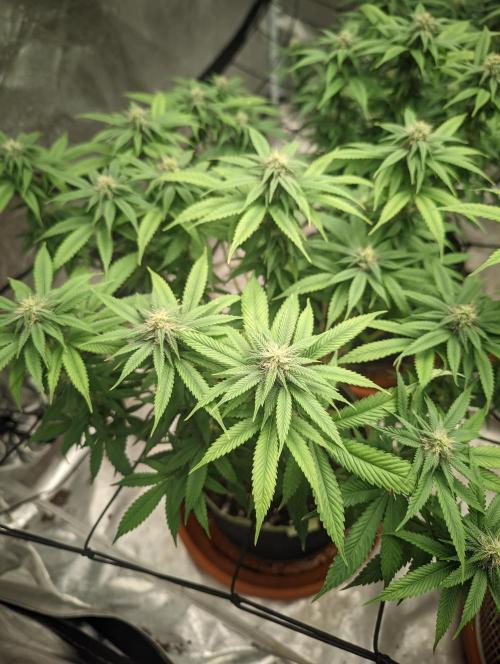
Chrisandweed Well, the nice photos are starting to come in hahahaha
I gave them the cut this past Sunday to get them ready for fattening up. Let's see how it goes.
1 like
comments
Share
18
Week 18. Flowering3mo ago
55 cm
Height
12 hrs
Light Schedule
20 °C
Day Air Temp
6.2
pH
20 l
Pot Size
4 l
Watering Volume
Nutrients 6
Calmag Boom
1 mll
Floracion Boom (Bloom Boom)
1.5 mll

Enzym Boom
2 mll
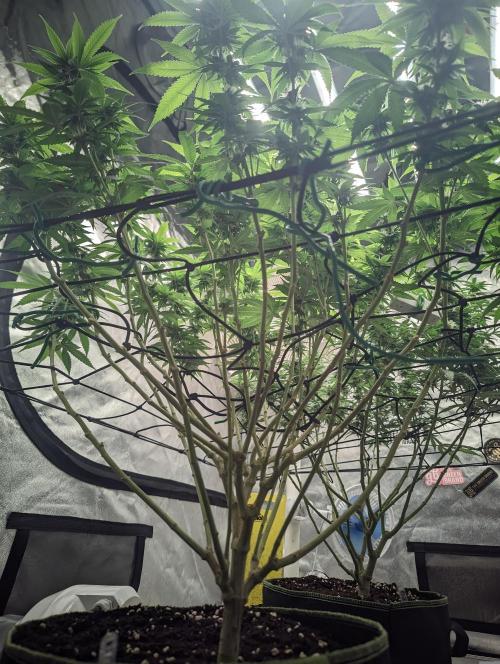
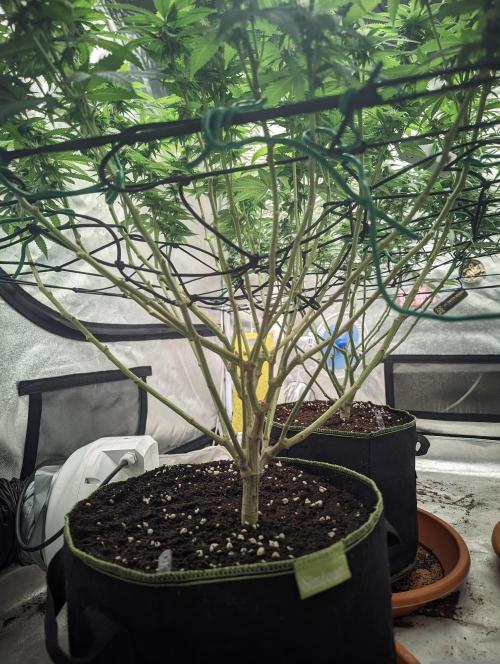
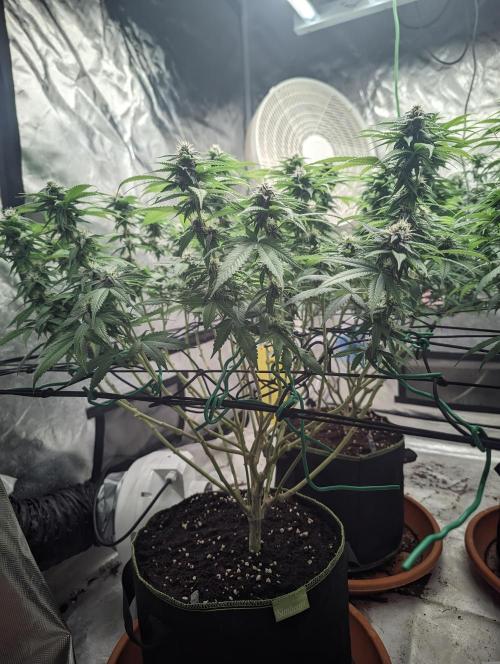
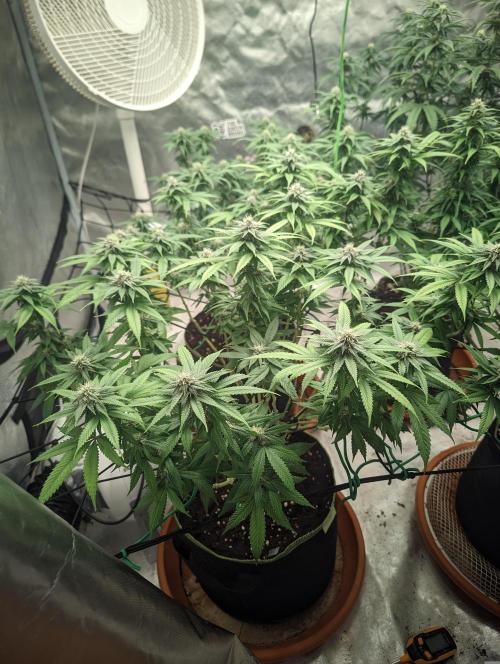
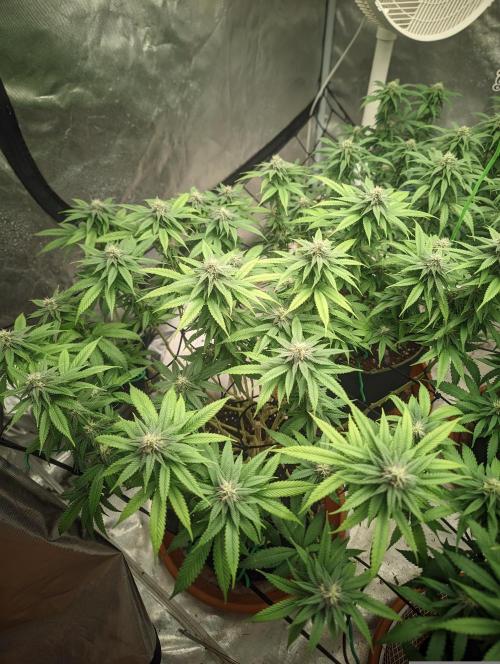
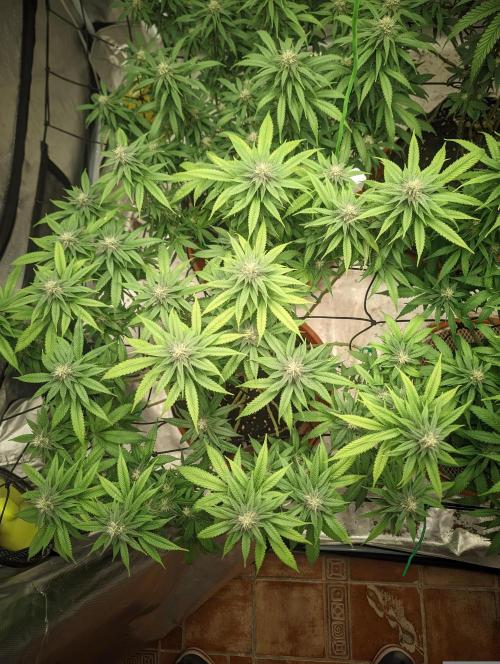
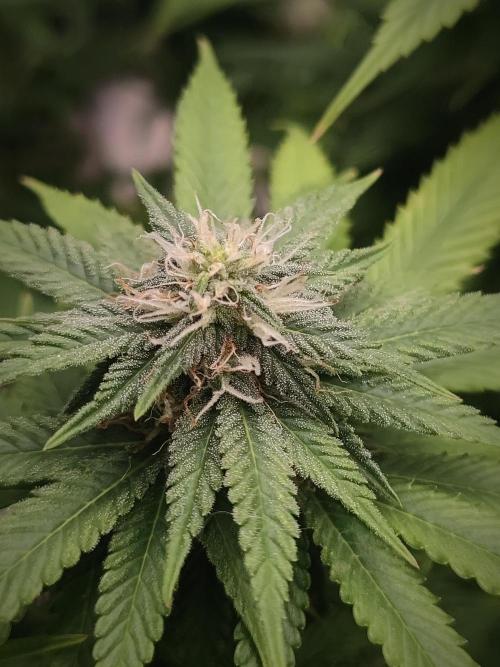
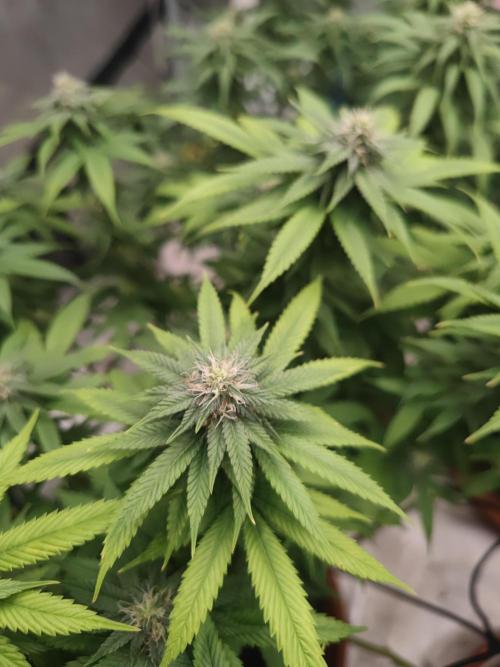
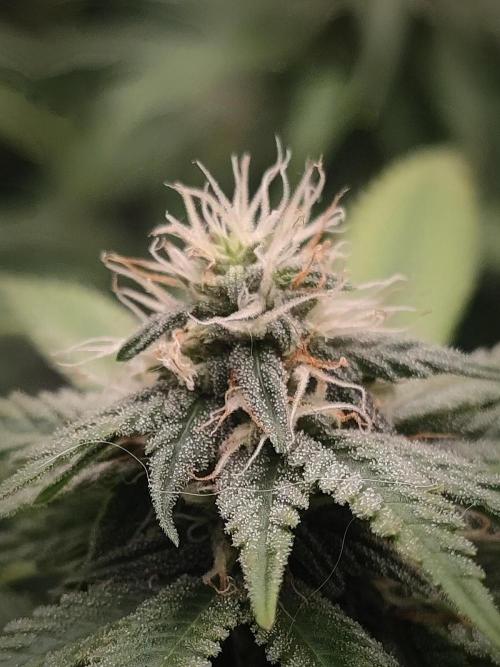
Chrisandweed Well, you can already tell they're starting to fatten up and produce resin, little by little it smells more hahahaha. I'm dying for the day of sacrifice to arrive ✂️✂️😂🔥.
About this one, it smells reeeally good, definitely sweet, and apparently it's the fastest one in the group, buuuuuut I understand that it runs a lot at first but then the maturation takes longer than a day without bread. I don't know xD we'll see.
1 like
comments
Share
19
Week 19. Flowering2mo ago
55 cm
Height
12 hrs
Light Schedule
30 °C
Day Air Temp
6.2
pH
20 l
Pot Size
4 l
Watering Volume
Nutrients 7
Calmag Boom
1 mll
Floracion Boom (Bloom Boom)
1.5 mll
Enzym Boom
2 mll
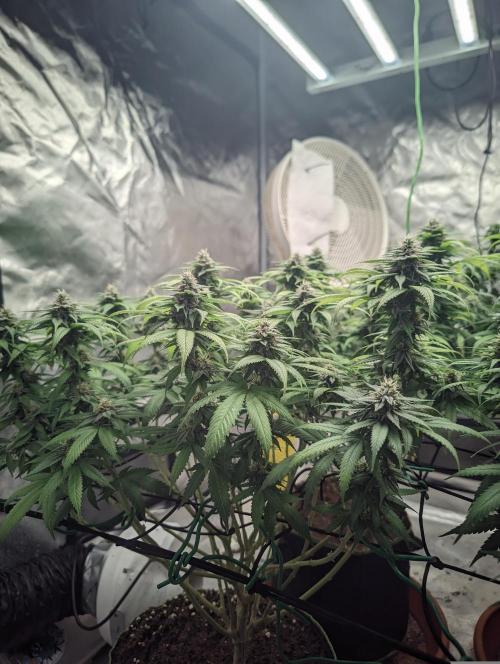
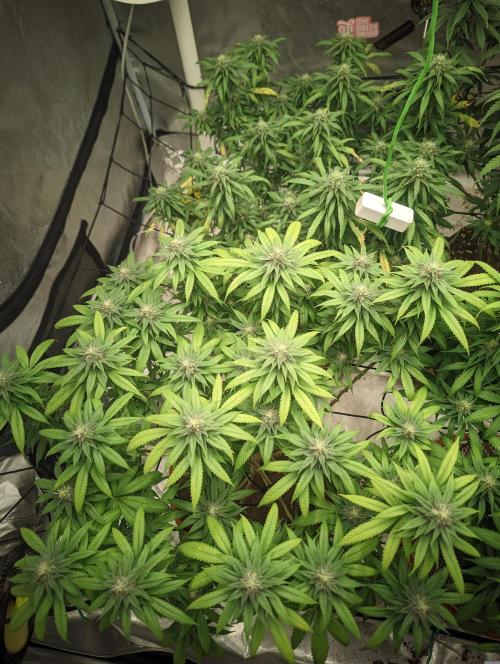
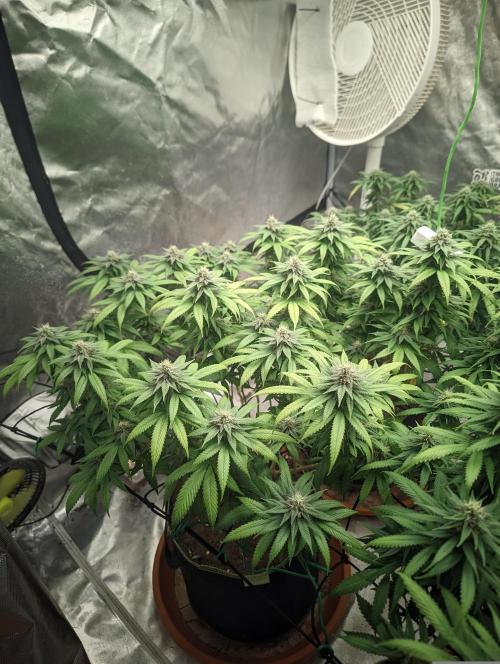
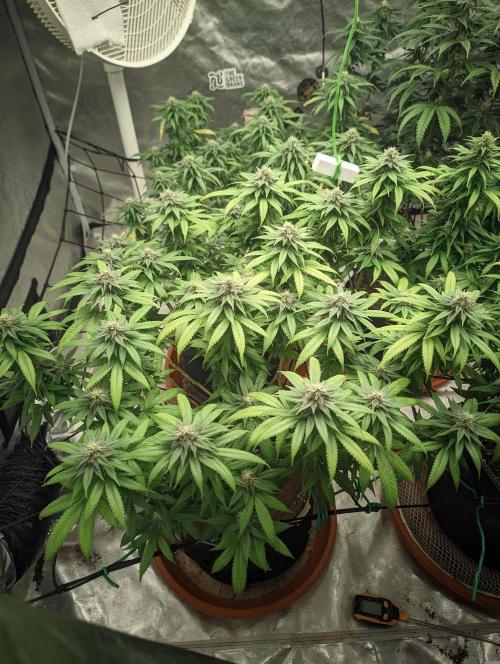
Chrisandweed Puues it's getting less and less.
They're all suffering from over-fertilization, luckily, this one and the Pakistan are handling it much better.
The critical ones are definitely over-fertilized 😅.
In the next watering, I'll give them all just water with a medium dose of the Flush product from the brand I keep using. In the following one, a bit of food, and then in the next one enzymes and back to normal waterings; not for nothing, I feel like there’s still at least a month left before I start with the cuts.
PS: IMPORTANT, I'm going to provide data that I usually didn't include due to the "difficulty" in many quotes since it's difficulty due to a specific situation, of taking it out and as I mentioned before, there were blockages and such... Well, I've measured the drainage water of each plant. In this one, the pH values are more or less okay, but the EC was like bleach! In this plant, the pH was 6.33 and the EC was 10.25 MILISIMENS! not microsimens... A super high toxicity! Very similar to the other 4. Basically, my waterings were generally 2 a week, one with base fertilizers specific to each phase, and the second watering was with enzymes usually with calmag (a very salty fertilizer) and on top of that, normally the waterings were just right, there was usually no drainage, so the salts in the substrate were accumulating up to these points. Today, after several days of letting the pots dry, even looking for a bit of water stress, I did a 6L watering per pot of water with the Flush product to flush and clean the salts; this time the 6L was the perfect amount to drain enough water to lower these EC levels, and also in the saucer, I could measure them and get the result I mentioned earlier.
It all started because in the Kritical GB I felt a PK blockage and the plant started eating its leaves to get magnesium; if I had seen it as a deficiency of magnesium or calcium, I would have messed up terribly!
1 like
comments
Share
20
Week 20. Flowering2mo ago
55 cm
Height
12 hrs
Light Schedule
30 °C
Day Air Temp
6.2
pH
20 l
Pot Size
4 l
Watering Volume
Nutrients 8
Calmag Boom
1 mll
Floracion Boom (Bloom Boom)
1.5 mll
Enzym Boom
2 mll
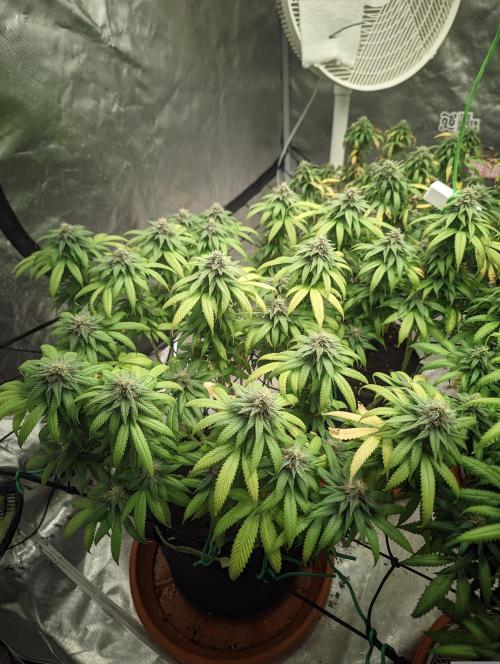
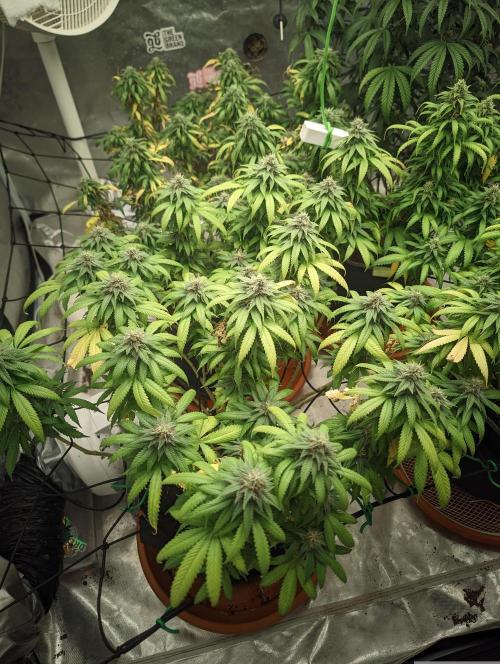
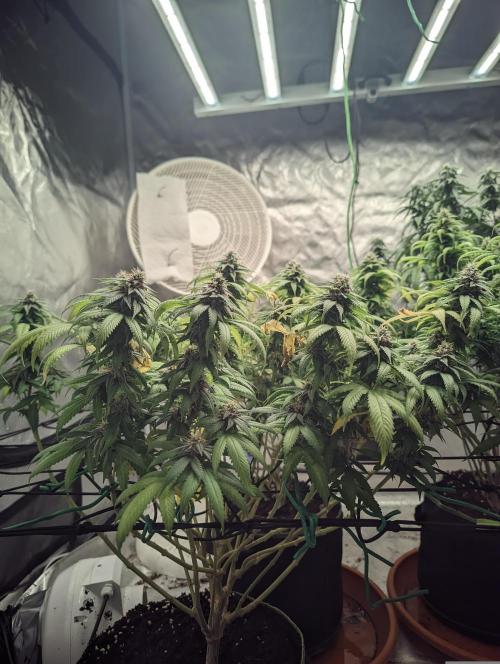
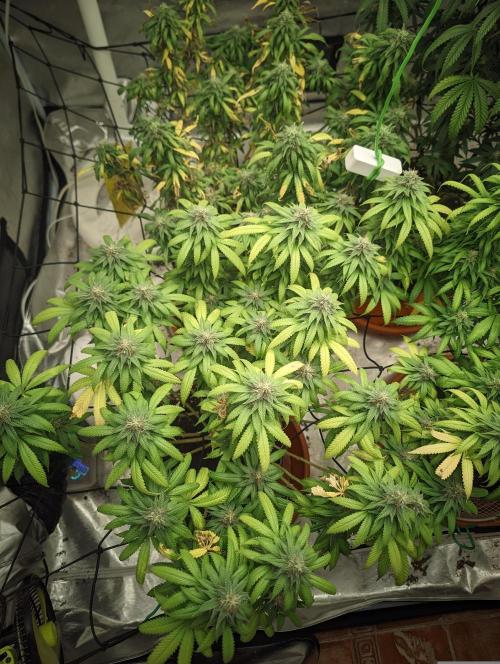
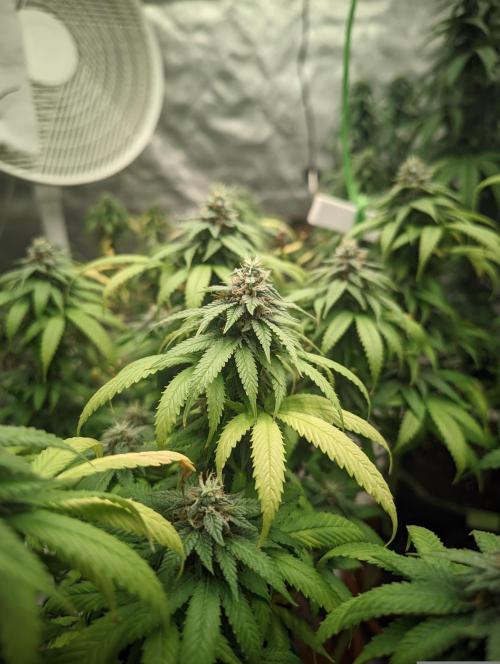
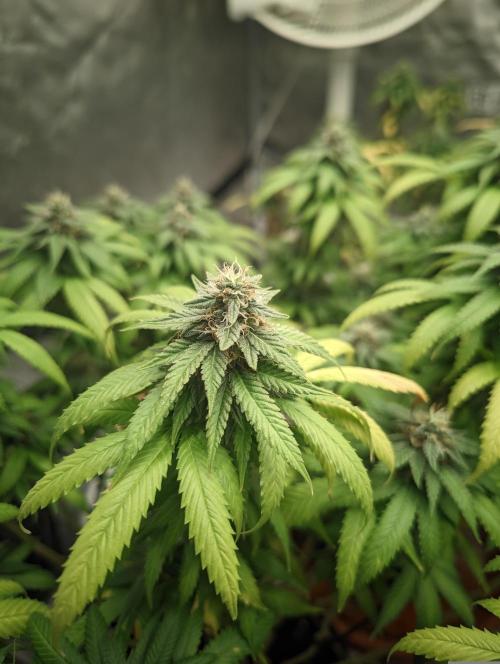
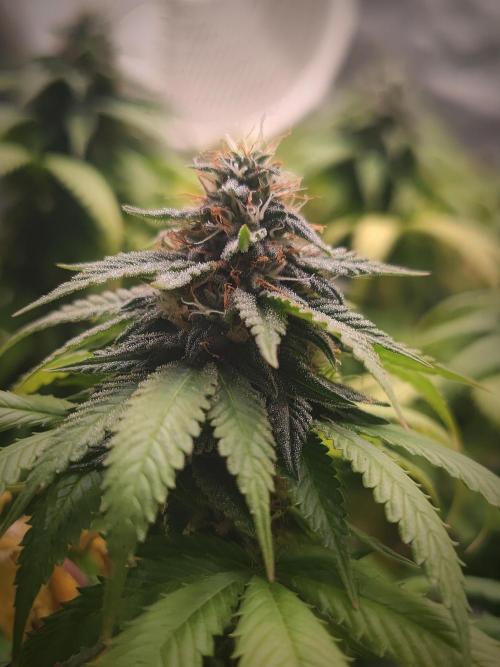
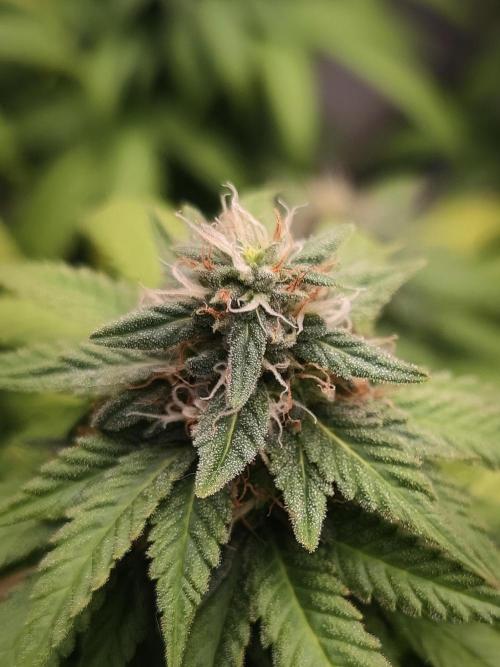
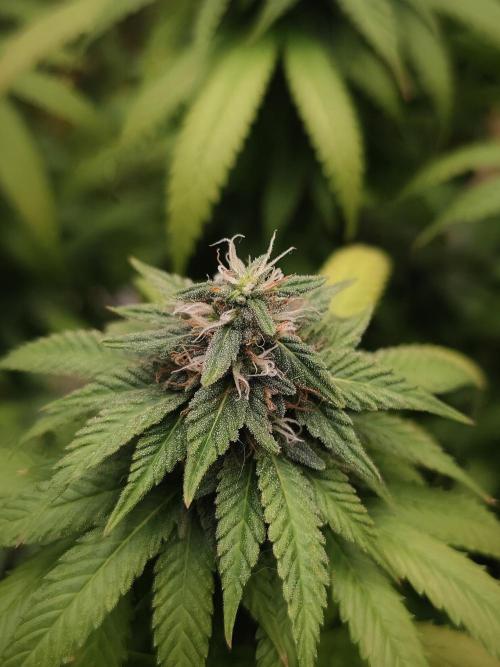
Chrisandweed Well, I already mentioned that the plants suffered from a massive salt buildup. After the flush wash last Sunday, today, Wednesday, June 10th, it was time for the next watering. In this one, I only used the Enzym Boom product to break down all the dead and really messed up roots and release sugars, and the Resin Boom to provide amino acids and the goodies it has, since this one doesn't raise the EC much at all. The plants generally feel good, except for the Bilbo which, well 😅, is my curse with the Critical Bilbo. For whatever reason, I always mess it up with them xD, either with the seed, in the vegetative stage, or in flowering. Still, I have to be thankful that it hasn't been a huge problem like in other occasions and that maybe a third of the plant has suffered the most, and luckily the rest is doing well. The main buds, or at least the tallest ones, are really fat and smell great, and they still have some swelling to do.
1 like
comments
Share
21
Week 21. Flowering2mo ago
55 cm
Height
12 hrs
Light Schedule
30 °C
Day Air Temp
6.2
pH
20 l
Pot Size
5 l
Watering Volume
Nutrients 8
Calmag Boom
1 mll
Floracion Boom (Bloom Boom)
1.5 mll
Enzym Boom
2 mll
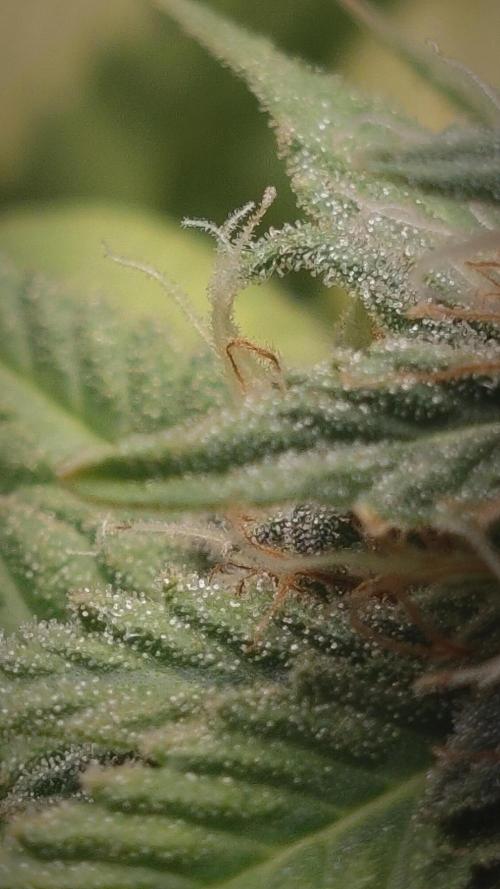
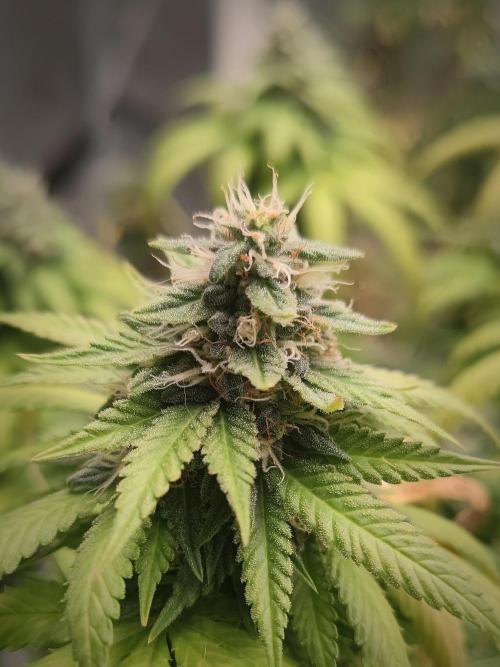
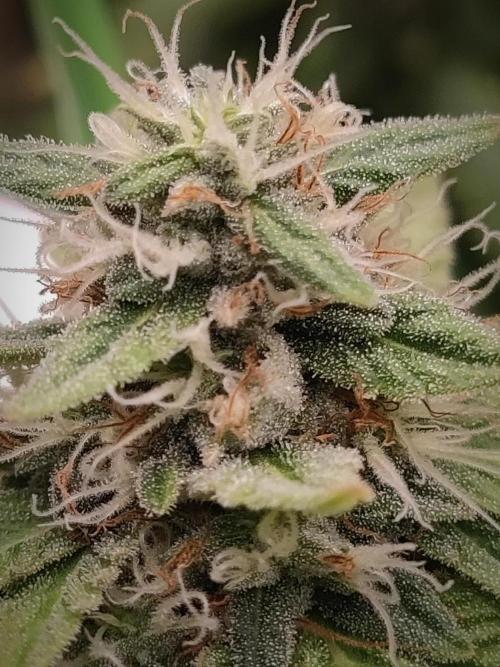
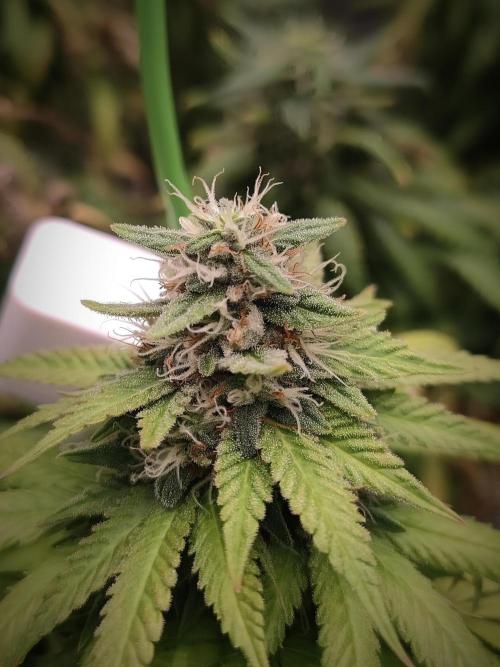
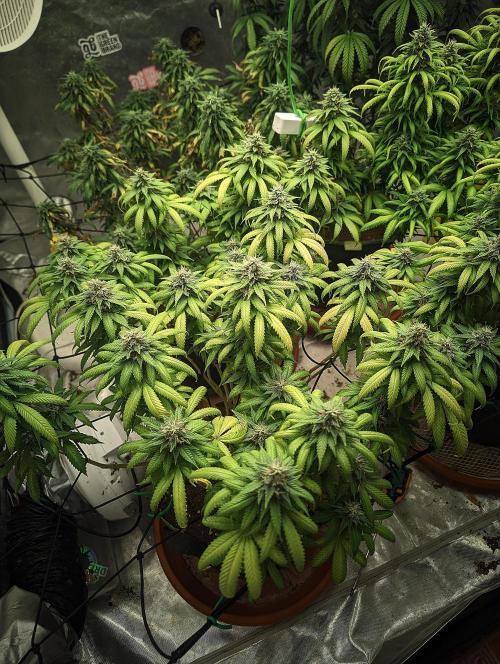
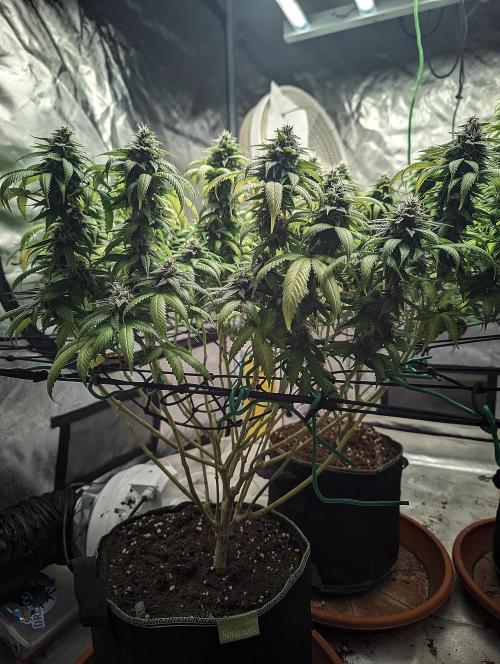
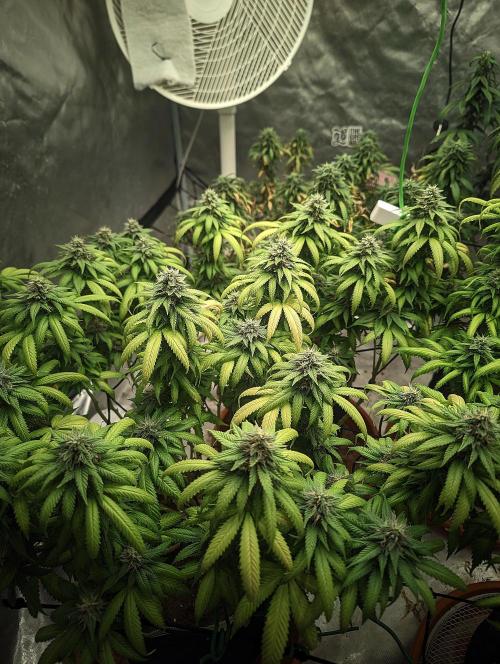
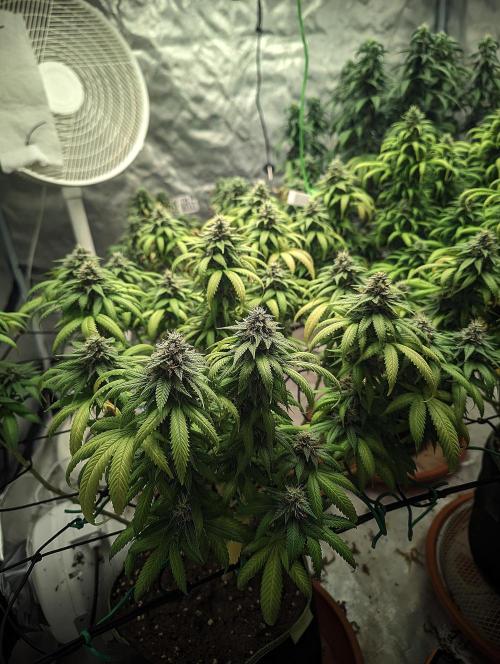
Chrisandweed Aaaaahora the resin madness begins jajajajajaja
You can already see buds with amazing resin clusters xD plus, just like the others, you can tell it's already fattening up. I can see that out of the 4 in the grow, this one might be the first I cut, buuuut we'll see xD
2 likes
comments
Share
22
Week 22. Flowering2mo ago
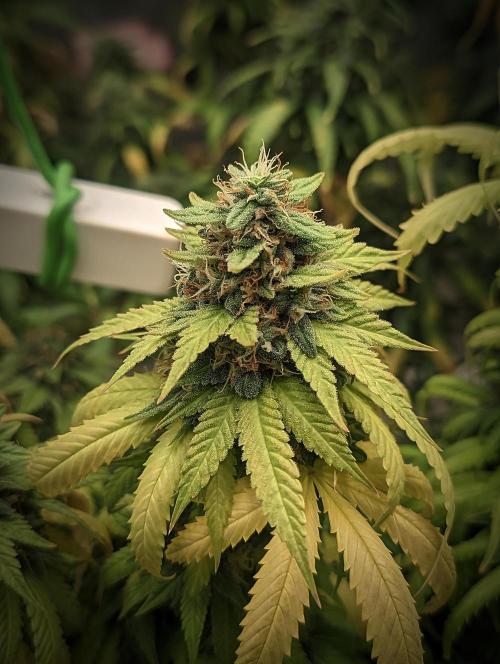
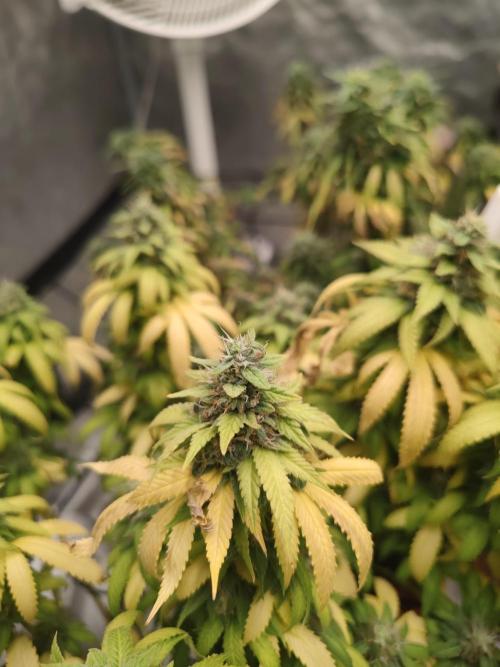
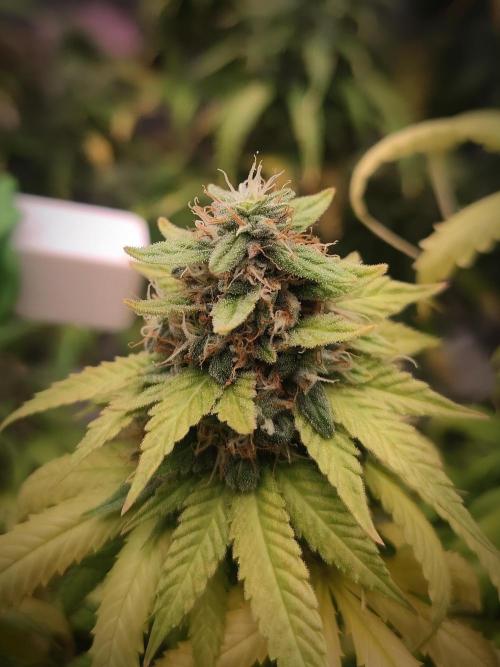
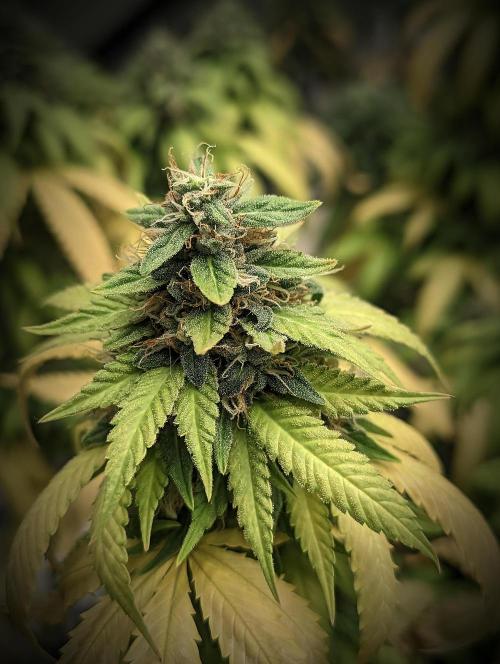
55 cm
Height
12 hrs
Light Schedule
30 °C
Day Air Temp
6.2
pH
20 l
Pot Size
5 l
Watering Volume
Nutrients 3
Floracion Boom (Bloom Boom)
1.5 mll
Enzym Boom
2 mll

Candy Boom
1.5 mll
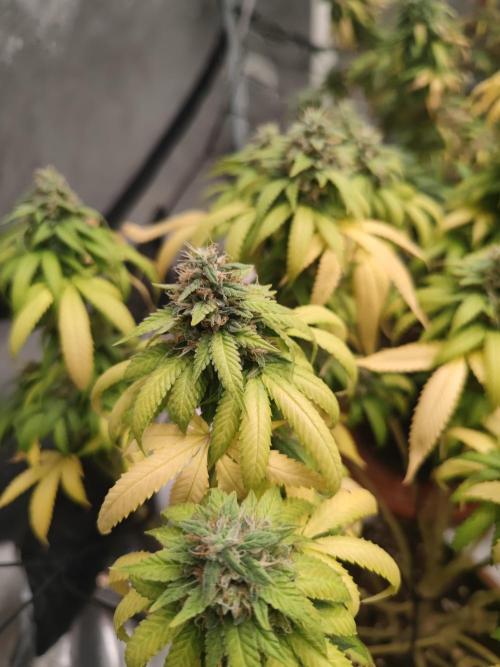
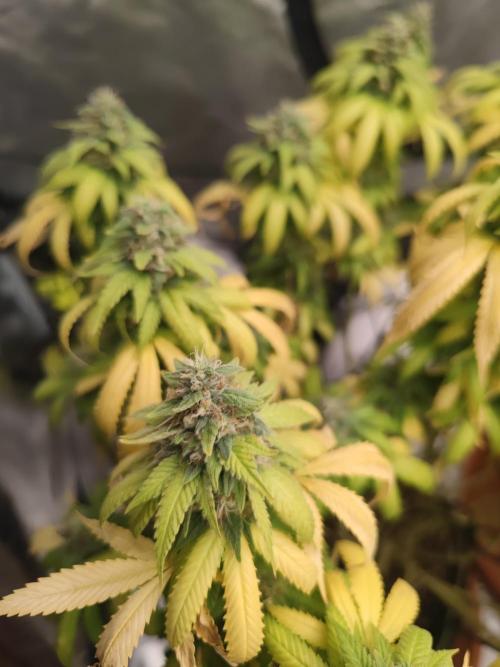
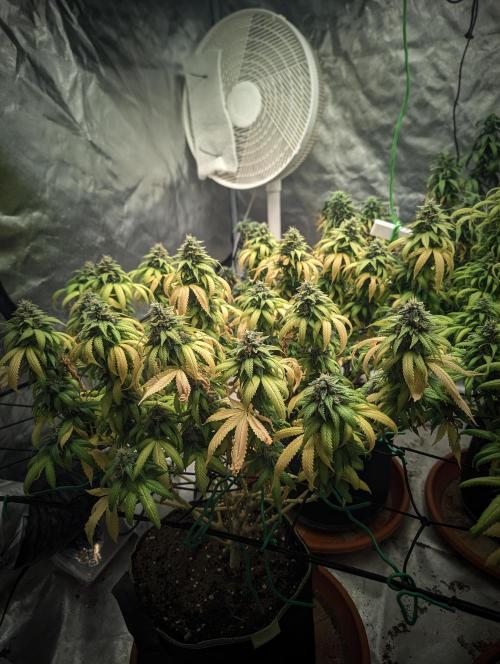
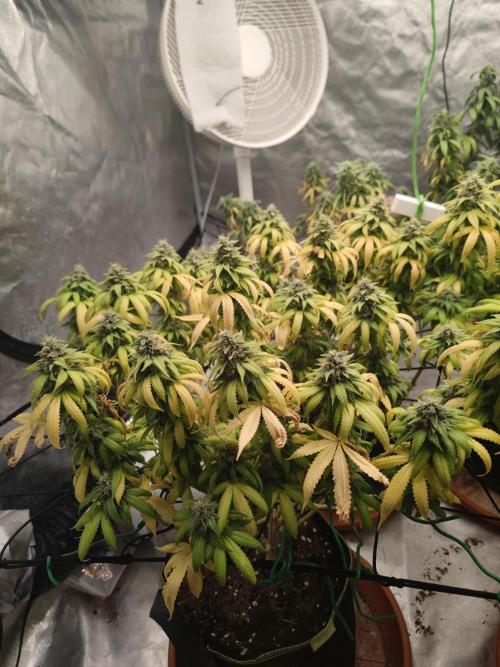
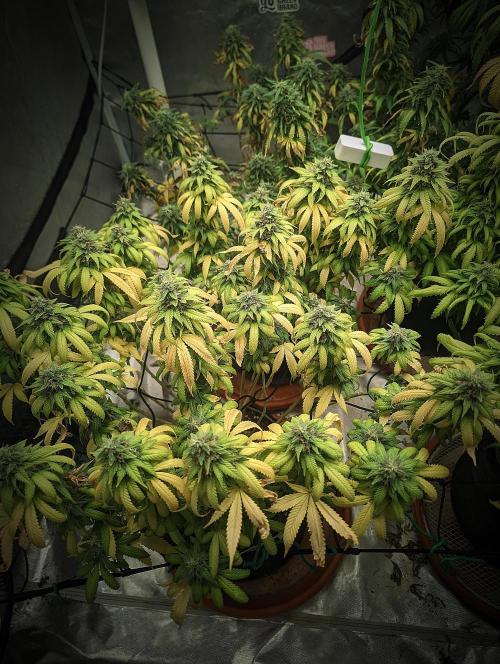
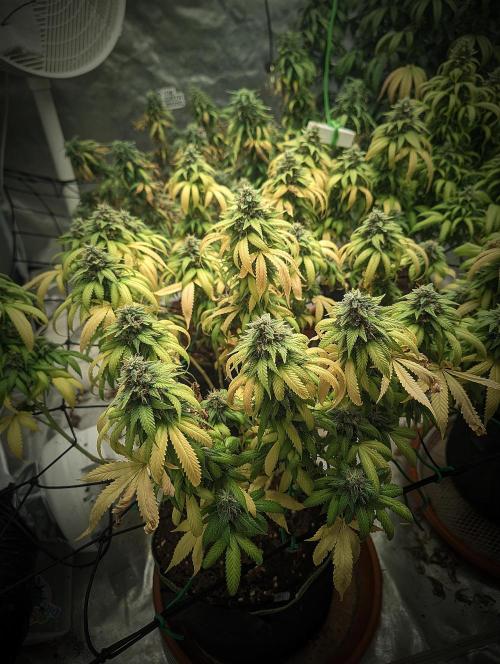
Chrisandweed Well, the golf balls on this plant are looking fatter by the day, and not too bad, hey? Hahahahaha. The smell is soooo sweet, and the resin feels really abundant at this point. With this strain, I swear it needs one more watering with nutrients, and then I'll start a root wash for 2 weeks and harvest... I'm still not sure because, like I said, they're being stubborn, hahahahaha, but it's inevitable that they're running out of time.
I swear it's absolutely disgusting to upload a video to the platform; I probably won't upload more videos. It's like 15 minutes of having the phone with the screen on this page while it uploads, with everything completely bugged and working terribly. It's like this for every video I can upload, when it wasn't like this at all before, and I know it's not my connection because even connecting via cable with a hub works fine. And the phone I use is a Mi11 Ultra; it might not be the most modern today, but it's still a beast of a phone.
1 like
comments
Share
23
Week 23. Flowering1mo ago
55 cm
Height
12 hrs
Light Schedule
30 °C
Day Air Temp
6.2
pH
20 l
Pot Size
6 l
Watering Volume
Nutrients 1
Enzym Boom
2 mll
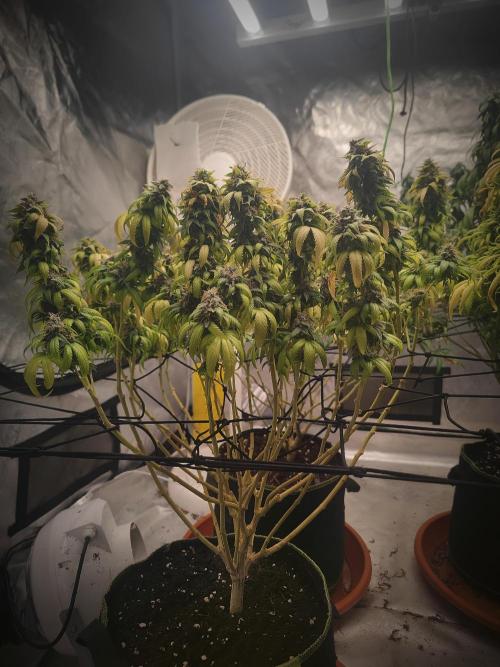
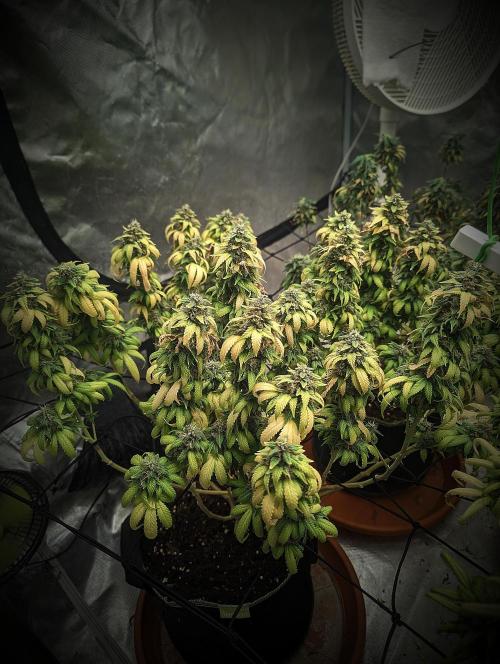
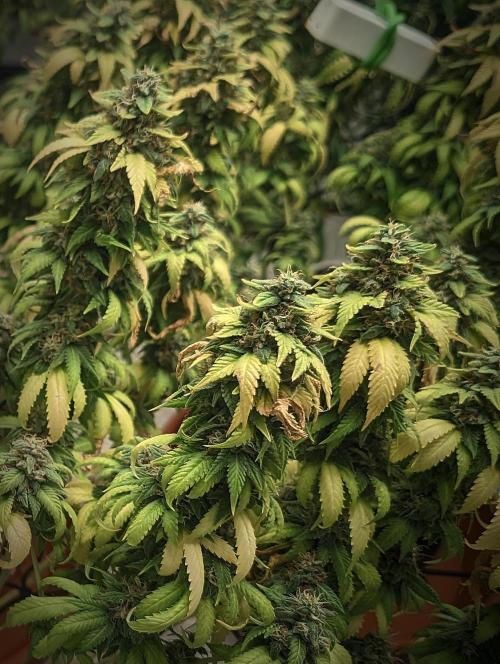
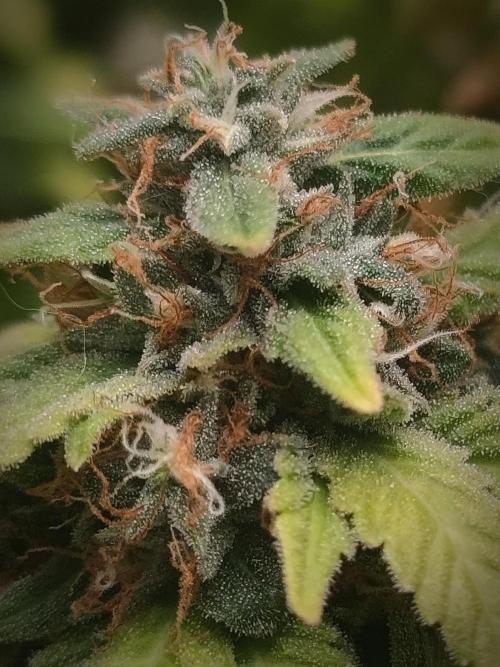
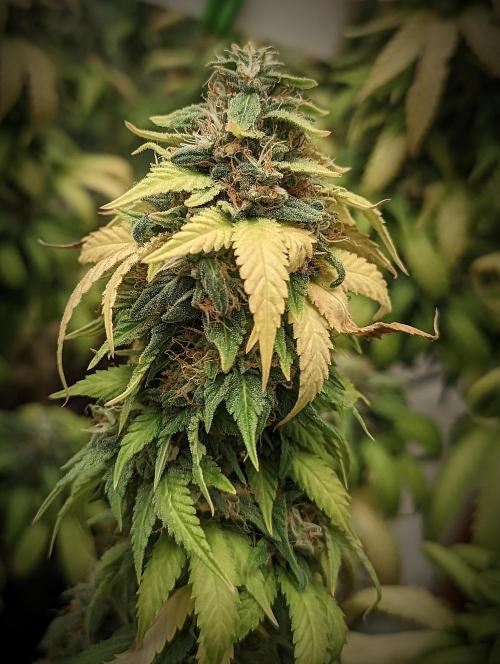
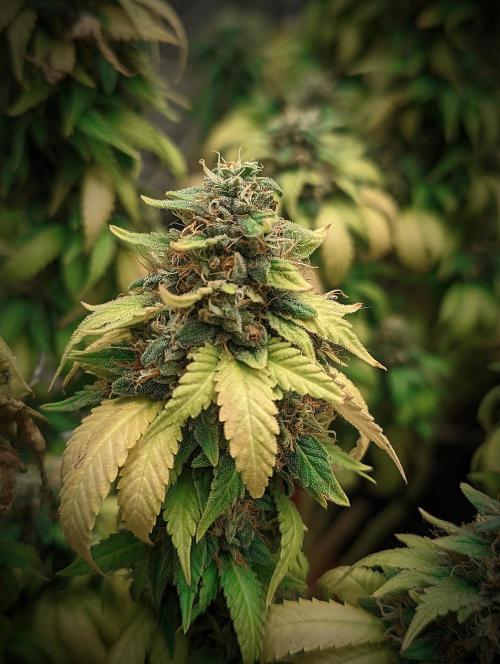
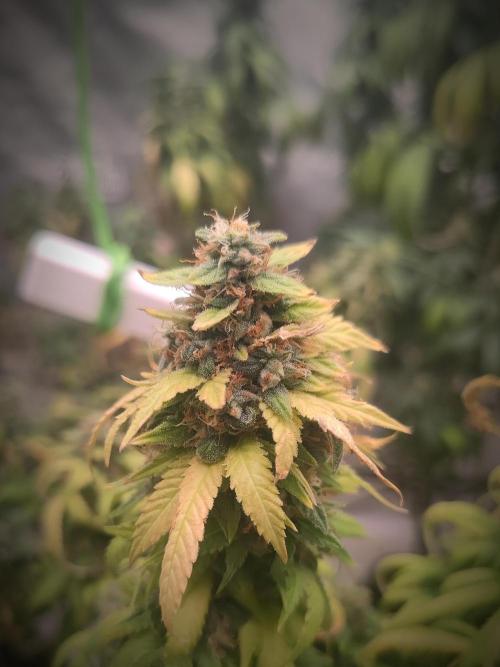
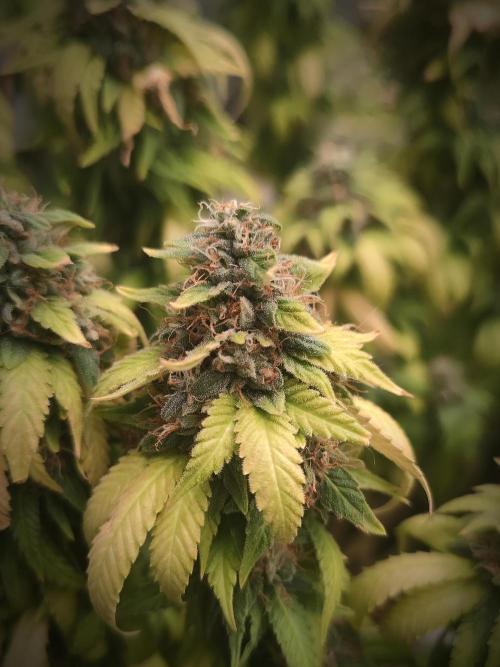
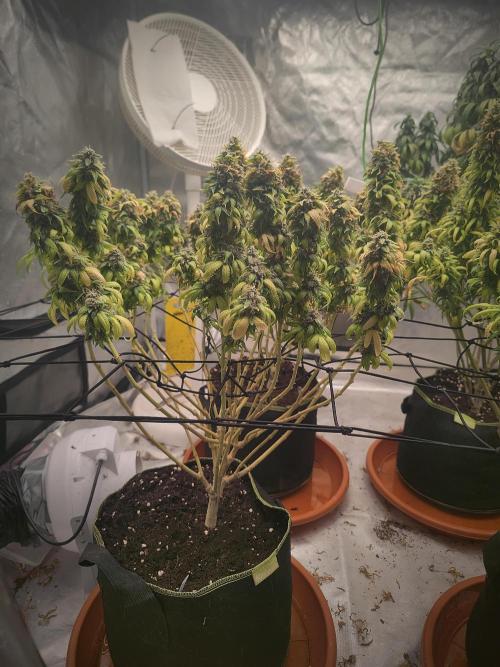
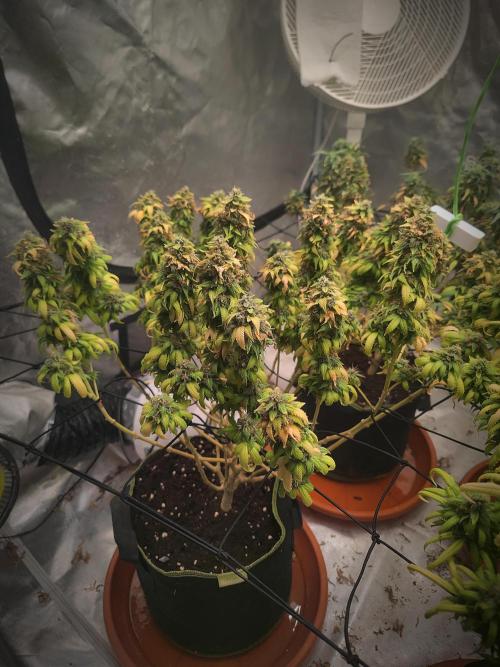
Chrisandweed I think this one has about 2 weeks left, but maybe that's even too much. Yesterday I did a substrate flush with 10L of water, and when it dries, I'll use Flush for the next watering to finish up the cycle.
1 like
comments
Share
24
Week 24. Flowering1mo ago
55 cm
Height
12 hrs
Light Schedule
30 °C
Day Air Temp
6.2
pH
20 l
Pot Size
6 l
Watering Volume
Nutrients 1

Flush Boom
1.5 mll
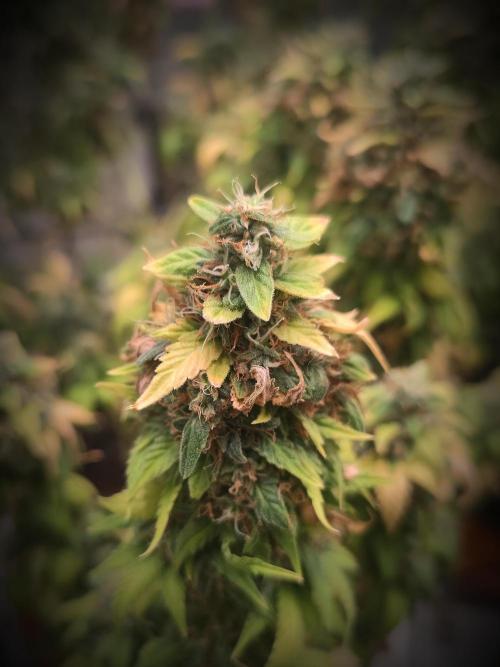
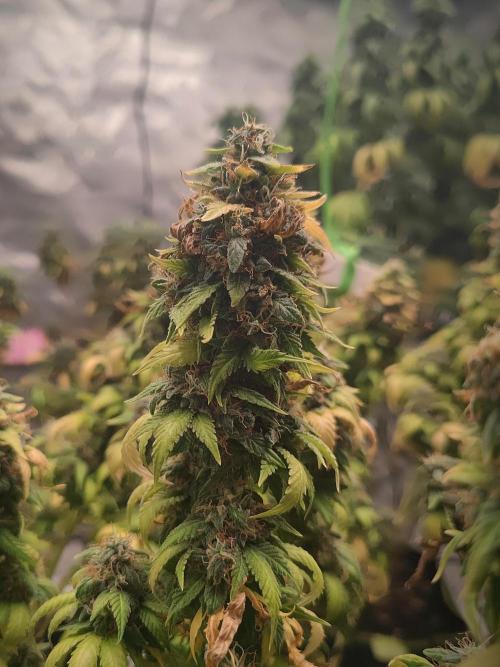
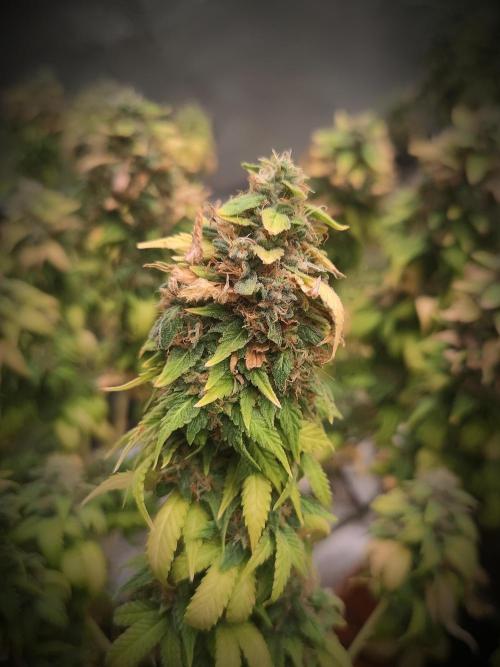
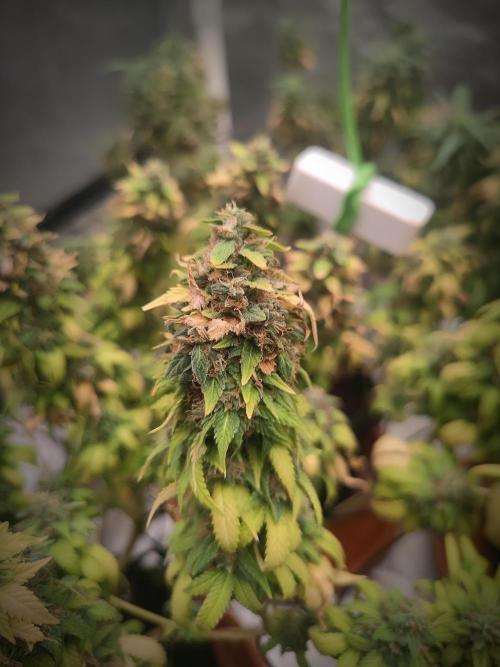
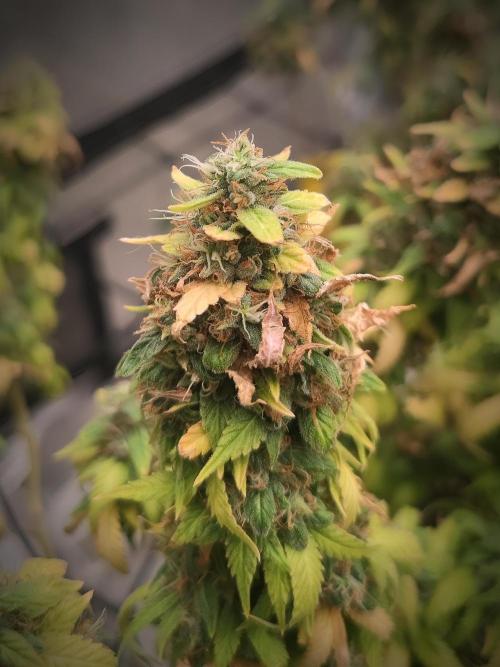
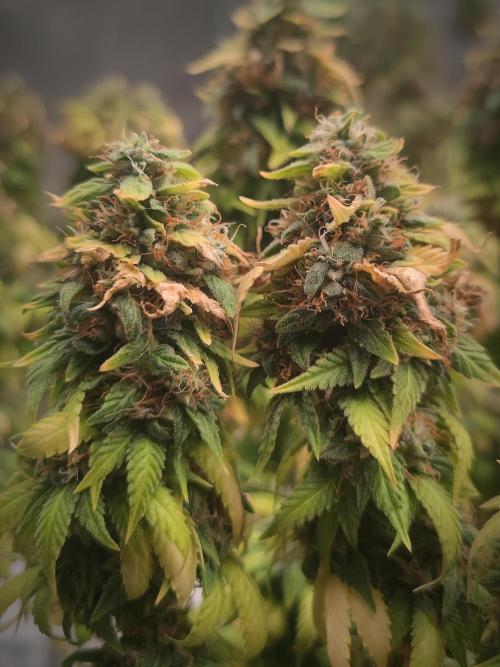
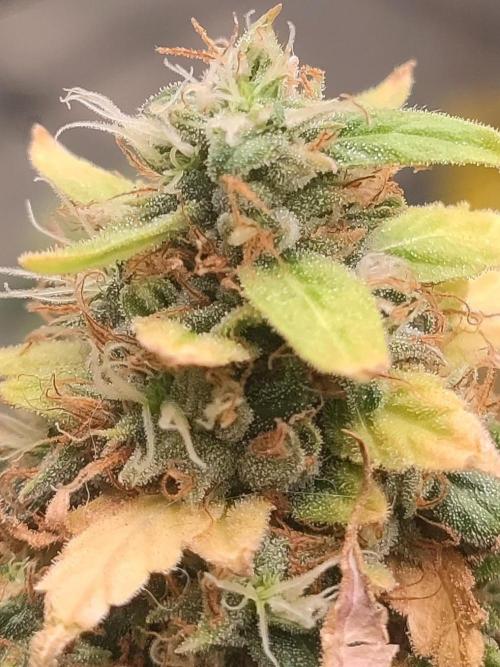
Chrisandweed Root washing started.
1 like
comments
Share
25
Week 25. Flowering1mo ago
55 cm
Height
12 hrs
Light Schedule
30 °C
Day Air Temp
6.2
pH
20 l
Pot Size
6 l
Watering Volume
Nutrients 1
Flush Boom
1.5 mll
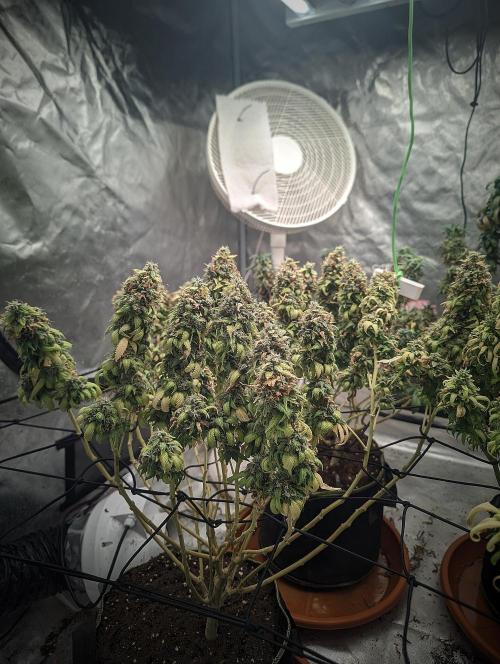
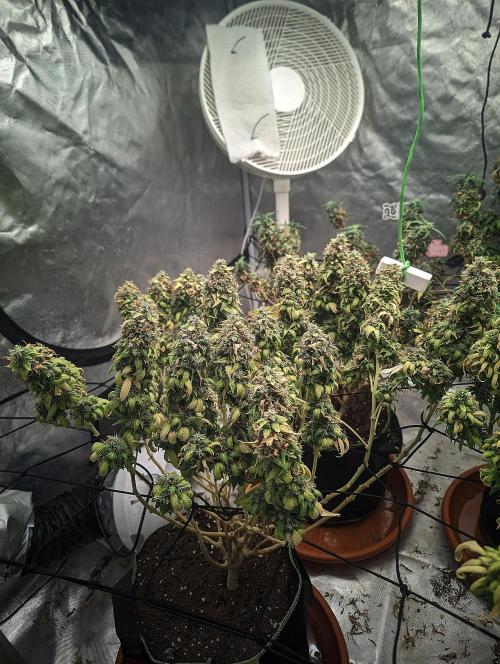
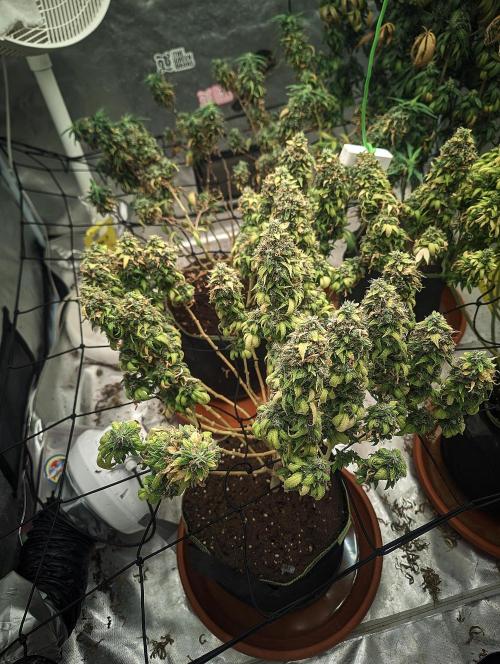
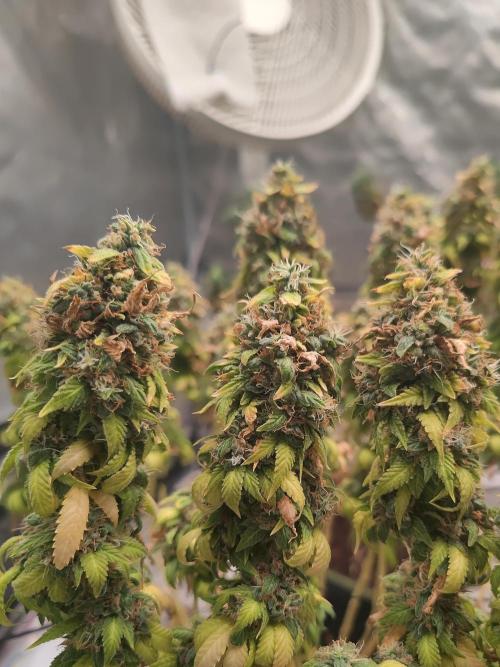
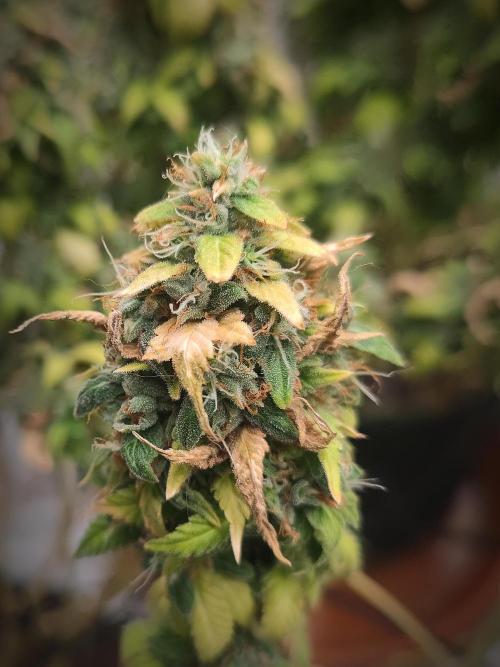
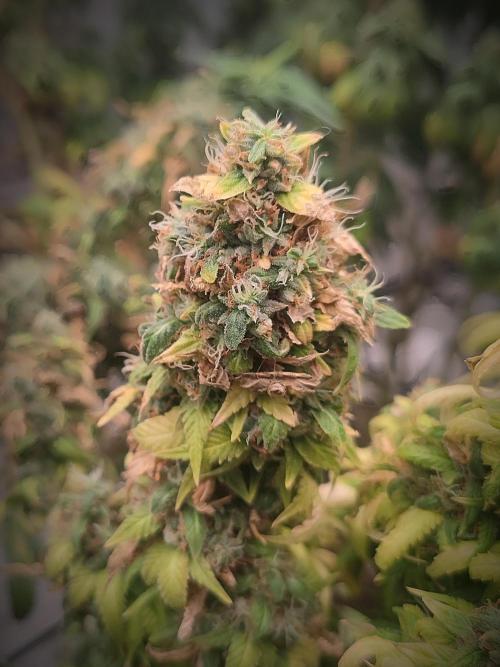
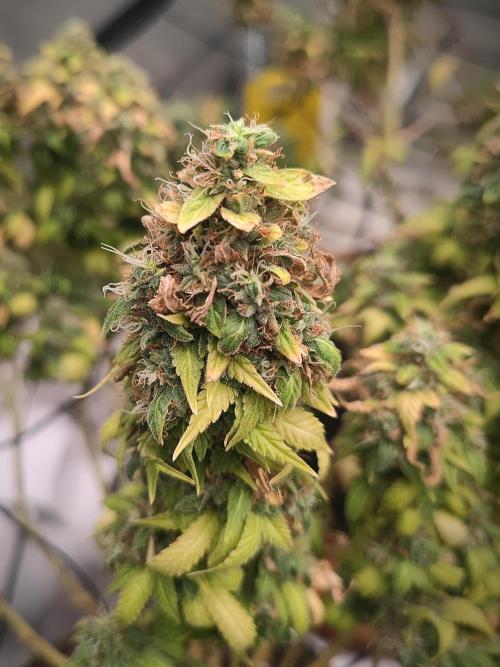
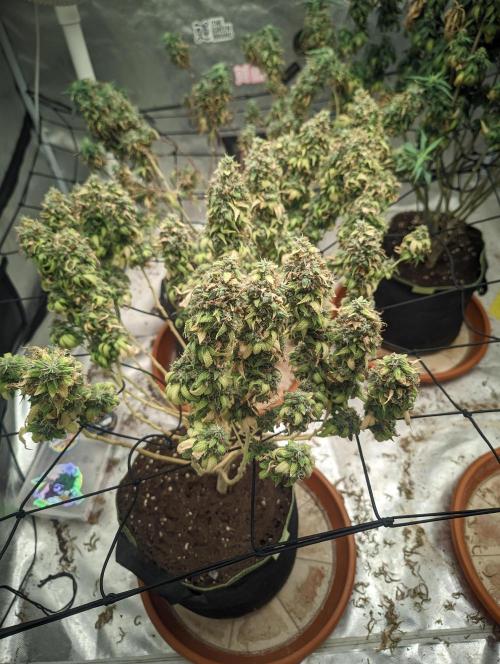
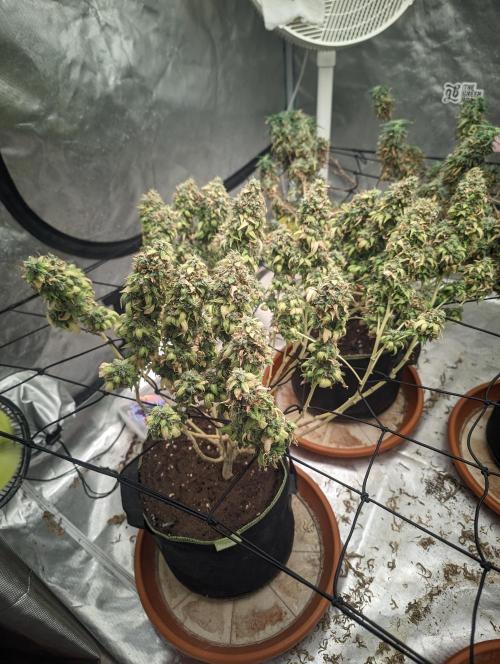
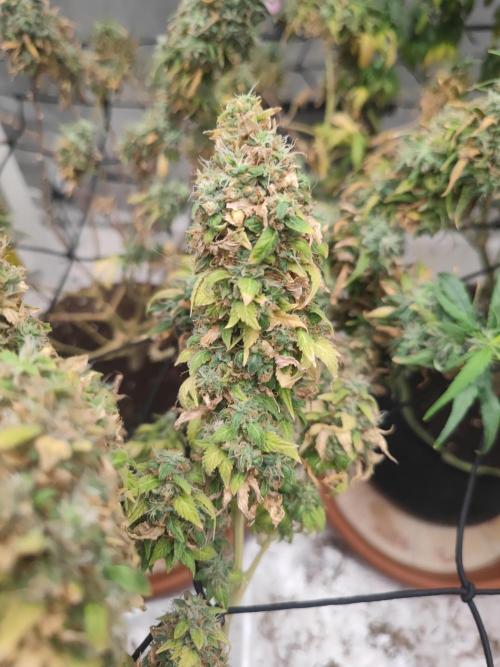
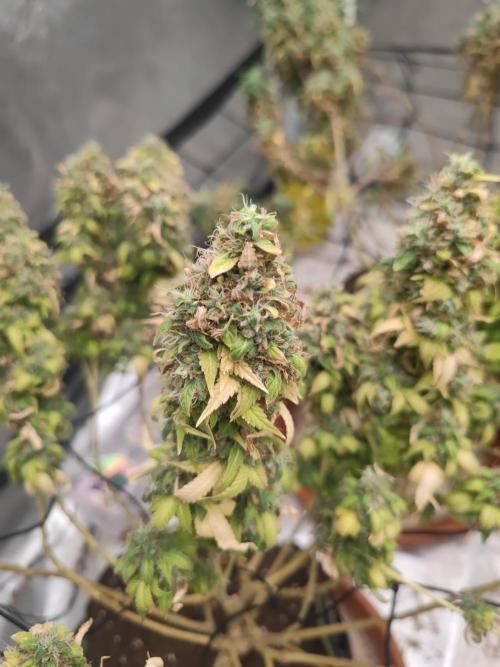
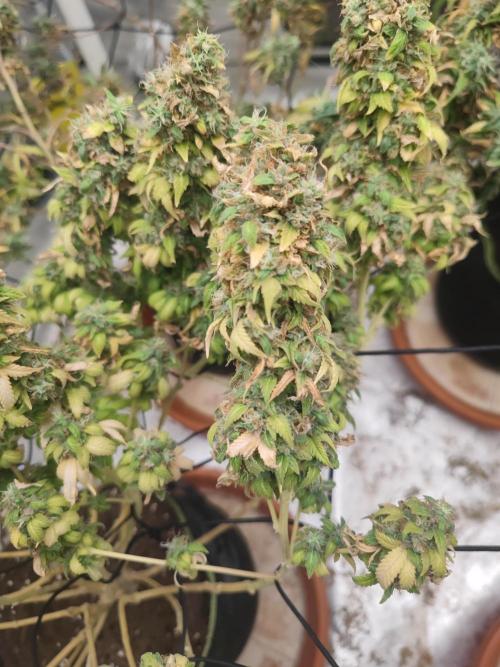
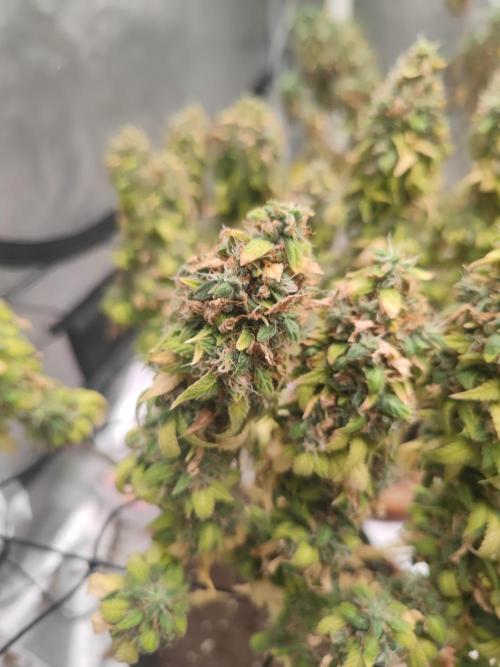
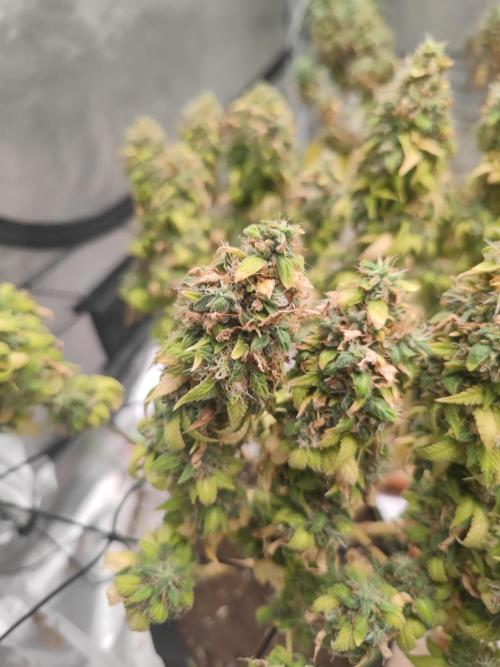
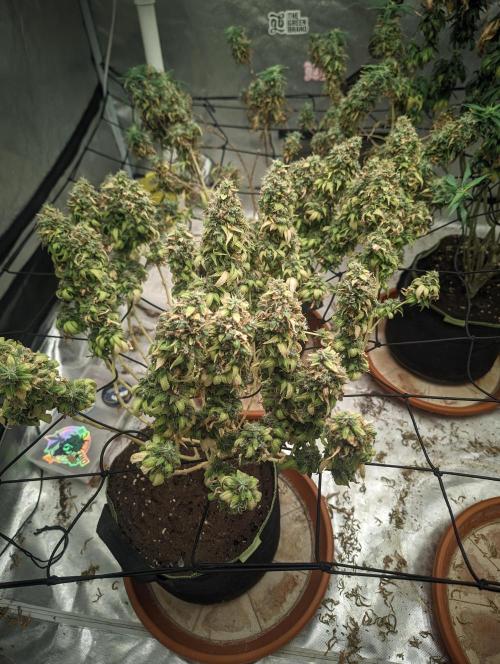
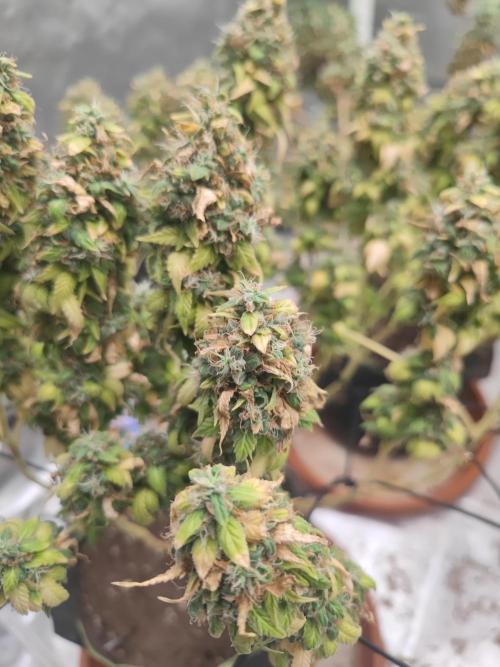
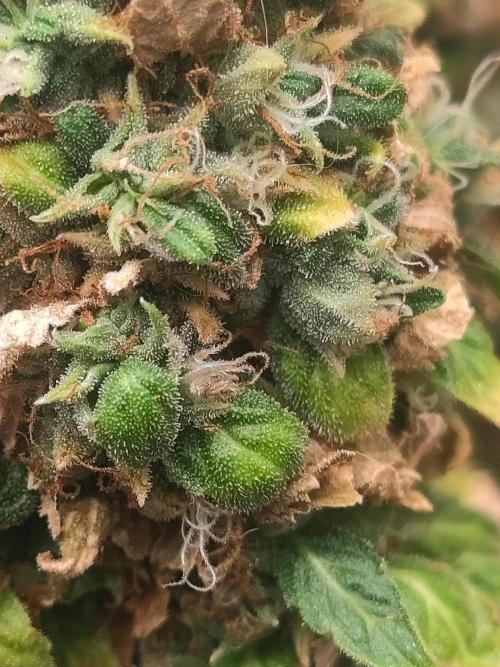
Chrisandweed Well, I would say this is already the penultimate week. Initially, around the middle of next week, on 07/20, I will probably cut this one and another one for now. It's true that I have my doubts; I would like to take the leaves to a more yellow point, but I don't know... like I said, next week it's getting cut. I'm seeing that it's producing new pistils, which apparently keeps fattening up, but I don't know... It's already been many weeks. My big doubt is: since it's on 14/14, could it be that it doesn't fully finish maturing and these pistils are a response to light stress? In the end, over the next few days, I'll see how the plant reacts and decide what to do.
1 like
comments
Share
26
Week 26. Flowering22d ago
55 cm
Height
12 hrs
Light Schedule
30 °C
Day Air Temp
6.2
pH
20 l
Pot Size
6 l
Watering Volume
Nutrients 1
Flush Boom
1.5 mll
Chrisandweed Well, it stays a little longer.
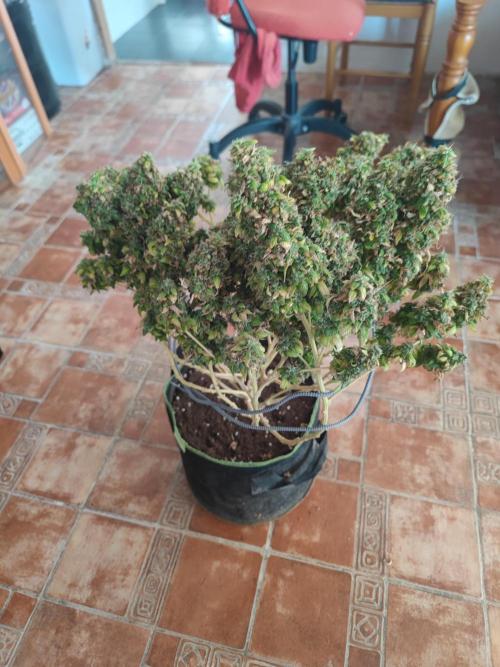
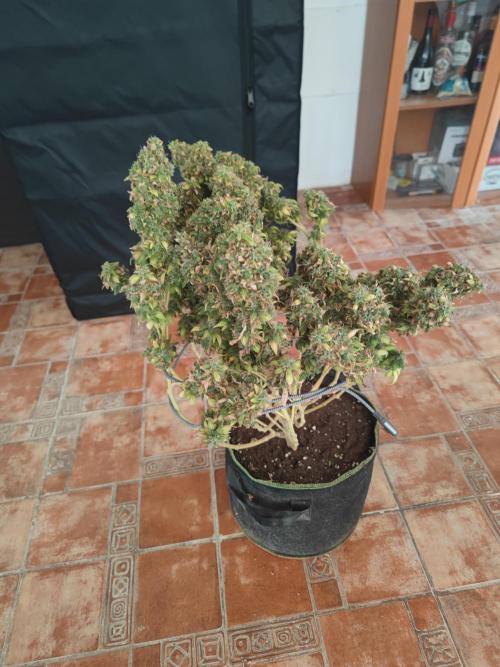
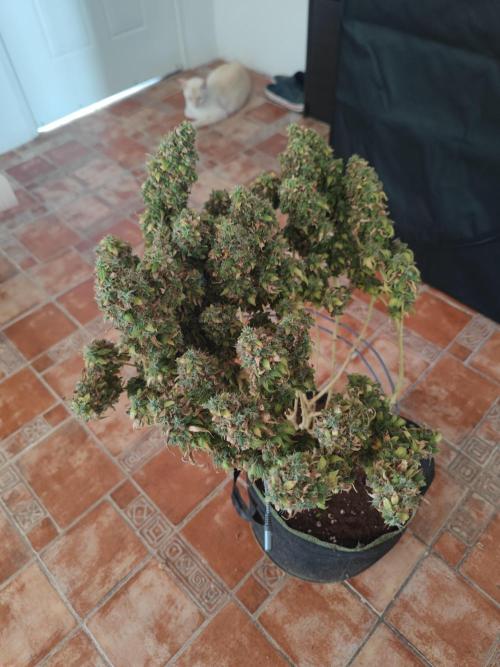
P.S.: I updated the diary on Wednesday or Thursday, I think it was. Today, Friday the 24th, I took a close-up photo and a video to show the resin.
4 likes
comments
Share
27
Week 27. Flowering15d ago
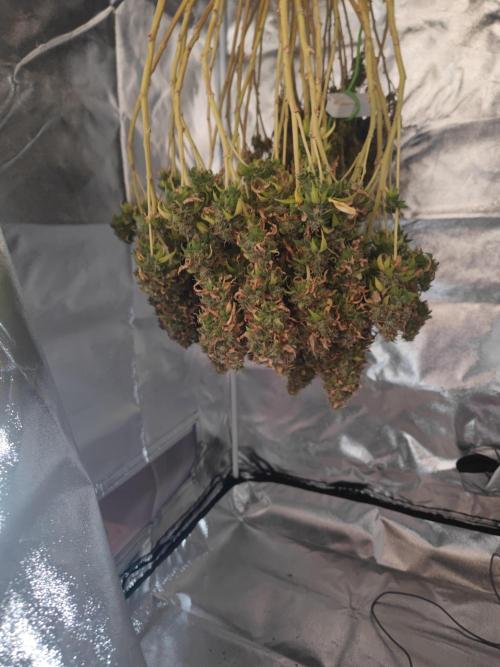
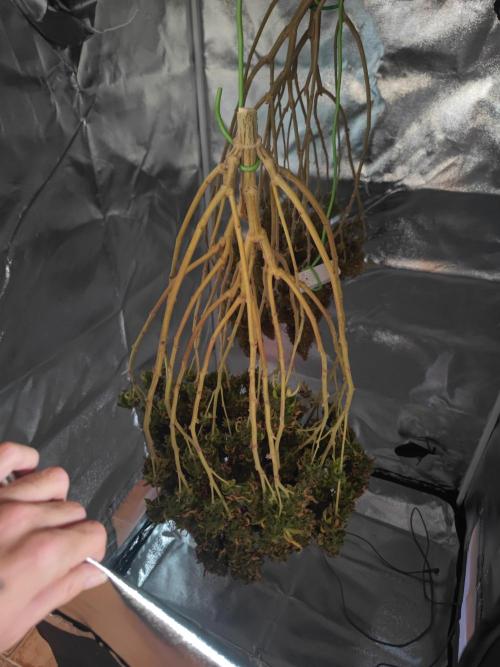
55 cm
Height
12 hrs
Light Schedule
30 °C
Day Air Temp
6.2
pH
20 l
Pot Size
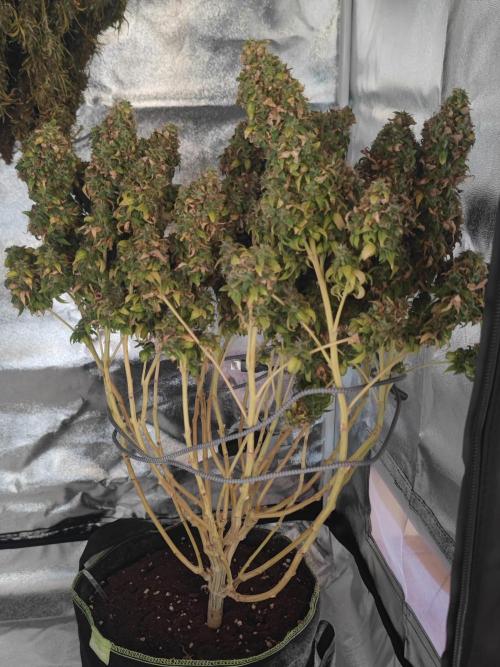
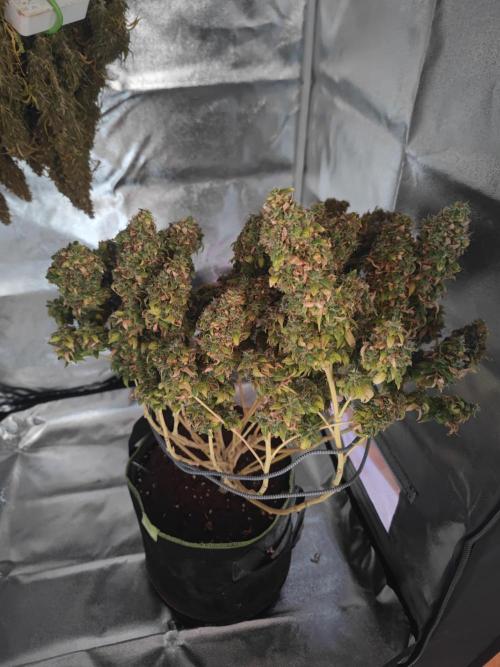
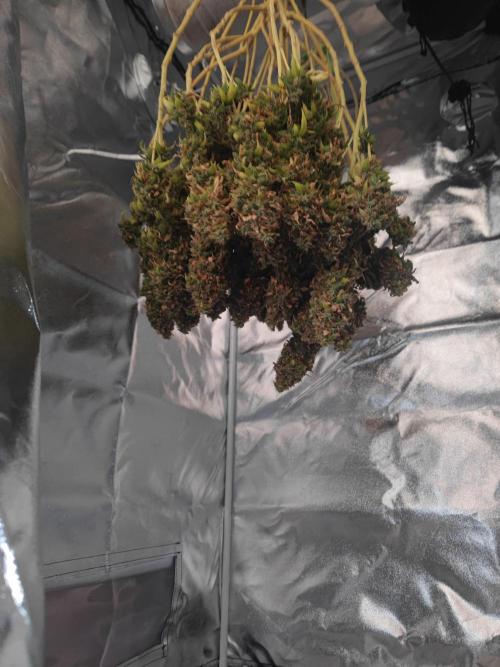
Chrisandweed Well, today, Thursday, July 30th, I'm putting the plant into 48 hours of darkness to later cut it and hang it up. Well, yesterday 08/01 I cut it and hung it up.
3 likes
comments
Share
Used techniques
Corte
Technique
Secado
Technique
Dry
Technique
28
Week 28. Flowering7d ago
55 cm
Height
12 hrs
Light Schedule
30 °C
Day Air Temp
6.2
pH
20 l
Pot Size
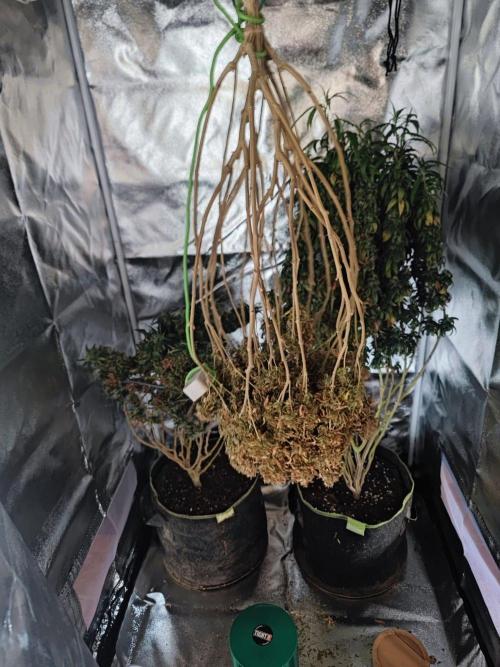
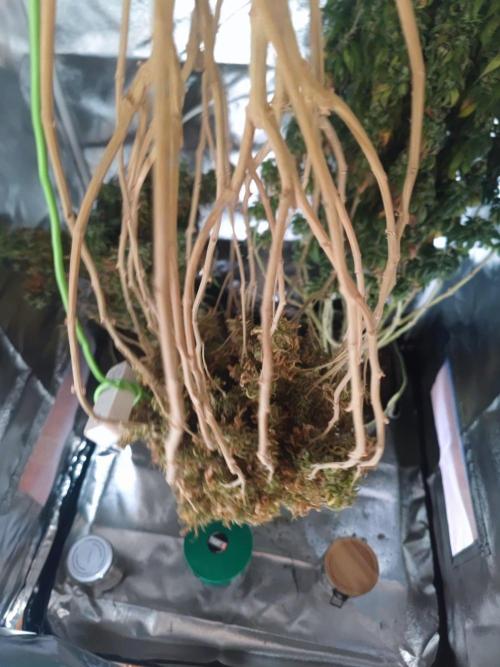
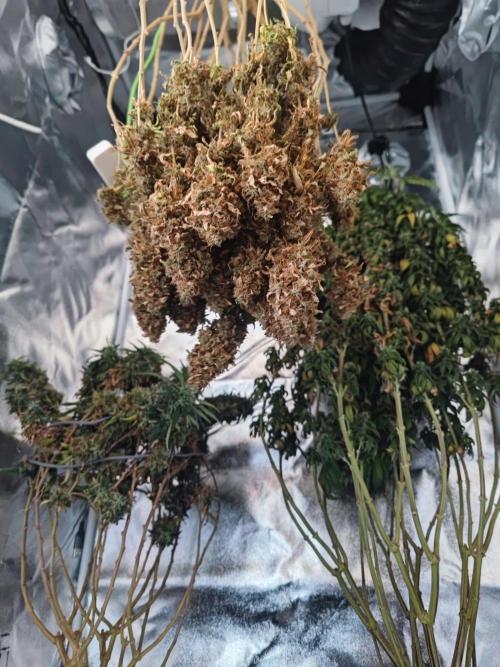
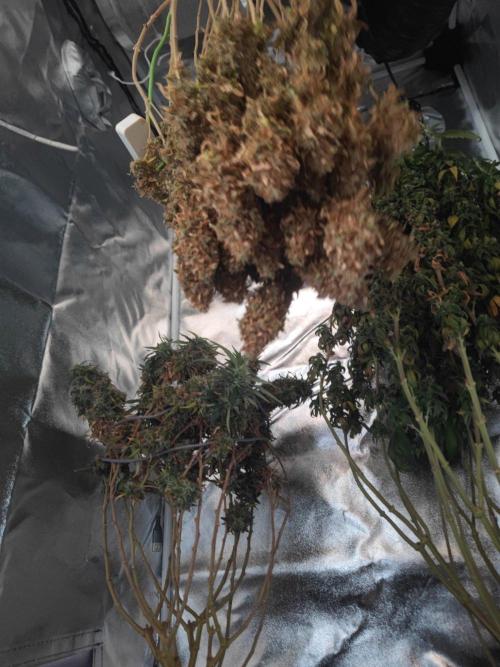
Chrisandweed 7 days since I cut it and hung it up. The stems are still flexible and don’t snap, it’ll need another week before I jar it.
1 like
comments
Share
Used techniques
Secado
Technique
Dry
Technique
29
Week 29. Harvest2d ago
Happy Harvest Day!


Spent 198 days
Ger Veg Flo Har
300 g
Bud wet weight per plant
10 g
Bud dry weight per plant
1
Plants
150 m²
Grow Room size
Easy
Difficulty

Happy, Relaxed, Uplifted
Positive effects

Stress, Anxiety
Medical effects

Flowery, Mint
Taste
Height
Day air temperature
PH
Light schedule
Pot size
Lamp distance
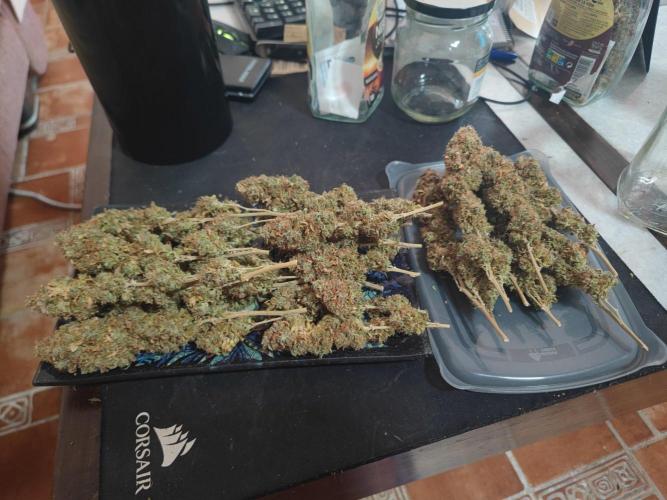
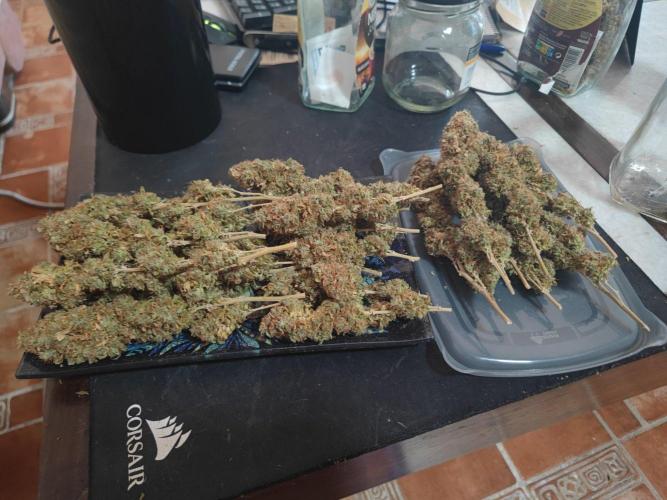
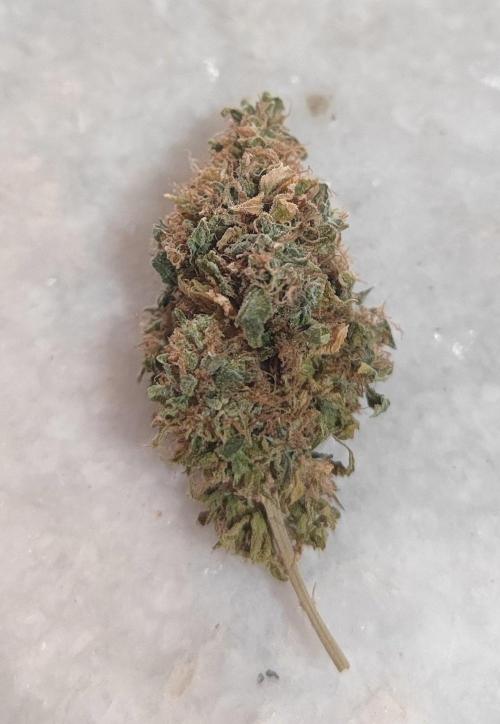
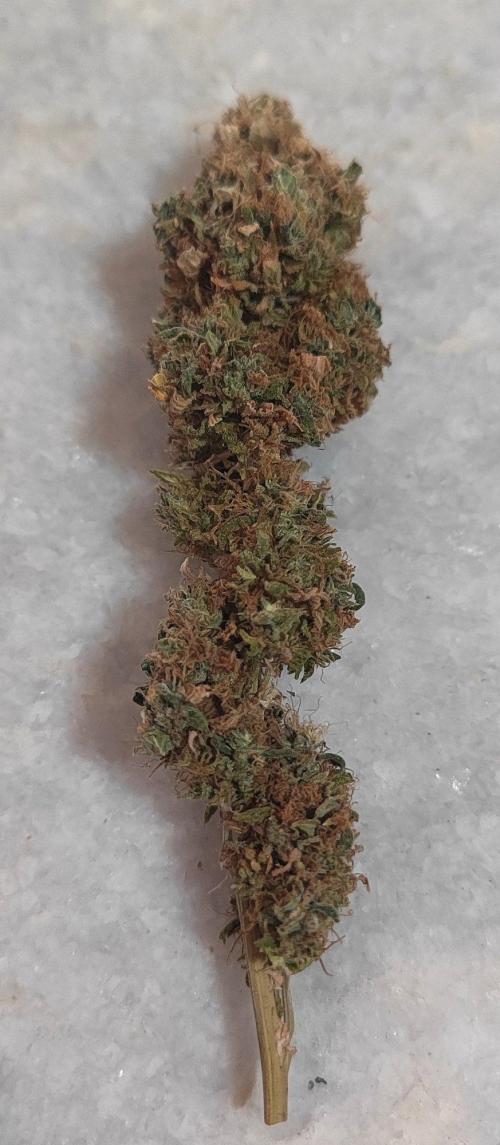
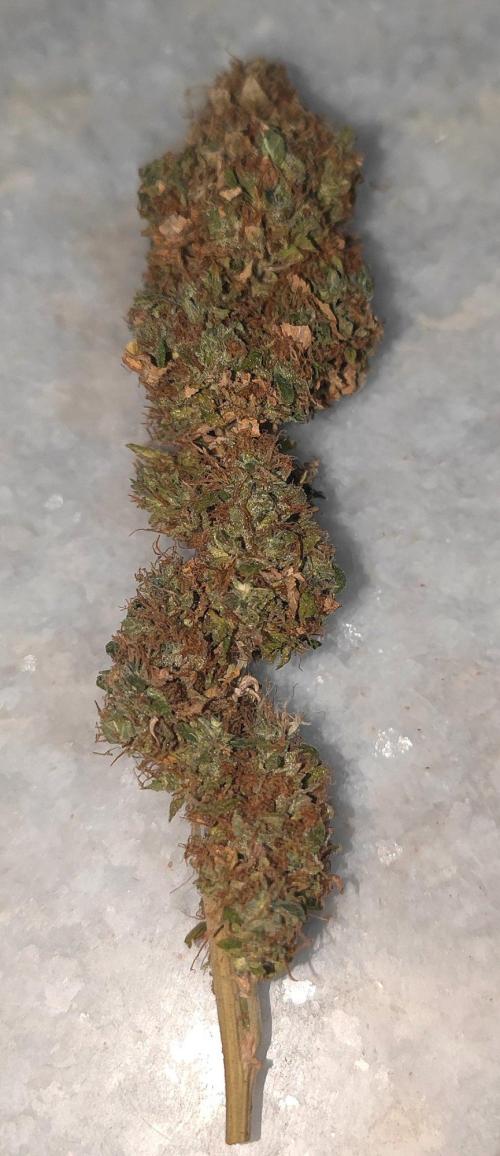
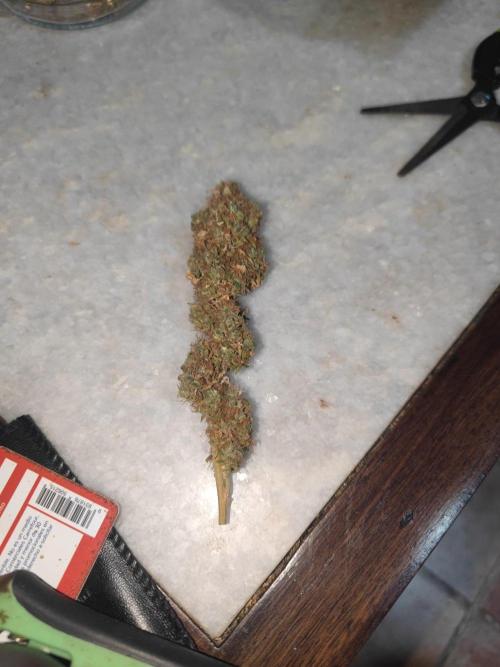
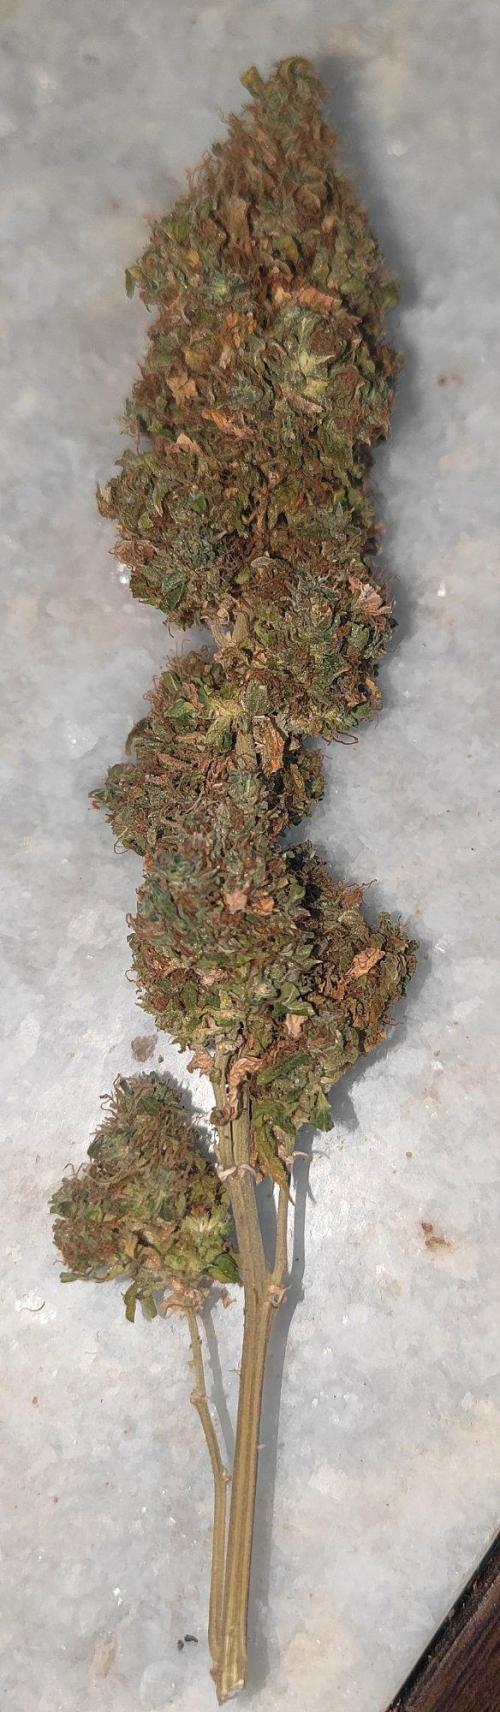
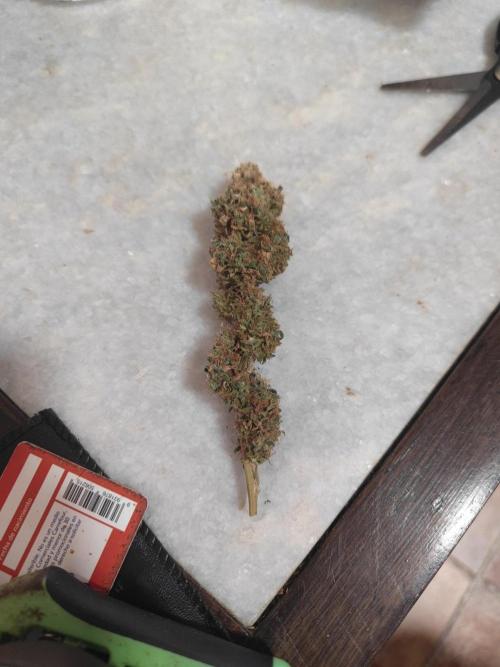
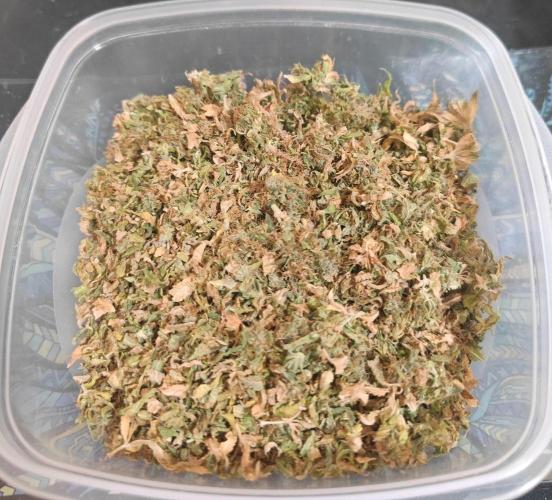
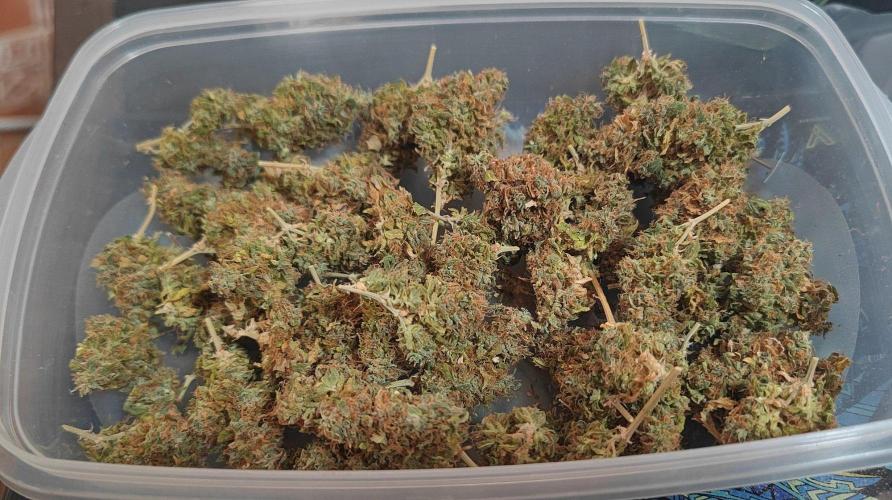
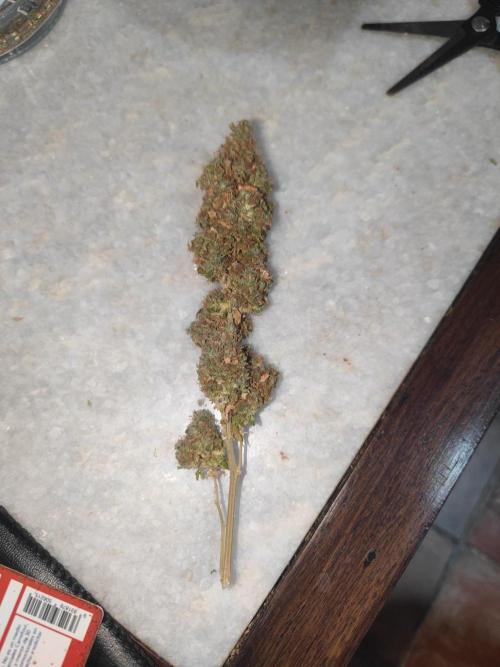
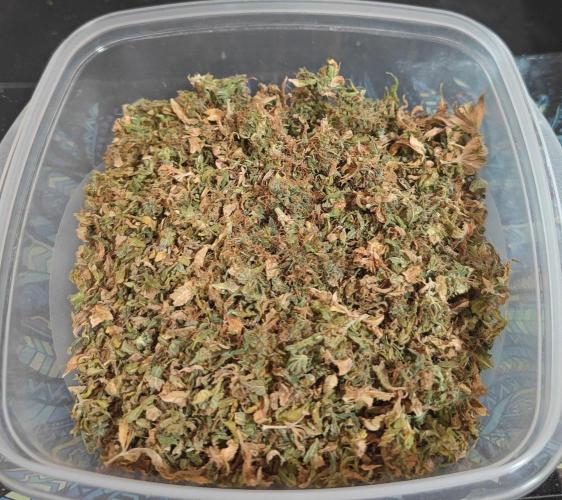
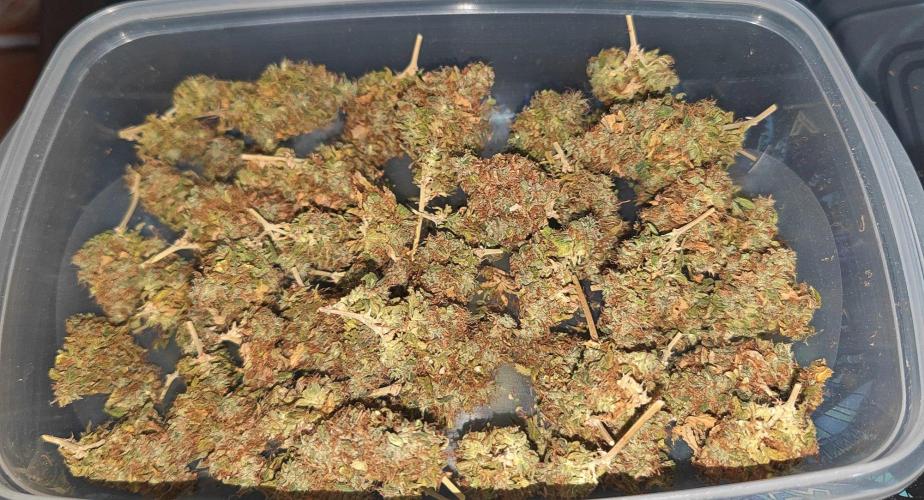
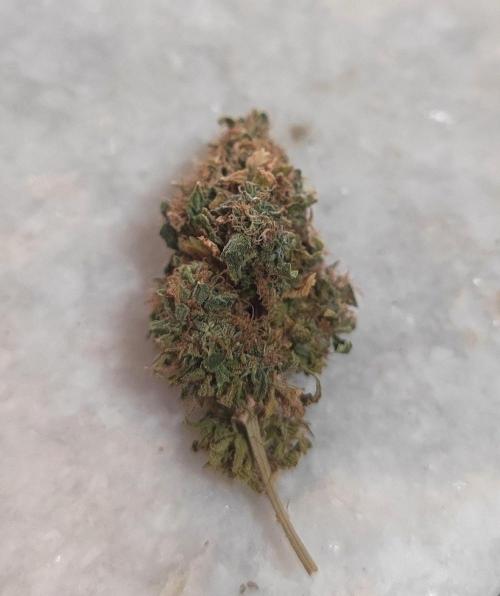
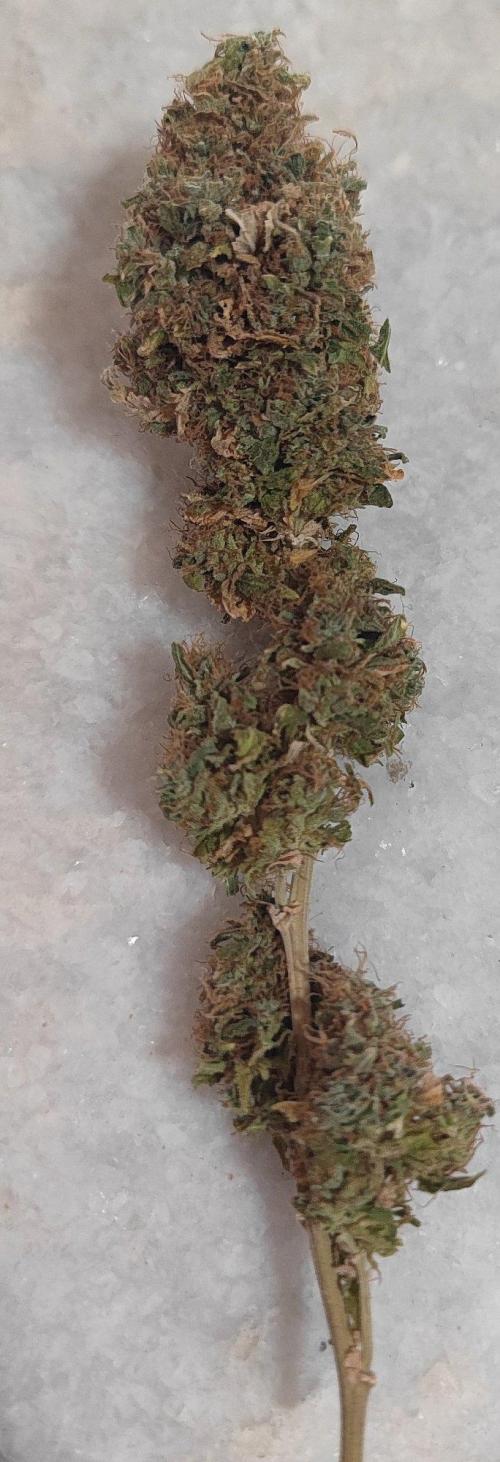
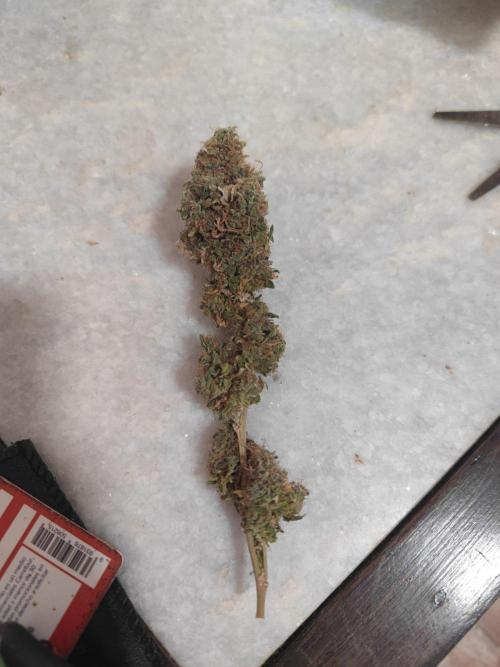
Chrisandweed I really liked it! Too bad I didn't take any cuttings from this one, but oh well.
Very resilient plant, it withstood over-fertilization, handled heat, endured heavy pruning, and still turned out really well.
The flavor tends to remind me of anise! Tastes really, really good and in the jar, it smells sooo good.
5 likes
comments
Share
Equipment Reviews






2 comments
Sort by
popularity
popularity
newest
oldest

GhostTerpZ commentedweek 85mo ago
Looking really good ❗️ ❗️ ❗️
like 1

MonyetDiablero commentedweek 85mo ago
Looking healthy! Hope that the rest of you weeks will also be like this 💚
likes

the end.
Enjoying this diary? Follow for more updates!

Prefer the old Diary view?
Go back to the old Diary view