


Wild Seed Pheno Hunt in Hidden Cabin


Shahmeran F1
ZDNSeeds

Lokman F1
ZDNSeeds

VEG
100w High-Intensity Discharge/100W
CATSA
VEG
XXX Fluorescent/45W
XXX

Tent
DIYHT
DIYHT

Fan
XXX
XXX

Soil

Indoor
Room Type
LST
weeks 3
3 liters
Pot Size
1 liters
Watering
Start at 4 Week
1
Week 1. Vegetation1mo ago
7 cm
Height
18 hrs
Light Schedule
28 °C
Day Air Temp
6.0
pH
No Smell
Smell
55 %
Air Humidity
22 °C
Solution Temp
22 °C
Night Air Temp
3 liters
Pot Size
1 liters
Watering Volume
60 cm
Lamp Distance
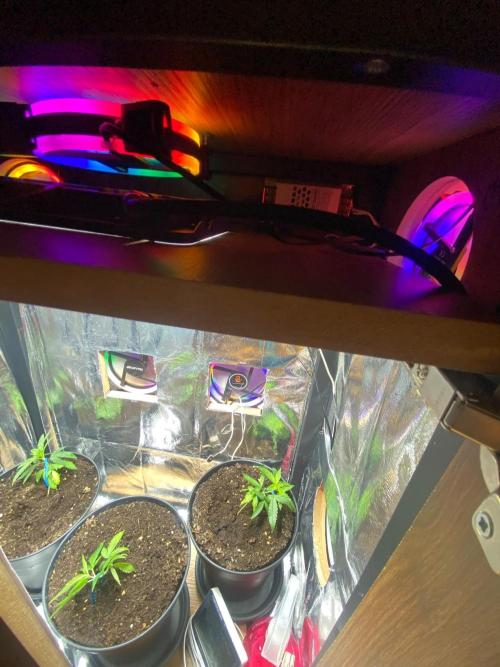
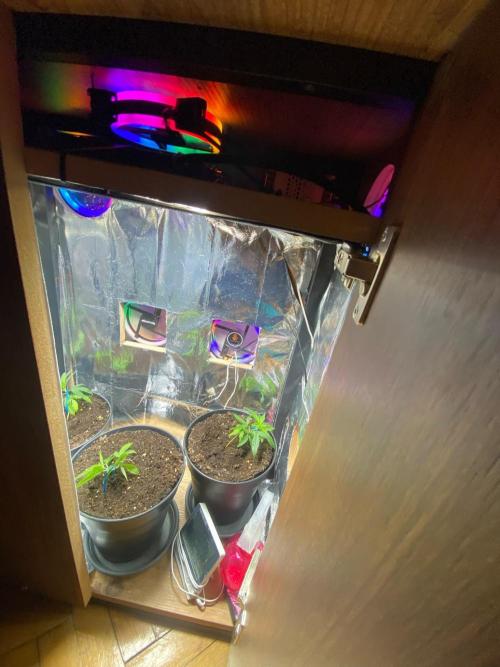
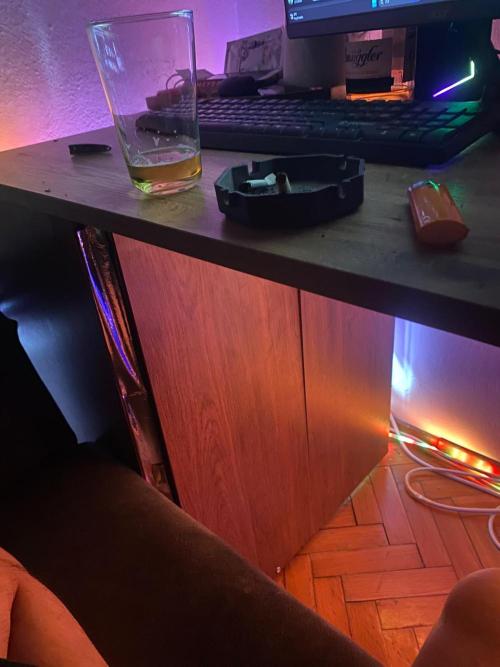
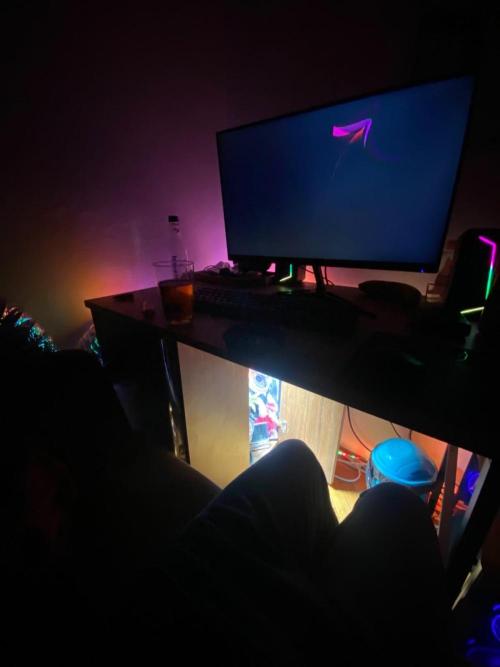
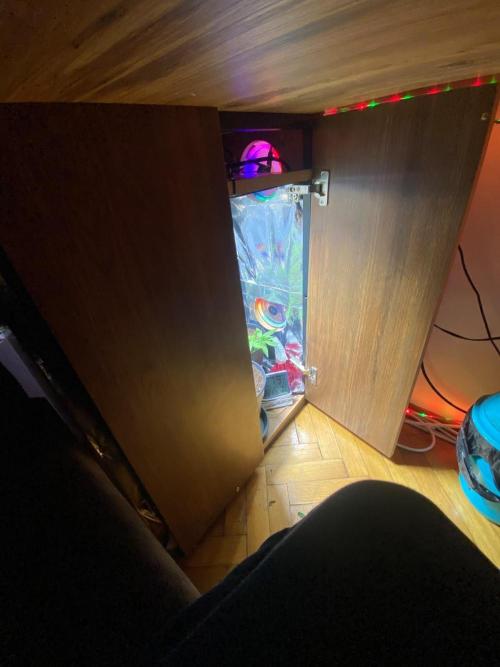
ZDNTheFirst Now after 5 years, I started to grow again. After that much time, still my family dosent like this job, so it has to be hidden cabin. When someone came in my room, it can be switch off immedietly. Abouts seeds, these are unknown seeds. Over a decade, ı collected a lot of seeds in Turkey. These seeds are minimum 7-8 years old and it was the pain in the ass the germinated process. I planted maybe 50 seeds and only a few popped out. This is the 3 living seeds and I'm planing to clone each female one, and I want to breed the mother plants with male plants only for 1 week for created new genetic. Lets see whats happen.
4 likes
3 comments
Share
2
Week 2. Vegetation23d ago
7 cm
Height
18 hrs
Light Schedule
28 °C
Day Air Temp
7.0
pH
No Smell
Smell
60 %
Air Humidity
22 °C
Solution Temp
25 °C
Night Air Temp
3 liters
Pot Size
1 liters
Watering Volume
50 cm
Lamp Distance
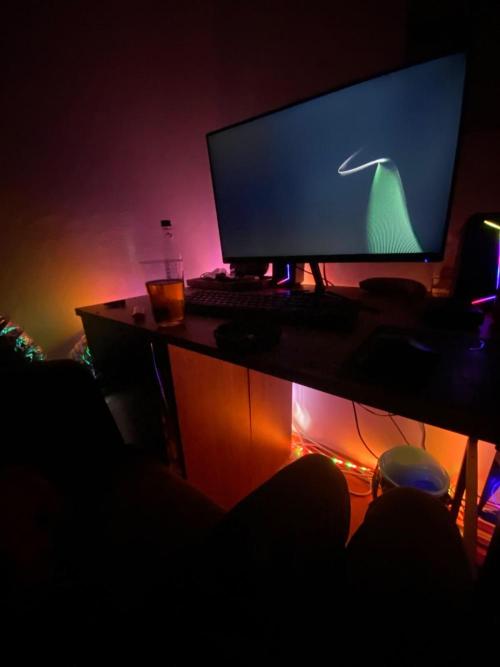
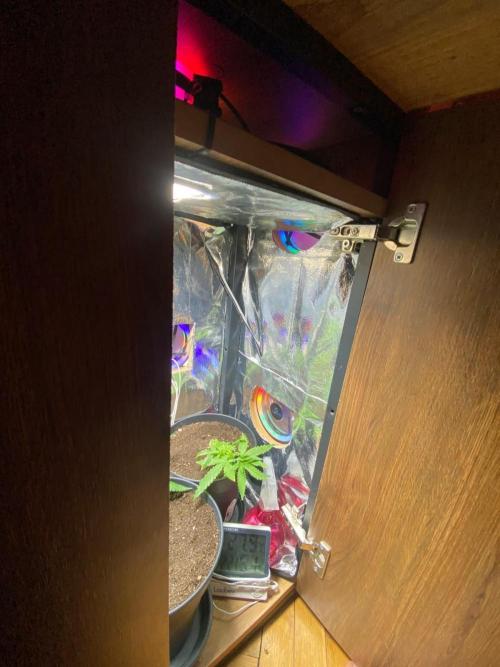
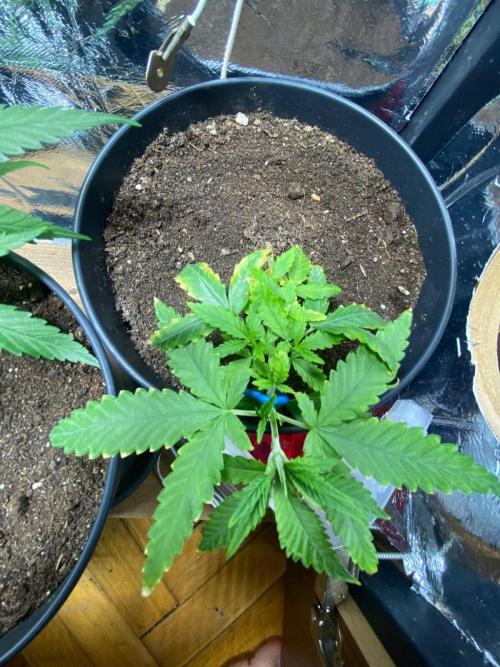
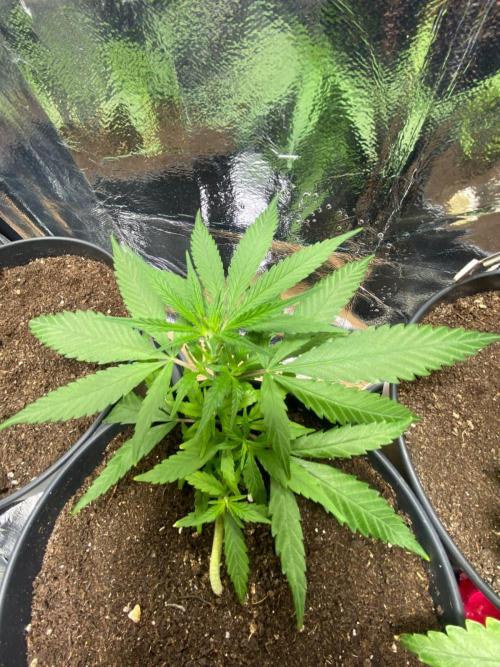
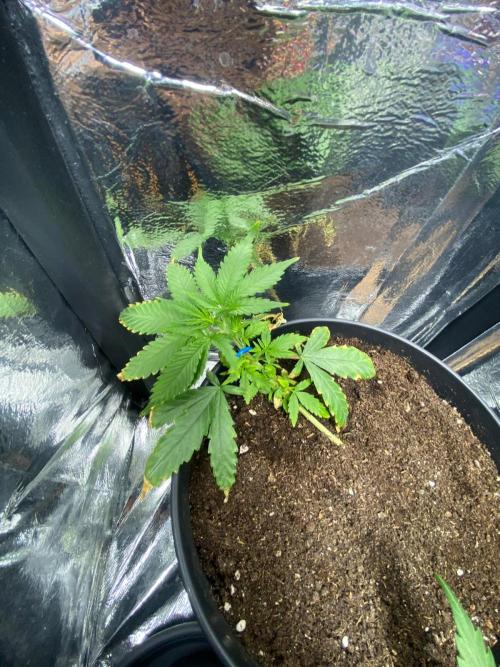
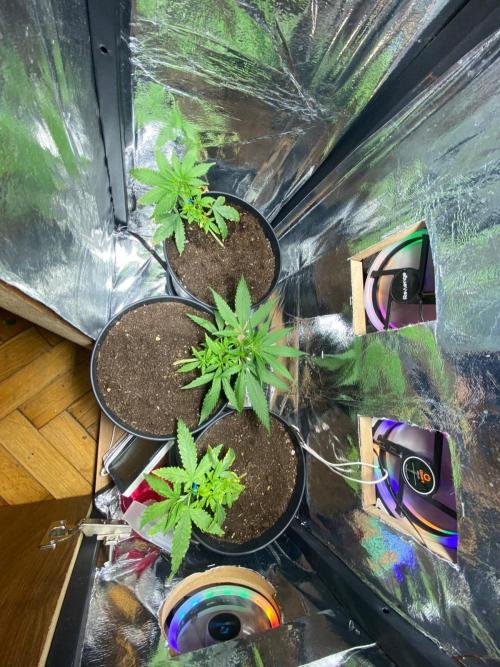
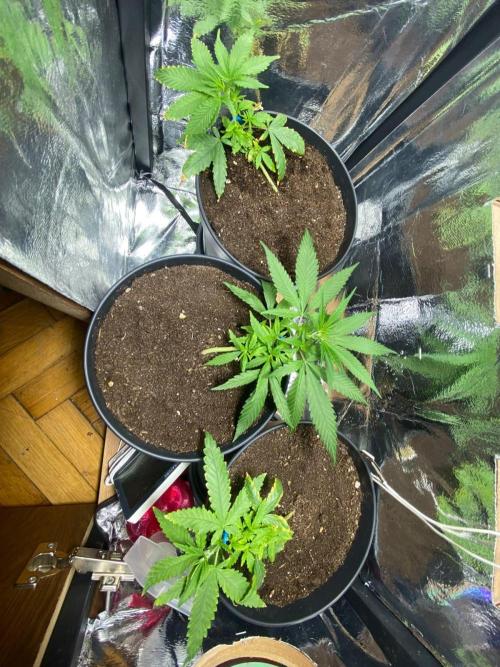
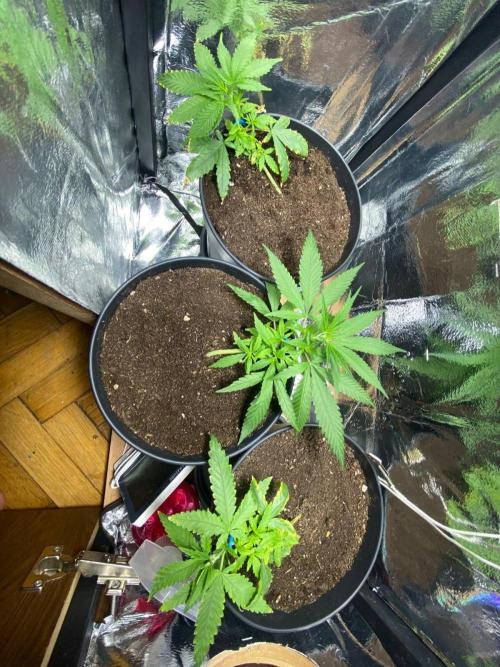
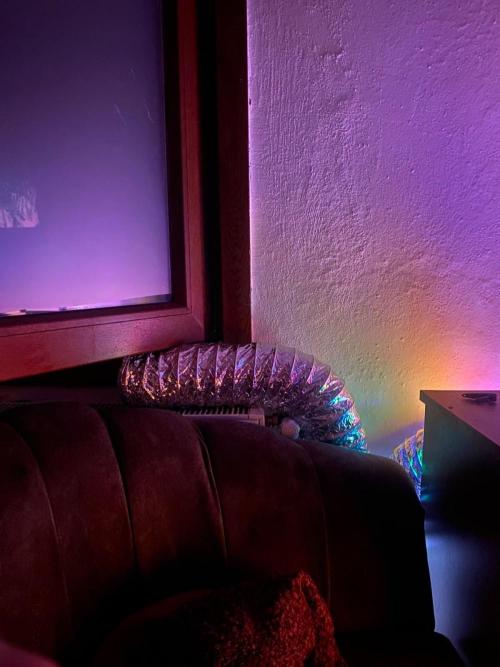
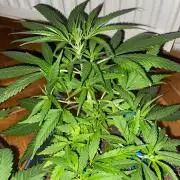
ZDNTheFirst Even though I’ve set up a decent cooling system, the projector I’m using wasn’t designed for this purpose, and controlling the heat is becoming increasingly difficult. I’m going to get an LED light specifically designed for plant cultivation; it fits the system perfectly and runs very cool. I’ll modify the cooling setup to accommodate it. ---- As you’ve noticed, the plants have fertilizer burn. A lot of salt accumulated on the surface, causing both the pH and PPM levels to spike. The potassium excess inhibited the absorption of other nutrients, leading to this burn—though it isn't too severe. I’m not using any liquid fertilizer yet; I’m sticking with a mix of 50% store-bought potting soil and 50% worm castings. I suspect this might be a bit too rich for seedlings, but I’m confident they’ll pull through. The soil will dry out in two days; I removed the excess surface salt today, and I plan to flush the soil with plenty of water during the next watering—think of it as a partial flush. That should do the trick. The plants on the left and in the middle are definitely female, while the one on the right looks male, though I can't be 100% sure. If that turns out to be the case, I’m not sure what I’ll do; I ought to take a clone, but there’s no space left in the system. That’s the situation for now.
4 likes
4 comments
Share
3
Week 3. Vegetation20d ago
11 cm
Height
18 hrs
Light Schedule
28 °C
Day Air Temp
6.0
pH
No Smell
Smell
60 %
Air Humidity
22 °C
Solution Temp
25 °C
Night Air Temp
3 liters
Pot Size
1 liters
Watering Volume
45 cm
Lamp Distance
ZDNTheFirst The game is on now.
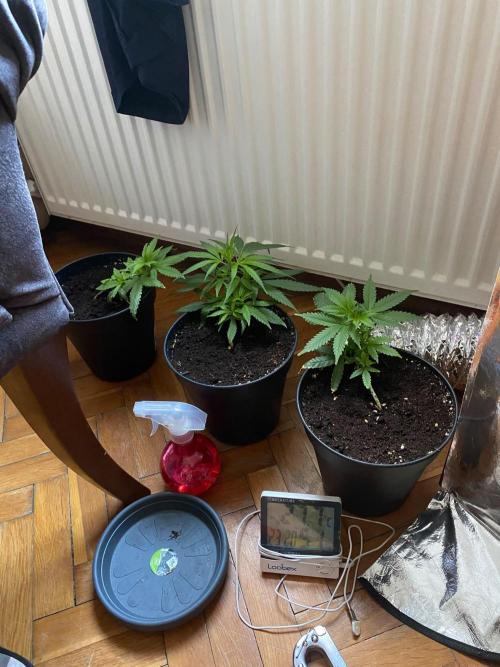
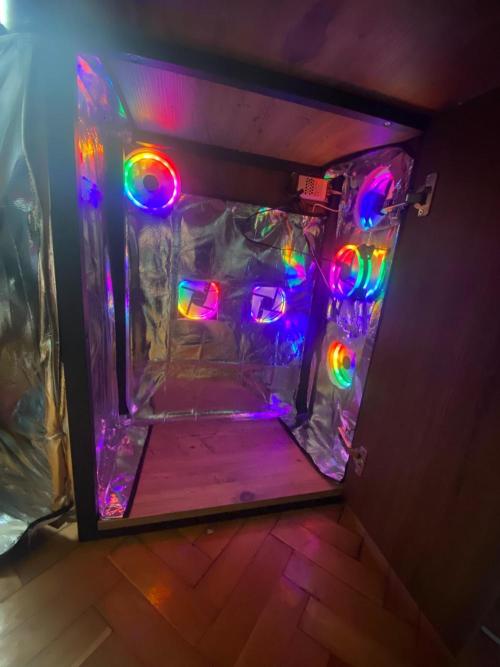
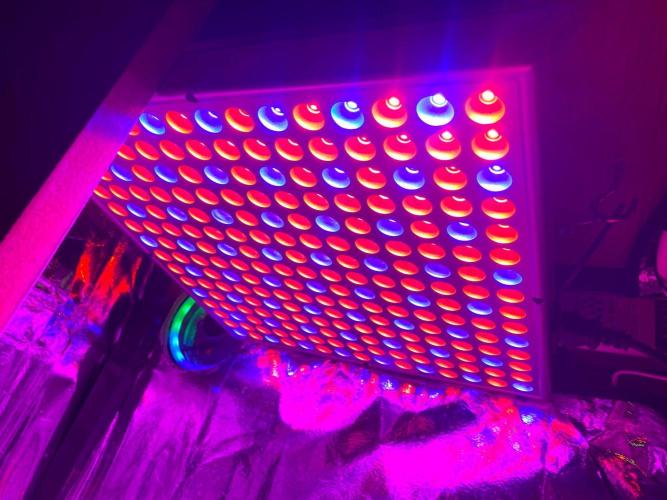
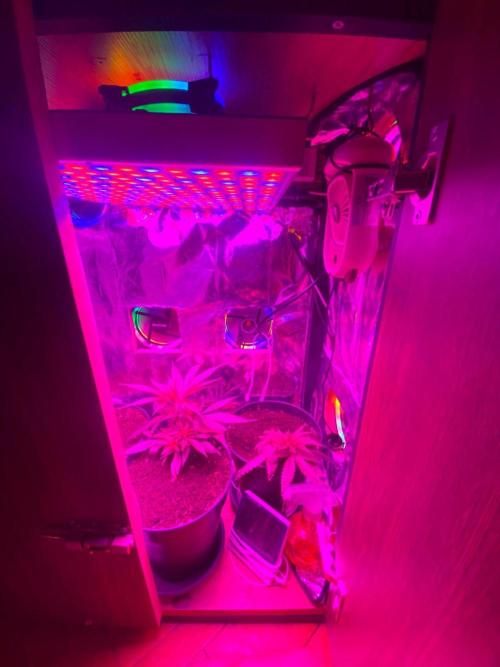
As I mentioned last week, I made some upgrades to the grow tent. As you know, my old light—while powerful—generated a lot of heat. Also, even though it was rated at 6500K, it wasn't full spectrum. So, I bought a new light; this one isn't full spectrum either, but the blue and red light (blurple) is actually a pretty decent option for growing, especially in such a compact tent. The power draw dropped from around 100W to 45W, which saves on both electricity and heat. Now, I realy wanted to Harvest Master TS600 for this cabin but to be honest, I dont have any budget for this. And when you think, I want to show myself and everyvone that follow, you can do it yoursel with no expensive fertilizer, no expensive light and almost no budget. This kabin cost me 75 dolar before put the litgh. The light cost 25 dolar, so its around 100dolar cabin. And we will gonna take a good amount of product, %100 organick wild buds, and we will breed two female with one male ( lucky bastard ) and create 2 new genetik in this cabin.
I no longer need a separate cooling compartment because this light generates heat directly from the LEDs rather than from the top housing. I needed a fan to channel in outside air and add humidity if necessary—one that could run 24/7 to eliminate the risk of mold caused by 75% humidity levels at night. I bought this fan and I'm quite happy with it, though I'm not sure if it will run continuously for 24 hours. We'll see.
Right now, the readings are 45% humidity and 25°C—and it's August. Perfect.
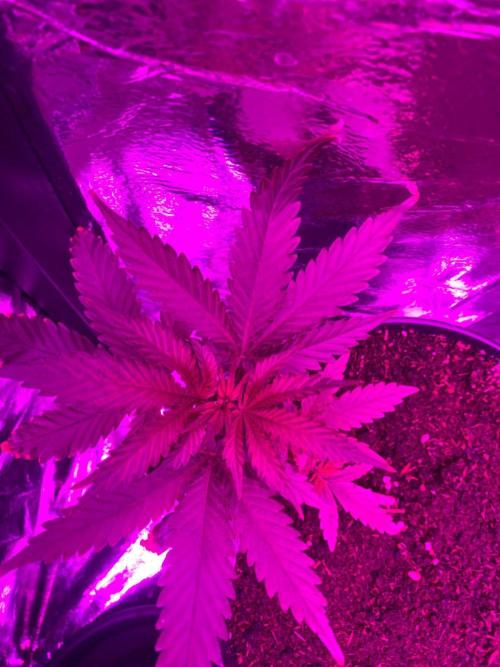
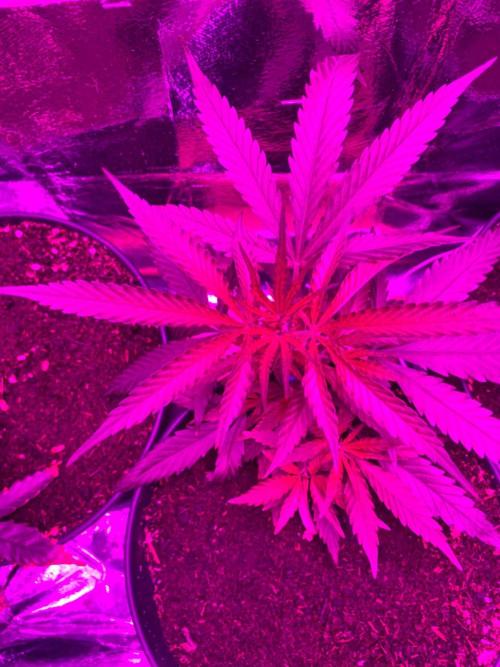
The plants on the left and in the middle are female, while the one on the right is male. I recently flushed the soil to deal with potassium burn, and it worked really well. Normally, a flush requires using three times the volume of the pot, but I just cleared the excess salts from the surface and used a volume equal to the pot size. That was more than enough, though the male plant still doesn't look too happy. The middle plant is showing a lot of pistils; it looks like it's about to start flowering. I hope it's not an autoflower strain. I'll be taking clones next month, and then we'll gradually transition into the flowering stage.
2 likes
comments
Share
Used techniques
LST
Technique
4
Week 4. Vegetation7d ago

15 cm
Height
18 hrs
Light Schedule
28 °C
Day Air Temp
6.0
pH
No Smell
Smell
60 %
Air Humidity
22 °C
Solution Temp
25 °C
Night Air Temp
3 liters
Pot Size
1 liters
Watering Volume
40 cm
Lamp Distance
1200 PPM
CO₂ Level
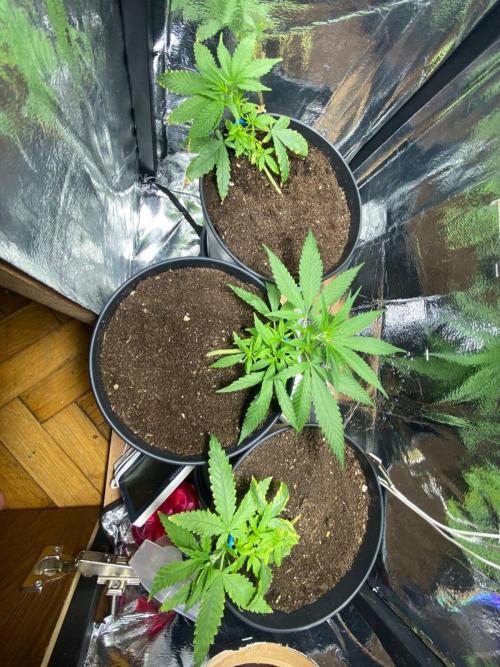
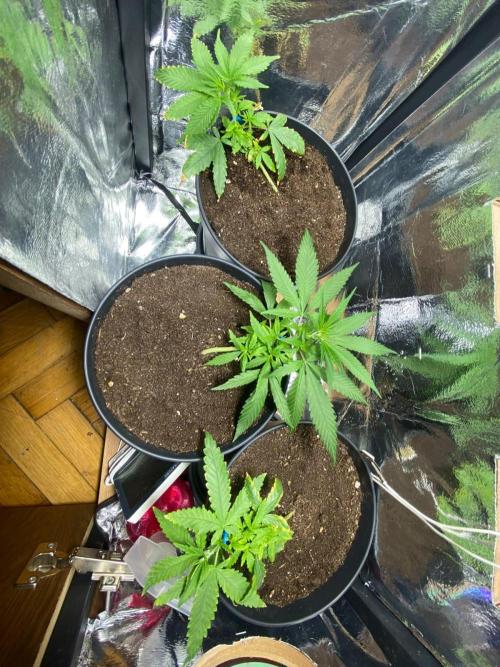
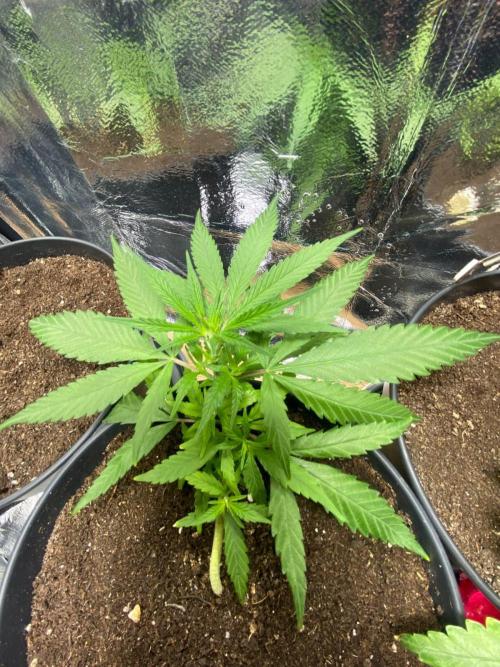
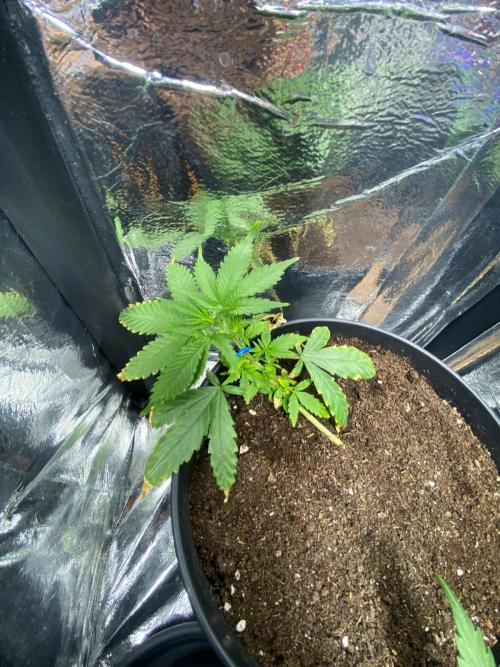
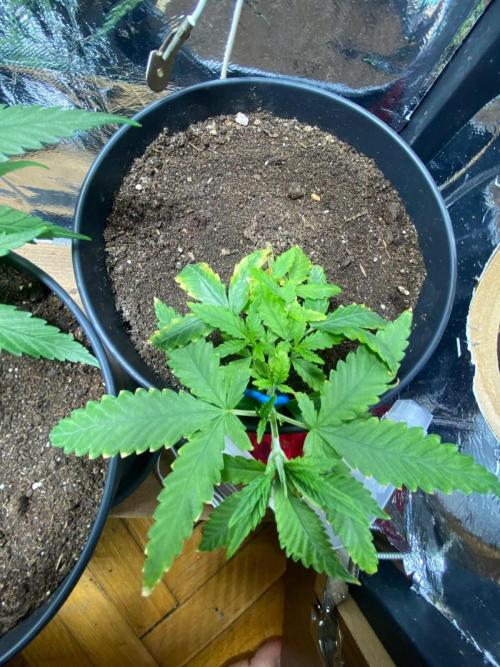
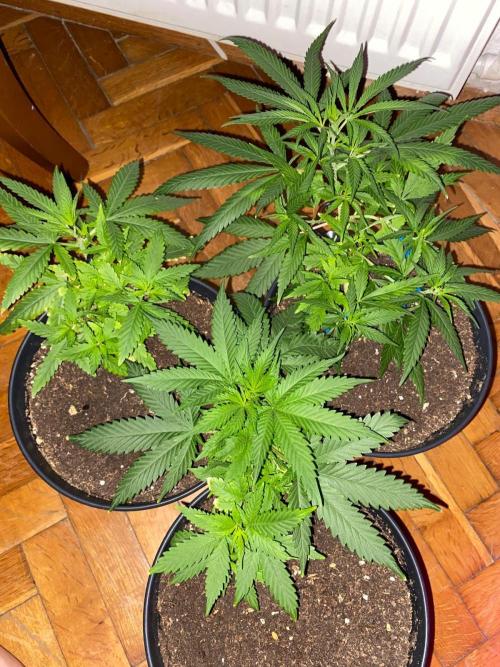
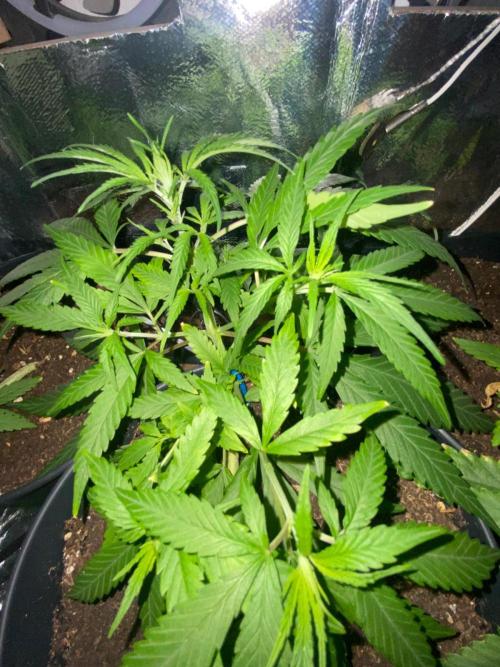
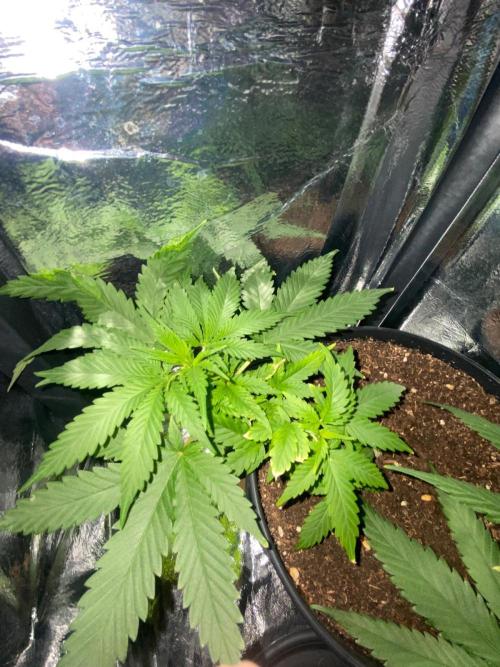
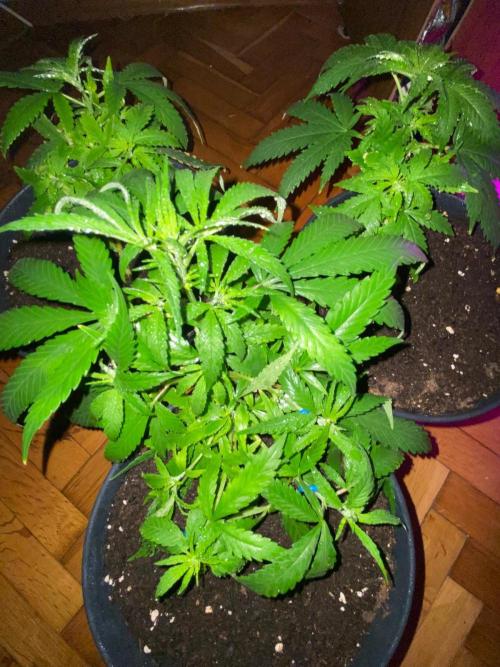
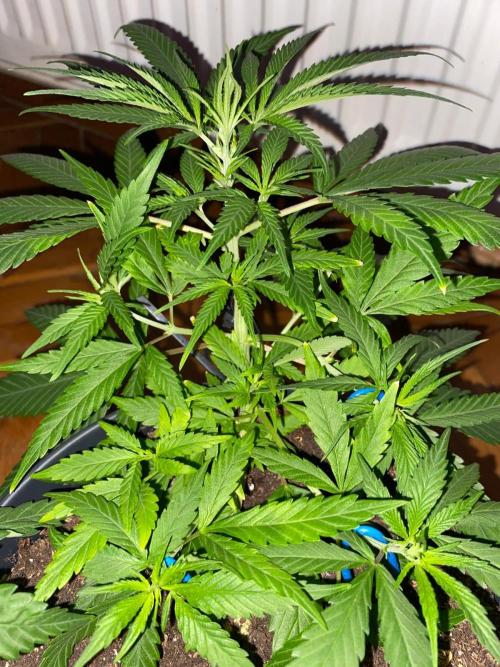
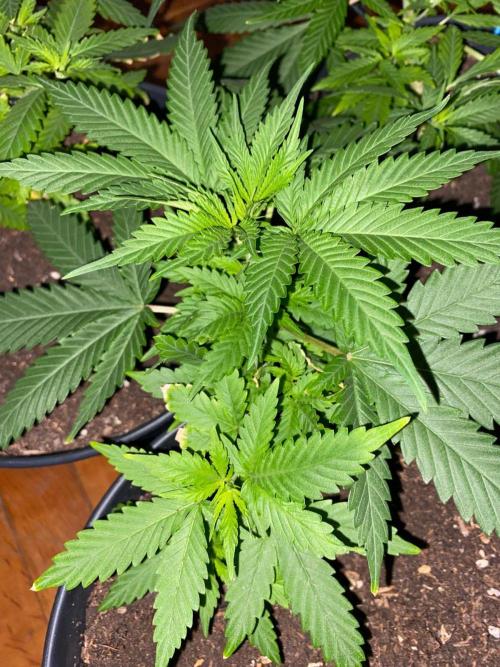
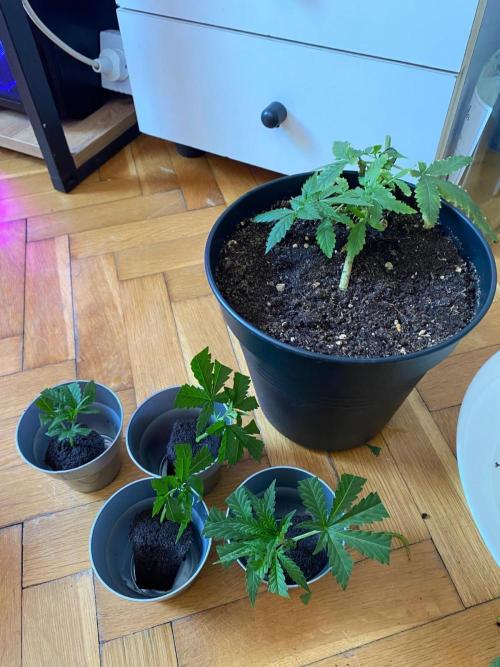
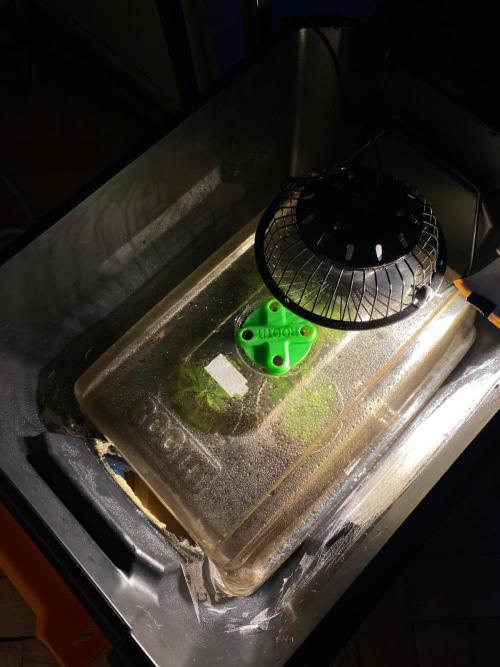
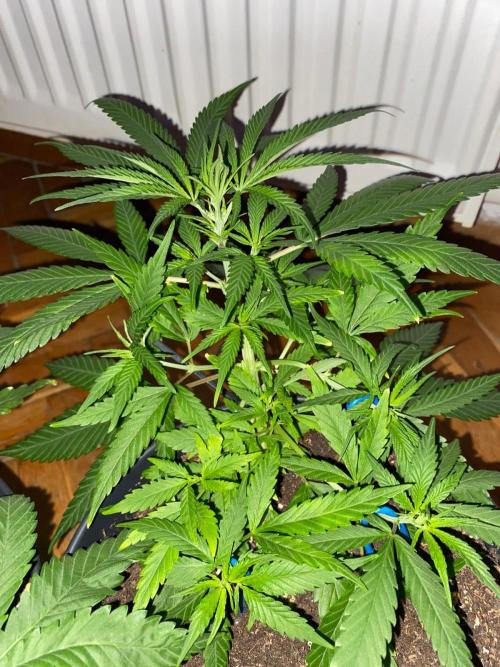
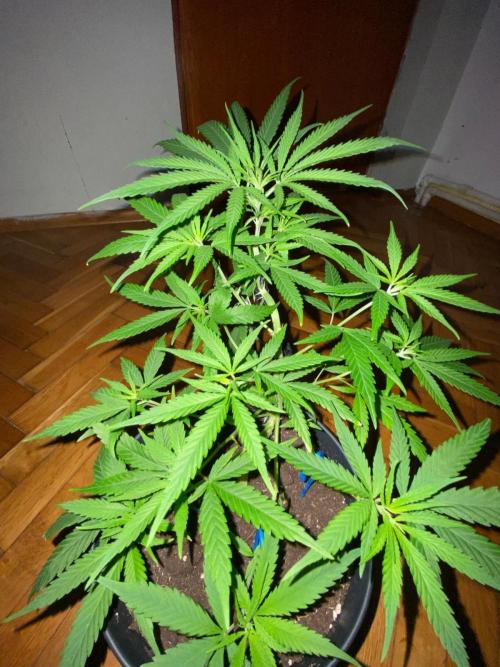
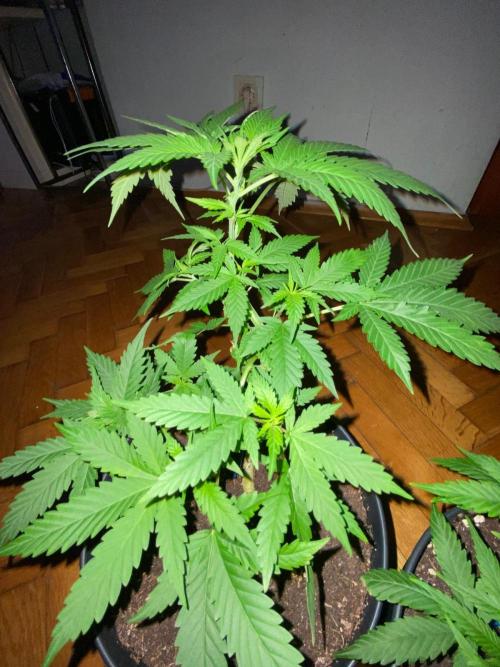
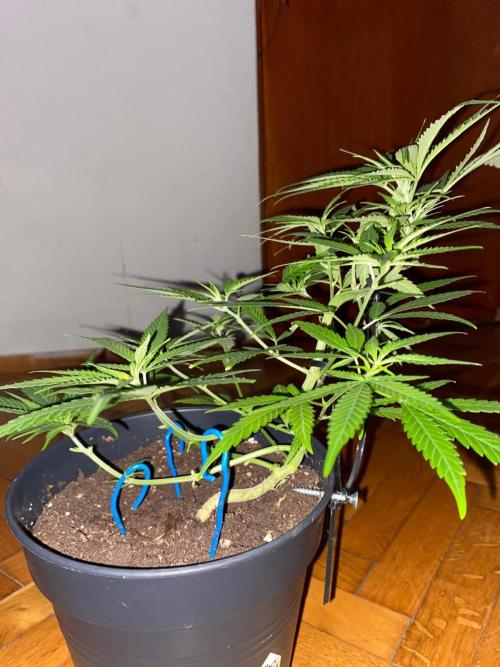
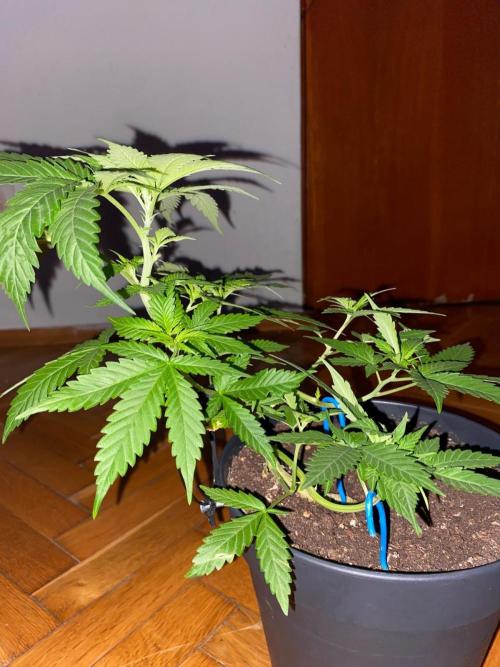
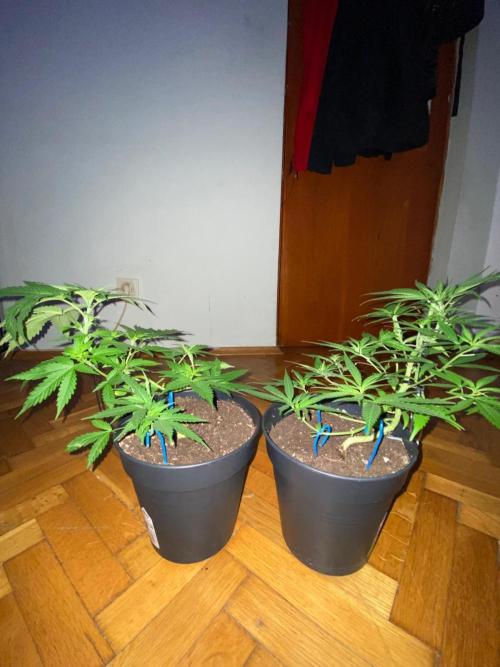
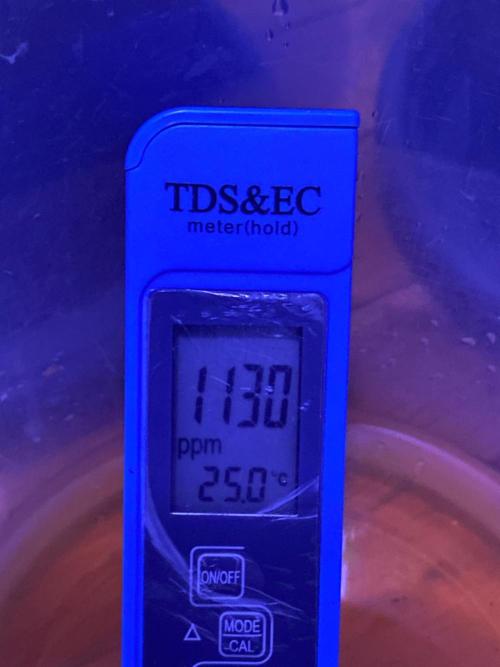
ZDNTheFirst The plants started growing uncontrollably fast. They are quite healthy. I found the EC meter I used in my old cultivation projects and measured the drain water for the first time, the result was 1100-1200 PPM. Now that I think about it, the 50% worm compost mixture wasn't such a good idea. Many people think it's impossible to fuel the plants with worm compost. While they have some truth to that but the excessive salinity (sodium) that worm compost creates in the soil leads to poor fertilizer absorption and imbalances in the soil, both in terms of itself and microorganisms. My suggestion is a 20% worm compost, 30% perlite, and 50% soil mixture; this will provide the plants with fuel for at least 10 weeks. I haven't measured the pH yet, but I know my treated water has a pH between 5.5-7, which is more than enough for our project. I was able to write this a few days after taking the photos, and that development is that the clones I bought are dying. I need to create a new, more durable, and more stable cloning environment, but my resources, especially the space available, and the need for this to be kept secret, make things very difficult. Because I gues this, I took a clone from a male plant as a test beforehand, but I kept the plant itself hidden. The female plants are growing too large, so I urgently need to top them; if they grow any larger, I'll have to cut the branch at the thickest point, which will shock them. Tomorrow I will build a new cloning chamber and take two more clones from both the male and female plants and place them in the chamber. Then I will separate the male plant from its pot and soil and plant it in a new 1-liter pot. I will give it a few days' break so the male plant can adjust to its new pot, the female plants can recover from the cut, and I can also be sure of the clones' health. If the clones don't seem healthy, I will take more clones before the bloom stage, and then I will put the main chamber into the budding stage.
likes
comments
Share
Enjoying this diary? Follow for more updates!
Prefer the old Diary view?
Go back to the old Diary view