




Likes
2
Share

@AestheticGenetix
Follow
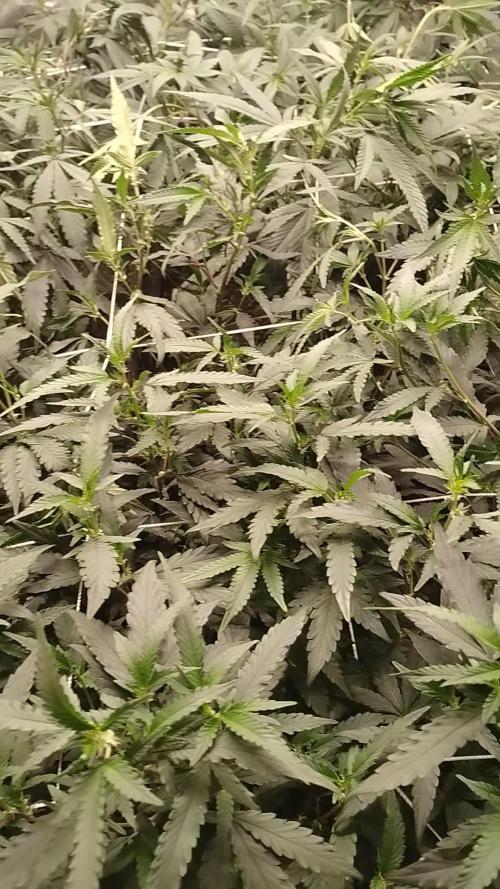
Plant is going crazy with the scrog. I keep lollipopping but more and more branches keep coming. I keep tucking and weaving and it is turning every single node into a main. Scrogs go crazy man

Likes
7
Share


@Salokin
Follow
Last week of feeding. Started the flush already, eyes still pinned on the 25th for harvest.
Likes
8
Share


@Creme_De_La_Creme
Follow
Last week before turning on the utopot system !!
She is loving the high EC, everything looking perfect around here !!

Likes
4
Share


@Canaryweed_tf
Follow
Esta semana ha ido super bien, está creciendo muy fuerte, sana y con buen color. cada vez tiene más pelos blancos esperemos que siga así #GorillaKing😍

Likes
5
Share


Likes
2
Share


@eldruida_lamota
Follow
Que pasa familia, vamos con la primera semana de florscion de estas Gorilla Melon feminizadas de fastbuds.
Vamos al lío, de las 3 plantas, me quede con 2 por espacio, siempre pongo alguna semilla de más por si no abriese alguna por no perder ese hueco del indoor.
Y ya superaron el shock provocado por el mismo trasplante.
El ph se controla en 6.2 , la temperatura la tenemos entre 20/22 grados y la humedad ronda el 50%.
Hasta aquí todo, Buenos humos 💨💨💨
Processing
Likes
17
Share


@Fabhz
Follow
This plant has recovered 80% of the mistakes I made during its process, but I have also learned a lot and I believe that growing has become a new hobby for me.


Likes
14
Share


@BudXs
Follow
Another gift from @greenhouselab
What have your growmies done for you lately?
Strap in, bitches

Likes
Comments
Share


Likes
14
Share


@goeser
Follow
At least one if the ladies is ready to harvest. Just made a final check with the microscope and i think she is ready. I could wait a bit more for more amber heads but i think thats ok.

Likes
5
Share


@PotEngineer
Follow
Well, probably this is her last week. There might be a chance of me holding for another week for more than one reason, but mostly because I think she is a little late. A noticed that the first week of flowering took longer to show flowering signs, something I usually see quickly. And the stretch took a little more time than it usually does. So, by Thursday I'll be sure. Still, as you can see, the yield will not be that good, we can't win them all, can we? Nevertheless, it is a healthy plant, with awesome genetic material and I'm already anxious to grow the last seed I have, which will begin July 2025.
Also, I uploaded a pictures showing a light green structure. It seems to me like male flowers already opened, but no really. I dont know. The other LSSH had the same thing, developing close to the end, but there where no seeds at all.
Likes
86
Share


@JuanHaze_Arg
Follow
Esta semana bajo la temperatura muchísimo y estoy teniendo 12 grados durante la noche, de todas maneras parece que va a ser una floración muy rendidora.
30/05 se riega con 1,5 litros de agua de osmosis + 1ml/l de calmag + 0,5 gr/l de trico+. Se riega con poca agua debido al frío que está haciendo y con la intención que se seque un poco el fondo de la maceta
03/05 se riega con 2 litros de agua de osmosis inversa + calmag + monster bloom Ec:0,9

Likes
Comments
Share

@SolitudeCorners
Follow
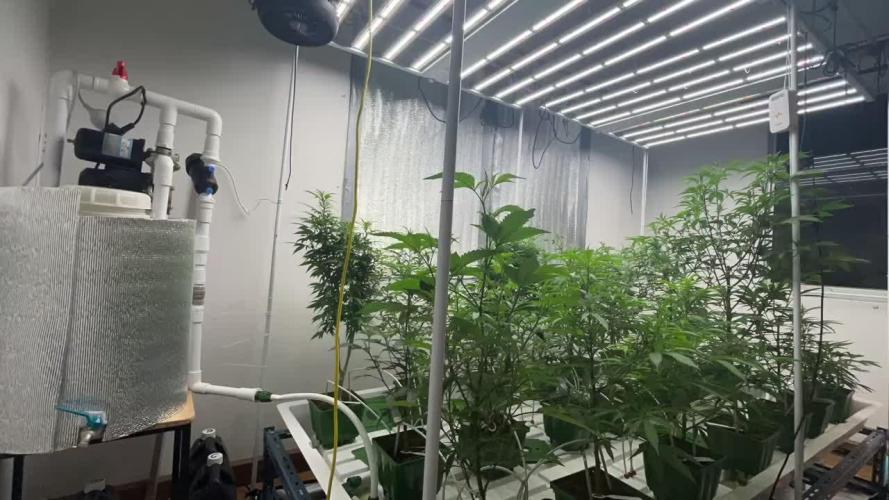
Week 3 Flower (Bloom Week 3) – Daily Tasks
Evening (Lights On)
Check environment (temp 24–27°C, RH 55–60%).
Inspect leaves and buds for pests, mold, or deficiencies.
Water/feed (depending on medium): balanced bloom nutrients with slightly higher P and K.
Ensure good airflow (oscillating fans).
Adjust plant training (light defoliation if leaves block bud sites).
Check for early signs of stretch finishing.
Evening (Before Lights Off)
Ensure irrigation is not too late in the cycle to avoid wet medium during dark period.
👉 In Week 3 bloom, the plants are finishing their stretch and starting to put more energy into forming bud sites.
Main job is: Setting Scrog net 2layers ,Control environment (VPD, airflow) ,Support the plant with bloom nutrients.


Likes
31
Share


@Cultivate
Follow
Week 8 Looking absolutely huge😂 They’re so tall and wide . Lots of healthy green leaves and strong roots.
I was worrying a lot about sex issues as when I did my research I found out they’re quite common to hermaphrodite. Was really worrying but all calyx’s have female signs (so far🙏🏻) so pray for me brothers&sisters.

Likes
28
Share


@No_Clout
Follow
Long time since update but I’m unsure on what to do with the Og because of what happened during veg it’s definitely a week behind the gelato so it’s either risk overflowering the gelato or cut the Og 1 week too early, like to hear your opinions if possible as I’m thinking of prioritising the gelato.

Likes
3
Share

@BudsPerMinute
Follow
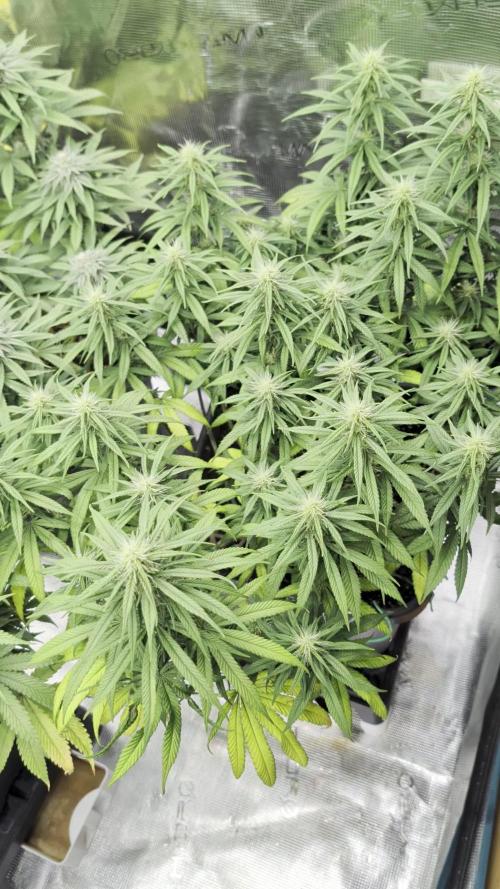
Woche 9
Die Mazar vorne im Zelt lässt sich ordentlich Zeit im Gegensatz zu den Zelt Schwestern!
Langsam fahren wir mit dem Novamax hoch um die Blüten an ihr Maximum zu pushen!

Likes
6
Share


@Headies
Follow
week 10 we put in a scrog net on the sleeping beauty and continued lst on the tropicana poison. I also FIM'ed them, again, trying to make them bush out like crazy to each fill a 4x4, 4x8 total