
Likes
Comments
Share


Likes
100
Share


@MadeInGermany
Follow
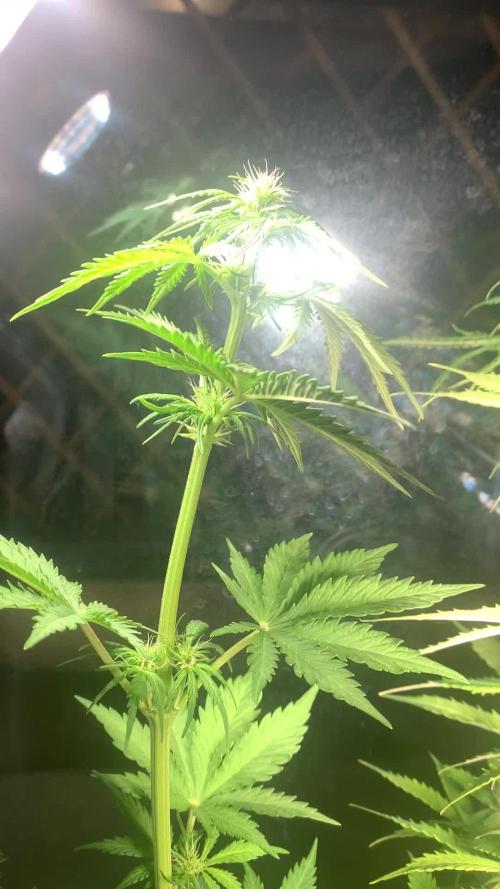
Hi people :-)
This week everyone has developed very nicely and is slowly coming to an end 🤗🌱🍀.
The Orange Sherbert was placed in the darkroom yesterday and will be harvested tomorrow :-).
Everyone else will continue to be flushed. Blue Gelato # 41, Her Majesty F1 and Sour Diesel will be harvested next week.
The next week is the gelato letzt.
Then I will gradually add all the harvest pictures 😍👍
I wish you all a good start into the week, let it grow 🌱🍀 and stay healthy 🙏🏻


Likes
4
Share


@Strife957
Follow
This week was hottt
Record breaking temps wer cooking my girls sooo
I let them out.
I took out their light also (saturday)
I also put green celophane on all the house windows (that dont have blinds) because i dont want the house lights to disrupt their sleep. ( i dont know how sensitive they r )
Next week will be their first full week of flower

Likes
9
Share


@Mr_nugs_lover_David
Follow
The seeds were planted on may 29th
Added 30g of guanokalong seaweed powder to every 2 gallon pot of this five automatic ladies Haze berry by Royal queen seeds

Likes
11
Share


@CocoLogic
Follow
Sept 20th: (F34)
Fertigation once a day with NEW recipe (1300 EC 6.1 PH) watered until 10-20% run-off
Sept 21th: (F35)
Fertigation once a day with same recipe (1300 EC 6.1 PH) watered until 10-20% run-off
Sept 22th: (F36)
Fertigation once a day with same recipe (1300 EC 6.1 PH) watered until 10-20% run-off
Sept 23th: (F37)
Fertigation once a day with same recipe (1300 EC 6.1 PH) watered until 10-20% run-off
Sept 24th: (F38)
Fertigation once a day with same recipe (1300 EC 6.1 PH) watered until 10-20% run-off
Sept 25th: (F39)
Fertigation once a day with same recipe (1300 EC 6.1 PH) watered until 10-20% run-off
Sept 26th: (F40)
Fertigation once a day with same recipe (1300 EC 6.1 PH) watered until 10-20% run-off


Likes
11
Share


@gsimd
Follow
I'm going away for 30 days about a week into this grow. I'm going to automate weeks 1 through 5 by using the Blumat watering system along with the automated fan from AC Infinity. Hopefully, these will keep things going while I'm gone. I've never used the Blumat products before and I'm excited to see their potential. If I succeed, I'll return to happy 5-week old plants. If not, I'll have to start a new grow...which is what I was going to do anyway. I have nothing to lose but a couple of seeds. Let's get this automated grow started.
Day 1 - I placed the seeds directly in a fist-sized clump of Coast of Maine Seed Starter soil that was then placed in a 3-gallon pot full of Coast of Maine Stonington Blend. This will ensure the seedling doesn't get exposed to the nutrient-rich soil too soon. I set the light 2 feet above the top of the pots so they have room to grow into the 18" to 12" range. I also set the light strength to 60% during germination. The temperature in the tent remained 75 degrees and humidity was 70%. I also covered the soil over the germinating seeds with mason jars to act as humidity domes.
Day 4 - Both pots sprouted this morning. I immediately removed the mason jar humidity domes. I also increased the light to 70% strength and installed the Blumat watering system to help me keep things growing while I'm gone.

Likes
3
Share

@SplishSploosh
Follow
28/04/26 - Jacklyn has officially started to flower, in week 4 of veg which by all accounts is super early, but oh woah here she comes! Speedrunning like a champ, pistols are officially here. So I am really happy about her frame it’s gonna help make this plant skyrocket later on, now I’m going to introduce more appropriate nutrients. Let’s see what she can do!
01/05/26 - watered without nutrients
03/05/26 - she’s absolutely smashing it, massive growth this week, now it’s clear she’s about to get bigger and better, so gonna increase the PK/K values and get those flowers dense and beautiful.


Likes
14
Share


@GrowWithTheFlow710
Follow
Back to plain water, seeing some foxtailing and I love it. Dense dense nugs are no good for making hash I hear. My s/o and I are super excited to get her harvested and squished but am waiting for the 20% amber to chop.
Thanks for the feedback on harvest time indicators.
PLEASE COMMENT your go-to method/indicators for harvest time! Would love to see if everyone solely depends on trichombes or other methods such as pistils or leaves.
*I am growing 4 plants here, but only tracking one.
Likes
82
Share


@Bluesbreeder
Follow
well all is going well the buds are developing good and it looks like i'm going to have a good harvest after all.
stopt giving the canna pk13/14 and lowered all the nutrient a little bit.
saw some tips of the leaves a little bit burned.
its my first time under the viparspectra and i'm curious about the outcome.
next week more news....
tried a technique called bud swelling on some stems of my plant.
you cut of the tops from al the buds on your stem and they should get bigger . let's try it on 4 stems and see in a few weeks if this technique makes a difference. i will add a video how i did it and this you need to do with al the buds .


Likes
4
Share


@GeminiCQC
Follow
Can't wait for each of them to finish out. Giving them hopefully their full amount of water, less with the auto as it was stunted by the 12/12.

Likes
4
Share

@grimm420
Follow
It’s so damn tall! I’m starting to see bud development and I appreciate the space between the buds, I’ve seen other people’s indoor grow on Reddit and they look amazing! Hoping to see similarities getting closer to harvest. Gave its first feed of Lotus Bloom Nutrients and is now drinking about half a gallon of r.o water. It’s giving the faintest dank smell but I know that will change soon.


Likes
5
Share


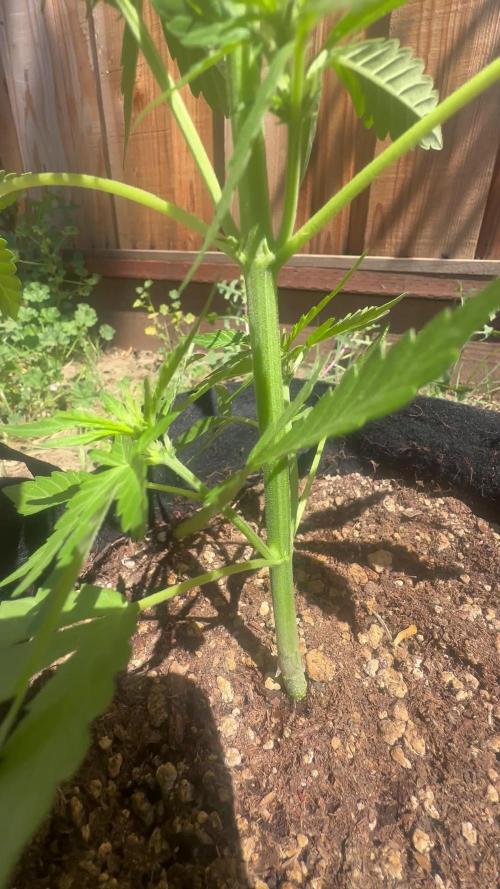
@alafmalaf
Follow
This week is getting closer but still not close to the size I want pre flower.
I turned down the lights and got some fertilizer to see if I can coax them to grow up. I think I've been light shocking them.
12/25
I hiked down the light and got the some fertilizer and you can see the diff in just one day of fertz and less light, more humidity


Likes
422
Share


@Crashoverite
Follow
Hi all,
Welcome to my🍌💜👊 week update
Thank you so much for all support on this bananas journey. Much appreciate all your likes, follows and comments. 🙏💚❤️💜
Week 13
Jan 8- Jan 14
This was another amazing week. Girls are behaved very well. Drinking their juice like crazy. 2 waterings of 9ltrs on Jan 10th and Jan 13th. Runoffs at ph 6.2. Buds are gaining some serious weight and the trichomes development is of the charts. Girls are covered with frost. Trichomes are mainly milky now with individual ambers here and there. On Jan 10 noticed on one Athena top colas a white topped bud! It's something that has never happened to me. It may be only led bleach or it's something abnormal and phenomenal. It's white and has red and amber pistil hairs in between and all covered with trichomes. Few days after. White coulour is not spreading and not seeing any damages. The smell in my cabinet its insane. Very sweet scents. I wouldn't say bananas but definitely sweet berries and gummies 🤤 new dehumidifier doing an amazing job. Humidity when light is on is between 49-54% and 52-58% when lights are out.
It's all looking that my 🍌💜👊 girls will be ladies very soon. Harvest is coming big time. Next week planning to gradually cut nutrients down and prepare for flush.
Stay tuned for new week update very soon!
Peace and love brothers and sisters ✌️💚👨🌾
Links
https://2fast4buds.com/seeds/banana-purple-punch-auto
https://plagron.com
https://www.biobizz.com/
https://fishheadfarms.com/


