


Likes
Comments
Share


@Fader1
Follow
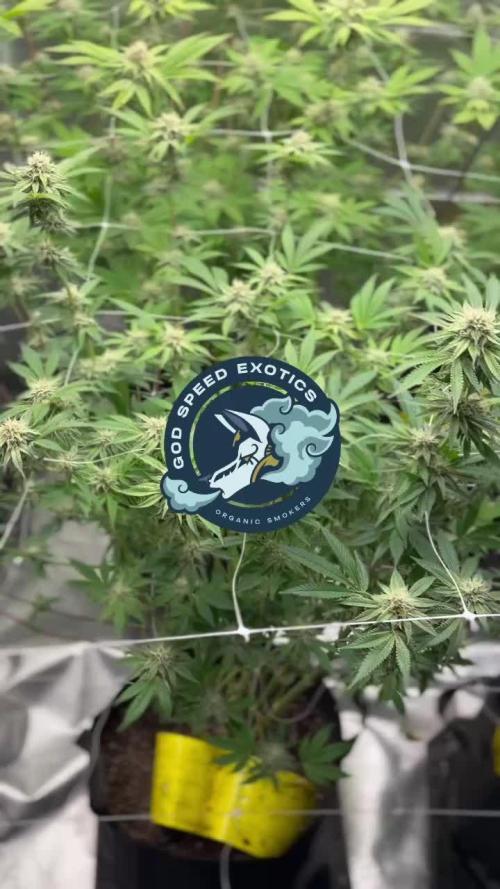
fortunately the situation has been recovered! after giving up fertilizers and with the purchase of the humidifier they now look much healthier. some stigmas start to color



Likes
4
Share


@GREENPHOENIX6262
Follow
* 10/22 -Cherry Cherry Cola Auto - 10/22 - 9.5 Inches *
Thus far no concerns and she is growing vigorously, switched out Myco (Using Myco+ from Element) and increased nute and clean water feeds to 1 gallon per day offsetting the clean water and nute water feeds. Lite LST with bend clips applied yesterday (10/21).
* End of Week - Veg week 5 - 10/28 - Thus no issues or deficiencies, slight increase of veg dose - Defoliation will begin next week.


Likes
13
Share


@Appoldro420
Follow
15-01-2022: These pictures are made about 2 minutes after lights went on. So still hanging a bit. They look a bit hungry I think so I added some fresh water with Ata Awa Max A/B. Why? What's wrong with Hy-Pro? Nothing, I got lazy and this was literally within reach of my hands. Will see what happens.
19-01-2022: They seem to like the higher EC. Buds are swelling pretty fast now. Since the RH is pretty low I don't expect that to be a problem. Still about 3-4 weeks left so pretty curious about the results :)

Processing
Likes
1
Share


@regionallystoned420
Follow
Week 5 purple showing , 2 slight differences in the structures on each plant . Had both these phenotypes before


Likes
1
Share


@BunnyBud
Follow
I noticed that the drainage EC exceeded 2.6. I'll have to correct that. 🙊


Likes
18
Share


@DaddyPrime
Follow
4/8 frosting up more and more and buds plumping up but not much. I feel its key to note that ine of the plants is more short stocky and the other has greater internodal spacing
Likes
2
Share

@BjomaBudz
Follow
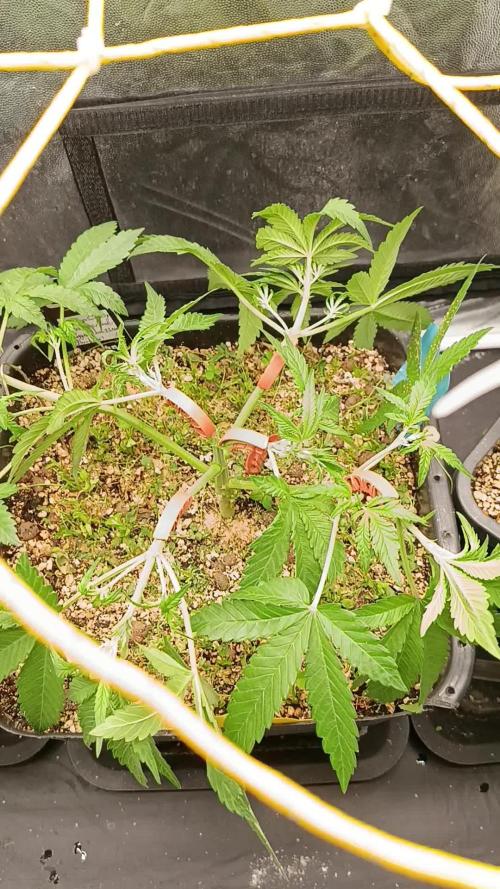
Heute gab es zusätzlich BioBizz zu den Biotabs – aber nach meinem eigenen Schema.
Je 2 ml von:
Bio Grow, Top Max, Bio Bloom
Je 3 ml von:
Fish Mix, ActiVera, Bio Heaven
Außerdem:
0,6 ml CalMag.
Da die zwei Autos gerade anfangen, sich zu strecken und ich das Biotabs-Starterkit verwende (bei dem ich etwa 15 % unter den Vorgaben dosiere), passe ich auch die BioBizz-Düngung entsprechend nach unten an. Da alles organisch ist und es immer etwa 2–4 Tage dauert, bis der Dünger wirkt, beginne ich minimal mit dem Blütenschema und nutze gleichzeitig noch das Veggie-Schema. Sobald die Blüte richtig losgeht, werde ich mein BioBizz-Schema entsprechend anpassen.

Likes
37
Share


@GrownwithLED
Follow
After germinating the seeds are transplanted into small pots with soil (see tutorial in VIDEO above). The soil is prepared with water mixed with a little bit of BIO NOVA Roots (0,5 ml/l), which aids the development of the seedling. Transplanting is very easy now, because they have grown a STRAIGHT tap-root while hanging during the SERIOUS' WAY of germination. This straight root allows for easy potting of the seeds. Simply make a little hole in the center of the soil with your pinky finger and carefully place the germinated seed with the white root pointing DOWNWARDS into the hole. Best is to lay it onto one side-wall of the hole with the seed shell right at the surface. Then I push the other side inwards and enclose the whole root with soil. At the end only the top of the seed-shell peeks out of the soil. IT IS VERY IMPORTANT to plant the seeds NOT TO DEEP into the soil. The seedling only needs extra strength to work itself upwards thru the soil and you run the risk of the soil drying out and the seed dying off. When you PLANT THE SEED VERY SHALLOW into the soil (=with the top of the seed-shell still peeking out) your seedling can grow out right away and you have a small plant already 24 hours after putting the seed into the soil.
The small seedling sometimes still has the seed-shell on its 'head', it normally falls off by itself, but sometimes you have to carefully help and take it off with your finger nails. Be careful to NOT clip of the seedling accidentally when you do this!
The seed-shall has an inner lining, which feeds the small seedling when it germinates. This inner lining sometimes gets tangled around the stem of the small seedling after the shell has fallen off. This little skin MUST be taken off the stem right away! Once it dries up, it gets hard and can strangulate the seedling around the stem. In order to avoid this, the skin must be taken off as soon as possible! I show it in the pics above and also made a video about taking off the inner lining of the seed.


Likes
62
Share


@DigiDom
Follow
Just keeping an eye on her for the time being. Looks like she has stopped stretching and is starting to fill out again. I'm just hoping the defoliation didn't slow her down too much.
Day 72 watered 3l
Day 72 Test Time Lapse
Day 74 watered 1.75l

Likes
4
Share


@AlienBucket
Follow
I let the soil dry, then gave 72 hours of darkness, after which I harvested.

Likes
17
Share


@DBQush
Follow
Dear diary,
Week 10 total and week 1 of flower is behind us. Will just be making sure all tops are exposed and somewhat in the right place as I let them stretch for about 21 days before some defoliation.
🌸🌸🌸🌸🌸🌸🌸🌸🌸🌸
⏰ Day 67:
Feeding was given in the evening with a solution of 1.87ms and pH of 5.6. During this feeding, I guided most of the tops into their designated positions within the net, ensuring they are adequately spread out to receive optimal light.
I also checked the runoff, which measured 2.3ms, but considering the extra dissolved salts from full draining and collection that would be higher that it really is, I will aim to bring it back to the desired range of 1.65-1.7ms to be sure.
⏰ Day 68:
In the evening, the plants were fed with a solution of 1.64ms at a pH of 5.8.
⏰ Day 69:
Evening feeding consisted of a solution with 1.66ms strength and a pH of 5.9. I also took the opportunity to confirm that the lights were positioned at a 48cm distance from the canopy.
Additionally, I'm testing the exhaust system by venting it outside the room. Currently, the relative humidity (RH) ranges from 53-55% during lights-off and 58-60% during lights-on, while the temperatures remain around 18°C with lights off and 23.5°C with lights on. These conditions fall within the desired vPD (vapor pressure deficit) range of 0.95-1.2.
⏰ Day 70:
Feeding was carried out in the evening using a solution with a strength of 1.66ms and a pH of 5.9. To enhance air circulation, I added a fan at the top of the tent.
Furthermore, I checked the light intensity, which measured around 760-780ppfd.
⏰ Day 71:
During the evening feeding, the plants received a solution with a strength of 1.64ms and a pH of 6.4. The RH levels range from 55-65% as the girls get more bushy, while temperatures vary between 23-18°C, depending on whether the lights are on or off.
⏰ Day 72:
Evening feeding included a solution with 1.64ms strength and a pH of 6.4.
⏰ Day 73:
The plants were fed with a solution having a strength of 1.66ms and a pH of 6.0. As indicated by the feeding schedule, the A+B mix was increased to 3.5ml/l.
I also ensured that the lights were positioned approximately 50cm above the canopy and set to 90% intensity to provide additional heat.
Likes
24
Share


@Grnhead
Follow
Went ahead and supercropped as they were getting a little tall. It seemed to have gone mostly well as they have recovered quickly and there are many more bud sites than before. It’s still early in flower but the Pineapple Express 1 is already full of crystals. The rest are behind but looking good.
They all seem to love their nutrients. This week I will try topping off with a nutrient mix just to keep the TDS from dropping like it did last week. The LUX is around 70K on the top of the canopy!
The growth seems to have slowed. There are many bud-sites but I wonder how much this will yield if there isn’t much more vertical growth. Overall feels to be going in the right direction. Learning how to maximize in this space can be challenging!


Likes
17
Share


@OrganicBuds030
Follow
Sie fühlen sich sehr wohl. Die Fotos sind vom 2. Blütetag. Die ersten Anzeichen der Blütephase sind schon zu sehen.

Likes
11
Share


@Bread_n_Buds
Follow
This strain has a name that really intrigues us, a fame that goes beyond the oceans and is produced by Zamnesia top ingredients for success. One of the two Green Crack F1 Hybrids was replanted because I noticed too late some placenta problems and it was damaged but only because of me it was immediately replaced and we are ready to give our best.
Growing projects for autoflowering plants ----- As for autoflowering plants I really love preserving the Main Cola. So I will try to make or grow the plants well or badly without damaging the main cola. Nowadays topping autoflowering plants is very accepted but it is not my favorite thing to transform a baby born to finish in 10 weeks into a baby that finishes in 14, I say at this point I do photoperiodic. But in times of people who only grow autoflowering everything is permitted for goodness sake if you want to do it, do it I will not be the one to stop you. Also because the results are excellent nothing to really discuss about anything except time.
All this to tell us that I recommend for example fimming on plants that tend to grow tall to give power to the lateral branches, LST as much as you want, I don't like too much spread out I need space. HST and splitting are with experience. These are my tips not the absolute truth please do not mistake me for a great wise holder of the truth I speak as I see it.
The first week went only with Power Roots 1 Ml/l and Pure Zym 1 ml/l from now on we will start with ALga Grow. The plants were transplanted shortly after germination because the biodegradable pots were very small. The soil is Plagron Pro Mix 100% organic renewed with 30% new soil and 20% Perlite added. (Pro mix has no perlite but it is airy, we added it anyway)
Plagron nutrients are available at Zamnesia in convenient pack formats for all growing styles. I used this one with a simple search you can find the other products.
---- https://www.zamnesia.io/it/12119-plagron-top-grow-box-100-naturale.html
Try a seed of this strain that drives us crazy...
---- https://www.zamnesia.io/en/10677-zamnesia-seeds-green-crack-f1-automatic.html
Zamnesia Description // Forget what you think you know about cannabis. Green Crack F1 Automatic by Zamnesia Seeds is here to shake up the whole industry. Using F1 genetics, growing cannabis has never been easier. These plants offer uniform and abundant yields. Get ready to harvest high-quality buds, full of flavor and amazing effects.
Growbox and Air System - Secret Jardin DS120w + fans + exhaust fans and DF16 filters kit ---- https://www.secretjardin.com
All the best that mother nature has to offer is at ----www.zamnesia.com
Collaboration request: I am available for collaborations with companies of lights and various growing equipment (please no seed and nut companies) I would like to renovate my 120x120 space that has slightly outdated lights and would like to try some controllers. If you have any proposals available.


Likes
4
Share

@Guerrilla_grower777
Follow
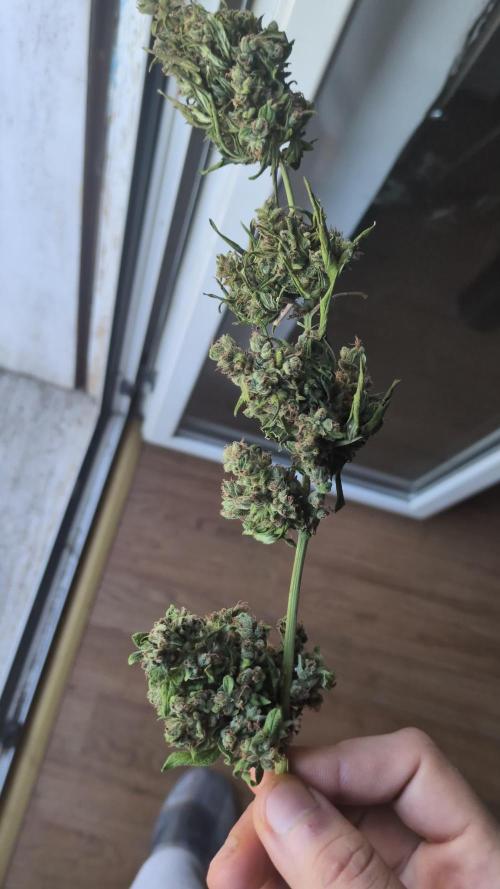
Strange hot week in the very end of Summer
I had to write something here to post this😄😄
