The Grow Awards 2026 🏆 


Likes
11
Share
@Kushsmoker516
Follow
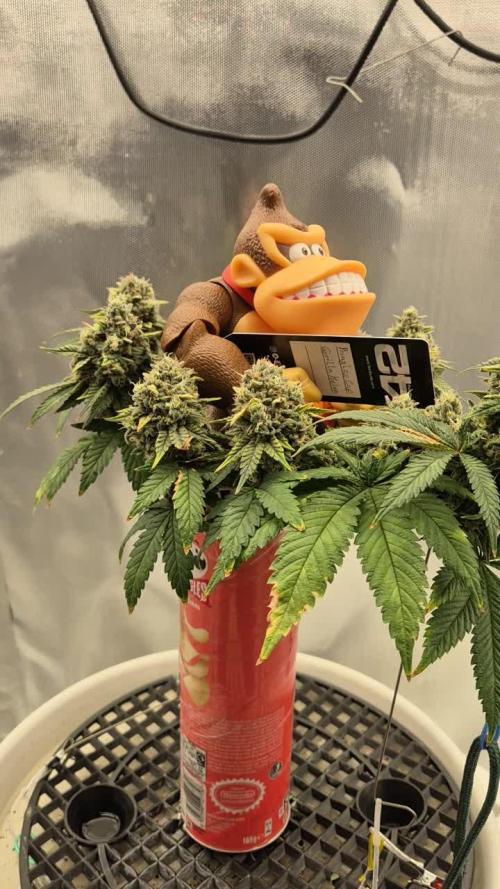
Most of them just starting to flower one is nute burned will be giving plain water


Likes
97
Share
@AsNoriu
Follow
Day 106. Trim jaiiiiiilllllllll !!!!
First done, think it could reach my record 240. Insane quality. 4 rows of solid buds hanging ....
Next one ....
Both finally finished and honestly, that's my plants to be proud of !!!
Day 114. All is done, no doubts its my best grow.
Happy Growing !!!

Likes
76
Share
@Deranged420
Follow
Day 15 - She is still wanting light but gonna leave it at 11" cause she is taking off like a rocket. Sorry for the crappy pic.
Day 16 - She is growing, little worried the stem is not going to hold her up for long she is growing so fast, kinda worried there. Gave a bit of silica/calmag (maybe 1 oz at the ratio in my diary) then about 4oz of water..
Day 17 - She is blowing up! Hard to see in pics but she is getting bigger! I was worried the purple light is what threw my DFL into flower if that was closest to that LED . I tried to quarantine her 600w more purple Light off of my DLF....
Day 18 - Still looking good, gave about 2 oz of calmag/silicia solution and spritzed with water
Day 19 - Was a little dry so watered and spritzed leaves with water. Growth underneath is picking up. She is still growing so I am happy. Trying to keep Air temp up above 75F
Day 20 - It is getting thicker and bigger. Not growing much taller but getting bushier it seems. Spritzed leaves with water.
Day 21 - Undergrowth seems to be growing, not getting much taller but is getting a bit thicker... Spritzed leaves with water.

Likes
5
Share
@Borberad
Follow
Die gute scheint es eilig zu haben. Eigentlich ist sie erst zu Valentinstag ausgezählt. Aber gut. Es werden wohl nur um die 8 Wochen so wie sie jetzt schon glitzert.

Likes
13
Share
@cookingwithninja
Follow
Day 14, some supercropping
Day 15 .. it’s under control 😂🤣
Day 19 lights almost maxed to tent height unless I zip tie led to the top ceiling frame, last bit of monster cropping. Lost 2 top nugs to physical led burn but it’s ok. Everything is fine. Still going very hard on soluble N, and Pk along with b+, fishsh!t, microbial mass, humic acid. Carbs every day with organic booster
Processing
Likes
18
Share
@Dunk_Junk
Follow
Wow she continued to grow this week!
I've bent her main cola over twice this week 😂 She really wanted to reach for the sky!
Check out the timelapse..... she's the tallest plant 😂 😍
Pretty much on autopilot, she's doing her thing.

Processing
Likes
41
Share


Likes
34
Share
@MarsHydroLED
Follow
The ladies got 2 more days then they’re getting the chop ✂️
Harvest time is coming~ So excited!! 😋
Likes
18
Share
@ShowsWorld
Follow
Growth has been explosive with the strain. Tops coming from everywhere after one topping. I plan on taking a cutting from this particular strain I have a great feeling about this one.

Likes
44
Share
@Vegetoo420
Follow
I loved growing this strain and I will do it again for sure ! I had a very good pheno and I’m sad cause I didn’t cut it..
smell was good plant alive and she’s strong during curing !

Processing
Likes
45
Share
@LovelyT
Follow
Killer purp has a very skunky odor. This smell is growing stronger everyday. Ive been using terpinator and its really bringing out the aroma much more now. I also noticed some purple on the buds as well since last week. So far so good.👐

Likes
11
Share


Likes
6
Share
@RandomStreetMerchant
Follow
Zoap by premium cultivars is growing fast even with the fact I flipped her into flower a few weeks earlier than I like too.
can’t wait to see that frost 😁
Going to trim some of the satellite leaves that are ruff looking.
Other than that can’t wait to see you all next time ☮️ 08/13/23

Likes
Comments
Share


Processing
Likes
2
Share
@Cannatech
Follow
Had a bit of strip not much to say about this week again apart from flowering is happening finally and it's getting there with small bud sites popping out everywhere

Likes
154
Share
@Tropicannibis_Todd
Follow
💩Holy Crap Growmies We Are Back💩
Code Name FBT2311
Well growmies we are at 28 days in and everything is going great 👌
👉So the low stress training been going well 👈 We got some major flowering already 👌 let the stretch begin 💪she's the top of of the lot 💪
Lights being readjusted and chart updated .........👍rain water to be used entire growth👈
👉I used NutriNPK for nutrients for my grows and welcome anyone to give them a try .👈
👉 www.nutrinpk.com 👈
NutriNPK Cal MAG 14-0-14
NutriNPK Grow 28-14-14
NutriNPK Bloom 8-20-30
NutriNPK Bloom Booster 0-52-34
I GOT MULTIPLE DIARIES ON THE GO 😱 please check them out 😎
👉THANKS FOR TAKING THE TIME TO GO OVER MY DIARIES 👈
Likes
47
Share
@BloodBath
Follow
Could have gotten more off the plant of it wasn’t mutated from the get. But oh well I’m not mad about it. I just won’t be growing anything from that company ever again and also won’t be growing old strains anytime soon. I’ve had so much more success with other genetics of different strains from different company’s. The Skywalker from DNA came out amazing. The sour wiz just came down and that’s even better. Thanks for looking.

Likes
3
Share
@High_Class
Follow
I veg them for 10 weeks. The two on each end are Blue Dream, the back left is Purple Urkle, the back right is Grandaddy Purple, and the one up from in the middle is Wifi OG.