The Grow Awards 2026 🏆 


Likes
Comments
Share
@anann
Follow
This is week 9 . It so fucking crazy . this is my first time to see cannabis flowering. I can grow batter.
Likes
38
Share
@DeepRootsGrowTrees
Follow
TROPICANA COOKIES 🍪 FF/FASTBUDS
WEEK #12 OVERALL
WEEK #4 FLOWER
This week was a good week for this lady she is getting frosty her buds are covered in trichomes she's really a beautiful looking plant!! Stay Growing!!
Thank you for stopping by and taking a look it's much appreciated!!
Thank you FASTBUDS!!
TROPICANA COOKIES 🍪 FF/ FASTBUDS

Likes
3
Share
@Hydlzzz
Follow
I used mammoth microbes, power si, photosynthesis plus, roots organic nutrients, fox farms soil under mixed lighting with an outdoor flower.
Likes
13
Share
@NoVC01
Follow
Moochie's Garden 7/7/2025 (Learning curve producing videos.)
Big bluster - "Miracle-Gro/10 gallon, no ph, right out of the well" Wife said phuck Fox farm we are using NPK RAW, using ph watering cans to feed @ 4 gallons each and 5-gallon buckets of ph. watering. Once a week per feed/water. Following NPK feeding schedule.
AzaMax soil drench .4%, 2 gallons each plant. Still spraying neem. Next, mixing Azamax for foliar spray. If I had not taken steps to prevent pests initially, I'd be completely overwhelmed.
Likes
6
Share
@Pblc_10
Follow
Heute wird die blüte eingeleitet und ein paar Fotos folgen noch. Zu sagen gibt's nicht viel nur das sie sehr gut aussehen, alle Tops auf einer Höhe sind und die seitentriebe auch bereits neue seitentriebe bilden. An 2 Stelle ist mir vor n paar Tagen ein trieb abgebrochen aber innerhalb der paar Tage sind schon 2 dafür nachgewachsen aus dem Stück was noch hing.
Wie immer würde ich mich über Tipps freuen ✌️🍀

Likes
36
Share
@pifflestikkz
Follow
Day 85
Day 1 Flower
26/07/24 Friday
Big feed today full 5L a little run offusimg de-chlorinated water pH 6.
So we are through her first transition week.
Starting to see sex pistils forming at end of last week.
Picture and video update ✌️💚
Day 88
Day 4 flower
29/07/24 Monday
Just de-chlorinated tap water pH 6 today, full 5L with just under a 1L run off.
Day 89
Day 5 Flower
30/07/24 Tuesday
De-chlorinated tap water pH 6 today but I'm adding in Plagron Power Buds AND Plagron PK13-14 only 5ml each to 5ml water.
It says to use on every irrigation from early flower so here we go. If I start getting burns I'll cut out a few advanced nutrients extras and go again from there.
She is just ridiculous, robust, never stresses, healthy and just wants to throw arms out everywhere 🤣💚
Day 91
Day 7 flower
01/08/24 Thursday
End of week.
Another feed today using de-chlorinated tap water pH 6, there now taking 3L every evening.

Likes
2
Share
@Rangaku
Follow
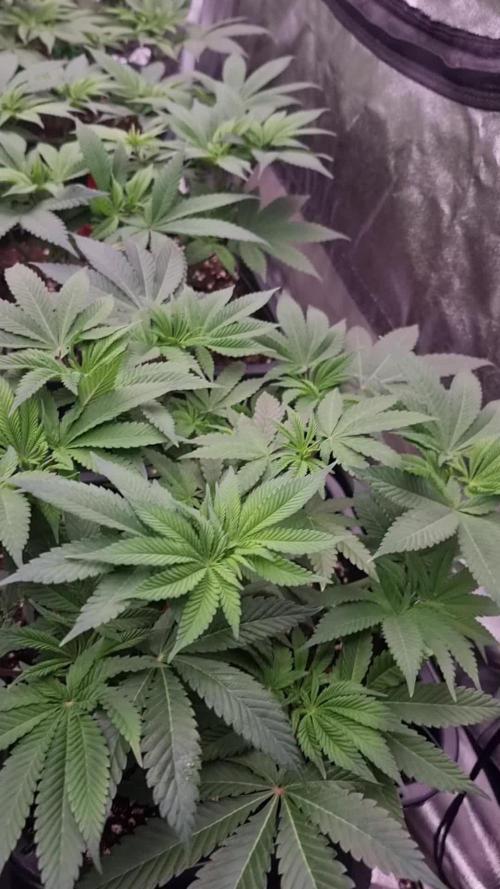
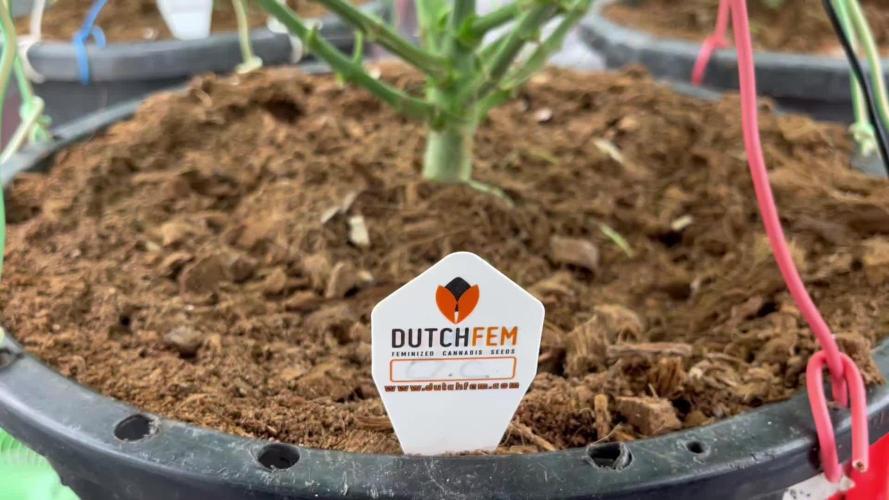
This orange cookie is the queen of the tent , she’s throwing out bud sites like a maniac, beautiful big strong and green I’ll be switching to 12-12 tonight or I think I’ll run out of room . Keen to see what she’ll do in stretch and then onto flower in a few weeks . I’ve got the feeling she’s gonna be special. The last orange strain from Dutch fem the orange dream was a memorable orange strain smelt like an orchard and tasted like an orange julias so I got high hopes for this one

Likes
25
Share
@Cannibalgardens
Follow
Well it is budding nicely and it's also stinking up my tent . Citrus but Also very skunk like . The frost is just starting to stack in there . We took a few contest shots today and also hopped I to the strain review video contest too . Have fun and just why not it's all in fun . Organic soil with nuts as well cheers fam
Likes
6
Share
@valiotoro
Follow
Hello everyone 😎
Week 5 of flower for the OG Kush🌲
She is doing very well,growing at fast pace and with a beautiful green colour on the leaves.
For the nutrient 2ml/L terra bloom + 1ml/L power buds🔥
I already have my Christmas tree 🎄
The smell is amazing Pine & citrus
One is ready & it’s time to flush with Terra Aquatica Flashhh Clean
Likes
Comments
Share
@madlangs
Follow
They are plodding along in the 2x4 tent, waiting for space in the drying tent. The tent should be free in about 7 days then I can up the ppfd and give them a better environment. Cant control the high humidity in this small tent
10.2.25
Ppfd 800ish
Dli 34
15.2.25
Jelly 44cm
Jelly 74
Slurricane 75cm

Likes
253
Share
@Hologram
Follow
Sticky beast is waiting for some good sunrays so she can break out of my garden!!😎👏👏👏
Garden is smelling real sweet too, thanks to her 😵👌
I love her structure, i have topped her, but LST was not that necessary.. only defoliation, a lil bit..
i love that bc i hate LST, (im not that good in it..😳)
She turned out great, she grew open and wide.. just by herself. 😇👍(maybe also becouse i let her dance in the wind 😎 and move her around a lot)
Lots of bad weather this week(cold and wet, she is in greenhouse a lot).. but luckily her buds are still healthy👌
And dont forget:
FOR ALL MY GROWBRETHREN/SISTREN IS A DISCOUNT CODE: ZAMMIGD2023
happy growing for all ✊

Likes
23
Share
@HideAndFly420
Follow
Great réaction to stress.
Flow exactly started thé 28th day.
Let’s see.
Started bio bloom too.
Likes
11
Share


Likes
6
Share
@IQuSX
Follow
Hi, topman!
This report is about bending the "@" plant into a shape.
A week has passed since the transplant and during this time a 35% flush was carried out,
form laying,
burr removal,
but nothing was done to add stress!
Look & rejoice!

Likes
61
Share
@Esoteric_growing
Follow
Had one plant hemi, probably due to the high stress training I did last week.
All plants looking very healthy, two out of the remaining 4 are several inches taller so may tie these down to even the canopy a little.
One pheno is a lot more sativa looking than the others and had a much bigger stretch.

Likes
5
Share
@Jungle_James_Grows
Follow
Short video on her progress.
Preflowers started so time to add worm castings and banana FPJ

Processing
Likes
8
Share
@Salgeezi
Follow
From the looks of it. I am in early stages of root rot. Plant is not growing as fast as it was at all. It can be a few things. Light penetration into the bucket. My water temps are around 70f. So I think that's okay. I had some extra mylar from a grow I did years ago. Cut pieces to go over the kids hopefully that helps.
I took out all additives besides CalMag. They were fouling the rez as usual. Dropping the Ph as usual. I think it's also the cause of the root rot. I have sprayed soaked with h202 and have added it to the reservoir after a cleaning and a water change. Looks a bit better.
I'm located in Canada and I cannot find hydroguard anywhere. Which kinda sucks. Any alternatives would be great. Thanks


Likes
1
Share

