


Likes
Comments
Share


@Mrb29
Follow
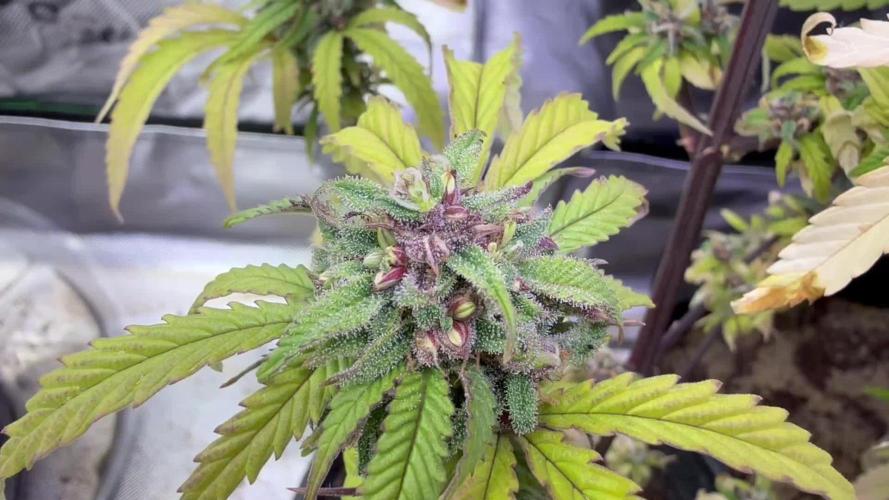
The front left one is some clear mostly cloudy a few amber
The rest are some clear mostly cloudy no amber
They reak of sweet gassy and very tropical citrusy. They have been getting 1000-1600 ppfd since week 4 .
The tops are rock hard but still have some softness to them. I think I’ll harvest day 60-63 we shall see

Likes
3
Share
@FarmerRasa
Follow
This is probably going to be very haphazard and added to only as new progress is made. working on some selfing, crossing and other misc. breeding projects of various strains. This "week" I am showing the reversal plants in their early stages of pollen sac development. I have reversed plants successfully in the past but really wanted to try a full dedicated project rather than just pollen chucking. The first wave of plants are all pollen donors. Clones and sprouts of the mothers to receive the pollen are in my veg tent waiting to be flipped. Once these mature they will be moved to a separate tent and pollen harvested to be added to the flowering girls.
So far all plants have taken to the reversal. I am using STS spray I made myself. I started spraying them one week before flipping to flower and then every 3-5 days until I saw sacs forming. That seems to be the sweet spot for me. YMMV


Likes
9
Share


@pascal_dop
Follow
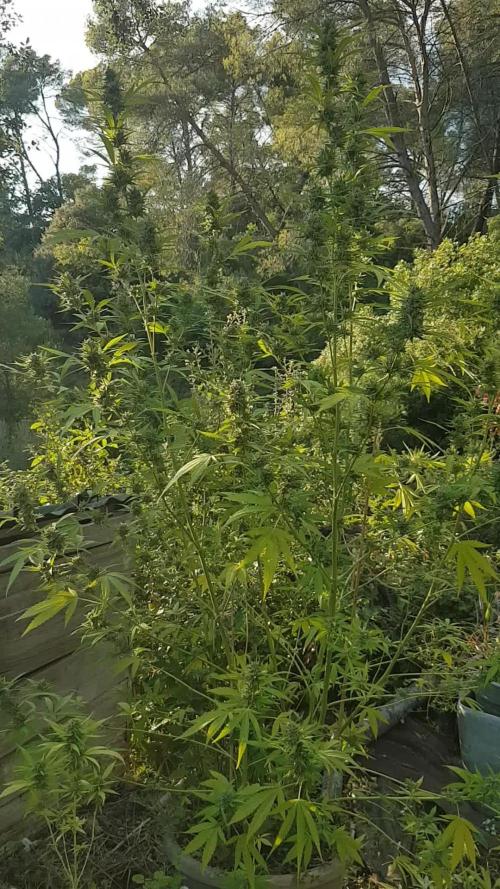
Als ich dachte, ich hätte noch Zeit, hab ich mich komplett verschätzt und damit warscheinlich auch den ersten richtigen Growfehler gemacht. Die Pflanze ist viel zu hoch gewachsen ... was meint Ihr? Was kann ich das nächste mal anders machen? 😞


Likes
57
Share


@Zurban_Poison
Follow
Well guys! home stretch!
as you can see in the photo, harvest day is not far away))
Both plants look amazing! the structure of the Buds, trichomes, smell, stickiness and oiliness, all this is in excess!))
Buds are very solid and elastic .. very happy ..

Likes
5
Share

@secretcedar
Follow
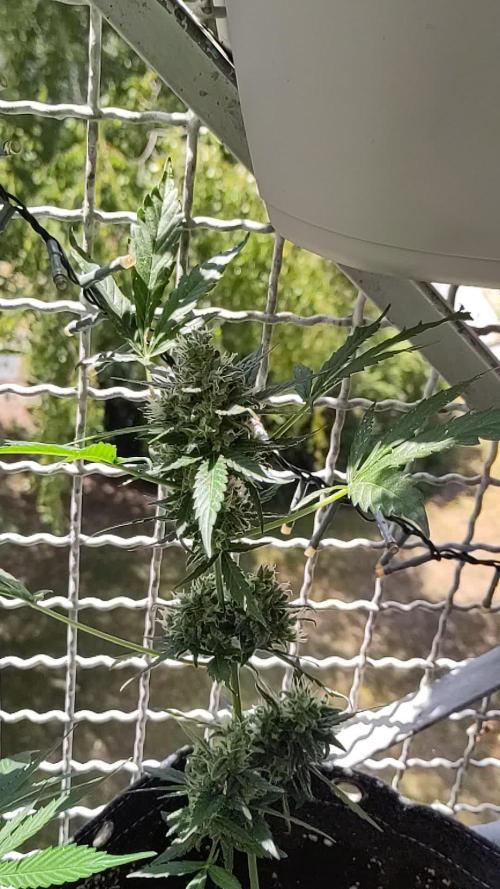
Day 132
It's been much cooler this week, and the plants are using much less water.
I'm wondering whether to harvest it on Tuesday or wait another week.
A little rain is forecast, but it should be very light.
I thought the buds would get bigger, but that's not happening.
The buds are really loaded with big trichomes.
Otherwise,
I've defoliated to allow the smaller, lower buds to grow bigger.



Likes
28
Share


@Felloffthegrid420
Follow
Only one plant is not got fire ant in it making the plant stress welp there go my year I learn every year about hit the chop it what waste of good Genetics
Likes
12
Share


@Willy_Balls
Follow
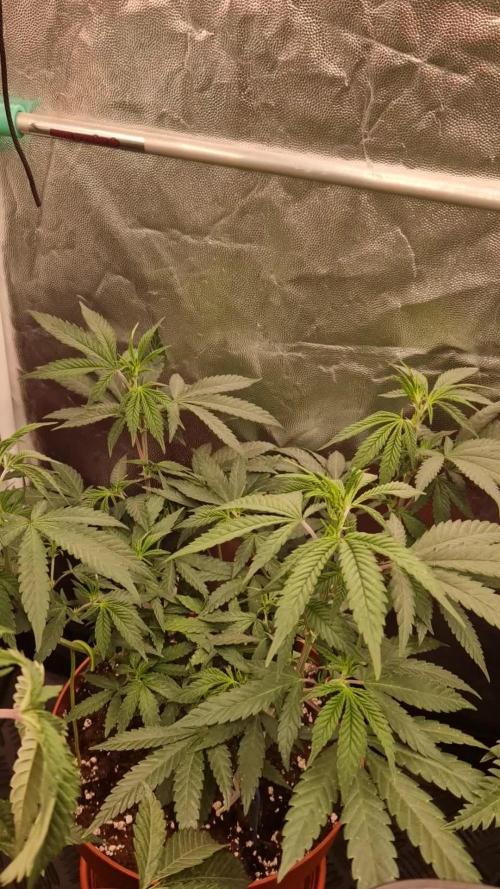
After lots of perturbations, including visit from electricity company and moving 80cm-1m plants to another location in plastic bags 😅 we finally can start this run. Plants look super happy so far. They are all my best clones. This time I will try another cut of violet face and it will be probably the last time I grow her. I have coco jambo from. Anesia in another tent. There is so many names strains to discover. I’m so pumped for the future.
If you wish, please join me on the next adventure.
Cheers,
Growers love


Likes
19
Share

@TrickzCutz
Follow
Servus Moin!
Die Sun of a Peach kommt langsam mit den unteren Trieben hinterher ubd kämpft sich nach oben. Sie wird immer buschiger.
Likes
9
Share


@MrOgchemist
Follow
Harvested and smoked... runtz was the favorite of all but this one i the top 1 for insomnia people who deal with it should give this strain a try it's great late evening smoke.. you feel like you're on a cloud.... I got a more of a musky earthy og with very little lemon kick to it but I don't mind.
162 left in the bag to cure rest in the jar for myself to enjoy for now.
The redness in the stems went away with the cure I belive... some still have it tho lightly.

Likes
4
Share

@GREENPHOENIX6262
Follow
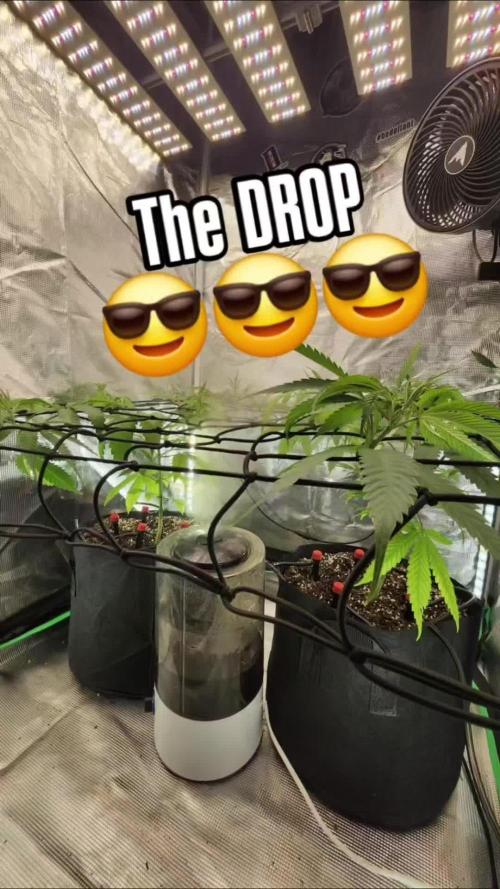
05/24 - Both have been transplanted into 5 gallon pots - Both are hooked up to the Vivosun smart drip emitter system - I have introduced three new components to their feeds (Silica,Horti Grow and Kelp) - They have been moved into the 3x3 tent from more room under a bigger light - I have dropped the net on them for maximum light exposure - Running the AC infinity supplement for added light exposure to underneath canopy and mid level grow.
😎😎😎😎😎😎😎😎😎😎😎 - Check my IG grow family - IG @GREENPHOENIX6262

Likes
5
Share


@soupthefruitdude
Follow
Dünge 2 mal die Woche. Die pflanze rechts und die links hinten wachsen ziemlich hoch, kann die Lampe nicht mehr viel höher hängen.
Likes
16
Share

@osmrducks
Follow
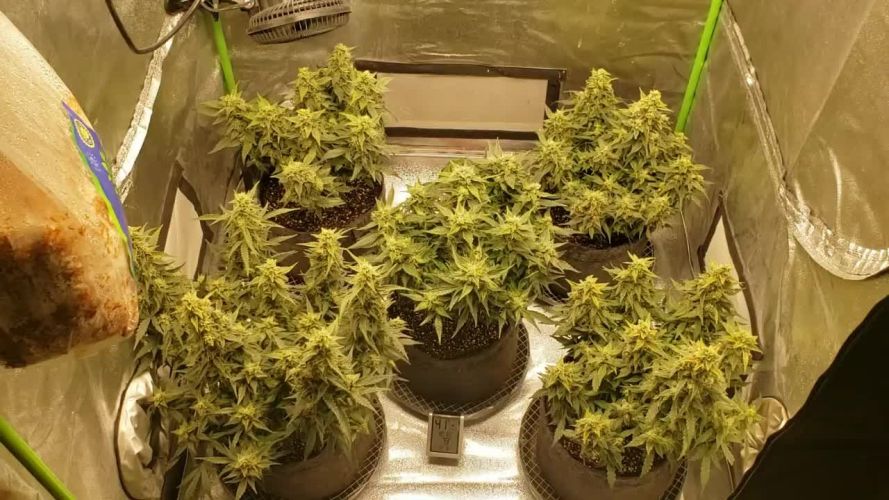
Day 57: Girls looking good and healthy. Got the HLG turned up 100% pumping 500 watt to em! We shall see. Still only given around 500ppm nutes.
Day 58: Got mostly cloudy with just a couple amber it looks like. I'm thinking I need to start flushing. Albeit, only on one plant. I will wait a few days more until I make a decision.
Day 59: Still looking beautiful! Buds are getting thicker! Decided I will give MOAB till week 10 and check the tric's at that time. Prob start flushing at that time. Only time will tell.
Day 60: Girls looking good. 👊 Not gonna lie, getting nervous as I do not want to cut em too soon or too late. This is a tough spot. The one has a ton of red hairs. It looked as if there was just a couple of amber that I found the other day. I was looking on the outside of the buds, also. So I know the inside is where I need to look. Just not wanting to jack with them too much. I will check again at end of week.
Day 61: Busy. No updates.
Day 62: These girls are starting to smell amazing!! I don't see any noticeable growth here lately. I'm hoping they start to bulk even more though as I think I am still seeing some clear trichomes.
Day 63: Welp, all is well and no new updates. I been feeding pretty heavy so I will back off and just water tomorrow.



Likes
7
Share

@The_Doctor_Green
Follow
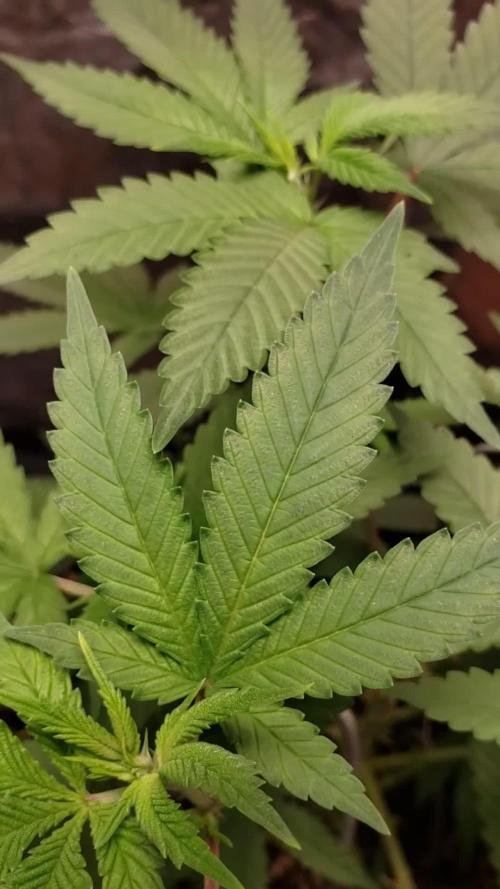
Última semana de vegetativo.
Comienza la ansiada etapa de floracion.
Aun creo que algo bueno puede salir, pese a su altura😅🤩🙌.
Regamos con ph de agua en 6.3

Likes
24
Share


@Lukush
Follow
Hey growmies all is good and mi baby girls are loving life!!
Gonna start giving them some nuts in a couple days 👍
Thanks for passing along have a good one growmies.
Check out the sp 6500 on the MH site👍💪https://marshydro.eu/products/mars-hydro-sp-6500-led-grow-light/
SP6500, as one of the huge single bar LED grow lights, installed with top quality Samsung LM301B diodes, designed with enhanced red in broad-spectrum light, emits the highest central PPF and has the superb penetration that its major applications are for high-wire plants and greenhouses.
Wattage – 650w
Veg Coverage – 4×5 ft
Flower Coverage – 3×5 ft
Featuring a thick aluminium passive heat sink and densely arranged chips, the SP Series provides high efficacy but low heat output while minimizing obstruction to natural LIGHT!
Likes
19
Share


@valiotoro
Follow
Hello everyone week 4 of flower has passed for this Cherry Cola auto 🍒
For the feeding schedule i stopped feeding Power Roots and Pure Zym and started feeding Green Sensation 0,5/l
Mars hydro FC-E6500 75%
have a great day and wish you all happy growing 😎👨🌾🏻
Likes
12
Share


@THIRTYthirty
Follow
Bruce Banner die Kälte zu Wochenbeginn hat das Wachstum gehemmt .
Hat ein Teelöffel Rinderdung bekommen .
Und wurde nach Bedarf gewässert
Tropicana (2 Pflanzen): Gute Keimung! 100%
Wie fast immer bei Fast Buds.
Wurden in 2 Liter Töpfe mit Bio erde Cocos gemisch gepflanzt


Likes
13
Share


@XanHalen
Follow
Mar 24:
Watering till runoff now...
runoff ppm was 2500+...
Will be using very mild nutes to flush over 1 - 3 feeds... or until I am near my input.
Mar 26:
Continuing to use 650ppm feed with bloom focus, 2L per plant gives 15% runoff...
Runoff ppm is still very high...
I wanted to check pH of runoff but the color is so vibrant i cant use the pH drops to view color, need to get a pH probe.
Plants are thriving, no issues at all. the extra fan fixed the post-water droop.
One plant is bushy and has the most bud sites,
One is the smallest but has the most uniform structure, this one has the biggest buds and thickest stalk,
One is about in the middle of the 2.
Mar 29:
one of these girls gets droopy early when its time for water, thought the canopy was too high so i tied down some more, no cigar...
gonna try increasing calmag, if that doesent work im going to reposition in the grow box to a side instead of middle, may not need the upper end ppfd...
