The Grow Awards 2026 🏆 


Likes
Comments
Share


Likes
10
Share
@SgtDoofy
Follow
3/27
Been fighting the warmth of the lights and the rising temps lately. Amnesia is still sacrificing leaves, but much more slowly now, letting me pick out about 5-10 per day. I really don't know what caused it all, but at least this could make trimming easier. I'm trying to make sure I pull off all the browning and crispy leaves so that they don't get absorbed by growing bud. Trainwreck is getting much more purple, but is also browning in some spots. Trainwreck doesn't let go of any leaves, as the base of them is still green, which makes it more difficult to sift through the brown leaves and pull them out. Fed at the end of last week, may have been Friday.
3/29
Feeding 3/4 nutrients today!
3/31
Fed 1/2 strength nutrients and lowering lights to 50% before going away for the weekend.
4/1
They survived my time away.
4/2
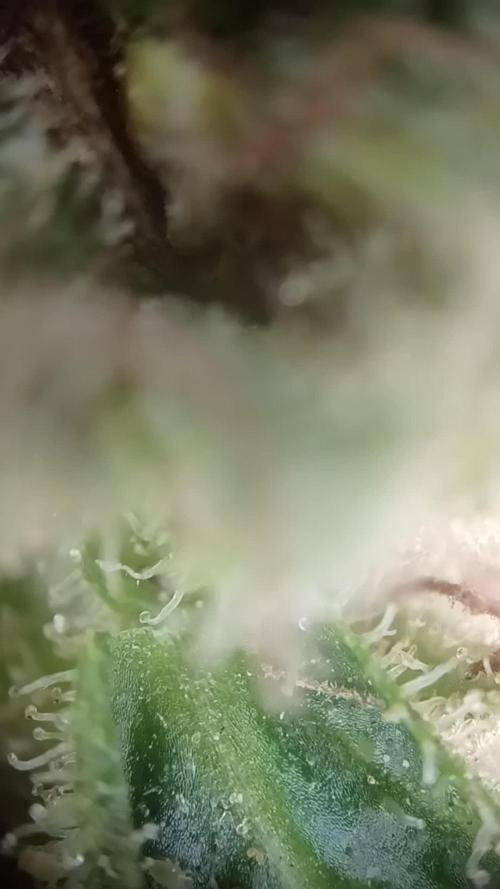
Some crispy leaves needed to be plucked from Trainwreck to open up other budsites. Trichomes are still not amber.

Likes
17
Share
@m0use
Follow
This was a fun project that was a few years in the making and a year later to see if they would last a season for this upload to happen. Before any of this I would bike aorund town grabbing up all the old Ikea solid pine bed slats that I could find and storing them in the basement. I have a lot of wood down there, any size worked as long as I have enough of them. The hot days to find them were the first and last of the months because that's when people where moving in/out. I also kept an eye on the free section on local online classifieds as well. The entire purpose of this was to recycle as much off the streets as I could before buying anything to finalize the project. In the end I only bought sealer, screws and some takeaway/beers. All the wood was 100% free and salvaged off the streets of Toronto saving it from the dumpster bin.
After collecting all the slats for about 2 years I was playing aorund with them on how I wanted to make this work. I had previously done a little project like this before but I messed it up and the boxes where crap. did not last longer then 2 seasons, they where thin and shallow as well could not grow much of anything in them. I Was talking to my friend who is renovating their house and we brainstormed some ideas on the boxes, I found some designs I liked online and said lets make something like this out of what I have here. We tossed out a few of the design features when looking at them as it would have been wasted wood and extra work not needed. If I had more wood them maybe it could have been an option but simple was the name of the game. They taught me what I needed to know like how the miter saw and sander worked, plus all the other tools I was using. They did help out with a table saw and creating the triangle support joints in the corners, They used some pine left overs they had while making a staircase indoors. I did not feel up to the task of using a table saw given all the relatives I know who have lost a finger to them.
In the end we decided the design would be three boards high and take an alternating pattern on corners. layer one short, layer 2 long, layer 3 short. Went with a galvanized and painted deck screw so it can take the weathering. Ran into some problems like making everything level as some of the boards were warped and other ones had undesired aspects like knots and tacky sticker goo I could not remove. So I used them for the base that will not been seen so much. Clamped everything down and called it a day.
Once it was all done and over with, I then brought them back home from my buddies work garage and started to seal them. I went with a boiled linseed oil as its a food safe option should the wood degrade into the soil I will plant in them. I will need to reapply it to the boxes year after year but the main coat is the most important one and I put it on 3 layers with a good dry in between coats. the inside of the boxes that where coated did not degrade at all as the sun did not hit them so it will not need a new coat just the outside. Overall the end result was very impressive for myself, I've never taken a woodworking class ever and It was a near perfect outcome for me. Heavy Duty Planter Boxes for all my gardening needs. I made a last min decision to add in a plastic liner to preserve the wood even longer and stapled that into the frame. it has held up quite well and may need replacing end of 2nd or 3rd year out in the sun. Used a thick moisture wrap plastic with UV protectors in its formula.
Lets see what I can grow in them this year!
m0use's haus of projects - garden box edition
Likes
66
Share
@GODSGIFT_2005_JM
Follow
🍼 Greenhouse BIO Feeding Line which are ORGANIC
For LIQUIDS ******GREEN BUZZ LIQUIDS***** also ORGANIC
MARSHYDRO ⛺️ has large openings on the sides which is useful for mid section groom room work. 🤩
☀️ MARSHYDRO FC 3000 LED 300W
☀️Also special thanks to VIPERSPECTRA P2000 (200W) & XS2000(240w) LED growlights

Likes
1
Share
@GrowPro3500
Follow
The S.O.1 gets still only Water and calmag.
I love how she turns purple now…I dont know is it about the Pheno Or that I did something right or wrong but i love it.
The s.0.2 get now biobizz like plan.
She is the biggest one with the Most Buds but also the smallest at all.
S.0.3 is about Day 65 and i think my Favorit with S.0.1
I think the 1 one only Need one more week but the other two about two or three.
I’m more than happy about my first grow ever and will run this strain again as my second run to get better
Can’t wait to harvest woohoo

Likes
10
Share
@Elpicor
Follow
Having removed the other two guests, this week they had more space in the growbox, so I took advantage of this and let the buds mature for another week.


Likes
2
Share
@aquaMan
Follow
Premise was to see how "optimal" i can get my first ever Grow. After some Research i came up with the idea to build an Aeroponic System myself using Water Buckets and Venturi Injektors to provider proper aeration.
Sadly Seedlings had to wait in EazyCubes cause some parts and Nutrients didnt arrive on time. System was fully operationable on Day 16. Atami Nutrients are inside the System since Day 24, Calmag has been added Day 28. Before that, some Tri-part Nutrient.
Planning on switching to Plagron in the Long run, as well as adding Co2, a water chiller and a ~700W LED.
Stats:
- 5 30L Buckets, 4 Plants and 1 Reservoir
- Recirculation happens through 90mm PVC pipes
- 16000 l/h pump going through 4x 1" Venturi Injektors pulling around 700 liters of Air per hour
- 1mx1mx2m Growtent
- 250W The Jackson Nemesis LED
Happy about any Questions and Suggestions!
Likes
17
Share
@Mastr
Follow
Hi all grower auto orange bud week 13 she had long veg pase due transplant shock but now she get very big and bushy u feed her 1ml bio grow 4ml bloom 2ml big bud
Half ml cal mag with 5 litre water ph every other day
The bud top leaf start getting purple so beautiful plant definitely grow her again

Likes
12
Share
@TheHighBat
Follow
I'm very happy with this grow. It has shown me a lot and I even got to figure out things I was doing "wrong" and what I can do to improve yield. I'll have to apply this on my next grow. Stay tuned :)
Likes
13
Share
@JoeyGonz
Follow
Couldn’t be happier.. just waiting for my window with C99.. little more for the Red Diesel

Likes
10
Share
@Turbo420
Follow
This week I did a single topping at the 5th node. Along with this I applied low stress training and tucking to expose the new growth.


Likes
34
Share
@LockDownGrow
Follow
My first time making alcohol tintcure
Using the c1 ,
Hold on tight gonna be a trip

Likes
34
Share
@Doofy
Follow
1st plant, Wet, 20gr on the top. Trichomes were getting brown. Will leave the rest for a couple of days. 2nd part, 53gr, very little!
1st plant dry, total of 16 gr, very little
2nd plant, wet, 99gr, lost 3 tops to budrot... 😑
2nd plant dry, total of 19 gr, very little
The sun screen imo was very affective, even using it in my tent. Smokin review will come in 2 weeks, really excited!


Likes
Comments
Share
@Ctrellis90
Follow
So here we go on another journey through growth.
It's the end of the first week after germination and things are moving along how I would expect for fresh seeds... although a few of these may have some mutations going on.
Regardless we're just doing water and Ferments for another week or two then we'll start the Athena blended line.
Thanks for stopping by.

Likes
28
Share
@eldruida_lamota
Follow
Venga familia que ya viene la cosecha de estas Apple Fritter de ZamnesiaSeeds, que ganas que tenia ya de darles machetazo.
No veas que pinta que tienen estas plantas.
Las flores aparte de prietas se ven bien resinosas.
a sido una genética con la que disfruté mucho cultivarla, es algo complicada cultivarla pero merece la pena si eres cultivador con experiencia no te será problema cosechar.
Agrobeta:
https://www.agrobeta.com/agrobetatiendaonline/36-abonos-canamo
Mars hydro:
Code discount: EL420
https://www.mars-hydro.com/
Hasta aquí es todo , espero que lo disfrutéis, buenos humos 💨💨.
Likes
Comments
Share
@Kannisho
Follow
Se han realizado riegos foliares con 0.5ml de parte A y parte B de crecimiento de C21Nutrients 1 vez esta


