


Likes
200
Share


@Ferenc
Follow
Day 65, 14th of November 2020:
Amazing week....
RQS Wedding Gelato does not strech a lot and pistils coming out nicely....
Original Sensible Seeds has amazing gentics they are so strechy except Black Ghost OG, rest of them crazyyyyyyy..... I also broke two of the sides from Gelato Original Sensible Seeds but fixed with tape and now all good lol 🤣🤣🤣
Pre flowers out and I really hope they stop growing lol.
I also noticed that the Original Sensible Seeds strains have nice purple colours of the fan leave's stem.
All the same fertilization happens every 2nd day with the mix above and ratio.
One more thing:
I set the lamp 15 minutes shorter to switch off earlier so they receive 11:45 of darkness. I would like to imitate the nature when longer nights come with time till the 4th week (when they will receive 13 hours darkness a day 15 minutes minus 4 times = 1hour) so every week 15 min longer darkness for 4 weeks and then back to 12/12 to have bigger buds from the 4th week....


Likes
25
Share


@AsNoriu
Follow
Weather is sh!t ... they are not maturing at all ... hopefully inside girl will finish in 2-3 weeks and ill bump those in for last week or so, maybe it will help a bit, till then its only air and leaf .... BUT they smell so sweet and so berry ... inside not even close to that ...
Girls don't drink, its too humid i guess and cold... Still gave like 2liters of 6.5 ph water, to moisture top lair.
Its my first summer when i don't cover greenhouse from 8pm to 8 am. I started usually on August 1. Last year my landlord found like 30 "tomatoes" in greenhouse, can't do that trick anymore ...
So its first greenhouse when i have anything else except cannabis ;))) That way just don't work or brings pity results ... Only autos in UK summers ...
Will upload inside girl. Its beginning of week 6 for them by my accounts.
I take my words back, she STINKS !!! Or smells ;))))) Strong, really berry and sweet. Girl is packing up and almost recovered from light shock, now those who stayed outside looks 2-3 weeks behind ...
Happy Growing !

Processing
Likes
6
Share


@Weedganja420
Follow
Muy buenas!
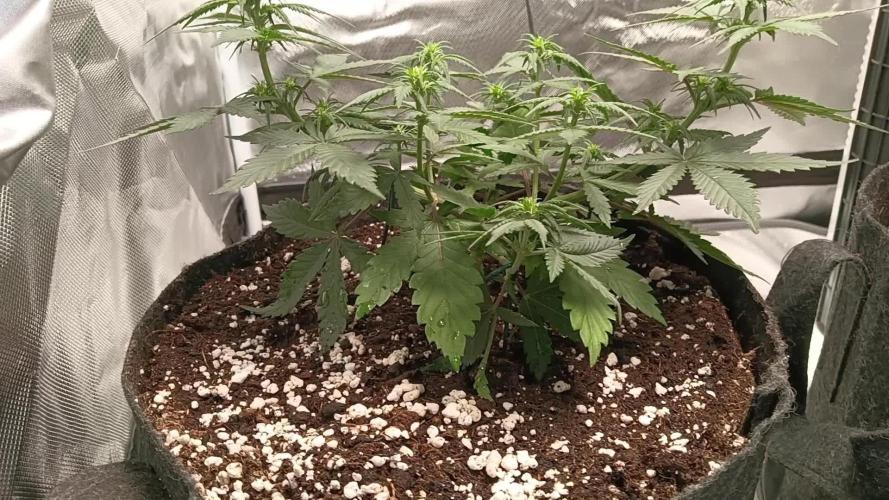
Les he rellenado la maceta con un poco de sustrato, van estirando muy bien.
Mañana aplicare el segundo riego con fertilizantes en la etapa de floracion
Lleva 15 dias a 12/12 horas

Likes
4
Share

@RBG
Follow
Date: 7/5/26
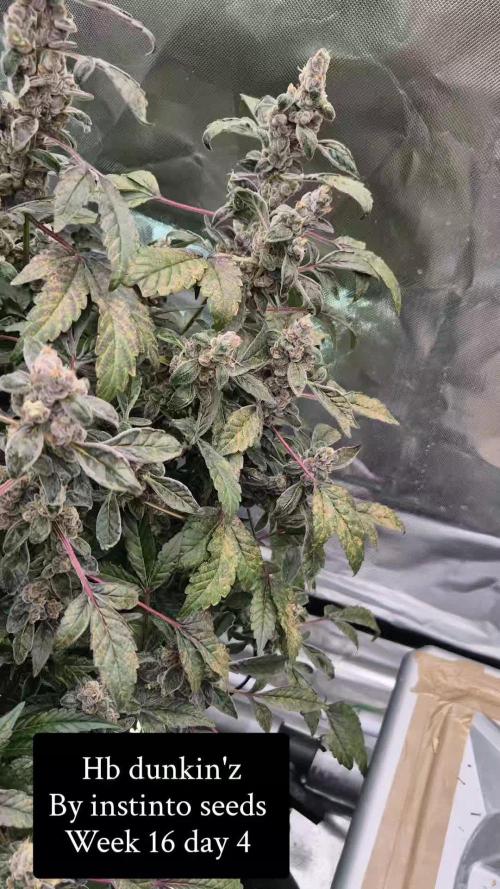
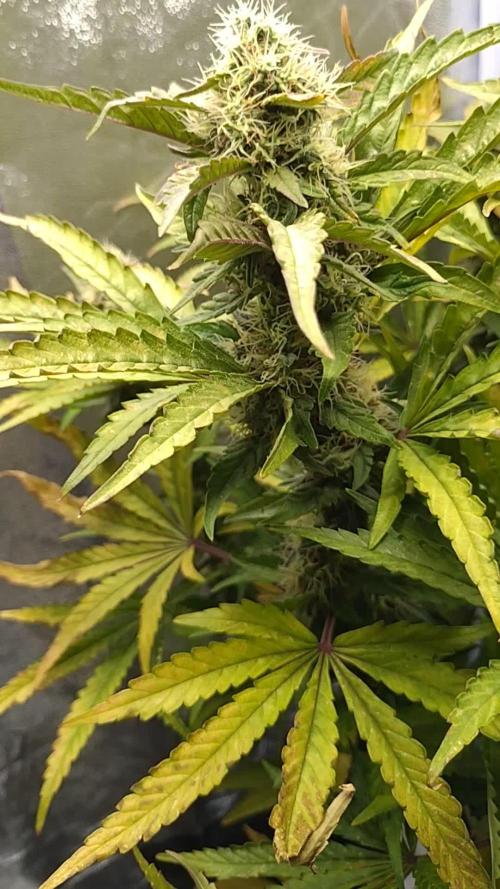
Week 16
Flower day 2
Going strong, little but of deficiency due to perm bluez ending early but just keeping her on a 1.6-1.9 feed and ween her down now, couple weeks left
Starting to produce purple flickers on her leaves, has a nice bright green/purple contrast and smells absolutely gassy cake batter atm, idk about bananas
Likes
7
Share


@asbesto
Follow
É stato bellissimo, Pamela era davvero molto bella.
Coltivare FastBuds è sempre certezza di gioia. Pamela è cresciuta di un ambiente ostile con temperature comprese tra 7 e 15°C, questa condizione climatica ho avuto la sensazione che abbia solo rallentato di una settimana la maturazione. É cresciuta senza una grande luce (led 100w), è stata curata pochissimo e per lei nessun miglioratore di rendimento LST. Nonostante questo ha prodotto un raccolto superiore ai 70g di qualità eccelsa e con un fascino unico tipico delle Purple.
Gnam al gusto.. relax

Likes
6
Share


@Moss420
Follow
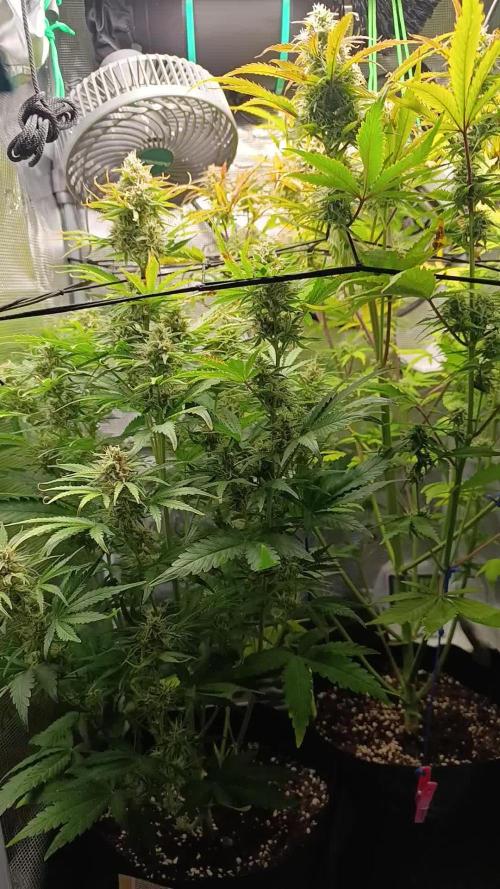
Added the first screen into the tent. Decided to kick Big Mumma out because she just wasn't growing any taller and the other plants were really over growing her.
For the new setup I used kitty litter trays and mesh to sit the plants on - each plant gets its own tray so I can track runoff EC individually and I cut little flaps in the mesh so I can wet vac the runoff. With this setup I shouldn't need to move the plants out of the tent until harvest.
For the scrog I just tied some builders rope around the poles of the tent and tied the trellis netting off with training wire. I've been manipulating the growth just to try and fill out the whole screen, I also gave them a good haircut because I plan on flipping them soon, don't want them to outgrow the tent.

Likes
1
Share

@FlowerOasis420
Follow
Das erste und letzte mal getoppt, angestrebt ind 6 Haupttriebe pro Pflanze.
Gelato Kush macht mit Abstand den besten Eindruck.

Likes
29
Share


@DaddyPrime
Follow
8/25 put in closet for 48 hrs of darkness before harvest
8/28 actually did almost 3 days of darkness but started trimming and chopping. Getting ready to hang.
Day 1. 8/29: 72°F and 50% humidity. Still wet. Even the small buds
Day 2. 8/30: 70°F and 47% humidity
Day 3. 8/31: 70°F and 52% humidity. Looking more dry than id prefer after 3 days of drying. But the conditions arent exactly ideal.
Day 4. 9/1: 70°F and 49% humidity. Humidity dropped which sucks!
Day 5. 9/2: 75°F and 37 humidity. Temperatures rose and humidity dropped a lot. Buds are super crispy. Im gonna let them go another day.
Day 6. 9/3: time to jar the buds for curing.
Dry weight is 43 grams
Likes
20
Share

@HinduGod
Follow
WOW LOOK AT DAT!!! DIS HAS BEEN A VERY VERY FCKED UP WEEK!!! DA WINDGOD AND DA HAILGOD PUNISHED DIS POOR GIRL!!! WINDGOD BLEW DA PLANT OVER!!! HAILGOD BEAT DOWN ON HER!!! JUST IN DA LAST 2 WEEKS FROST,WIND AND HAIL!!!! SHE IS VERY VERY TOUGH!!!! EVEN AFTER ALL DAT DA HINDUGOD DID A MAJOR DEFOLIATION AND ADDED SOME BUD CLIPS TO DAT PLANT!!!!! WHAT A TEST ON DIS CULTIVAR!!!! OUTDOORS IN DA LATE WINTER/EARLY SPRING BRING IT ON!!!!!
Likes
167
Share


@PapaNugs
Follow
Transplant time! Got this girl into a five gallon container with added mycos and bacteria. My custom mix is coco and perlite with added amendments, worm Castings and purple cow soil. I add dolomite lime on top and mix it in. They got a small watering.
Dimmed to 40%
Here are the lights details:
Medic Grow Mini Sun-2 150W LED
Model: MN150-022
Spectrum mode: V1
Efficacy: 2.8 umol/J
Thanks for stopping by!
You can find the light on Grow Diaries:
https://growdiaries.com/grow-lights/medic-grow/mini-sun-2-150-watts
You can find the light on Medic Grow's website:
https://medicgrow.com/
Likes
91
Share


@Salokin
Follow
Hi Growmies,
I'm excited to share some big news today! Although there have been some unexpected twists, it's all part of the incredible journey of gardening.
I've just completed the harvest, a tad earlier than initially planned, due to finding a bit of mold in one of the buds. Despite this minor hiccup, the trichomes were already at a decent 10% to 15% amber. So, all things considered, the timing ended up being pretty spot-on. The harvested weight was a solid 609 grams after trimming, which is quite a feat!
A lesson learned for next time: perhaps I let her grow a few too many buds, leading to a denser canopy than ideal. But on the bright side, the aroma is absolutely divine. I sampled an airy bud that had dried a bit, and wow, it packs a stronger punch than its clone mother. And the flavor? Pure, unadulterated cheese – no hint of pineapple here!
Now, the anticipation builds for the final dry weight, which I should know in about 3-4 days. It's always exciting to see the fruits of our labor fully realized.
A huge thanks to everyone who's been following along on this journey. Your interest and support mean the world.
And now, the adventure continues! I've started on Epic Buzz by Anesia Seeds. The diary for this new chapter is up and running, and the seedlings have already sprouted, marking the beginning of another exciting phase.
(https://growdiaries.com/diaries/185718-grow-journal-by-salokin)
I can't wait to share more updates with you all. Here's to the continued growth and learning in our gardening adventures!

Likes
5
Share


@BB_UK
Follow
These ladies are doing so great! Stretching up creating flowers along the way! I may need to trim the lower branches in time in order to not waste necessary energy being a solo but I’m feeling when I run Anesia autos in bigger pots in 6 weeks they’ll be no issues!

Likes
6
Share

@PhinolaGreen
Follow
11. Woche
Hallöchen 👋🏻
Ich habe mich zuletzt weniger um sie Düngertechnisch gekümmert aber ich werde sie jetzt noch paar mal Feeden, bevor ich dann zum Spülen übergehe. Die ersten Anzeichen sehen nach ner frostigen North Thunderfuck aus, bin gespannt, wie die sich weiter entwickeln wird von Mittlerer Bloom Phase zur Spätbloom. Die Bud Booster kommen jetzt als Additive mit ins System und ich hoffe, die legt nomma bisschen was drauf in den nächsten 2 Wochen. Dann sollte so langsam auf die Zielgerade kommen denke ich. Diese Woche noch feeden und dann ab Woche 12 Spülen, dass ist mal ein Plan.
Ich habe leider Thripse im Garten, der Ausbruch ist zum Glück nicht verheerend aber nervig, gerade bei den Jungpflanzen. Ich habe jetzt angefangen Raubmilben gegen die Thripse anzuwenden, bin gespannt, ob das was bringt 😄
Likes
12
Share


@cheetah844
Follow
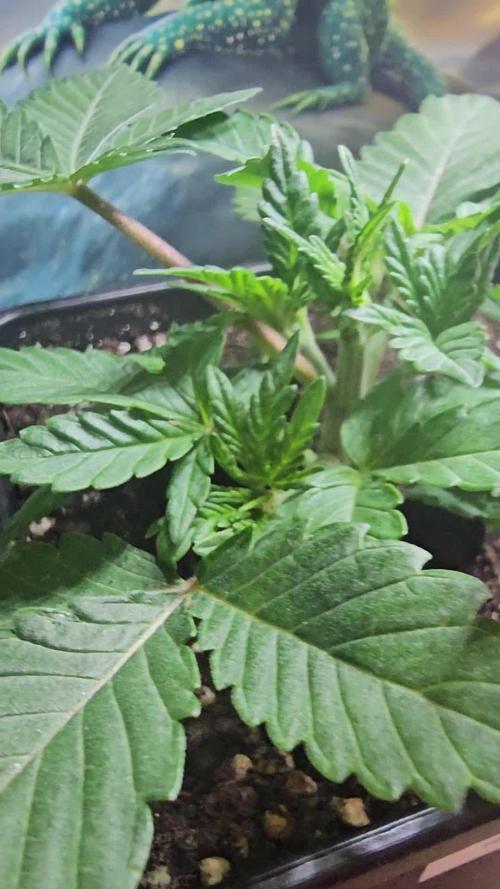
This is a regular photo seed, I'm hoping it'll be a female. If not I have some solid male genetics to cross with. 💚💜 my Blueberry strains. I have both a Blueberry & Blueberry OG in, I'm excited for both.
Likes
8
Share


@HeartStrong_Garden
Follow
Plant two is doing a little better color wise. Something is going on with the leaves of plant one mostly. Maybe it is because i was using overflow water straight from the air conditioning unit instead of the tap? I'm having to pull a lot of dead leaves off
Likes
4
Share


@Forrbiddenterpz
Follow
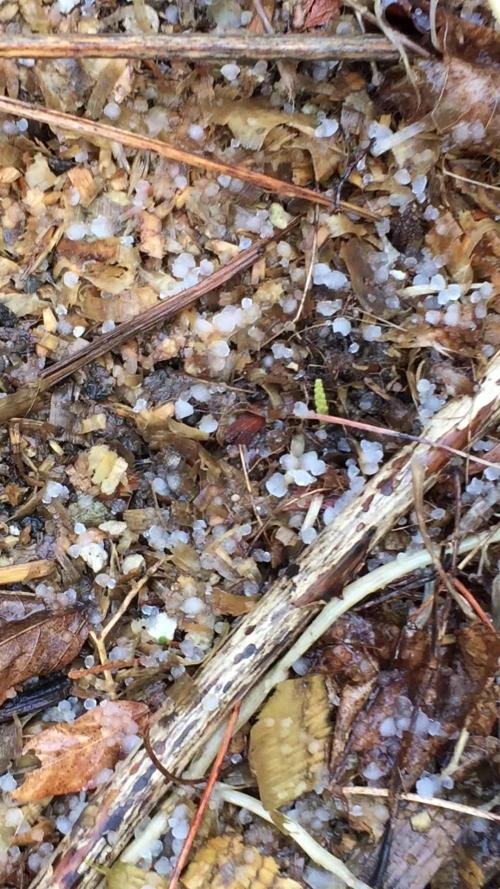
Seeds started to pop about 4-5 days after germination I got 100% germ on this run


Likes
7
Share

@Mikeyc420
Follow
Strawberry gorilla is growing nicely have transferred to a bigger pot (should of done it a week early) she has started to grow white pastels
Sticking with LST buy sting the branched down to allow more light in to other budsites
Don't forget your 15% off your next seed order at fastbuds by using discount code 420CLUB
Likes
1
Share

@Ycegrows
Follow
I was pretty busy these periods, whith the holidays and work I barely had time to be online. The plants had made good progress, they are in late flower. I hade a PH problem so the plants suffered a bit but nothing serious. They have great buds and great smell. I'm so excited to finish this and test the end result.