Likes
Comments
Share


@DariaFarms
Follow
06/09: increased light from 50 to 55%
07/09: Gave her a litre of water with biogrow, rootjuice & bio-heaven
08/09: Measured her at 41cm tall today!
09/09: increased light from 60% tot 65%
10/09: Watered 1L with no added nutrients & increased her light to 75%. She has little pistol hairs so I assume its preflowering!!? I am so excited, its beautiful.
12/09: watered with 1L with rootjuice, bioheaven, biogrow, activera and calmag


Likes
22
Share


@eldruida_lamota
Follow
Que pasa fumetillas? ya estoy de vuelta, más fuerte que nunca este parón fue para mejor.
Así que vamos a empezar abriendo el diario de nuestra critical, ya la cultivé pero no fue específicamente solo de critical, si no en general de 3 variedades , así que esta vez toca dedicarle un diario a esta generosa indica.
La germinación no a supuesto un problema, de echo en 36h estaban las 6 semillas abiertas.
En la germinación use PIRAMID de agrobeta para empezar con buen pie.
Pasadas las 36h las plante en tierra biobizz light mix en macetas 0,4 L y encendí el ts600 de mars hydro.
Las fotos son tomadas el día 5 desde la germinación, haré fotos pero solo un día de la semana , para que vayáis viendo más diferencia entre semanas .
.
Como siempre, el ph lo mantengo en 5.8, la humedad ronda 70/80% . Y la temperatura oscila 22/24 grados.
.
Ahora en la alimentación, gama agrobeta.
0,5 ml x L Piramid , vía radicular.
0,5 ml x L Growth black line , vía radicular.
0,1 gr x L Cancerbero , vía radicular.
0,1 ml x L Tucán , vía radicular.
0.1 ml x L Flash Root , vía radicular.
0,4 ml x L Great Green , vía foliar.
.
Esto es todo, cualquier duda que tengáis comentarme , y que paseis muy buenos humos .

Likes
39
Share


@Randyb4
Follow
Day 113 39 Days of flower, First day of Week 16
Day 115 41 Days of flower
Watered with 4 gallons of spring water with 3 ml/gal of fish shit pH-6.6@68°F, buds are all looking good, all plants have alittle purple in them.
Day 117 43 Days of flower (First day of Week 7)
Day 119 45 Days of flower
Watered with 4 gallons of spring water pH-6.5@70°F. Buds looks better everyday, with less and less white hairs as the days go by. Buds are forming beautifully.


Likes
14
Share


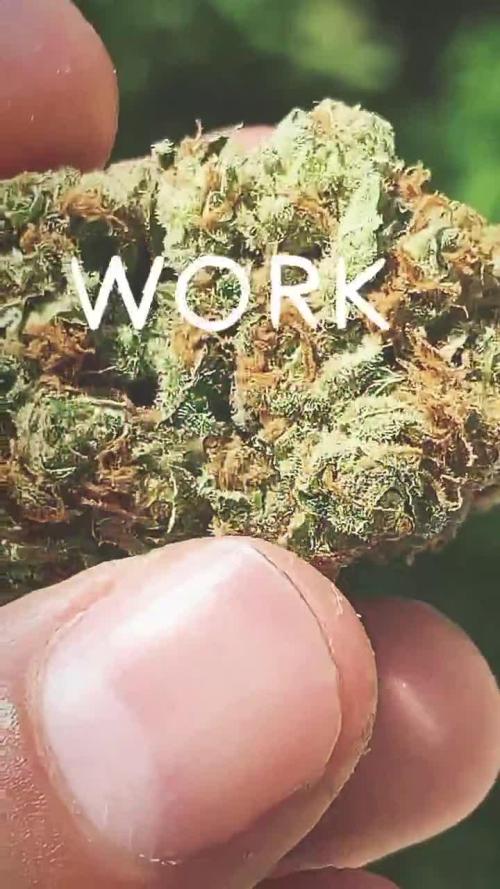
@Cannabot
Follow
Fully saturated fertigation doing its work.Solid rootzone before transplant into final. Suns been great

Likes
6
Share


@IamCy
Follow
Week 6...........
Getting frosty
Edit: on day 41,I already have amber but it's still packing on weight. I don't know what to do at this point.
Likes
21
Share
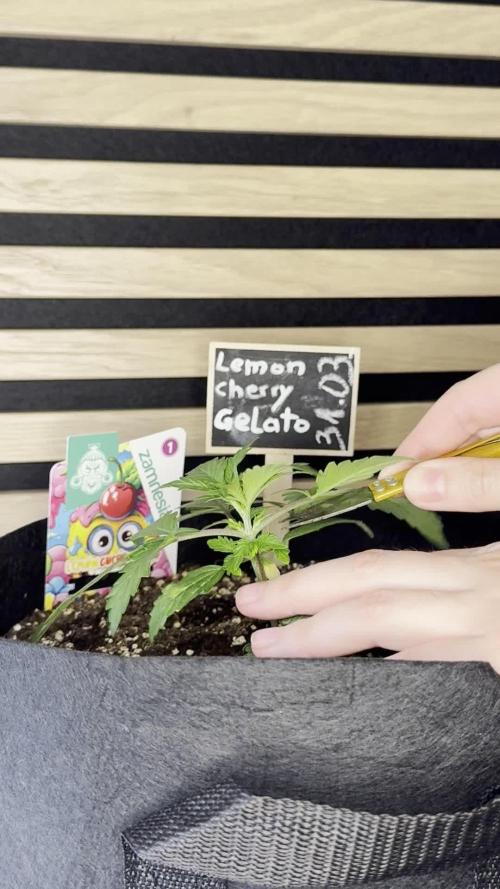

@SundancerS
Follow
Die Lemon Cherry Gelato ist in der 3. Growoche zwar noch klein, aber wir sind uns ganz sicher, dass sie groß rauskommt, denn das Wachstum steckt einfach noch in den Startlöchern. Die engen Nodienabstände machen sie zu einem kompakten Kraftpaket, das es noch zu bändigen gilt. Das Training war diese Woche mehr ein Workout für uns als für sie: Topping, LST und jede Menge Feingefühl haben wir reingepackt.
Die kleine Dame hat uns keine Probleme bereitet. Sie ist gesund und tapfer, auch wenn sie momentan noch aussieht wie eine Mini-Version ihrer selbst. Wir sind absolut zuversichtlich, dass sie sich in den kommenden Wochen kräftig ausbreiten wird. Kein Grund zur Panik, sie hat großes Potenzial, und wir wissen, sie wird uns nicht enttäuschen. Der Weg ist das Ziel, und wir freuen uns schon auf die nächste Woche! 😷
Likes
2
Share


@MrDoubleHaze
Follow
Strain Links Oben : Super Lemon Haze
Strain Oben Rechts : Break Pad Breath
Strain Mitte : Auto SFV OG
Strain Unten Links : Lemon Orange
Strain Unter Rechts : Velvet Moon


Likes
17
Share


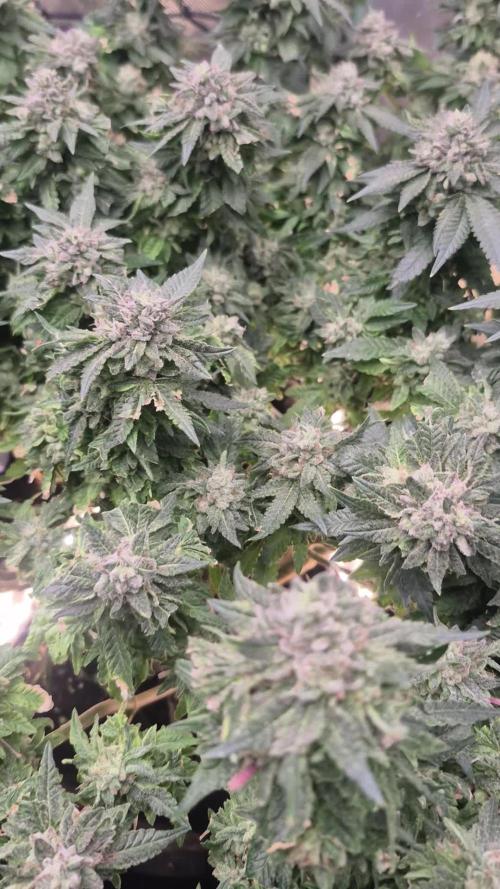
@soloczek
Follow
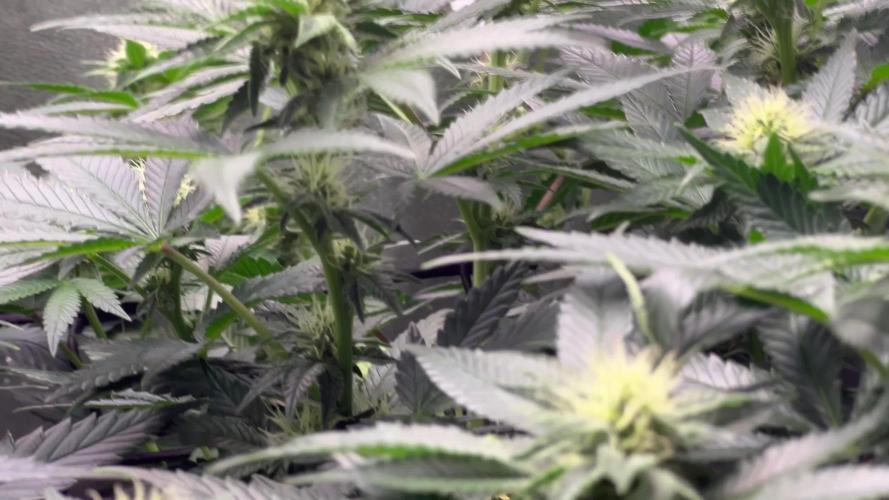
Smells very fruity and Sweet. Very dense trichomes. Very dark and frosty buds


Likes
21
Share

@SpunkyTerps4200
Follow
Hey guys whats up.. so i was qondering with these 2 gorilla runtz what everyone thinls.. if they are ready or not.. we are in week 9 going into week 10.. im throwing in some pics and video to watch. Also cjeck out my Instagram for more in depth look at these grows.. thabks alot guys..!!!
Lmk do2n below ill be looking out!!! 1 more week ??
Only_dankzz4200


Likes
2
Share


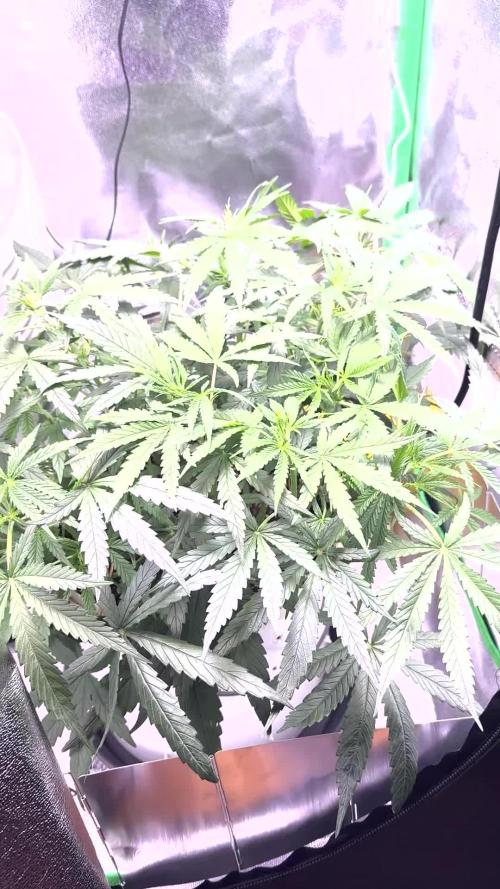
@ao_grows1978
Follow
Week 3 for the solo is officially complete. She's been growing with no trouble. Root development has been excellent. As you can see, I decided to mainline. Seeing as she's in a solo cup, I'm not too worried about stunting. I'm horrible at measuring the water intake, but the cup needs to be watered daily. It's as lite as a feather everyday.
Processing
Likes
3
Share


@DBanned
Follow
July 12, 2020
Hi,
Plants are looking great and stretching a lot( i want a christmas🌲🤤)
7 plants are showing pistils, two little ones still need to bloom.
Talking of bloom, we added Gaiga Green bloom, organic powder. To all the blooming plants. The other got veg feed.
We topped one of the biggest plants and a medium size plant.
Lots of water and lot of movement for the plants. Two thunder storms last week so The plants were moved in and out of their cover a few times.
Thanks everyone
Happy grow and high fun !
Likes
15
Share


@Korinthius
Follow
This lady has recovered nicely from my 3rd and final hack attack on her. Leaves were so huge, still cannot get over it.
Added an Exhale Homegrown Co2 bag to the tent right behind and above her this week as well. I have never used one of these before, but I figured I would give it a shot. More, any, will be good for the plant.
Judging by the way she is growing, I imagine she will be hitting her prime height by the end of week 9. Fingers crossed, we will then be going to flower :)
Time-lapse lost a days worth of photos. Some user error of some type. Lets just not question it shall we.
Likes
3
Share

@ohcibi
Follow
Update June 28th
Grow growing steady. Temperatures and humidity are absolutely terrible. I’m not sure if the grow will be successful this way but I’ll just hope for the best.
Apart from that things are going great. Trichomes and pistils appeared right on time. I think I’m done lollipopping as well. There’s no hidden mini branches left.
Likes
19
Share


@Spirit4i20
Follow
This week she was a warrior... a few days with wind gusts up to 70 km/h 🙌👏💪