The Grow Awards 2026 🏆 


Likes
Comments
Share
@SHADOWLEAFGENETICS
Follow
Installed Viparspectra XS1500 Pro bringing the total wattage to 250W. I will be installing (2) Viparspectra P2000 and moving the Vivosun VS100 (100W) eventually to a new 2x2 tent for eventual perpetual grow bringing the total wattage in the 4x4.
Current 4x4
1 Viparspectra XS1500 (150W)
1 Vivosun VS1000 (100W)
= 250W
Eventual 4x4
2 Viparspectra P2000 (240w)
1 Viparspectra XS1500 (150W)
= 480 - 630W
Eventual 2x2
Vivosun VS1000 (100W)
= 100W
No Nutes, only Recharge, will be applying top dressing next week for the 3 gal Gelato X Purple Punch in pre flower.
Likes
4
Share
@Based_Buds
Follow
I had a good week. Been cutting back on the nutrients and I’ve been adding some unsulphured black strap molasses into my mix. Hoping it helps the microorganisms in the soil.
Likes
10
Share
@Icedoutgreen
Follow
Wie man auf dem Video sehen kann ist so langsam der Herbst eingekehrt und die Blätter beginnen ganz natürlich zu welken. Jetzt freue ich mich noch auf zwei Dinge, zum einen die Ernte und zum anderen die neue Upgrades für mein Set-Up einzubauen und den nächsten Run zu beginnen, mit Pflanzen die ich von der Pike auf gezogen habe und nicht einen Run mit dreibeinigen Hunden zu fahren.

Likes
93
Share
@Roberts
Follow
Auto Opium has bounced back from the neem oil treatment. New growth is looking good, and roots look good. She is off in the right direction. Thank you Medic Grow, and Divine Seeds. 🤜🏻🤛🏻🌱🌱🌱
Thank you grow diaries community for the 👇likes👇, follows, comments, and subscriptions on my YouTube channel👇. ❄️🌱🍻
Happy Growing 🌱🌱🌱
https://youtube.com/channel/UCAhN7yRzWLpcaRHhMIQ7X4g

Likes
44
Share
@DutchFarmer
Follow
Hello fellow growers! 🌱
Despite a few bumps along the way, I'm thrilled to share that my contest journey is officially underway. After some delivery hiccups with the controller, the third attempt was the charm – it finally made it to my doorstep! 🚚💨
The initial excitement hit a snag when I faced issues connecting the controller. 🤔 Thankfully, the fantastic support team guided me through the troubleshooting process, and voila! 🛠️ My controller is now up and running smoothly.
As I eagerly await the next stages, I haven't ventured into using the light adapter just yet. Stay tuned for updates on my growing adventure! 🌿

Likes
16
Share
@Canna_Enthusiast
Follow
Currently in the 9th day of Flower and the buds are starting to form nicely.
I am spotting a small zinc deficiency on the leaves, the colour inside the leaf is light greenish.
The PH was a bit too high and last week also might overdid it with the nutes.
Solution for now is down the PH day by day till I reach 5.8 and then let it rise up again slowly.
Lets see how the new leaves will form and the bud thickens.
Smell is really great, strong pungent and exotic.

Likes
1
Share
@Growing_Spartan
Follow
I don’t have much germination pics so please bare with me, it’s my first diary :)

Likes
49
Share
@AsNoriu
Follow
Day 119. After 72 hours of darkness - chop day !!!
P.S. if you are searching for Killer Kush, she got separate diary, my favourite of all 3 strains.
Day unknown !!! Though I uploaded dry weight results and videos, but made it only with Cheeses, all footage is deleted now , so this part will be missing, stoners life ... ;)))
Happy Growing !!!

Likes
60
Share
@420DeepGrow
Follow
Al no tener humificador se queda un pelín baja la humedad, pero estoy bastante contento con los parámetros.
A partir de ahora iré comentando día a día para que podáis hacer un buen seguimiento.
Día 8: 🔹Descanso 😴
Día 9: 🔹Trasplante a macetas de 1litro (en los siguientes cultivos pondré directamente en macetas de 1litro).
🔹 Riego con una solución de 2ml/l de acti-vera de Bio Bizz Ec: 600 y pH a 5.9. Siempre en base a un Ec de agua de 400
🔹Abono foliarmente con una solución de acti-vera de Bio Bizz unas 2, 3 veces al día.
🔹 Aplico tierra de Diatomeas sobre el sustrato, media cucharadita de café por cada maceta de 1litro para el control de plagas.
Día 10: 🔹Abono foliarmente 2,3 veces al día con acti-vera de Bio Bizz
🔹Bajo la altura del foco a 50 cm de distancia con las plantas.
Día 12: 🔹 Aplico foliarmente 1ml/l Acti-vera BioBizz + 0.1ml/l y pH a 6.0 de 2 a 3 veces durante el día.
🔹Remuevo la tierra para por encima con unas pinzas para airear el sustrato.
Día 13: 🔹Riego con 0.2ml/l Acti-vera y 0.01 Rootbastic, Ec 1000 y PH 5.9
🔹Pongo unas guías de madera para una mejor estabilidad y desarrollo de la planta.
Día 14: 🔹Aplico foliarmente 1ml/l Acti-vera BioBizz + 0.1ml/l y pH a 6.0.


Likes
100
Share
@AsNoriu
Follow
Day 36. Still no feed....
Again, difference in size growing many autos is HUGE pain. One Northern Lights is smallest plant I ever grew, I doubt I would I achieved it with loads of LST ;))) Will try to lift that midget a bit ...
Some flower, some not, Diesels are still the only strain I would grew, but most probably not once ;)))
they look amazing !!! 10 out of 10 !
Green Crack still the obvious looser at the moment and is still mostly in veg ...
Next watering will be full of goodies for them !!!
Couple leaves off here and there, couple branches cropped or repositioned, still waiting for stretch to be over before installing some support.
Day 37. One more girl took SuperCroping like champ and at the moment has very even canopy.
All garden looks fine, hope feed won't spoil that joy ;)))
Day 40. Girls still on water, but during every two days, so it's again pain ... Whatever pot size I take - girls start to go faster, than my laziness wants :)))
Cleared bottoms of first row, next watering will clear other 5, just want to see are they ok. Some strains hates any job done to them and stops developing.... Would be stupid to slow them down in final stretch ...
Happy Growing !!!


Likes
3
Share
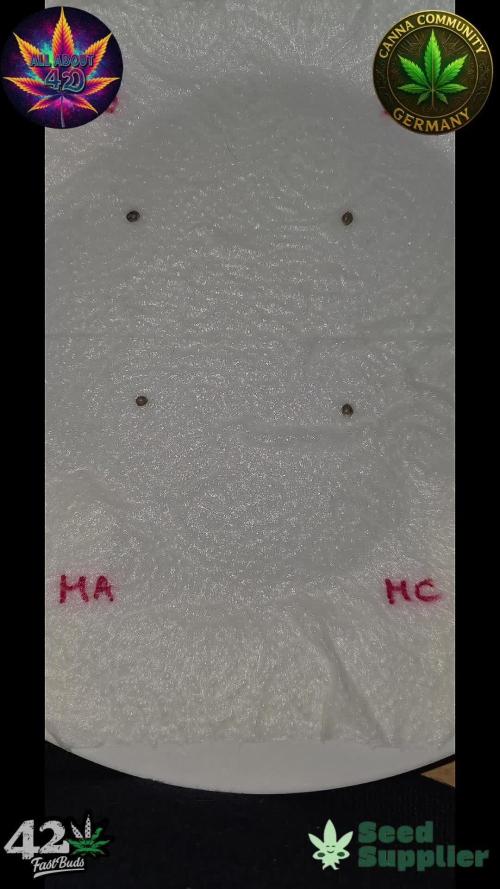
@All_about_420
Follow
Die Mexican Airlines, ebenfalls von fastbuds, gehört auch zu meinem Urlaubsprojekt.
Die Pflanzen wurden nur angezogen. hatten eine Urlaubsvertretung und nach ca 4 Wochen war ich zurück.
Aber seht selbst...


Likes
59
Share
@Papablob
Follow
01/04 Elle a l'air de bien réagir au pliage. 🙂
03/04 elle est un peu ralentie tout de même.
06/04 Aie! un accident.. Bon alors gros défoliage..


Likes
38
Share
@ATriggerman
Follow
Alles läuft ohne Probleme 😍
Erst am 08.04.24 gemerkt, dass die Lüfter nicht optimal eingestellt sind.
Eine Cam zu haben, zahlt sich aus.
Mutter und mein erster Grow in Deutschland 😁
Frosty Nightmare estimated day of Harvest around the 27th of may.
Gelato estimated day of harvest around the 25th of may.
Sleepy Joe estimated day of harvest around the 25th of may


Processing
Likes
3
Share
@TheNug
Follow
recently discovered she is an auto aswell, so whats gonna have to happen is, this lil lady and the northern lights are gonna go outside when my criticals come in and start taking up room and then im gonna switch, itll allow the other indicas which are bushy as hell to get some bigness on get them and criticals mature enough to veg.
these AUtos the shortstuff and the Northern lights will do good getting the light from indoors till they need to be thrown outside where we got 16 hours plus of good light and some smashing conditions


Likes
21
Share
@JeyGanesha
Follow
Eccoci arrivati alla 5°settimana di fioritura..le cime sono belle dure. Sono compatte e dure come una pietra... Spero che in queste ultime 2 settimane alimentino di volume. Non che siano piccole ma sé vengono un poco più grandi serei più contento. Come chiunque penso😂🤣😂🤣😂👍💪
Likes
17
Share
@Matriosky
Follow
13/6: the light change worked incredibly well!! Switching from 75W(drawn 35W) to 1000W(drawn 120W) helped the flowers develop incredibly well in the past 7 days, now I can call them proper BUDS!!!
Now, technically next week (Wednesday) is supposed to be harvest day from my original plan, but I worry that the 2-ish weeks that the plant stayed stunned may increase this period, I'll keep a close eye on the colour of the thrychomes, if they don't start turning amber this week I might push it another two.
Now that humidity is correct and the flowers are growing, the plant started drinking WAY more, and now the usual 1L every two/three days just isn't enough, so I switched to 2L of PHd water at a 6.3/6.5 range every 48 hours, and I have a feeling that in the next week I may have to start water it every day as it keeps increasing its flowers.
VERY excited for the next 14 days, can't believe its been almost a 4 months journey, I really want to see those buds fatten up :)
