


Likes
Comments
Share


@Prof_Weed
Follow
Es geht endlich in Richtung Ernte!
Vor 2 Tagen habe ich Flash Clean eingesetzt, nun noch 5 Tage Final Part von Terra Aquatica und dann wieder 2 Tage flushen mit Flash Clean, so die Empfehlung des Herstellers.
Alles ist perfekt,so 100 g Trocken Gewicht sind das auf jeden Fall.
Hauptcola ist knappe 30 cm groß, fett und fest.
Die allerobersten Buds werden lila, die unteren wachsen gut nach.
Bin zufrieden, auf Dutch Passion ist halt Verlass

Likes
1
Share

@Olduffybastard88
Follow
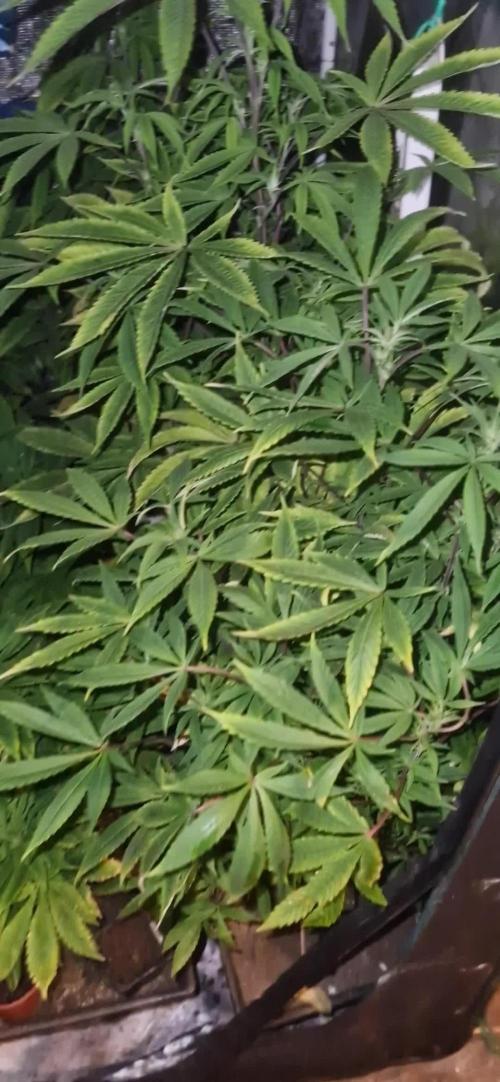
Sorry forgot to add a week of flower as my plants are still streching and doing well heading into week3 flower here

Likes
7
Share


@Stifler
Follow
Temperatures around here have risen a little, crazy weather 😁. The flowers began to resine, still with little aroma, but I'm happy with their development so far! 😊
Likes
11
Share

@JeanMichedu95000
Follow
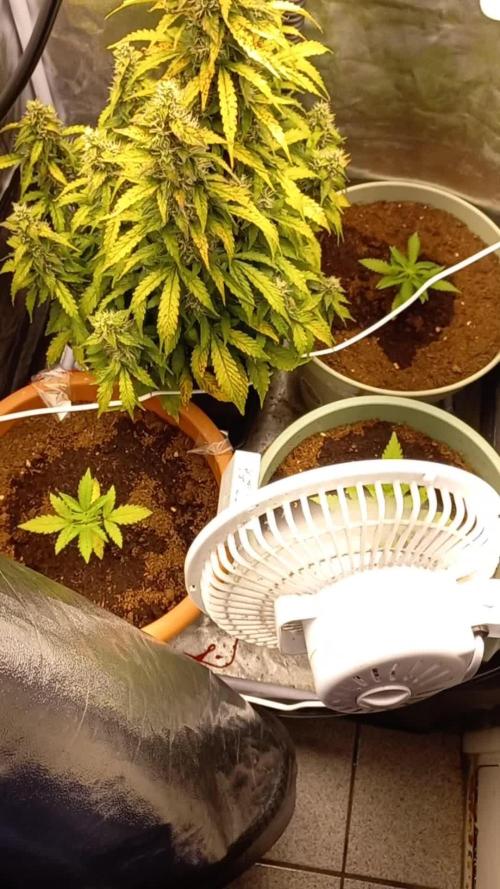
Hi !
It's a now a monster with a calcium deficiency but she's okay !
Likes
3
Share


@Chilitom420
Follow
🌱 MENTAL RAINBOW 🌈
Na, akkor induljon a történet.
Sokan csak a kész növényt mutatják meg. A nagy bokrokat, a gyönyörű virágokat és a végeredményt.
Engem viszont mindig sokkal jobban érdekelt az út, ami odáig vezet.
Ezért most úgy döntöttem, hogy ezt a növényt az első pillanattól kezdve végig dokumentálom. Nem csak a sikereket, hanem a hibákat is. Nem csak azt, ami működik, hanem azt is, ami nem.
A főszereplő egy Mental Rainbow a Sweet Seeds-től.
Jelenleg még csak egy apró mag, amely a Root Riot kockában pihen. Kívülről nézve még semmi különös nem történik. Nincs gyökér, nincs levél, nincs növény. Csak egy mag és egy lehetőség.
De minden nagy növény pontosan így kezdi.
A következő hetekben és hónapokban végig követjük a fejlődést a csírázástól egészen a betakarításig. Valós körülmények között, valós döntésekkel, valós hibákkal és remélhetőleg valós sikerekkel.
A cél egyszerű:
Lásd, mit lehet megszívni.
Hogy ne te szívj vele...
😄 Szívok helyetted én.

Likes
101
Share

@Tower84
Follow
🌿 Woche 12 – Mentha de Croco 🇩🇪
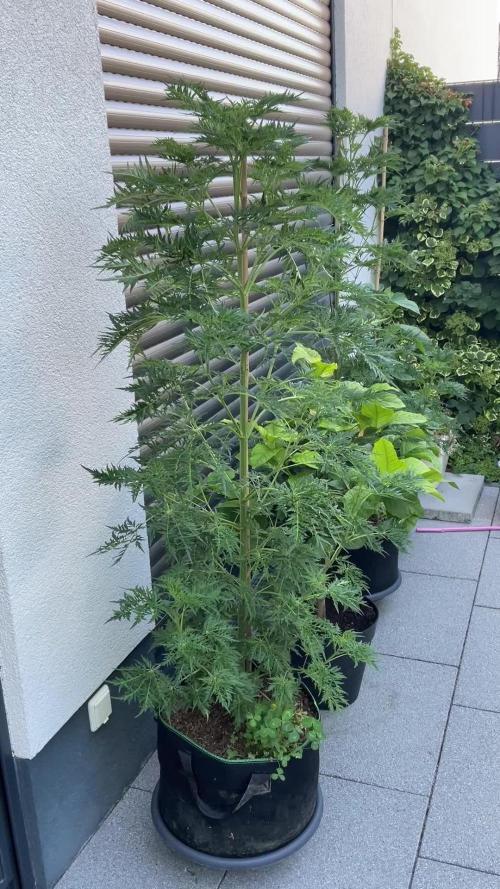
Beide Mentha de Croco haben in der vergangenen Woche einen beeindruckenden Wachstumsschub hingelegt und sind von 112 cm auf stolze 131 cm angewachsen 🚀. Die heißen Sommertemperaturen von deutlich über 30 °C ☀️🌡️ sorgen aktuell für einen hohen Wasserbedarf, sodass jede Pflanze momentan etwa 4,5 Liter täglich trinkt 💧.
Interessanterweise zeigen beide Pflanzen einen völlig unterschiedlichen Wuchs. Eine entwickelt sich sehr säulenförmig, während die andere eher an einen klassischen Tannenbaum erinnert 🌲. Trotz der unterschiedlichen Struktur sehen beide Pflanzen hervorragend aus und zeigen sich in bester Gesundheit 💚✨.
Zur Unterstützung des Bodenlebens und der allgemeinen Vitalität gibt es einmal pro Woche im Wechsel entweder einen Komposttee ?🍵 oder ein Brennnessel-Ackerschachtelhalm-Ferment 🌿. Mit den aktuellen Bedingungen dürfen die nächsten Wochen sehr spannend werden! ☀️🌱
🌿 Week 12 – Mentha de Croco 🇬🇧
Both Mentha de Croco plants experienced an impressive growth spurt over the past week, stretching from 112 cm to a remarkable 131 cm 🚀. With summer temperatures well above 30°C ☀️🌡️, their water demand has increased significantly, and each plant is currently drinking around 4.5 liters per day 💧.
Interestingly, both plants display completely different growth patterns. One is developing into a tall, column-like structure , while the other resembles a classic Christmas tree shape 🌲. Despite their different architectures, both plants look exceptionally healthy and vigorous 💚✨.
To support soil life and overall plant health, they receive either a compost tea ?🍵 or a nettle and horsetail ferment 🌿 once a week, alternating between the two. With the current conditions, the coming weeks should be very exciting! ☀️🌱

Likes
151
Share


@CANNASIM
Follow
------GENERAL COMMENT------
As planed I lowered the base nutrient to 2ml, and took a break from Cal Mag, to release the N a bit, green is on point now.
Tomorrow will catch up with the Cal Mag schedule as usual.
Time for some overdrive, for the rest all good, girls are developing well and buds are getting bigger, no issues.
Smelling delicious! Hope I had some Terpinator to give a go...
------SM.BB COMMENT------
BB is maturing faster you already can see I have cloudy Trichomes, she will be a fast finisher as it looks like...

Likes
141
Share


@WhiteWidow
Follow
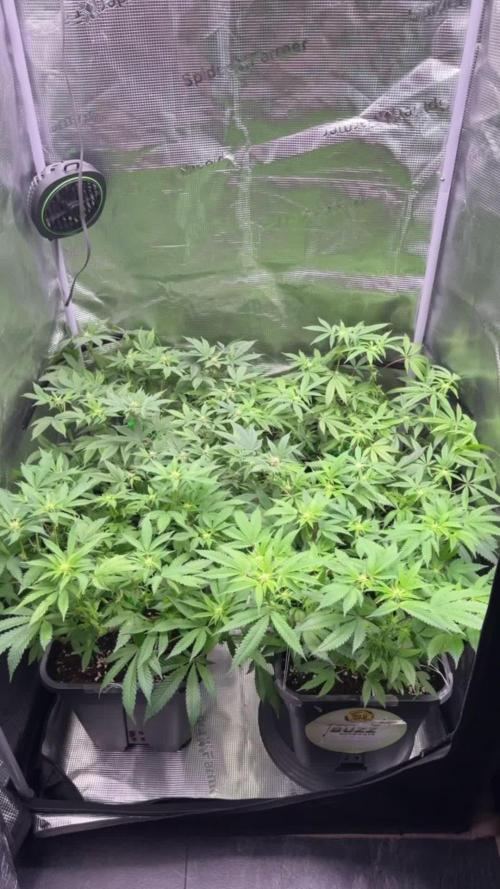
I provided you with a close up video of each plant and one video where i go through tent and try to focus some nice buds individually..
Flushing her for 5 days already with a mild 400 ppm solution of terpinator and mammoth.
Very sweet orange / apricot / melon smell to her, not the biggest buds in the tent bud definitely with the best aroma..
I would recommend this strain to everyone who loves sweet sugary fruity smell, its insane.




Likes
8
Share


@RhynerWongl
Follow
Harvested her on day 70. Very loud smell and dense nugs, like expected. Very excited about how it turns out after curing. Absolutely recommend fastbuds if you are looking for high quality seeds for a reasonable price.

Likes
15
Share


@crystal_garden_0
Follow
Great week. Plants are healthy. Buds starting everything is going fast now. So far so good, enjoying how the structure is. Genetics on point. Thanks everyone
Likes
26
Share


@PedroAndHisPlants
Follow
Day 79 (First Grow, Flowering Phase):
Hey everyone!
It's the start of a new week, and we're now on day 79 of our first grow. The flowering phase is progressing beautifully, with the buds getting bigger and frostier day by day. 🌸✨
We've started to see the formation of orange hairs, which is a promising sign of the buds maturing. The plants are looking healthy and vibrant, and the SCROG net is helping to keep everything well-supported and evenly exposed to light.
Humidity issues from last week are still being monitored, and we're considering adding a dehumidifier to ensure optimal conditions as we move closer to harvest.
Thanks for all your support and suggestions. Any tips for these final weeks of flowering are always welcome!


Likes
18
Share


@eldruida_lamota
Follow
Esa familia, actualizamos las northern light xL, hay una de las 3 que destaca del resto por tamaño y flores, pintan muy bien, se ve buen color y bastante vigorosas, tutelamos 1.
Bajamos humedad y temperatura, a estas alturas estamos pensando en el siguiente proyecto con varias geneticas de zambezaseeds.

Likes
17
Share


@Its_Fruz
Follow
🐒🐒🐒
20day base + delta9 total 900ppm
25 day base + terpinator total 1000ppm
Likes
6
Share

@Kellergaertner
Follow
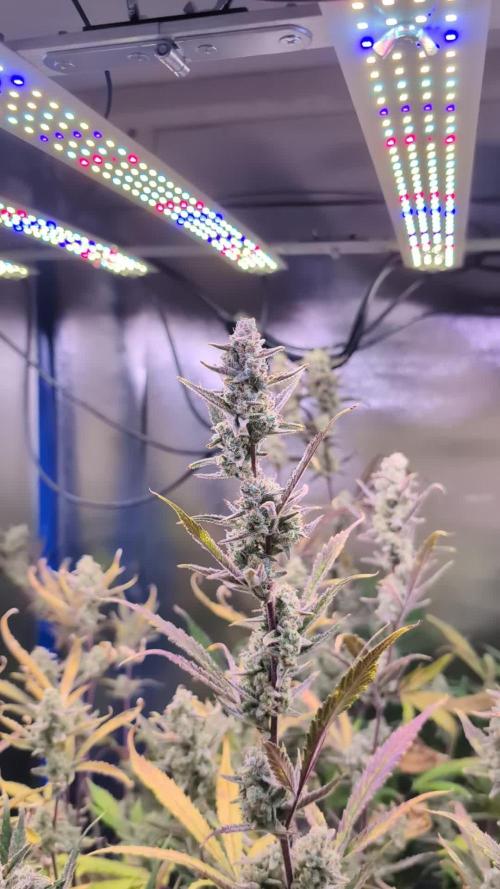
The Plant as a hole (without the main stem and roots was 1.4kg. due to German laws I could only keep around 250g of the nicest buds of it. This should end in around 50g of dried flower. The wet flower weight would likely be around 1kg which would have resulted in 200g dry.
For drying i took one nice branch of 42g and hung it on my ESPHome scale. That way I can track the weight loss. After a week at 60% humidity and 11°C (52F) the weight was constant at 10.8g. This is the time I took down all the drying branches, trimmed them and put them to cure (where they now are).
Overall conclusion and learnings of this grow:
- 200W might not be enough
- Growing in DWC without any media (like pebbles, rock wool or so) is absolutely doable
- Compo Expert Hakaphos Red/Green works but you will battle PH drops
- The UVC aquarium cleaner worked great. Never had to use H2O2
- Renewing the water only if really needed works fine for me
- 15L of Water should be the lower limit. The bucket I used was great but maybe a bit small
- Automatic PH dosing (based on ESPHome and Home Assistant) works great
- The cheap Chinese PH/EC probe did not drift much. I only had to recalibrate it once
- It is nice to have the plant elevated for working on it but can get tricky if the stretch is very high like in this case
Overall I'm happy. I did not have any bigger issue with pests or nutrient deficiency.
Likes
5
Share


@Mr_nugs_lover_David
Follow
In this week the buds are starting to get more and more compact, very sticky flowrs, and the pheno #2 smells a little stronger than this pheno but still the same strong amnesia smell very apreciated, I'm a big fan of amnesia strains, and this amnesia pro by gea seeds is an amazing version of amnesia hypro very happy with her performance so far! Stay with me to see how this lady until the end of the road! 💛❤️💚👨🌾

Likes
167
Share


@Schnabeldino
Follow
📅 Week 11 | 🗓️ Day 71–77 — 3rd week of flowering
Biscotti Gelato 🍪🍨 – elegant, fragrant, stacking and frosting up beautifully
🔸 The stretch has clearly settled — she’s holding a sturdy, balanced canopy with strong verticals and consistent cola height. Buds are now clearly formed clusters, each topped with thick tufts of bright white pistils. Calyxes are beginning to swell and stack neatly, and there’s a noticeable layer of early trichome sparkle spreading over the sugar leaves.
🔸 The foliage remains deep, lush green, with broad, slightly glossy leaves showing no signs of stress. The overall posture is confident and vigorous — she’s thriving in her rhythm. Those slightly purple petioles add a nice touch of personality under the lights.
🔸 Watering & care: Keeping the same steady routine — moist but not soaked, around 30% soil moisture before watering. Airflow through the canopy looks solid, and humidity is still in a safe zone for mid-flower. I'm still at half the amount specified for fertilizer.
📈 Current Conditions
🌡️ Day: 27 °C
🌡️ Night: 18 °C
💨 Humidity: 59 %
🔦 PPFD: 800–900 µmol (12/12 light cycle)
🛠️ Setup
💡 Cosmos 200 W
⛺ Tent: 120 × 120 × 180 cm
🍯 Pots: 18 L plastic pots
🌱 Medium: Bio-Bizz Light Mix
💊 Nutrients: Advanced Nutrients ≈ ½ of the schedule)
💧 Water: Tap water (0.5 EC)
Likes
13
Share


@Eightblack
Follow
Fifth week of vegetation,
In the recovery phase after having stressed. I continue with the calmag and start fertilization for the 2 greens after the soil has dried.
For the 2 Gorilla Glue, one has recovered great but the other I see this recovery very long, I know that I will take it off so as not to waste time, what do you recommend?


Likes
3
Share


@Cortez_The_Konqueror
Follow
Got 2301 into her final home in a 3 gallon pot, I used grow dots at 1 table per gallon of medium and made the bottom 3rd of the soil a little hot with fresh ocean Forrest soil, and purple cow non manure compost.. and moved her to my new ac infinity 3x3 tent!