


Likes
Comments
Share


@richsanfarmorganic
Follow
Premium cannabis organic Thailand
By RICHSANFARMORGANIC100%


Processing
Likes
8
Share


@Buck5050
Follow
Found some issues with reducing the CalMag. A couple phenos stated to fade and show red spotting on lower leaves. I went back up to 2ml of calmag and will see if that helps. The smells coming out of the tent are very pleasant. Very citrus in nature with pine undertones. At the beginning of this week I have noticed hairs are starting to turn brown. The plan is to harvest at Day 70. I will flush with ph water around day 60. I am hoping for some plumping up coming in the next couple weeks as most phenos stayed lighter than expected.
Likes
1
Share

@Olduffybastard88
Follow
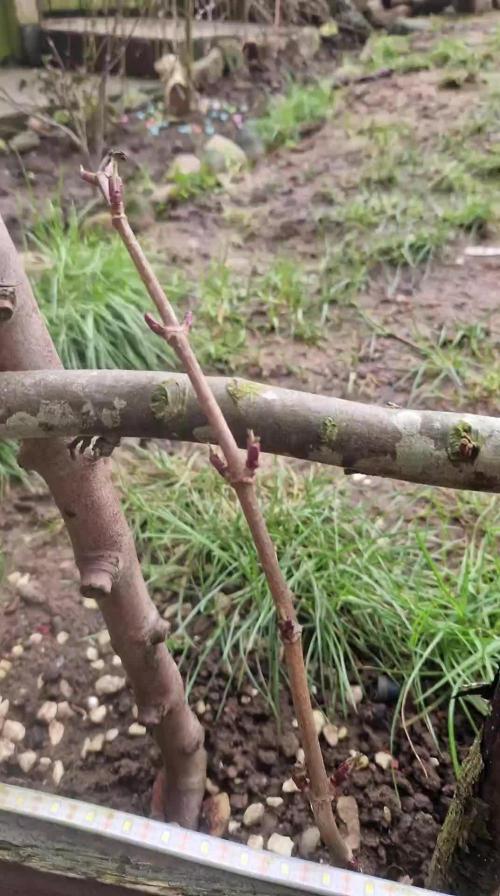
Plants are getting put on 12/12 now while I hold some back for cuttings and to veg out more

Likes
17
Share


@RDWCGrowing
Follow
Week 6 Day 1 10/28/2023
Water Change Day!!
Added:
36 gallons of Water
CALMag- .75mil/Gal
GH FLoraMicro-4.3mil/Gal
GH FlroaGro-4.3mil/Gal
GH FLroaBloom-6.5Mil/Gal
Liquid KoolBloom 2.5mil/Gal
TPS SIGNAL- 4.0mil/Gal
ORCA-.5mil/Gal
I setup my PH automation system.. I will start it running in 24 hours after the system settles in.
Week 6 Day 2 10/29/2023
Going to be interesting.. I left the old monitor in to do a double check behind the new auto PH monitor.. not eh problem is I configured the New one and I am pretty sure that it is more accurate than the previous one I was using but the difference is 5.9 on the new one and 6.19 on the old. So it leaves me to questions if I was always running my PH higher but still just within safe range? or is this one off by that much. Questions, Questions.. But so far it is working I had to make several adjustments to dial in how much of each gets released but right now they are sitting around 5.9
Week 6 Day 3 10/30/2023
Worked on adjusting the auto PH system and I think I will need to change out some of the gear to make it work better.. Right now the suction/ flow rate has to be up to high in order to get the Up or down out of the Containers and the UP kicks on before the Down has a chance to settle.. I would have hoped there is a steady reading for X seconds before it starts the other.. but there isn't it is automatically kicking off the Up even while it is still adjusting from adding Down.
Week 6 Day 4 10/31/2023
Today I did nothing but take some pics.. Nice day.. the experiment of the PH auto system is a bust as of right now.. the range is out of what I want.. and it keeps immediately kicking off without giving the water time to balance.. since this is a res system which the water moves.. not the best.. it doesn't have a wait time before release more.. and it keeps releasing even after it starts reading in range.. so it drops it lower than it should.. I could probably dilute the PH up and Down and make it a little more effective.. but not sure what I want to do at this point.
Week 6 Day 5 11/01/2023
Today I did nothing but take some pics..
Week 6 Day 6 11/02/2023
Ground Hogs day... Today I did nothing but take some pics..
Week 6 Day 7 11/03/2023
I had to re-super crop two branches at a lower node to bring them back down they had grown up and hit the light again. I had to empty the dehumidifiers out but that was pretty much it.. She seems to be happy happy and growing well..
Likes
Comments
Share


@Yiyis_Grow
Follow
Se usó pk1314 de Canna esta semana.
Las plantas tienen muy buen aroma y están pegajosas.
En cuanto al tamaño, si han aumentado de tamaño, pero no lo que esperaba. Hay dos que van un poco más retrasadas y espero que en semana 10 aumenten más de volumen.
La planta que no estaba tomando agua ahora está bien, volvió a la normalidad.
La planta con manchas en la hojas se quemó con el pk1314, no estaba lista. Nunca lo estuvo, no debí echarle.
Semana con nutriente de floración al 100% y potenciadores.
- Luz: Bestva Pro 2000W / 18 h/d
-FloraNova Bloom G.Hydroponics: 0.7ml/l
- Bio Bud G. Hydroponics 2.5ml/l
- Armour SI G. Hydroponics 0.4ml/l
- C4 Mills 1ml/l
- Everest: 0.5 ml/l


Likes
20
Share

@wolfvb
Follow
Week 6 - Dialing in the LST and Managing the Fade 🍁
Description:
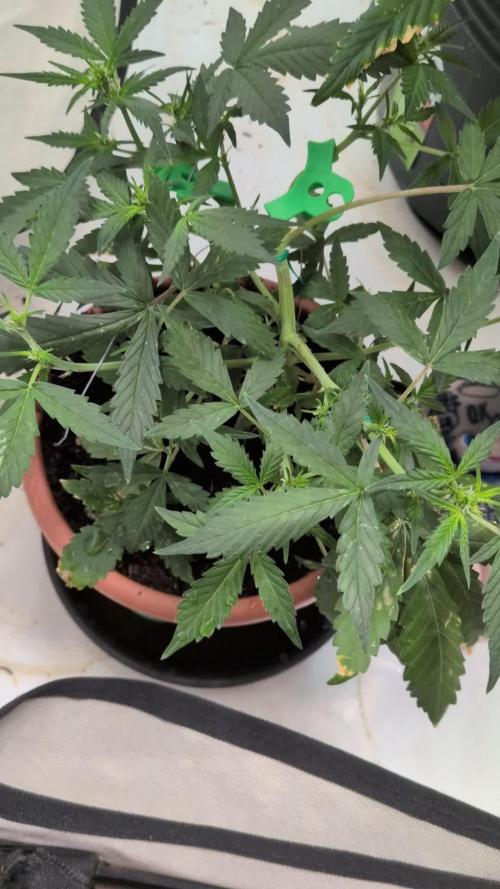
We are officially in Week 6! This week has been all about canopy management. I’ve continued with the Low Stress Training (LST) to pull the main stem down and expose those lower nodes to more light. You can see in the photos how she’s starting to bush out horizontally rather than just shooting up.
I am noticing a bit of yellowing and some "rust" spots on the older fan leaves. I’m currently checking my pH levels to make sure I’m not hitting a lockout. I’ll be keeping a close eye on the new growth to ensure the nitrogen levels are where they need to be as we prep for the flip to flower soon.

Likes
Comments
Share



Likes
10
Share


@KingCatfish
Follow
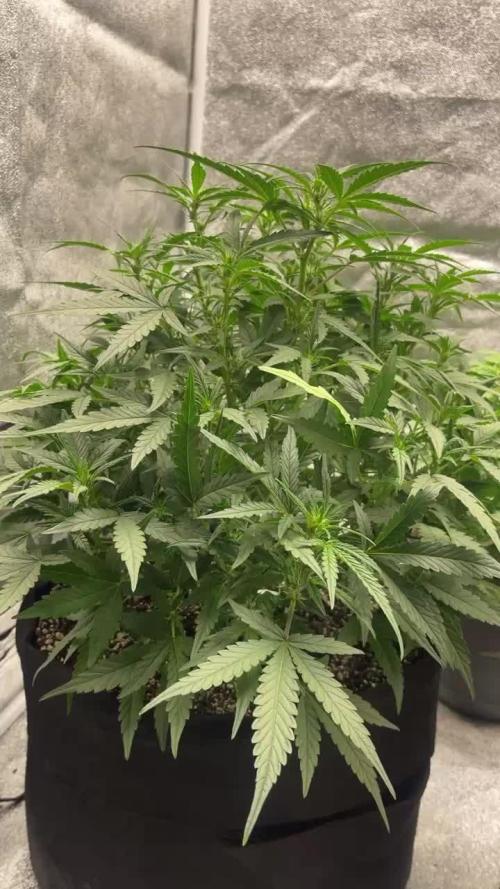
Flushed it already. Leaves aren't fading that much but the trichomes are developing to the right state very soon. So 🤩🤩🤩 my first harvest is coming soon. I would like to thank everyone so far for the massive help and encouragement the community gave through out my journey. Hopefully my next post is harvest 🤞 🌴🌴


Likes
93
Share


@PEAKYPLANTERS
Follow
Hi guys, What's up?
Welcome back to Queen Peaky's Flower Gardens
We have decided to further extend this beautiful woman's stay in our tent to continue developing the fantastic buds she has developed

Likes
106
Share


@SlowerLowerGrower
Follow
Very easy trim job with the dense buds she had. Very happy with the whole grow. Thanks to those of you who followed along 🙏


Likes
2
Share


@1Thoughtful_Grower
Follow
Things are looking well.
Had a haircut yesterday.
Durban poison is still stretching so am still scrogging when needed.


Likes
17
Share


@JoeGrows420
Follow
Dr greenthumbs bud and bloom doing its thing and i added some inorganic heavy pk fert as you can mix organic with synthetic so google says, so will be interesting to see the results

Likes
48
Share


@xbrico
Follow
Evening all...back on it AGAIN!!!! Worst is, in the middle of a heat wave (Hottest day every recorded in this part of the world a couple of days in a row!!!)...still need to finish trimming my last crop!!! 😰 Will get that done over the next couple of days as these girls need rehoused!!!
So, got a cloner at the start of the year...was planning on clone a spare wedding cake I had but that sort of went to pot and life got in the way and that didn't happen. As I also got a hold of an Ultrasonic Mist Generator, I thought I'd give this "Fogponics" Germination thing a go!!! Seeing as @Sweet_Seeds donated a few Magical Beans to my cause, I thought I'd give their genetics a whirl. The Red Hot cookies looked too cool to pass up on!!!
So, got the beans popped on the 12th of July and by the Thursday, they were showing their wee heads. These are strong wee plants!!! Vigorous as you like!!!
Got them into the 'fogponics' machine and let them rip (Under 2x11W T5 Sunblaster 6400K's and a Amazon Special LED light for extra Spectrum) and they seem to be coming on grand. Noticed some yellow spots on the leaves and in 2 minds if it was:
A. calcium (As starter plugs are Coir and I didn't put calmag in the plug hydration mix - Jiffy Original plugs are supposed to be buffered for this!!!);
B. if I should have broken and washed them out of the Coir and put them into straight Hydroton (The fog could have been saturating the Coir and choking the internal roots a bit) or
C. if its just the abusive heat we've been having here (In a country where A/C is basically unheard off as heat doesn't exist outside!!! 😋).
Roots are ripping out of the net pots now so they're about as ready for transplant as can be...just wanna give a day or 2 more to see if the heat here settles as I can't adequately cool the area they're going too - but then again, under LED so heat may be good as it doesn't heat the leaf surface up as much! Plus I have a couple of plants to trim...still hanging in their humidor tent when is needed again for growing!
Think this will also be the retirement party for the Wilma. Going to build an Undercurrent Fallponics system when this run is done (Wont have time to get it setup before these girls need forever homes!!!). Have the crates bought and a bit of research done on how to DIY a build so hopefully this turns out to be a decent run. Also have a few people with building experience on hand to give advice.
Since last grow:
Lights have been upgraded to a Geekbeast 630W Pro LED (3500K Spectrum - UV 385nm and Far Red 730nm built in [won't use the 730's as they can't be run independent of the Main Lights...be wary of this if you buy one off Alibaba for the 730's built in!!!] - Will run the 385UV's though throughout the grow for more blue...will run then 3 hours after lights on to until 3hours before lights off).
Also procured an InvisibleSun LED 730nm Flower Initiator (Will use this for EOD Far Red treatment to try a 13/11 flower cycle) and a Migro UVB310 fixture - For the Trikes!!! 😝.
Have a Haliea 300A winging its way to me as we speak.
Have some Non-Stick Micro-tips flying in from the Grand old US of A
a will to get a better, more consistent yield.
Think that's about all I have for now...Happy Growing all!!! 💪

Processing
Likes
12
Share


Likes
39
Share

@SundancerS
Follow
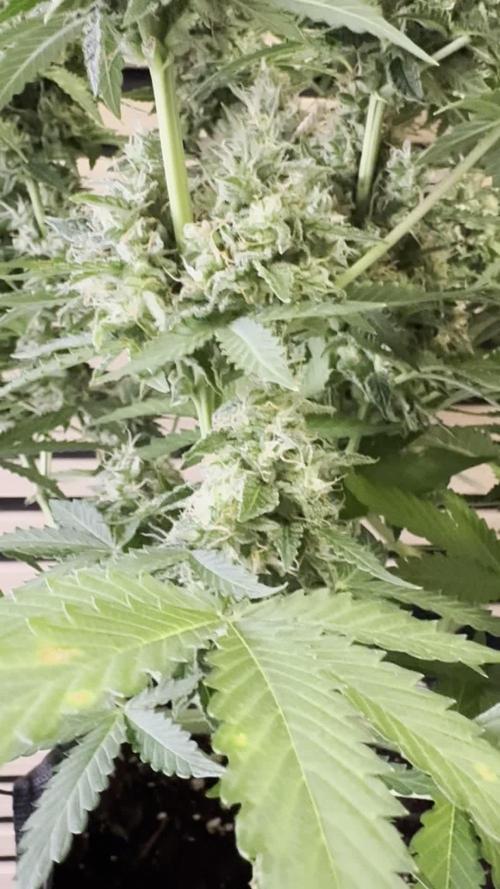
Die Sticky Broccoli scheint jetzt richtig auf Touren zu kommen, der Geruch hat sich intensiviert und ist kaum noch zu übersehen. Die Buds haben sichtbar an Masse zugelegt und sind auf dem besten Weg, ein ordentliches Festmahl zu liefern. Laut Zamnesia liegt die Reifezeit bei 8-9 Wochen, und wir haben bereits die ersten bernsteinfarbenen Trichome gesichtet, aber noch sind wir nicht ganz erntereif. Die Pflanze befindet sich jetzt in den letzten Zügen vor der Ernte, doch es fühlt sich an, als möchte sie noch "fetter" werden.
LST und Topping haben die Reifezeit etwas verlängert, aber dafür bekommen wir jetzt ordentlich Substanz. Die Spannung steigt. 😐
Likes
3
Share
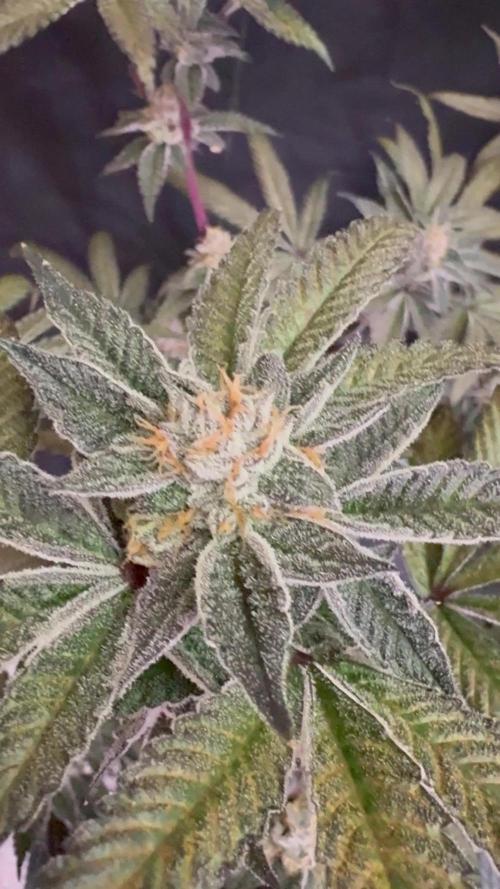

@Ninjabuds
Follow
Weird structure but some super fire purple black nugs the kinda small thou

Likes
26
Share


@Rock_n_Roll_Randy
Follow
DID SOME MAJOR DEFOLIATION SO THE LIGHT CAN PENETRATE THE BOTTOM BRANCHES. ITS REALLY STARTING TO SHOW WITH HOW MUCH BRANCHES HAVE SHOT OUT.
FINALLY STARTING THE PHOTOPERIODS AND I HOPE MY TIMING IS GOOD FOR CHOPPING THE AUTOFLOWERS..........SEEDS PUT INTO THE SOIL ON JUNE 22ND.
RUNNING OUT OF ROOM IN THE 8X8 TENT SO I PUT ALL THE PHOTOPERIODS IN THE 5X5 WITH A TSW2000. SOME FAN LEAVES ARE BIGGER THAN MY HAND NOW.
SORRY TO EVERYONE WHO TRIES TALKING TO ME....I STILL CANT TALK TO ANYONE BECAUSE I TRIED CHANGING MY EMAIL ON HERE AND IT MESSED EVERYTHING UP. I CANT LIKE ANYTHING OR COMMENT ON ANYTHING. THE WORST IS I CANT JOIN CONTESTS
STRIVE NUTRIENTS IS THE BEST IVE EVER USED. A MUST TRY AND I BUY IT MYSELF. GOT A SAMPLE LAST YEAR AND ITS SO GOOD I BOUGHT MORE. ITS A 2 PART POWDER NUTRIENT THAT DISSOLVES IN MINUTES AND YOU MIX THE SAME STRENGTH OF THE 2 PART NUTRIENTS FROM WEEK 2 UNTIL THEY ARE FINISHED (BESIDES THE FLUSH), NO MORE BULLSHIT OF SWITCHING TO BLOOM FERTILIZER. THATS MY FAVORITE THING BESIDES THE RESULTS.
CHECK EM OUT AND BELIEVE EVERYTHING YOU READ BECAUSE ITS NO BULLSHIT, AWESOME FRIENDLY AND HONEST PEOPLE
Likes
12
Share


@GrowGuy97
Follow
Will post dry weights & more comments soon! Sorry for the lack of updates but Thanks for following & happy growing friends!✌️🏼🙏🏼🌱