
Likes
Comments
Share


@Marshydrots1000
Follow
Flip to flower next week. Really exited to see how this goes ! Vigorous growth for there age.

Likes
27
Share


@LSchnabel
Follow
Installed new Vipar LED light. Watered with pH 6.2 RO water with General Hydroponics Flora Grow, CalMagic and Great White. 1/2 cup. I have a fan blowing on the babies to strengthen up the stem.


Likes
5
Share


@Rizza78
Follow
Made it to harvest w 2 so far! Oozecake is a couple extra days. Boy she tastes amazing! Will ice her tomorrow and put her in 48 hrs of dark before I harvest. What an experience it has been! Can’t wait to try after the cure.

Likes
30
Share


@Grower_Of_Persia
Follow
week intel:
we reached the peak of flowering stage and need to cause a little more e.c stress from this week so e.c stress is twice a week
i reduced the amount of Nitrogen and calcium and stopped feeding silicate in other hand i raised the amount of base nutrient and booster
short story version: more K & P - less N
stresses :
a little E.C stress around 1 and 1.2 twice a week from this week
feeding:
i feed them 3 times this week with this order :
day 1 : i feed them high with base nutrients(calcium & micros (half dose) + Bloom) about 566 ppm - 1.1 e.c to cause a little stress.
day 3 : i feed them low dose of Top-Max + B-52 around 392 ppm - 0.7 e.c to let them recover a little but not fully recover still a little stress will caused.
day 5 : i feed them high dose of Feeding Booster around 630 ppm - 1.2 e.c to cause e.c stress again
guide of the week :
e.c stress if done correctly is one of the very few ways to increase quality in all aspects ( color , aroma , taste , bud structure , resin contents ) but if you over do it , listen carefully brother : it can reduce quality in every aspect so always look for signs and never reach the red line
Likes
13
Share


@HeavyHead
Follow
So this is a combination of weeks 11-12 as they all went into 48 hours of darkness and cut down on different days. My got cut down on different days. Will post dry harvest pics next ;p
Likes
10
Share


@asstonmartian
Follow
So I think this was the 7th week or so but I flipped to flower with a 48 hour dark period around day 53ish. I opened the tent to neon budsites!


Likes
29
Share


@lefthandedJ
Follow
SO..........................the girls are doing okay. I can only expect so much, given they're in 5 gals (except for LB), and half of them didn't get a good start. It's a nice experiment, for comparison sake. I don't think there's any bad plants here (of course, I don't think there are any bad plants ANYWHERE, EVER), just some early bloomers and some that still need some time. I've been feeding them with Tiger Bloom and a seaweed/kelp additive, and they've had two doses now of guano for top-dressing. Now I'm running out of room, should've planned better and left more room at the top of the bags. Never again with the 5 gals, they're great for indoor but way too restrictive for outdoor even way up here in Maine. I just finished LST again and they're looking pretty funky, but it's getting the desired result. GLad I kept some of them straight and didn't top, I want to see the difference in the end between nature's architecture and my twisted mess.
SO far, so good, but I'm a little worried about the Ph. Again, my solution is good (around 6- 6.3), but my medium still comes in at 7 even. Great buffering shit, but I really need to acidify the soil a bit more. I've got some PhDown, but I'm worried that if I drop the solution too low I'll burn the plants. On the other hand, it doesn't seem to have much of an effect so far at 6....
7/31 Update:
Gave the ladies another round of bat guano, 2 lbs. spread hroughout a dozen plants. Kinda worried that I used too much, but the first applications weren't enough so we'll see. Yesterday gave 'em a feeding of Tiger Bloom, today I watered the guano in with well water that I adjusted (using PhDown) to a reasonable 6.5. A good dry day, bright too, they should soak it up good today!

Likes
57
Share


@BigDaddyK
Follow
I see purple
KEEP AN EYE ON ph !!!
Updated daily
Complete reservoir change Thursday 12/12/19
Likes
6
Share


@Hashishi
Follow
Lemon tree can endure pain, cold & hot weather, seedling is really a strong genetic, huge root mass for 2 week seedling, now I'm using Biobizz soil + dry leaves on top from past harvest

Likes
6
Share


@Roberts
Follow
Tangerine Band is getting big. I had to hst a few tops today. They were getting too close to the light. Everything is looking good. I will change her to blooming nutrition soon. Thank you Exotic Seeds, Spider Farmer, and Athena. 🤜🏻🤛🏻🌱🌱🌱
Thank you grow diaries community for the 👇likes👇, follows, comments, and subscriptions on my YouTube channel👇.
❄️🌱🍻 Happy Growing 🌱🌱🌱
https://youtube.com/channel/UCAhN7yRzWLpcaRHhMIQ7X4g.

Likes
21
Share


@Felloffthegrid420
Follow
One week down looking they're very good I can see a lot trikos on the got a new camera coming the smell is seeking out having hard time try stay stealth I belive starting to stay on my clothes my whole house 😷


Likes
5
Share


@DaddyPrime2
Follow
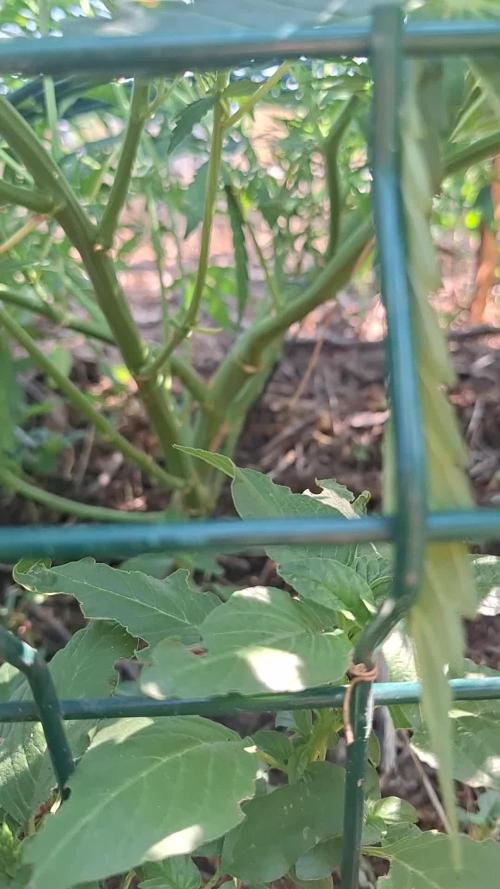
5/2 she's finally tall enough to spread out and she's looking so fucking good. She's showing sex but I don't think its flowering
5/31 the main stem of this plant is crazy. The branching is abnormal and I can't wait to see what it does.


Processing
Likes
9
Share


@Wsummers
Follow
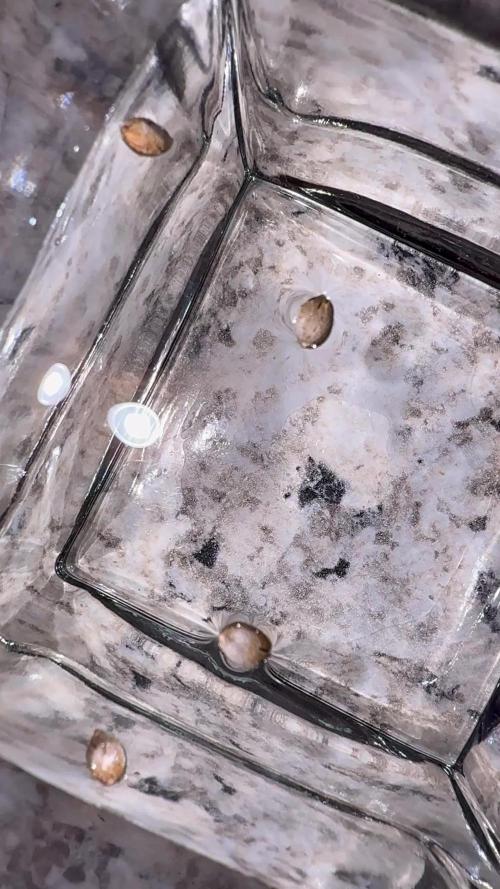
Anyone seen these bugs b4 an what is the best way to get rid of them, plants still look really healthy