


Likes
14
Share


@ConspiracyFly
Follow
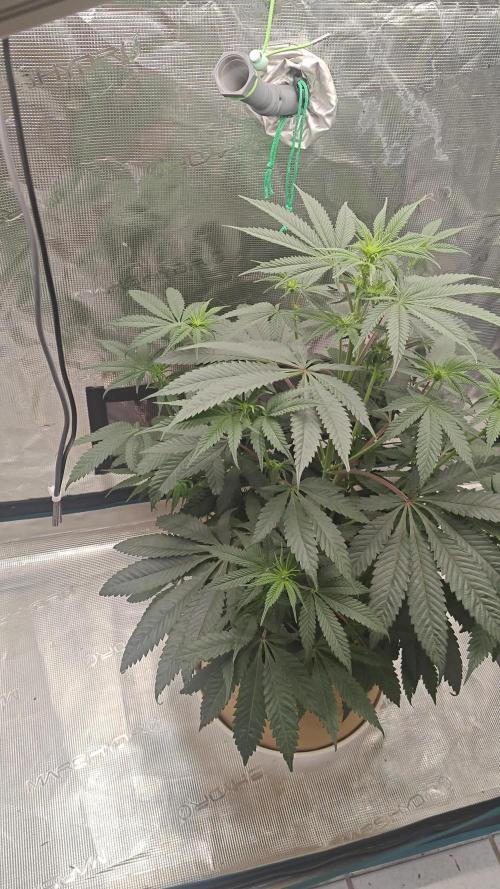
Week 19 Gorilla Glue #4 (Original Sensible Seeds)
7 week of blooming
Gorilla Glue #4 continues with a very strong full :)
The smell breaks through with carbon filter...
The trichomes are cloudy and next week it will be harvested
I removed some leaves and washed the plant (15 liters of water)
It is just receiving water without nutrients...
Week 7 Amnesia
1 Amnesia (Seedstockers)
More LST and she is still stretching her branches
3 weeks of flowering
It has 40 centimeters
2 Amnesia (Seedstockers)
This week she made a big jump and is the same height as Amnesia 1 without LST
1 week of flowering
It has 40 centimeters
Gorilla Cookies Auto (Fast Buds)
17 days
It has 5 centimeters
Continues its journey and has 4 leaves
Godzilla Cookies (Herbies)
7 days
It has 6 centimeters
It was necessary to remove the seed capsule that was stuck
It has two leaves
That's all for this week




Likes
166
Share

@Schnabeldino
Follow
📅 Week 11 | 🗓️ Day 71–77
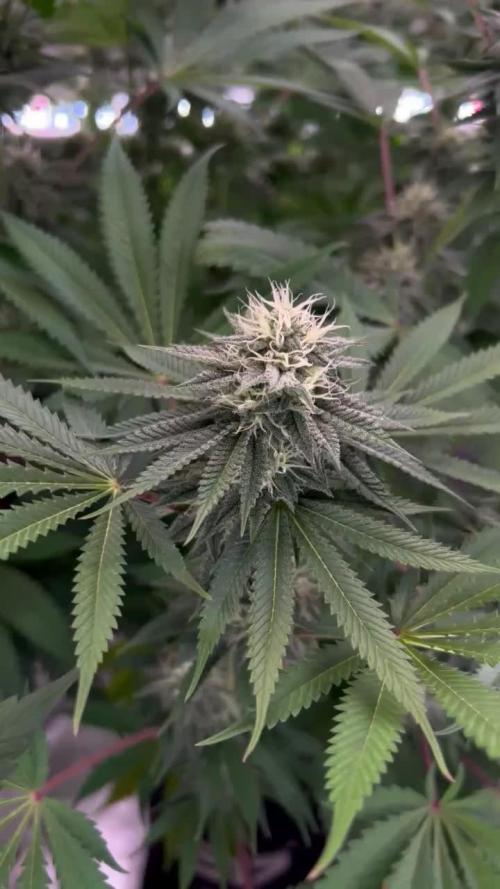
Day 77 – Week 3 til 4 of flower 🌸Papayton 🏀
🔸This week the girls really started packing it on. Buds are swelling up nicely, calyxes are stacked, and those creamy white pistils are shooting out everywhere like little antennas. The sugar leaves are already frosting up heavy – trichomes glisten under the light, and you can tell the resin production is kicking into high gear. Colas are shaping up, and it’s clear where the big towers are gonna form.
🔸The foliage continues to look healthy: a rich green color with no signs of over-fertilization, no claws, and no noticeable deficiencies. The sugar leaves are already well coated with resin, which is a very good sign. The pictures show that the flower structure is growing compactly and vigorously—the plant is in full flow. I will give her BIO PK again for the next watering. She looks like she could use a little more.
🔸The SANlight is now running constantly at 100% with a distance of approx. 35 cm (approx. 1000 PPFD). To ensure that it produces more heat, I have positioned it slightly higher. The leaves appear relaxed and show no signs of stress. The climate remains stable, albeit slightly cool, during the day I achieve almost perfect values of 1.4-1.6 VPD, slightly less on very cool days., but the flowers look very fresh and compact as a result. Good air circulation ensures that the fine resin heads do not become damp.
Climate is right in the sweet spot too:
📈 average daily values
🌡️ Temp = 25 - 26 °C
💨 Humidity = 50 - 55 %
🌬️ VPD = 1.40 - 1,60 kPa
That’s pretty much perfect – low enough RH to keep mold away, but still comfy for the plants. Fans are running on level 5, dehu is on for more temp.
All in all, a super stable week. Plants are cruising, stacking, and starting to pack on that frost. Things are about to get really fun from here. 🚀
🛠️ Setup (unchanged)
💡 2 x SANlight Evo 4-120 on 100%
⛺ 120 x 120 x 180 Spiderfarmer tent
🍯 Pots: 18L fabric pots
🌱 Soil: Bio-Bizz Light Mix
💊 Nutrients: BIO Tabs
📉 ECOWITT Gateway GW1200
🖍️ ECOWITT WH51 Soil Moisture Sensor
Likes
16
Share

@BLAZED
Follow
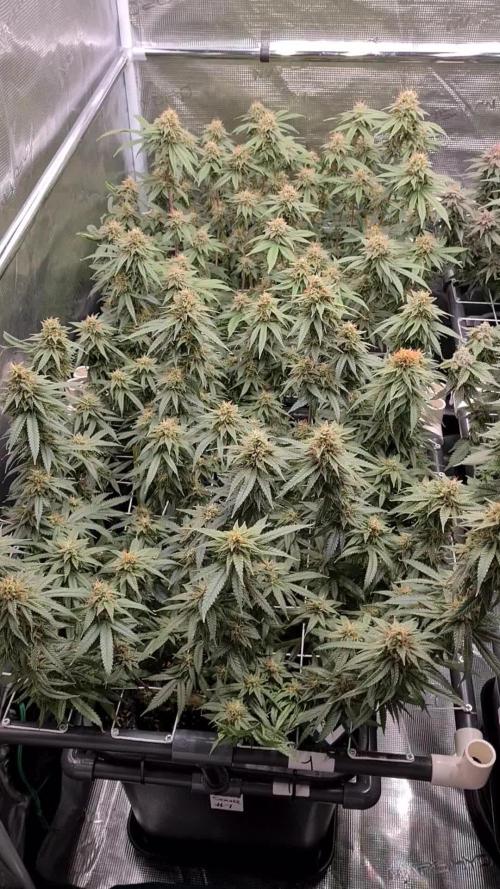
Week 17 (19-5 to 25-5)
19-5
Temps: 19.8 to 25.3 degrees
Humidity: 45% to 57%
Watering #1: 1000 ml. EC: 1.6
Lamp strength set from 70% to 75%
20-5
Temps: 20.1 to 25.4 degrees
Humidity: 46% to 55%
Watering: Both 1000 ml. EC: 0.5
21-5
Temps: 19.9 to 24.3 degrees
Humidity: 45% to 56%
22-5
Temps: 18.2 to 23.9 degrees
Humidity: 43% to 52%
Watering: Both 1000 ml. EC: 0.5
23-5
Temps: 18.2 to 23.9 degrees
Humidity: 47% to 56%
Watering: Both 1000 ml. EC: 1.6
24-5
Temps: 18.7 to 25.4 degrees
Humidity: 50% to 54%
Watering #1: 1000 ml. EC: 0.5
25-5
Temps: 19.4 to 25.8 degrees
Humidity: 50% to 61%
Watering #2: 1000 ml. EC: 0.5


Likes
1023
Share


@Grow3rPT
Follow
Cultivo LED The Smith 150w 4000k (Samsung) - Não tem opção de colocar esta marca no diário.
Também estou a usar nutrientes, da kayasolucions mas também nao tem disponível para adicionar ao diario.
Quem quiser saber mais, pode pesquisar The Jungle e uma growshop :)

Processing
Likes
21
Share


@RussianGrower
Follow
Hello, friends, I Welcome you again from Russia. Comes week 5 photoperiod Bubblelicious. I planned to make clones of this plant, but unfortunately the whole place is occupied by other projects, and temporarily I have to give up this idea, but I will continue to grow this plant, later on, I still make clones, and while I tear off the vegetative leaves and give free growth.

Processing
Likes
14
Share


@Chowswooster
Follow
Sloooooow going. My temps are fine if not ideal, humidity is steadily above 40%. Yet these plants still look weeks behind.
If you are reading this and my parameters and see any glaring mistakes please feel free to drop a comment. I am definitely new to organic growing andI just don't know what to do.
I started PHing organically this week. I ordered a water conditioner from Microbe life. It's not here yet, but soon. And if my video uploaded you'll see a product from Microbe Lift that will hopefully kill any fungus gnat larvae in the soil. Beyond that adding Armor Si back into my nutrient schedule is the only other thing I can think to snap these plants out of their funk. Good luck everybody else!
Likes
2
Share

@eldruida_lamota
Follow
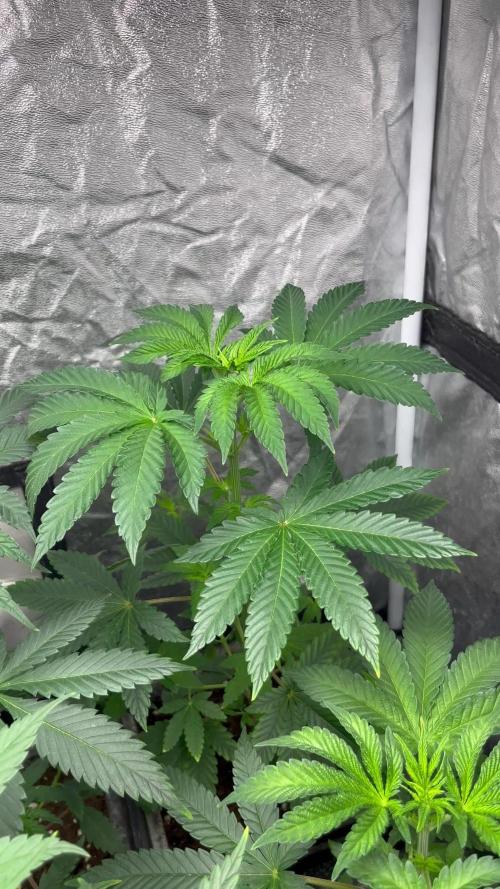
Que pasa familia, vamos con la quinta semana de vida de estas F.U.H. feminizadas de Seedstockers.
Vamos al lío, las plantas se trasplantaron a macetas de 7 litros.
El ph se controla en 6.5, la temperatura la tenemos entre 24/22 grados y la humedad ronda el 70%.
El ciclo de crecimiento puse 20h de luz, el foco está al 50% de potencia.
Me gustaría estar más encima este cultivo pero la salud me está impidiendo un poco este 100% con el proyecto. Con suerte la semana que viene andaré mejor.
- os dejo por aquí un CÓDIGO: Eldruida
Descuento para la tienda de MARS HYDRO.
https://www.mars-hydro.com
Hasta aquí todo, Buenos humos 💨💨💨
Likes
41
Share


@MR_Poof_K93
Follow
Están creciendo muy bien! 😁 😁 He notado que el Rino Skin está haciendo que los tallos engorden bastante!! no lo había probado nunca y me está gustando.
🔴 He comenzado a hacer la técnica
-LST -
hay algunas Runtz que están germinadas después y la verdad es que están un poco pequeñas parece que la genética ha salido un poco rarita.
Las Zkitllez hay dos que germinaron solo con un cotiledón, una de ellas está a la par pero otra está un poquito atrasada... creciendo poco a poco pero luchando 😊😊 y otra de ellas la que salió bien está espectacular me encanta! 😍😍
Las Banana Cream 🍌 están super grandes! Creo que un poquito más de lo normal la distancia internodal parece un poco larga no sé a qué se debe... y están alimentándose de lujo


Processing
Likes
17
Share


@Hawkbo
Follow
Just started them all on the Green Buzz Liquid Organics and will run it the rest of the way. I'm not going to add much to the line just some calmag, enzymes maybe terpinator I have to experiment with it a little bit. The first feed went extremely well the plants instantly reacted within an hour after the feed especially the next day. The additives in this line barely raised PPM at all which I liked. It also doesnt stink like other liquid organics I've used.
The big one is very healthy and got some light defoliation 2 days ago. The small runt has looked like dog shit and still does but after the feed it reaches for the sky for the first time in a while.
Likes
32
Share


@Weediz
Follow
Day 58: Everything seems to go smooth. I got my new lamp up, and are experimenting with dimmer, hang height, and space between the bars. This is new for me, my old lamps is garbage compared to this! But as I have 2 pre-/flowering girls, and 4 babies I decided to go with little space between the first 4 bars (for the adults) and the last 2 have some more space between (for the babies), and are not going all the way to the edge. The adults is higher, than comes the teens, and finally the babies so they don't get the same light intensity. I am currently running it pretty low, about 35% and will see the next couple of days how the girls will react
Day 61: The girls are starting to hang a bit. I do not know what is causing it, or is it just normal? I took the pictures and video about 3 hours after the light turns off, so it might just be that they are sleeping? Other causes could be too little light, as I just switched to my new light, and are running it for the first time. Maybe I do not water them enough? The humidity has also increased, and is around 50-65%, maybe that is the reason? I also started using RO water, so could be something with the nutrients? Do any of you fellow growers have any idea?
UPDATE: Big thank you to @Maltaherbman for your answer. I have raised the lamp a bit. I read 900+ ppdf on my phone before, and now I am getting maximum 800. This is properly not a correct reading, but at least I have it to compare with. I waited to see what happened after the light turned on. Ill took 2 new pictures, and the left lady is all ready recovered, the right one almost, so they might just have been sleeping, but ill keep the light as it is for now. Also a big thank you to you @GrowingGrannie - I keep the coco wet at all time. I have been flushing them a couple of times before, so maybe the watering volume this week is a little lower than usual. Also the watering volume is kind of an estimate, but I will take your advise and keep better track of how much I am watering, but I think its about 2-3L every 2-4 days
Likes
5
Share


@Happydays58
Follow
03/12 - Day 68
Girls are putting out some really nice aromas! I’m assuming this is the last push for this strain, buds are really tight and super hard when squeezed on (B) & (C)
All around the trichomes are still pretty clear and no amber yet.

Likes
5
Share


@Bingbings_garden
Follow
Hello growers
-May 30-
Canapee development going as planned. Using wire to keep new growth even.
Watering 0.3L every 72hours. No added nutrients plan seems to be doing ok so far.


Likes
18
Share


@birdmountain
Follow
The plants look a bit damaged and need some care as I was on holiday for a couple of weeks. They were watered every 2-3 days but not looked after any further, yet they have grown quite a bit. The smaller Fractal has already started to flower. They have lost a bit of colour, I hope to be able to fix that.
Fractal 1 120 cm
Fractal 2 100 cm



Likes
12
Share


@Jays_Not_Here_Man
Follow
Nearing the finish line! OMG these ladies are blowing me away 😳 the Tricomes are carpeted, the buds are fat and dense. I’ve been. Tapering off all the nutrients and feeding ph’d water until I get 10-15% runoff from the pot to help break up the pockets left behind and to use up what’s left in the plant. Have some very distinct phenos, all of them are stellar but there are a few standouts… won’t be much longer 🇨🇦👊❤️

Likes
97
Share


@Wastent91
Follow
Allora ragazzi come va?? La splendida ragazza della sweet seeds anche se l ho toppata continua a crescere a dismisura ho dovuto alzare la lampada della Marsh hydro al massimo possibile, che sfiora il filtro a carbone dell' aria!! 😁Questo tipo di generiche XL sono davvero una cosa portentosa, cmq ho avuto e sto avendo dei problemi... Perché nn mi era accorto di dare Bud Candy e quindi è andata , secondo me spero, in deficienza di calcio e magnesio , spero che questo mio errore nn contribuisca allo sfacelo totale del risultato della pianta , xké vedo cmq dalle foglie di colore verde chiaro che sta soffrendo... Ora ho rimediato integrandolo , ma spero di nn aver dato un eccesso di nutrienti e che sia in blocco... Apparte questo le cime hanno un bel colore viola intenso e sembra stiano crescendo.. vedremo prossimamente perché cmq io nn sono un esperto di questi fertilizzanti minerali della linea advanced nutrients, poi non avendo tutta la linea è normale che la pianta vada in carenza perché il terriccio è solamente un light mix , quindi poco fertilizzato.. speriamo bene! Ringrazio come al solito sweet seeds e Mars hydro x aver reso possibile tutto ciò! Buon 420 a tutti! 😼🐱💯💪🌱🌿🌲
Likes
Comments
Share

@eldruida_lamota
Follow
Vamos familia, actualizamos la tercera semana de vida de estas Frosty tooth de Seedstockers, salieron las 5 de 5, 100% ratio éxito.
Aplicamos varios productos de Agrobeta, que son increíbles para aportar una buena alimentación a las plantas.
Temperatura y humedad dentro de los rangos correctos dentro de la etapa de crecimiento.
La tierra utilizada es al mix top crop, por cambiar.
De 5 ejemplares seleccioné los 3 mejores para completar el indoor y trasplanté directamente a macetas de 7 litros, se ven bien sanas las plantas, tienen un buen color y progresan a muy buen ritmo por el momento.
Agrobeta:
https://www.agrobeta.com/agrobetatiendaonline/36-abonos-canamo
Hasta aquí todo, Buenos humos 💨💨💨