


Likes
1
Share


@kauilmayel1996
Follow
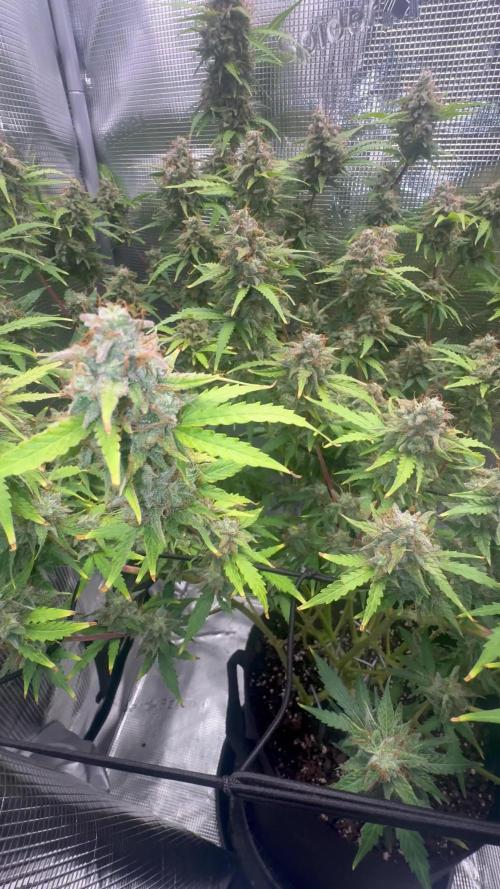
Día de corte para la gran berta...
No hice ningún flush por qué quiero probar la diferencia entre flush y no flush
Quedan algunos cogollos abajo que falta formarse


Likes
4
Share


@KhaVigga
Follow
i went to work like 2-3 days not coming home and she is nearly dry out to dead but luckily i came back in time and fix it.


Likes
9
Share


@littlefoot
Follow
Seems to be on track 👣 daily height changes now, you can see between the two "groot" pics about 2 -3 days apart.
Likes
9
Share


@DeepRootsGrowTrees
Follow
KICKASS AUTO BY KANNABIA
WEEK #3 April 16th-23rd
She's is growing nicely she's starting to stretch this week has 4 nodes no issues this week.
Kannabia. Com Kickass Auto

Likes
91
Share


@Fire_Farmer
Follow
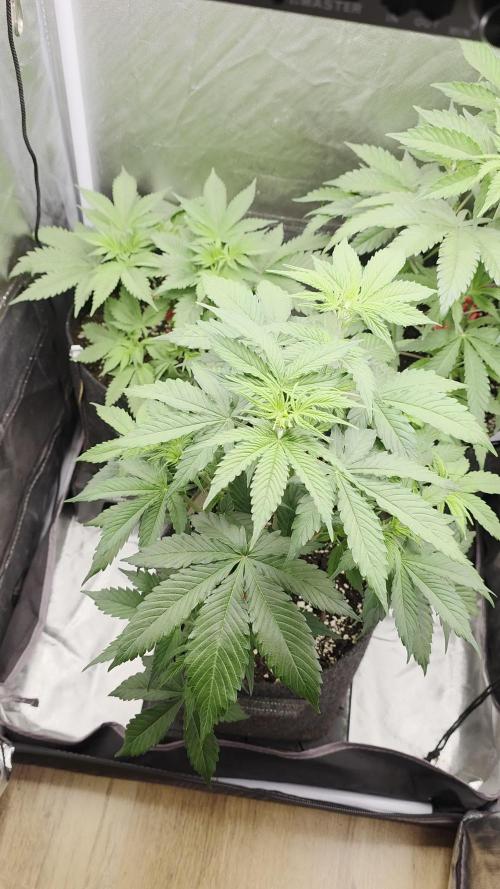
Week 4 Day 3 Veg
Only been 5 days since last post but I think Im going to flip these tomorrow I reckon they should fill out in first 2 weeks of flower.
Really want to avoid a jungle given how close they all are to each other.
All very healthy.
One plant more on the LED side which makes it more filled out but tbf the plants on that side are much more vigouros, thicker stems and broader leaves etc.
LED is controversial in bloom but in veg it kicks halide and florescent ass.
Should I pull the net in tight and flip or what fam?

Processing
Likes
11
Share


@TickTockCroc
Follow
Hey everyone! Hope you're all doing amazing!
TickTockCroc is back for another grow! ┏(^0^)┛
Last time, I did a Fastbuds Girl Scout Cookies grow in my closet using a small pot. Yielded 22g dry weight (lol). Didn't do any ph monitoring or temperature control until later.
This time... I'm determined to do it better!
For this grow I will be doing:
2 x Fastbuds Girl Scout Cookies
2 x Fastbuds Gelato
I AM DOING A SEPARATE DIARY FOR EACH STRAIN. THIS DIARY WILL ONLY BE UPDATING PROGRESS WITH THE GIRL SCOUT COOKIES!
For this set-up, I decided to get a 1.2m x 1.2m x 2.0m tent and a carbon filter with fan. Also using fabric pots instead of plastic. For lights I'm using my old 600W Viper LED. I love this set-up!!
This diary is starting on Day 7 from seed for the GSC. They just got moved to the tent yesterday (had to wait for it in the mail, got excited and germinated seeds too soon lol) and so they were in the closet until then. There has been no fan to circulate air or remove heat, and I think that's why the first set of leaves are curling a bit. Annoyingly, I have to wait for distilled water to arrive in the mail so I can calibrate my PH meter, so have not been able to ph adjust water. It has had one watering of evian water so far, so hopefully thats OK.
I am using BioBizz Light Mix soil and using BioBizz nutrients. I will update which specific nutrients when I can.
Take care for now, folks!
*EDIT*
DAY 10 UPDATE:
I've uploaded a day 10 video update!
So today is day 10 and I fed them their first feed yesterday. I've added the nutrient details to the diary. They seem to be LOVING it. I also noticed some pale spots on some leaves - perhaps exterior nute burn as I splashed the leaves by accident. We'll see.
Likes
27
Share


@eldruida_lamota
Follow
Esa familia, otra vez por aquí, vamos actualizar la séptima semana de esta variedad de sweetseeds.
Do sweet dos es una variedad con una floración que anda entre la 9/10 semanas, es algo más le ta pero seguro que al final lo agradecemos, también se están llenando de tricomas, dentro de todo lo malo que paso en este cultivo no está saliendo nada mal.
.
La humedad esta al 45% la temperatura está entre 21/25 grados , y como siempre el ph , ya que es de lo más importante,está en 5,8/6,0.
.
AgroBeta:
1 ml x L Flowering black line , vía radicular.
0,2 ml x L Beta shark, vía radicular.
0.5 gr x L mega PK , vía radicular.
0,8 ml x L Terminator, vía radicular.
0,5 gr x L Engordacogollos, vía radicular.
0,3 ml x L Tucán , vía radicular.
0,1 ml x L Betazyme, vía radicular.
0,3 ml x L Tricoma, vía radicular.
0,05 ml x L Gold Joker, vía radicular.
0,2 ml x L Silver, vía radicular.
.
Hasta aquí todo familia 🕸️ , un saludo y buenos humos fumetillas💨💨💨.

Likes
1
Share


@terbs
Follow
Harvested the Purple Lemonade. Smell of the flower is extreme!
Most of the rosin is coming from the cuttings of the Tropicana Cookies. However, I have not been able to “cure” the cuttings of the other plants at a controlled 62% humidity, so this may not be a meaningful result.
Thought a little more Anthocyan would surive, but i may have to press @ 160 Mikron next time, will try :)
Likes
9
Share


@Lapolda
Follow
Hello to all growers.
This week has been quiet.
Otherwise, I am very satisfied, a beautiful big and thick mallet 😍
Just water, I think it will be ready in a week.
Keep it growing friends 👊🌱🌴
Likes
64
Share


@DogDoctorOfficial
Follow
Super easy growing, almost no maintenance, she just needs love and attention, and she will shine for you

Likes
23
Share


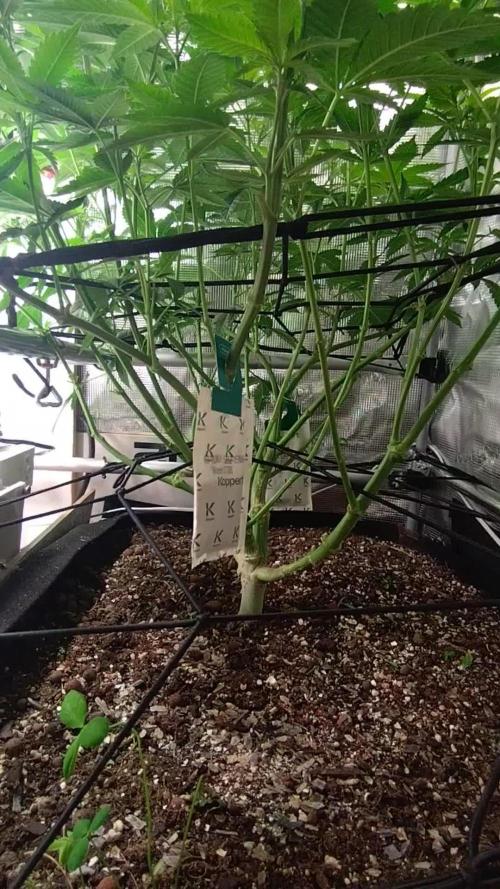
@Gromorethailand
Follow
So, the nutrient lock is fixed, the humidity is under control, and these ladies are looking super vigorous. We will flip very soon as the stretch will fill out any holes in the SCROG net. We will also clear the bottom of these plants in the next day or 2, taking lots of clones and making sure we have that SOG.
We have introduced some workers, 10 praying mantis to keep an eye on any pests.. the video of the mantis is from another grow, not the OG kush
Light is about 70% ATM and i will turn up to 80% today, Spiderfarmer have kindly sponsored us with a Light controller, that arrives imminently and as soon as it does, it's week 1 of flowering and the light will go to 80% - then 90, then 100....
We have had serious rain here, the relative humidity outside is 90% and the temp is 31 degrees.
We continue to feed with our own nutrient schedule. Slightly increasing the nitrogen for the last week or som of pure Veg.
Thoughts?
Lets Gromore,
Likes
86
Share


@Tropicannibis_Todd
Follow
Alright Then
REMINDER I DO 2 UPDATES PER WEEK 👉WEEKLYROUNDUP👈👉MIDWEEKLY UPDATE👈
We just hit week 3 and all is well , have to admit she's showing great , Growth in just 21 days😃 .......
Middle of last week I have decided to start a little training by pulling her over to the side 👌 And will continue to LST this week👈 And she's looking fantastic add to the fact she's already begun next faze by preflowering 😲
Pheno #2 Is about 9-10 behind buts its playing catch up and I should be doing some LST on her later this week 😛
Very little water given ,so far and rain water to be used entire growth👍
Lights being readjusted and chart updated .........👍
I GOT MULTIPLE DIARIES ON THE GO 😱 please check them out 😎
👉I WISH GD HAD DISCORD SERVER SO GROWMIES COULD HAVE A PLACE TO HELP AND TALK THINGS RELATED TO GROWING IN REAL TIME .....👈
👉SO I CREATED ONE ALL YOU NEED IS TO JOIN THE GROWDIARIES DISCORD SERVER !!!!!!!!!!!👈
LINK IS 👉
https://discord.gg/zQmTHkbejs
AND SEE HOW IT PLAYS OUT !!!!!!!


Likes
26
Share


@Snacks_for_Argus
Follow
Late to update this week. Was out of town and finally I found some time to update.
I started giving them a healthy dose of KoolBloom to start finish this grow off. Temperature is getting higher and I wish I started these girls 2 weeks earlier, but hindsight is 420.
I think these should be ready by week 9, so i’ll be looking at those trichomes at this stage of the grow. I like mine cloudy. What do you all prefer?

Likes
3
Share

@CheeeRz
Follow
The ladies have almost reached 40 cm in height, so we are switching to the flowering stage. For the next two weeks, they will receive fish mix before I switch to Biobizz Bio Grow.
Likes
3
Share


@CanarianGrow92
Follow
Last week of veg, i think these girls will start to flower the next couple of days! At the moment great results under this TS1000 as always! We gave a very light nutrients this week just to jave some nitrogen as im using a light mix as soil, lets see how it goes the next weeks 😁💪