
Likes
Comments
Share

@PhinolaGreen
Follow
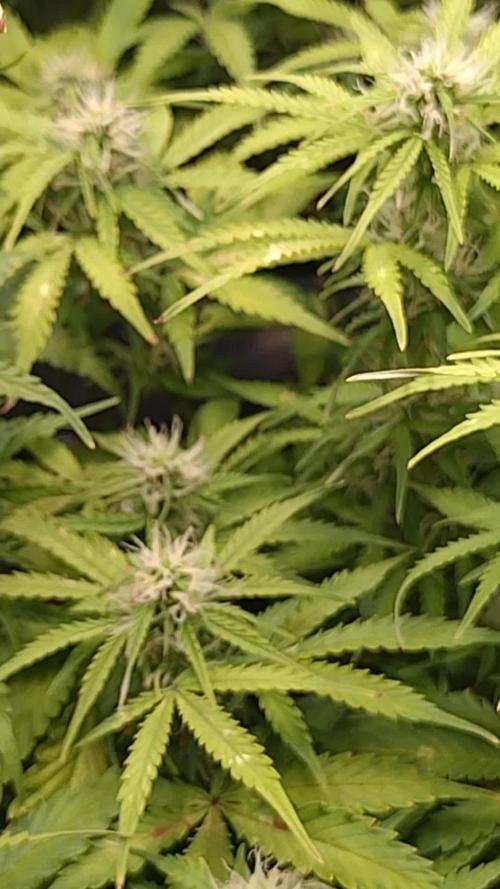
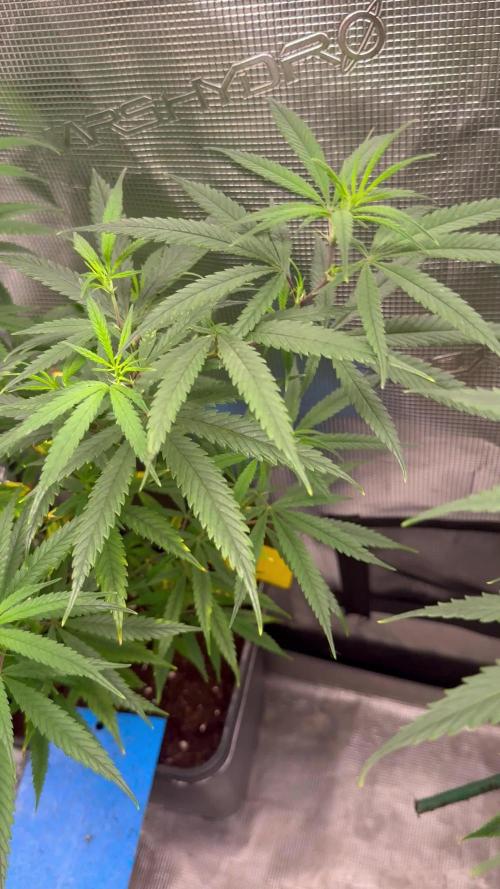
10. Woche
Joa kann nicht viel sagen, sie wächst super, ihr Grün ist bisschen Gelblich aber okay, glaube die hat einfach Hunger und die was ich ihr gebe, verwertet sie auch. Sie entwickelt sich langsam, ist von der gemütlichen Sorte und braucht denke noch 3-4 Wochen 😊

Likes
82
Share


@ClubRiot
Follow
Week 7 ,
pH Perfect Connoisseur Bloom Part A ( 1 ml/L )
pH Perfect Connoisseur Bloom Part B ( 1 ml/L )
CarboLoad Liquid ( 2 ml/L )
Sensi Cal-Mag Xtra ( 2 ml/L )
Sensizym ( 2 ml/L )
Bio-Heaven ( 2 ml/L )
Big Bud ( 2 ml/L)
Nirvana (2 ml/L)

Likes
16
Share


@JUNGLE_B4RNS
Follow
Water
FC6500 @ 60%
Harvest
Mars-Hydro LED’s are definitely the future for growing 👍


Likes
7
Share


@AcidBurn_40
Follow
19.04.24 BT#19
Servus ✌️ liebe Gemeinde
Die Ladys entwickeln sich sehr gut 👍🏻
Die Lichtquelle ist jetzt ne Evo 4-80 1.5 mit BT Dimmer Entfernung zur Lampe 50cm eine Temperatur von 26° und ner RLF von 50%.
Die White Widow hat sich richtig gestreckt ca. 200% und ihre Triebe sind fast alle auf einer höher bin irgendwann nicht mehr mit gekommen denke sie wird schöne Buds tagen.
Die Bubblegum XL ihr Strecken hat sich in Grenzen gehalten aber wir auch was abwerfen🤩
Nährstoffe bekommen Sie wie gehabt alle 3 Tage immer im Wechsel = Wasser, 3 Tage nix dann Nährstoffe ,3 Tage nix ,Wasser und so weiter Dosierung Hesi Blüh Complex 6ml/L , Hesi Booster 2ml/L, Hesi Phosphor Plus steigenden von 0,2ml/L auf 3ml/L , Hesi SuperVit.
Danke euch fürs vorbeischauen mögen all eure Lady's Gesund und brächtig Wachsen und euch mit schmackhaften Stuff versorgen 😋

Processing
Likes
5
Share


@Kikiwindsurf
Follow
New kikiwindsurf Grow dude !
Diary will be updated every week dont miss !!
If i can grow you can grow too ! Fuck the dealers and low quality weed now its our time!


Likes
3
Share


@OldskoolHed
Follow
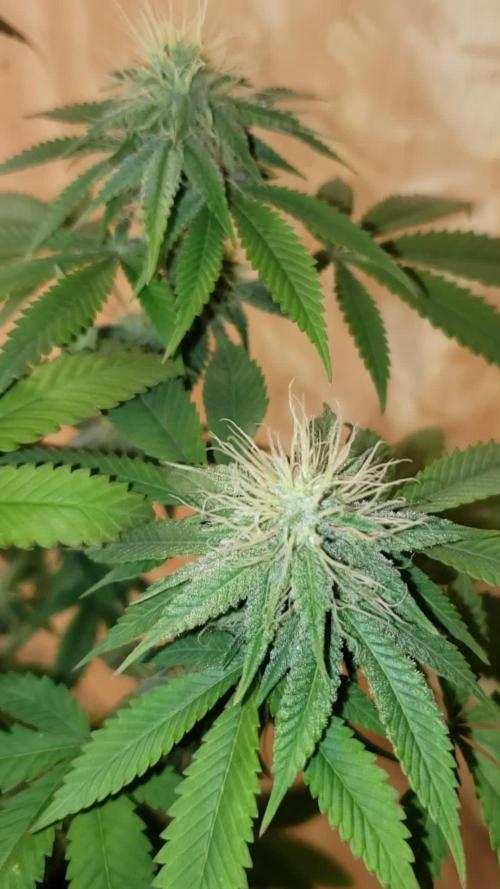
Fattening up every day and smelling amazing! Took out calmag supplementation and will start a flush next week. Starting to see a bit of senescence. She finishes at 8.5 weeks max consistently.
Likes
11
Share


Likes
38
Share


@DaddyPrime
Follow
6/16 today was a feed day. Transplanted into 20 gal rain science mesh pots
6/19 today was a tea day. applied some LST clips to try and stretch her out more wide
Likes
10
Share

@Aircoholic
Follow
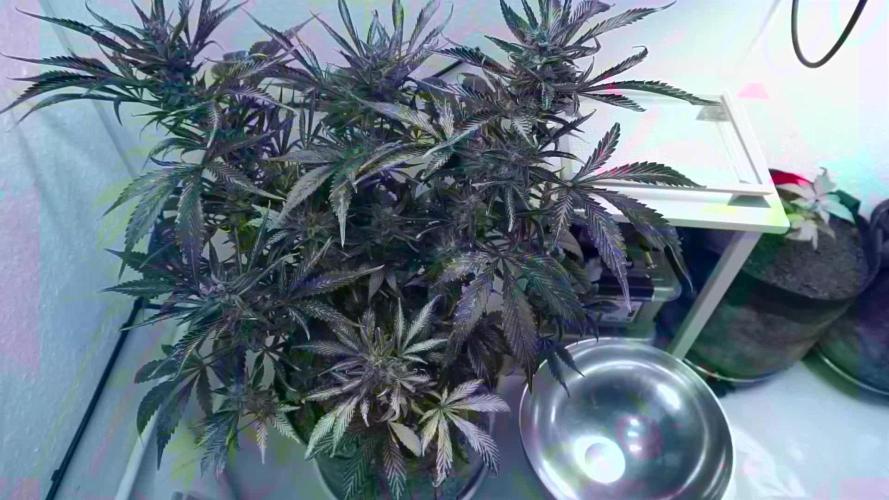
This concludes the first grow and experiment with Sonnenerde Bio Hanferde Living Soil. And I'm very happy with how it went. She didn't get any PK Booster ACT, like Lemon Pie Auto (growing in parallel), but her trichome production and aroma nevertheless was impressive.
She aged absolutely beautifully, showing all kinds of lovely fall/autumn-colors on top of the dark purple she wore anyway.
Growing her was fun, and I'm looking forward to growing her again sometime, still got 2 seeds remaining.

Likes
8
Share

@The_Doctor_Green
Follow
Hola a todos!!
En esta semana he regado con la misma dosis de fertilizantes que la semana pasada 2ml x litro de agua de top candy y top bloom de @TopCrop .

Likes
23
Share


Likes
20
Share


@TiRobotProds
Follow
- Super semaine plante vigoureuse boit beaucoup d'engrais pas de signe de brûlures. Elles ont doublée leurs tailles durant cette semaine affaires à suivre..
🌍 🌎 🌏 Frère cultivateurs cliquez et suivez venez partager vos connaissances. #LoveUnityAndPeace 🙏 🤲

Likes
4
Share


Likes
8
Share


@420DeepGrow
Follow
📆 Semana 5:
Formación de Cálices
Las Auto Pablo Escobar avanzan decididas en floración. 🌸
Los pistilos se multiplican y empiezan a formar cálices visibles, dándole volumen a los primeros racimos florales. La planta aún estira un poco, pero con gracia y sin desmadre.
El color se mantiene vibrante, con hojas sanas y erguidas. Se percibe una mayor demanda de agua, reflejo de su metabolismo en plena marcha.
💧 Riegos frecuentes, sin exceso. Se ajusta el ritmo para mantener el sustrato activo pero aireado.
☀️ Clima estable, sin sobresaltos. Las condiciones de luz y ventilación se mantienen óptimas, y el entorno favorece una floración tranquila y continua.

Likes
Comments
Share


@LokalGrenz
Follow
Week 4 of flower
Things going okay the cap mag is helping I think not having much de coloration on leafs still bottom watering and top watering in between bottom watering fill ups
Likes
7
Share


@FourTwenty_Plants
Follow
They are happily growing had some problems with powdery mildew but got kinda rid of that atleast thats what I hope
Date: 4.9.2024


Likes
3
Share


@Selfsupply420
Follow
Amazing strain, very easy to grow and hope to do do more Royal gorilla auto in the future and see what else RQS have to offer. Absolutely solid buds and potent asf. Taste is 9/10. thc I would say 20%+. I also used terpinator in weeks 7 and 8 at a rate of 4ml/l which I didn't list in my diary. I'm sure this contributed to the density of the buds. I will use terpinator alongside advanced nutritions range for all future plants.
Likes
16
Share


@GreeneScene
Follow
Let’s see , humidity is an issue . It’s higher than I’d like it to be . I added drip pans & two different miniature forms of dehumidifiers one electronic and the other passive .
I need recommendations on affordable dehumidifiers before I run into mold issues .
After breaking the apical dominance there was one or two issues but it gave me all the more admiration for the genetics to take a beating and still remain unbothered & WHOLE .
A main top was bound too tightly & broke in half trying to pull itself back up . It remained broken and unnoticed for atleast 3 days before I saw the damage and taped it .
She is now almost fully scarred over & healed .
Vertical growth was decent this week I wouldn’t describe it as fast or explosive.
Still watering to activate the dry amendments I can tell they haven’t began taking it up quite yet.
Holy shit do they stink when not premixed into the soil before planting !
Just monitoring & trying to get as much dense continuous resin packed bud stacked up in there .

Likes
25
Share


@pifflestikkz
Follow
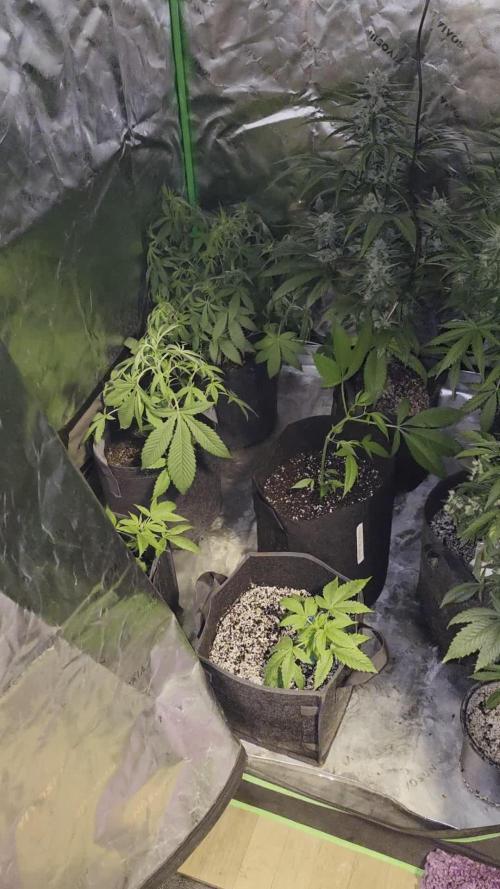
Day 15
18/07/24 Thursday
De-chlorinated tap water pH 6 with calmag 5ml -5L.
I have scratched back surface soil, and topped up with canna terra pro and DyNoMyCo ✌️💚
Day 16
19/07/24 Friday
Lite Feed today, 250ml each pot small run off.
Seeing excellent start to these babies. Let's get it 👌💚
Day 18
21/07/24 Sunday
De-chlorinated tap water pH 6 with calmag 5ml to 5L.
Watering in 1L each day from now.
Updated video
Day 19
22/07/24 Monday
Nothing new to report. Starting to see them beautiful fans appear that's all 😁✌️
Day 20
23/07/24 Tuesday
Feed today, giving them straight all nutes Inc flowering nutes.
I will update the dose as they grow and develop a bigger hunger.
Video updates 👌💚
Day 21
25/07/24 Wednesday
END OF WEEK
Still no water or feed since Tuesday, it has been overcast last two days though so not a lot of energy been used.
Still happy and healthy 💪💚
