The Grow Awards 2026 🏆 


Likes
Comments
Share
@DutchAutoFlowers
Follow
Day #22: The day after defoliation day... And for now it seems that the #AutoGelato ladies are recovering pretty fine, but let's not be too enthusiastic... Things can still go wrong in the next few days, but if all goes well I will be bending the ladies down in a day or two... One of the ladies is growing very nice, all branches seem to be growing towards the same height, exactly like you want them to do...
Day #24: The Gelato Auto ladies from @Fast_Buds are recovering very good from their topping and defoliation last week. I must say that my LED lights from Lientec LED are helping a lot with their high quality light... Today I will start with LST, so I can create as many 'main'-branches as possible 😋
Day #26: I decided to LST just two plants for now. The rest is growing good and has a lot of branches at even height... I'm also almost at the point that I won't be adding Fulvic to the water anymore. So in week 5 the plans will only have FloraGro and FloraMicro as nutrients.
Day #28: Tiny buds are slowly developing over the garden. Plants are still looking extremely good, growth is very good for 8 plants, 2 are a little behind in growth. But they were behind, before topping and LST already... In the new week, the lights will be slowly set to a higher power setting, so when blooming starts, they already have the best light they can get...

Likes
2
Share
@Thunderstruckfarmer
Follow
Plants were stunted for a few days from transplant and roots took a long time to make their way down to water line.

Likes
79
Share
@JUNGLE_B4RNS
Follow
-Sensi Seeds Research:
The Sensi Seeds Research breeding project has created eleven cannabis seed varieties.
How? By combining new cannabis cultivars with a selection of strains from their long-established cannabis gene bank. For the first time in thirty-six years, they are opening the doors of the Sensi Seeds Research and Development Department.
Week #13, week 5 of Flowering.
Well well well... everything is going well 😄 Or should I say, swell swell swell... everything is going to swell 😉
As I said in previous week, they started to drink like maniacs ( 2 liters more in the week ), meaning swell is starting now (👈 the tip is free bro, just hit the like and subscribe if you want some more 😎), flowers opening is over. Dehumidifiers are set on 55% and will decrease 5% by 5% each weeks now. I will keep an eye on the buds, particularly the new genetics, as I never grow them before I don’t know their resistance to mold, but I believe these strains should be tough enough as everyone is in perfect condition and all healthy.
I have finally found a better lightening solution for the middle of the room. You can really see the difference between Pictures A and B. The Mars Hydro SP 250 is definitely the best LED solution for its price, you can get a serious LED light which is bright enough to be able to grow some serious buds like a pro, and I can tell just by seeing the quality and the intensity of the spectrum from my experience.
This LED light will make you say WOW when you plug it in and each time you will see it turning on, for sure 👍 Before receiving this baby, I’ve read the driver becomes hot, but in my definition something hot, is something that you can’t handle more than a few seconds... to be honest, for me this driver becomes a bit warm and you can handle it with no problem. And one last thing about this driver, it is removable, in case if you personally think it’s too hot for your growing area.
So I would definitely recommend the SP 250 for anyone who has understand that serious buds grows under serious lights, without spending one month of salary in one light just to impress the galleria 😊
Enter in de dance, plug it in an we begin
Crowd up in de center, they watch fi de rydim
Watch the way we drop it in a mix timin’
Rise and amplifyin’ when we come in wit de swing
Just followin the back and naturally harmonizin’
Climb into position wit synchronized things
Live from out a ghetto, we maximazin’
We superstylin’ lin’ lin’ lin’... 😎
(I’m looking for a job in the Cannabis industry as Master Grower, Mineralogist, Quality Control 🐞)

Likes
32
Share
@All_our_small_plants
Follow
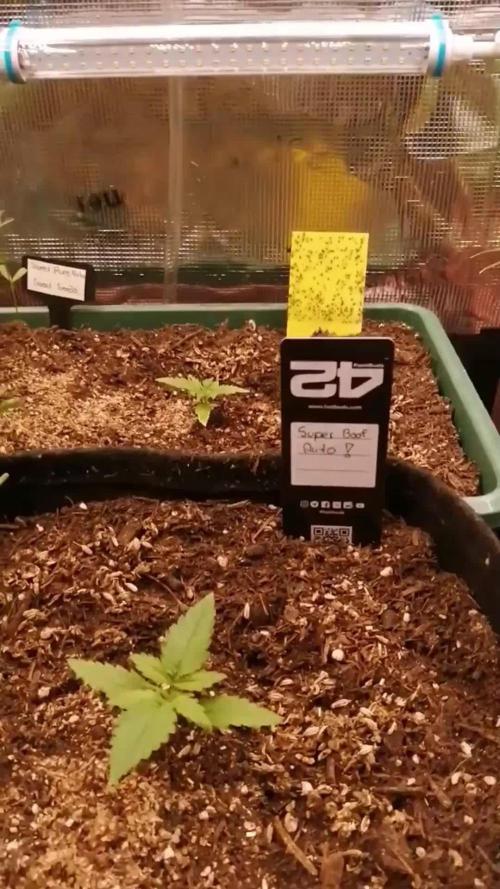
Bewässerung: 500ml jeden 3 tag in der ersten Woche
pH-Wert: 5,8
EC-Wert: 0,6
Temperatur: 30ºC
Luftfeuchtigkeit 68%
Schädlingsbekämpfung:
PPFD: 200 µmol/m²/s
DLI
Düngemittel: mineralischer Dünger NPK 7-3-5
Besonderheiten: wir versuchen bei diesem Grow Effektive Mikroorganismen aus. Die Opfer Linsen sind wieder da 😜
👌Wenn denn Promo Code AOSP15 bei dem Kauf von Fast Buds Samen anwendest bekommst du 15% Rabatt!!!👌
-Tag 8 Heute hat sie Nematoden bekommen 😝
-Tag 10 Heute wurde sie mit mineralischen Dünger gegossen 7-3-5
-Tag 12 wir haben ihr wieder etwas Dünger gegeben 😌
-Tag 14 Heute hat sie nur Wasser bekommen


Likes
53
Share
@Mastr
Follow
Just chop her down in 75 days from seed
Veg 21 days
Bloom 54
She produce very dense nugs alot better than before I think without bloombastic won't happen I let her dry in 23° for 32 hour then 24°for 3 days then ready this is quekest way you can dry your bud without test or smell like grass its take max 5 days
Likes
14
Share
@Gamepichayut420
Follow
ตัดแล้ว Harvest เล่นเอาซะเหนื่อย แต่ก็มีความสุข ไม่อยากจะเชื่อว่า Aeroponics จะทรงพลังได้มากขนาดนี้ ชอบโดยรวมแล้วชอบมากๆเลย สุดยอดสุดสุด และถ้าปลูกต่อไปจะหาวิธีปลูก ป้องกันการอุดตันของหัวฉีด


Likes
21
Share
@Rollex420
Follow
Dos Si Dos # 33 ready for drying in the jar, honest weight (53,5g) seeing the structure which was very small I would have expected something less..
but I am very satisfied. the quality of this weed is absolutely at the top, the taste is very well defined.. when smoked it makes your nose tingle,flavor it is mainly pure lemon with a hint of mint in it. even the strong smell induces an entire room in a few seconds without even smoking it yet.
I also collected a 0.4g of scissor hash which turned out very well.
it is my favorite in this crop because it surprised me in everything both for its unique terpene profile and for its yield that I never expected given its size compared to wedding cakes.
the total weight therefore of all three plants is (135.5g) and a total trim of (44.9g)
that according to the calculations even of these crops I reached (1g/watt) precisely. (And im not a pro)
I am certainly satisfied with that. 🙌🏻💚

Likes
2
Share
@eldruida_lamota
Follow
Que pasa familia, vamos con la quinta y última semana de crecimiento de estas Drizl Pickl feminizadas de Seedstockers.
Vamos al lío ,se trasplantaron en macetas de 7 litros definitivamente.
El ph se controla en 6.0 , la temperatura la tenemos entre 24/20 grados y la humedad ronda el 50%.
El ciclo de crecimiento puse 16h de luz, el foco está al 50% de potencia.
De momento van creciendo a buen ritmo y tienen un buen color, aplique de manera foliar el tetra 9 ahora cara a la floración.
Agradecer Agrobeta por el envío del kit gold series para esta temporada, son unos jefes 🙏
- os dejo por aquí un CÓDIGO: Eldruida
Descuento para la tienda de MARS HYDRO.
https://www.mars-hydro.com
Hasta aquí todo, Buenos humos 💨💨💨
Likes
4
Share
@TegridyCal
Follow
And here we are at the super queen of this round. The Girl Scout Cookies of Zamnesia is having a slow but regular flowering phase, the numerous buds created are swelling at a not fast speed but they are growing regularly, probably because they are numerous and the plant is distributing the power. We really hope to be able to enlarge them properly because everything is very beautiful. On the leaves and on the flowers here is a bit of violet typical of the end of the cycle.

Likes
11
Share
@Fettsgrow
Follow
I began the second week with 1/4 soil feed of NITRO that is added to the top layer of soil. I'm using Bigbudjuice throughout with a wet feed, and soil application. Day 9 is when the growth really started to happen as the seedlings seem to have good roots.
Day 11 the girls were then given a 1/4 of budjuice watering which has resulted in some awesome growth over 3 days.
During this week I've slowly increased the intensity while watching how the react and have shown no issues. Currently sitting at 350 Par and will being to.lower slowly to increase par to 450 PAR as the start into Veg. Also lowering RH slowly as well.
I am a new grower, and I'm going slowly and steady while learning not to try to much or be crazy ambitious as a beginner. I also began a pre pest control spray on foliage with neem oil/Dr Bronners dish soap/water mix applying every 10-12 days.
Thanks for stopping by and if you have any tips or advice it is all welcomed.
Super stoked to keep learning as I go, and read the leaves as they are the first warning sign of what is happening.
Happy growing 🤙🤙
FYI not sure what went on with #1 leaves but seems to be growing fine, and all other leaves are growing out right.

Likes
32
Share
@AsNoriu
Follow
Day 77. Maybe a bit early, but no space and one Smoothie went for a date with bud rot ;))) didn't want to loose that nice top. Very frosty, nice gassy smell surrounded by fruits.
Day 82. Second girl is down. Both small as you see, but with few branches will produce seed packaging cover type plant. Maybe second got some purple fade ... First was very nice by structure.
Day 85. First went to jar. How lovely it sparkles and smells !!! Solid strain, even being so small by structure.
Day 89. Second is in jars too !
Happy Growing !!!
Likes
17
Share
@Wakesk8
Follow
Babies are getting tall and stretched, looks beautiful and still no issue, I must adjust properly the ph since my pen is not working anymore but still there’s no sign of any problem. Hope to end by beginning of June!

Likes
8
Share
@TheBrazilianGuy
Follow
Week six!
Pre-flowering stage!
The plant continues to grow very wel, apparently it will have a very good flowering, I'm spraying colloidal silver on one of the lower branches in order to get some pollen, I have other bananas to pollinate.
Likes
9
Share
@SundancerS
Follow
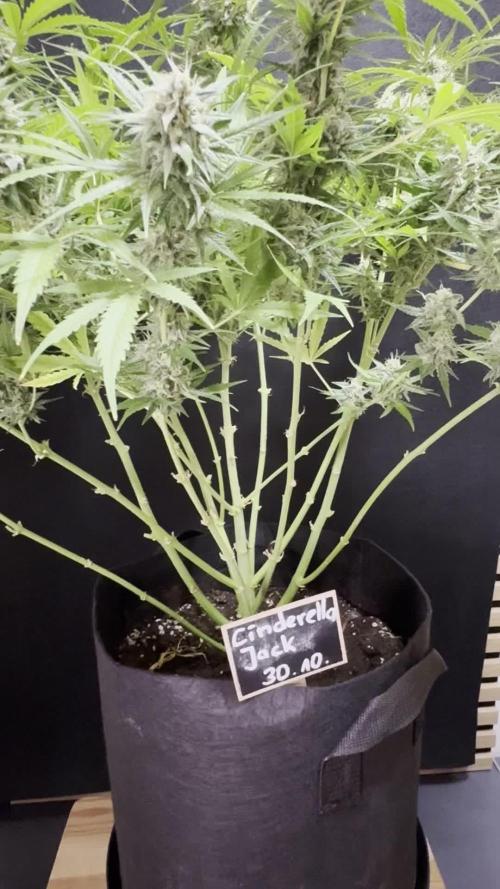
Unsere Cinderella bleibt, trotz eines kurzen Zwischenschub, eher eine der zierlicheren Pflanzen. Aktuell baut sie weiter und kontinuierlich ihre Buds auf.
Alles bestens bei unserer Prinzessin.
Alles in allem eine eher ruhige und gute Growwoche. 😏

Likes
16
Share
@Canna_Enthusiast
Follow
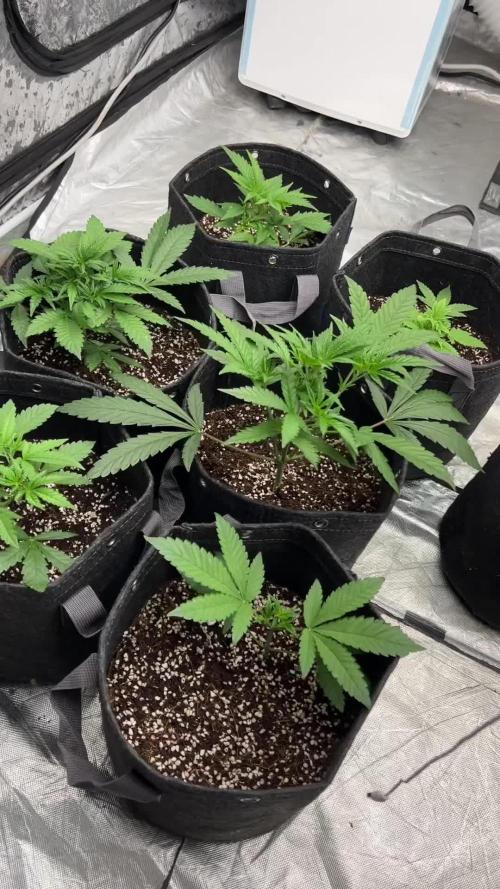
On day 20 of flower I’ve decided to do a big defoliation to reduce the humidity and make sure all the budsites get enough light.
Never did a big defoliation like this but always wanted to try it to see if it’s something for my growing method or not.
PH is on the low side currently, started on 6.3 with 1.75EC six days ago but the ladies are drinking more water than nutrients so each day the PH drops and the EC rises a bit.
Will do a complete refresh when it drops to 5.2
Smell is really great and my gloves were already reallu sticky after defoliation round.

Likes
22
Share
@herbalistssword
Follow
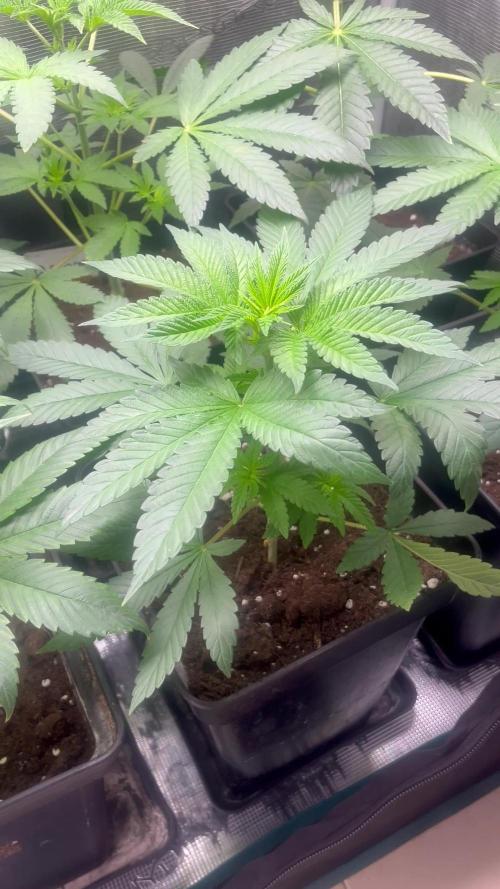
Uploaded pics from yesterday (day 25/21 - week 4).
Tent layout from top left:
Sugar Mama
Candy Kush #2
Bubble Kush
Candy Kush #1
Fastberry
All the girls showing good progress. The sugar mama has lots of catching up to, at least she is growing fine now. No idea about that fastberry and what it is doing.
I've pegged the Candy Kush #1 down some more and removed the leaves that are covering new grow or touching soil. Lots of branches coming up, albeit slow :)
Candy Kush #2 and the Bubble Kush are just a sight to behold, lots of branches and quite big for their age. The Bubble Kust is only 21 days from seed in that picture! Amazing! I've only been tucking the fan leaves to give more exposure to the new grow, seems to have been working well so far. I think I will need to train them this week, just a little LST bending the top cola down.
All 3 Kush's are big enough now to handle some nutrients so I've them for the first time today. The little ones will need to wait.
I've found some White Powder Mildew on my outdoor plants, so just in case I've sprayed these girls with Neem Oil, never liked the smell of it :( but I am going to be using it every week or so as a preventative measure.
I'll update again in a couple of days for the end of week 4 (this is mid week update, kind of)
-------------
End of week 4 update.
Candy Kushs and Sugar Mama at day 28, Bubble Kush and Fastberry are 24 days.
All the girls are looks really well, showing slight signs of magnesium deficiency, I'll be giving them biobizz calmag with next watering.
The fastberry is finally starting to look like a normal plant. Still perplexed by the top bud growing sideways/downward.


Likes
44
Share
@Jd1971
Follow
Cut down wet weight 721 g :))))))
Bottom half to do in a week or two:)))) will up date all in harvested week
first weigh in 165 g :))))

Likes
6
Share
@Sobreruedas
Follow
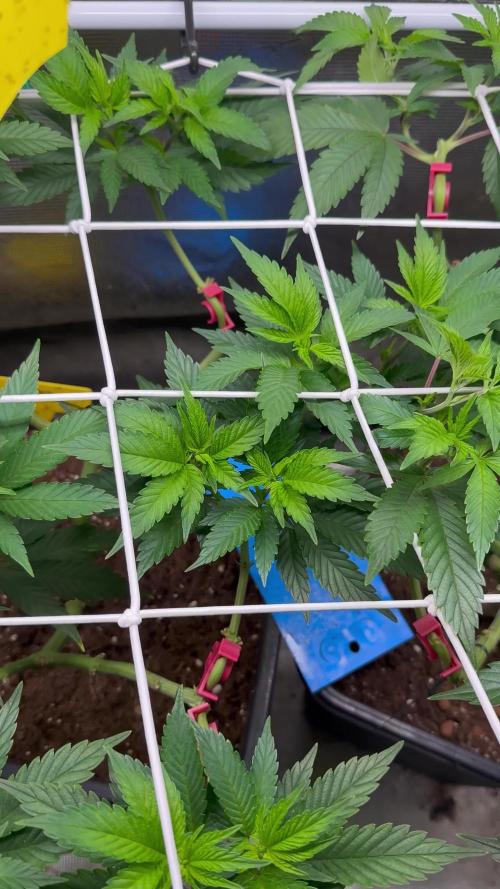
This week I added a scrog net and started guiding some of the branches through it.
A few branches were already long enough to be bent and positioned under the net, while others still need a bit more growth before reaching it.
From now on, the goal is to let the plant grow freely and focus on filling the net evenly before flipping to flower 🌿💪
