
Likes
Comments
Share


@Toughpuff
Follow
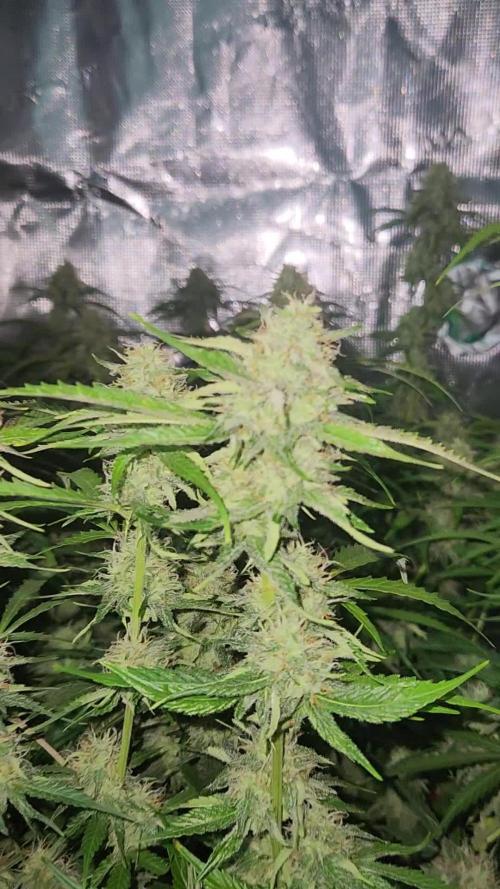
Very good plant to grow 8/10 for me 💯💯🔥 very high yielding with a crazy yield of 131grams of 1 plant very tall and skinny but dense buds 🙏🏽


Likes
26
Share


@d0cterstrain
Follow
great strain. got a beautiful Pheno. I'll update pics and taste after dry but my impatient smoke says it tastes good. sweet seeds is definitely a seed bank for the home grower

Likes
25
Share


@m0use
Follow
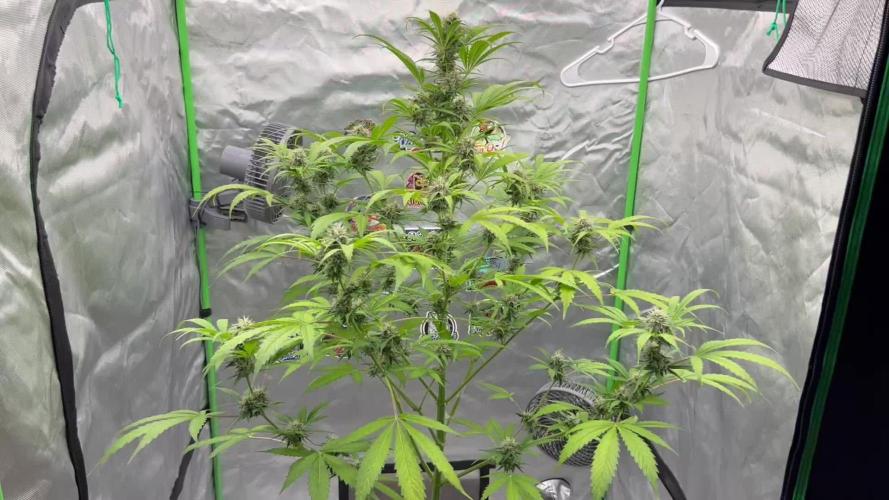
Ok next week is just water and the chop. I am done with these plants, they did well and I'm happy with that. Got some real fade and issues all through out the run of this grow but the buds on the plant are looking fantastic. Can't say I am disappointed in them as I legit did not give a fuck about them and they produced. so that's a massive bonus.
I will be drying them indoors for the same period as the other plants I was harvesting. give them a little cure and see what they are like.
Likes
16
Share

@sanibelisl
Follow
91Grapes day 72. Should have been harvested by now, she was a 65 day +/- from sprout and has two more weeks left, fuc . I think something is wrong with a nutrient imbalance as her leaves continue to lose their vibrant green color. Indications of a mag. Deficiency was evident so added epsom salts 1 tsp per gallon. Problem persisted so went with some bloom nutrients with a little nitrogen if that doesn’t help it might have to just except it and drive on. Flowers are fatter so if that continues then all is well, after all isn’t it the flowers we are growing anyway.

Likes
10
Share


@GrowingInPeru
Follow
Resina a full OgKush buena varoeddsd automática ahora solo falta probarla


Likes
7
Share


@GrowGuy97
Follow
Clones off a friends plant, they where in my 2nd run diary but I didn’t have room for them in flower so I’m just gonna let them keep going till next flower run! Doing a lot of LST & topping just to try & keep her from getting out of control!


Likes
16
Share


@NMGDOC
Follow
Semana del 12 al 18 de abril
Cada día más bonitas. Estoy feliz porque como hay menos humedad ambiental, hay menos humedad en el indoor. Incluso llegando a 43% de humedad, así que me confirmo. La temperatura suele andar por 24-26 grados Celsius así que bien.
Tenía unas 10 hojas dañadas por la mosca negra, así que el 12 de abril apliqué el insecticida tec fort (foto del producto en la semana anterior). Lo apliqué a las 17:00 hrs y a las 22:30 del mismo día no vi ningún bicho. Dentro de 5-6 días volveré a aplicarlo igualmente (1ml por cada litro).
Al menos dos de las cuatro plantas están tomando otro color, así que me conformo.
Likes
33
Share


@Mrs_Larimar
Follow
March, 11th
Tomorrow the autoflower CBD White Widow moves into another Tent
Because all other Plants are Photoperiods, and moving into Floweringmode
She will love it to have plenty of Space just for herself
She has Fowers along the colas, and they are stacking up every Day
Girl looks great
March, 13th
The CBD White Widow moved into another tent, where she has good Space for Flowering
She just shares it with another Small Photoperiod Plant

Likes
2
Share

@PhinolaGreen
Follow
8. Woche
So langsam wird es was mit Titan F1 von RQS. Denke 2-3 Wochen noch, dann ist sie rdy to Harvest 😍


Likes
7
Share


@Messypies
Follow
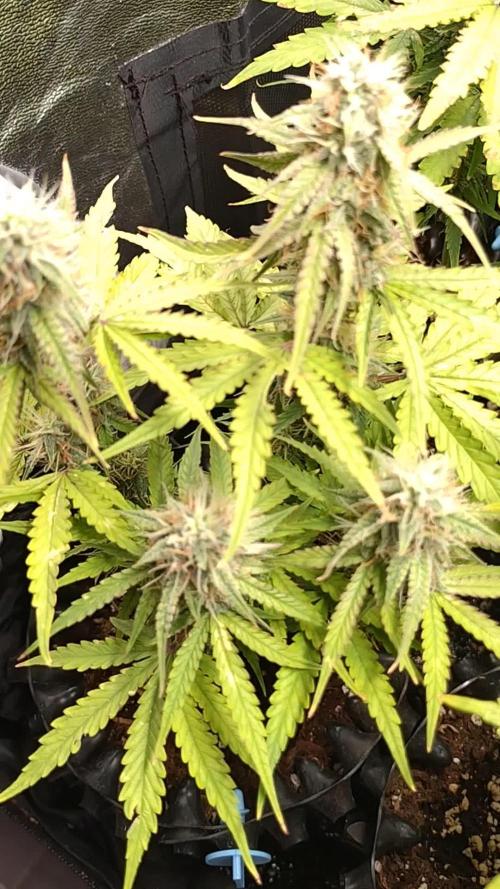
This week started strong. Some small concerns due to small orange spots appearing on fan leaves which on researching indicates a calcium/magnesium deficiency. Will add a small amount of cal mag to their next feed

Likes
5
Share


Likes
3
Share


@heyholetsgrow
Follow
Sup everyone.
After the first feeding with half strenght they reacted really well with no burnings, first feeding pH was 6.4.
This week they received another feeding with full strenght (following Remo's schedule) and went for 1ml/L of each of the nutes used. Except for VeloKelp and Nature's Candy which are more beneficial at this stage of the plant, I used 2ml/L. This time reduced pH to 5.9 for better absorption of nutes, they reacted even better, no burning.
I will transplant them to a intermediary pot and then later to the final pot.
Little accident happened, LED panel fell over on the side of 2 of them but only hurt some the leaves with very few scratches and a bit of a branch damage, but no big deal, luckily, they are fine.
So far, healthy.
See you next week.
Thxx! 🙏

Likes
1
Share

@Olduffybastard88
Follow
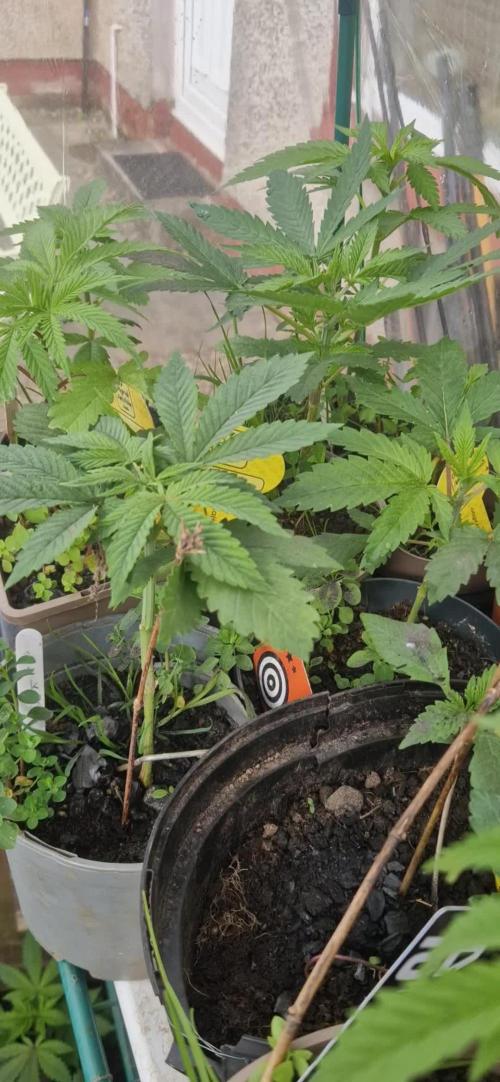
Selecting these plants to be planted in the ground next week will keep the smaller ones behind and keep a better eye on them before I plant them out aswell

Likes
2
Share

@GoodTimesOrganics
Follow
Welcome Back!💚
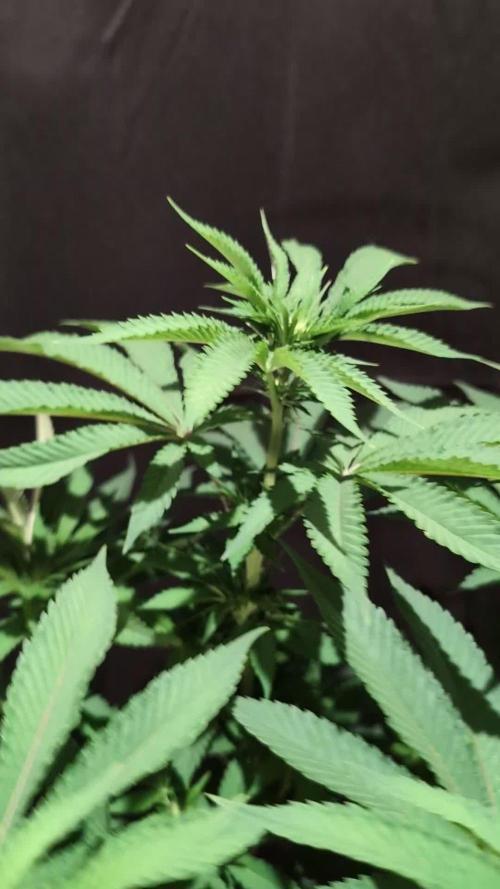
Die Sleepy Joe befindet sich nun in der zweiten Blutewoche und ist weiterhin wenig an Stretch zu beobachten.
Die Blatgrösse hat dennoch nochmal ordentlich zugenommen.
Die Blüte nimmt allmählich an Fahrt auf und die Pistilen bilden sich immer weiter aus.
Die Umgebungsgegebenheiten sind weiterhin optimal:
—————
🌞 Temp: 23, 2
🌚 Temp: 18°C bis 19°C
💦 RH: 43%
💨 VPD: 1,28 kPa 🧐
😎 PPFD: 830 mqm
—————
Grüne Grüße 🥦


Likes
5
Share


@DemonDabsSolventless
Follow
Hello dear confreres,
Today I start a completely new journey for me, which is indoor cultivation.
- Goals
Germinate 10 seeds and create an environment with good crops
- Method chosen
Hydrated Jiffys with 400ml of water + 0.4ml of VodooJuice + 0.4ml of CalMag
After hydration, we place the seeds on the discs and give them 24/0 light and wait.