


Auto Candy - Divine Seeds 2025 Contest



VEG
FC1500 - EVO Light Emitting Diodes/150W
FLO
FC1500 - EVO Light Emitting Diodes/150W


Fan
Table Fan 2x
CSL

Filt
250m3/h Charocal Aktive
Pro Active

Cond
Air Humidifier
Vonroc

Contr
Thermo- Hydrometer
Garden High Pro


Indoor
Room Type
Topping
weeks 2
LST
weeks 3
15 liters
Pot Size
0.2 liters
Watering
Start at 3 Week
G
Germination1y ago
Nutrients 1
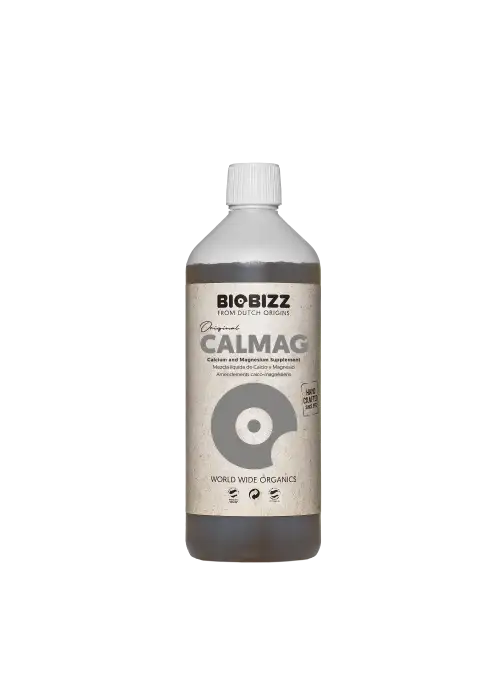
Calmag
2 mll
BavarianAutoLover Hello everyone,
here's my contribution to the "Divine Seeds - Grow Contest 2025"
I'm growing in the new 15-liter fabric pots. As a medium, I will try BioBizz All Mix again.
I like the composition of the substrate. Everything is there that should be to achieve reasonable results. Especially since another plant didn't have the symptoms like the Orion F1.
So I want to give it another go.
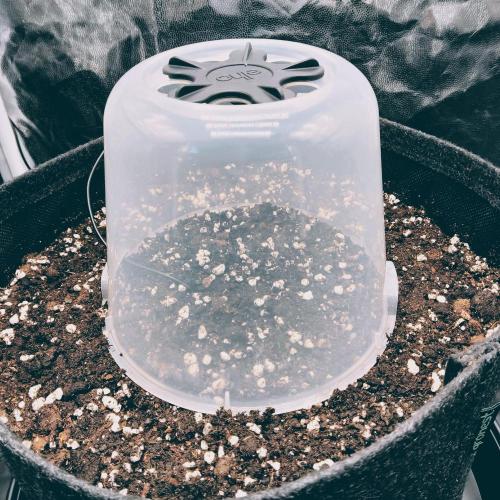
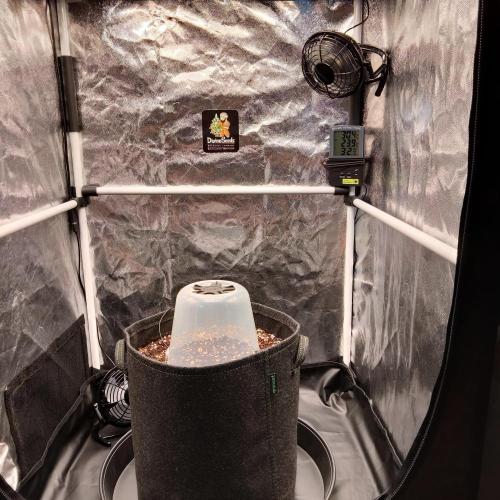
I will germinate in a Soil Plug that goes directly into the All Mix. Next to it, I'll place the temperature sensor from the thermometer in the soil and aim for a max of 24 degrees. Currently, it's just under 23 degrees.
I also watered with about 2.1 liters, including 2 ml of Calmag per liter.
Of course, the dome is a must for the first week. This will make it a bit more humid around when the little one comes out of the ground.
I've thought about doing a SCROG training. Topping will be around day 15 - 17. Let's see how far she is then.
Since I live under the roof, it gets super hot in the summer. To work on the humidity a bit, I will put 3 - 4 water bowls in the tent and hang a towel inside.
I hope that will make the humidity a bit happier.
Temperatures will be good at around 30 degrees.
My idea is to harvest by the end of September. That should work with a flowering time of 60 days. Then the temperatures should also become "more flower-friendly" again.
---- So I want to say thanks again to Divine Seeds for the contest and wish everyone a good grow. ----
See you then ..
2 likes
comments
Share
Used method
Directly In Substrate
Germination Method
1
Week 1. Vegetation1y ago
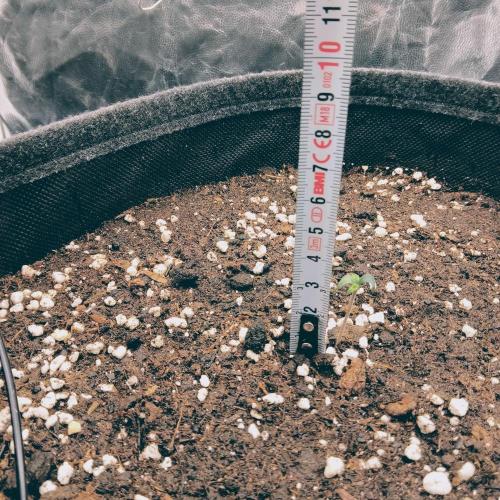
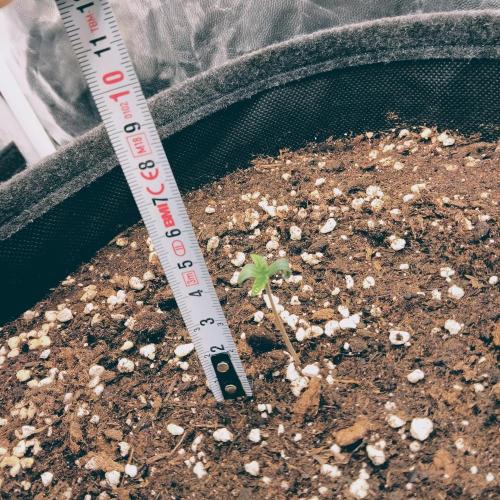
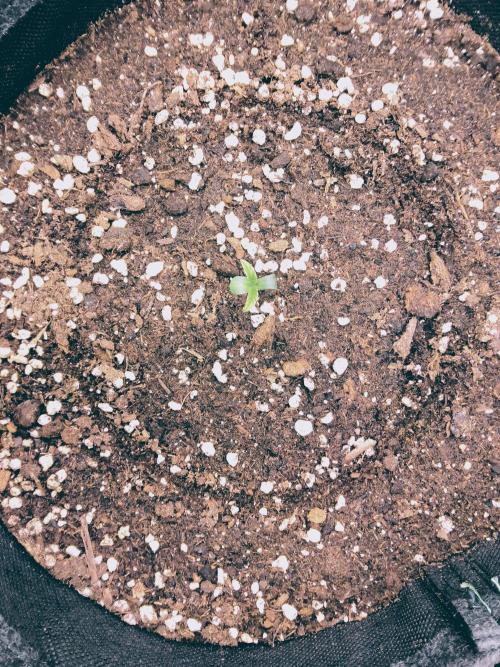
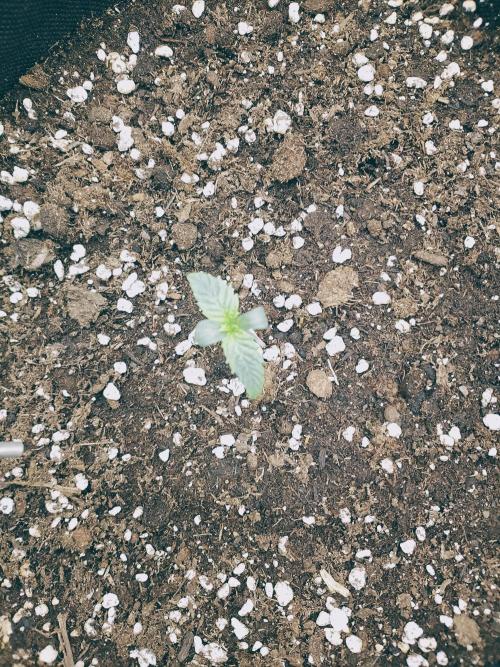


3 cm
Height
19 hrs
Light Schedule
27 °C
Day Air Temp
No Smell
Smell
23 °C
Substrate Temp
23 °C
Night Air Temp
15 liters
Pot Size
60 cm
Lamp Distance
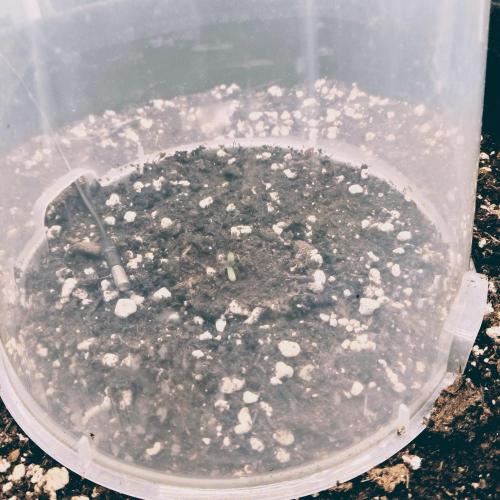
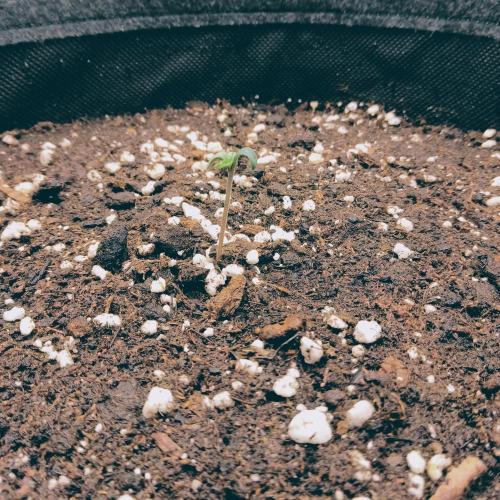
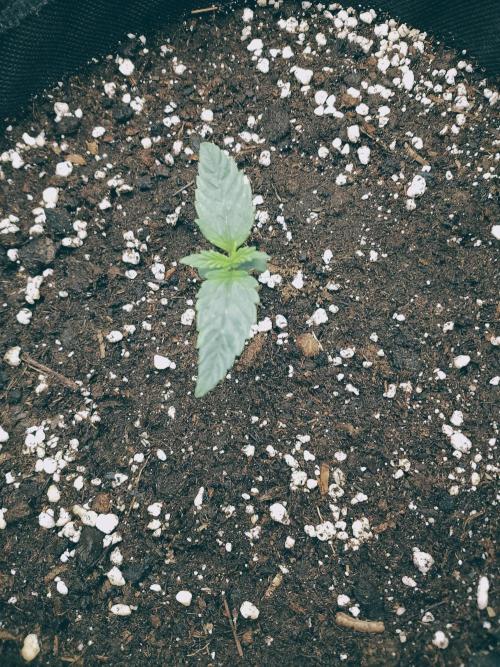
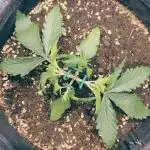
BavarianAutoLover Edit Tag 6: As you can see, it was just a tiny bit overwatered. "cough"
No... No mutations due to environmental fluctuations visible.
Otherwise, she's doing well. She's growing, and you can see she's recovering.
Garden talk at the beginning of week 2.
I have a nice thing against the "draft" that messed up my last grow significantly. It was a dangerous combo. pH for whatever reason... And draft. Too cold a breeze coming through the window.
-------------------------------------------------------------------------------
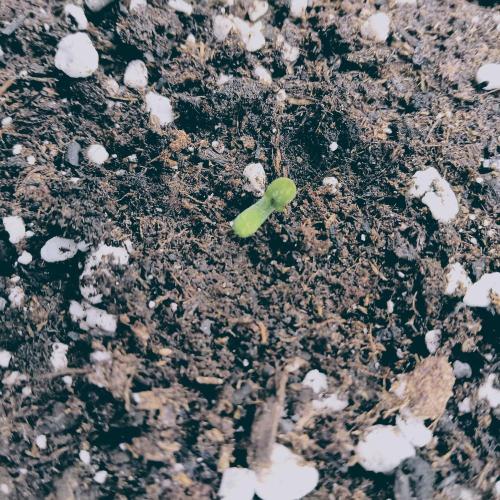
After 72 hours, the little one has hatched and is now ready to get to work.
I actually wanted to work without an additional humidifier, but since I'm definitely going to have problems at 30 degrees under the roof, I had to swing the "purchase hammer" at Uncle Bezos. Since she's only been under the hood for a week, everything should still be fine.
A little tip about a plant bell or other "greenhouse imitation types":
Please make sure that if you have a rotating mechanism for air supply, you measure the light intensity again. Because of this black mechanism, the light doesn't hit the plant's head directly.
That black plastic part gets in the way. So you have weaker light coming in from above. You also get less light if you have "frosted glass" type things. Fewer photons get through.
Autoflowers don't need more than 300 PPFD for their first days. 300 PPFD is already quite intense. 200 is nice for getting to know them.
-------------------------------------------------------------------------
Daily Light Integral Levels for Autoflowers
Strain Type - Veg. DLI - Bloom DLI
Autoflower - 30 – 45 - 30 – 45
Feminized - 30 – 45 - 25 – 40
The proper handling of the daily light integral (DLI) for autoflowering plants can initially be confusing, as the DLI values for feminized cannabis plants are generally reduced at the beginning of the flowering phase. However, since autoflowering plants do not require a shortening of the photoperiod (e.g., switching from 18 to 12 hours) to produce flowers, the DLI can be kept as high as during the vegetative phase.
PAR / PPFD Levels for Autoflowers
Strain Type - Photoperiod (h) - PAR Level (PPFD)
Autoflower - 18 – 20 - - - - - - - - - - 500 – 700
Feminized - 12 – 18 - - - - - - - - - - -500 – 1050
Compared to feminized cannabis plants, many growers use autoflowering strains with a slightly lower PPFD value. This is because autoflowering strains like Bruce Banner Autoflowers (usually) require 20 hours of light per day, which is significantly more than the 18 or 12 hours that feminized strains need. When longer photoperiods are combined with strong, modern LED grow lights, the DLI for autoflowering strains can become extremely high. Therefore, many growers aim for PPFD values around or below 700 µmol/m²/s for autoflowering strains that use 20 hours of light per day during the flowering phase. When flowering feminized cannabis, they can reach PPFD values around or above 1000 µmol/m²/s.
(Source: growlightmeter.com)
Otherwise, I'm aiming for a nice SCROG here. Well... I said that last time too and had pH issues.
He wants to improve...
Let's see if it works out...
I wish everyone well, and see you later....
2 likes
comments
Share
2
Week 2. Vegetation1y ago

6 cm
Height
20 hrs
Light Schedule
27 °C
Day Air Temp
No Smell
Smell
57 %
Air Humidity
20 °C
Solution Temp
23 °C
Substrate Temp
22 °C
Night Air Temp
15 liters
Pot Size
1.5 liters
Watering Volume
57 cm
Lamp Distance
Nutrients 1
Calmag
1.5 mll
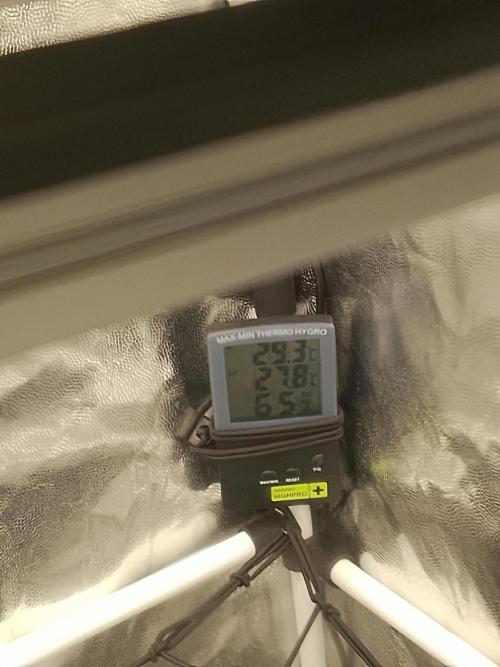
BavarianAutoLover Edit Tag 10: I had to change the position of my thermo hygrometer. That corner was poorly chosen. Also, there was something silly that needed to be fixed.
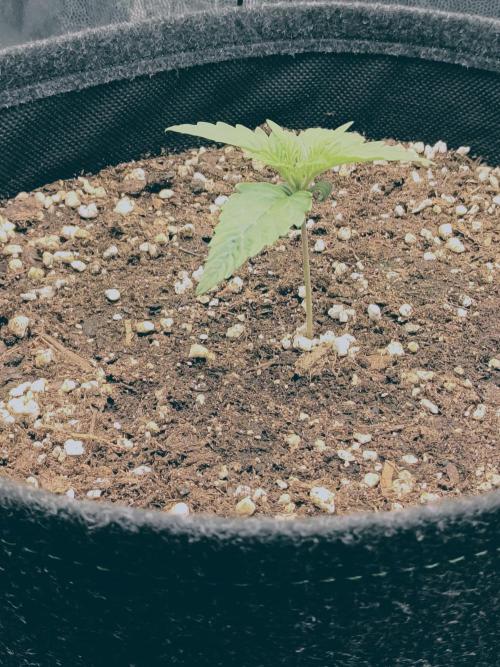
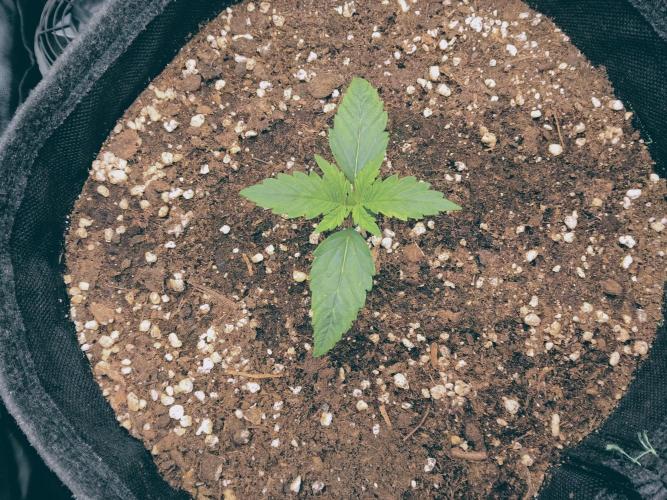
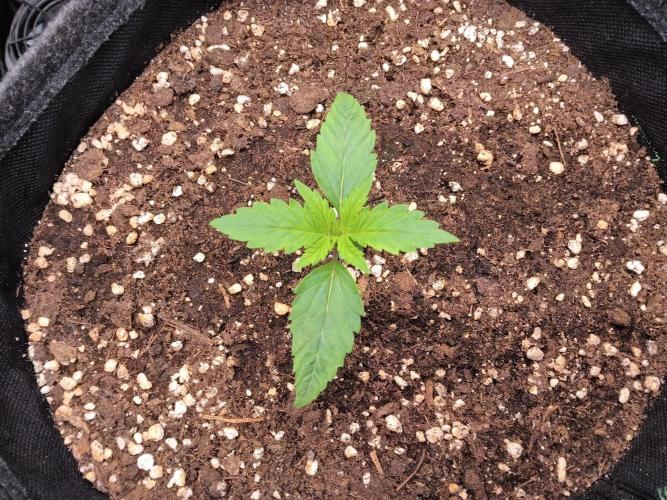
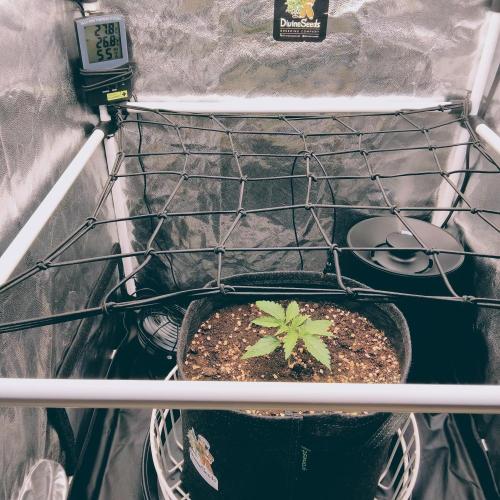
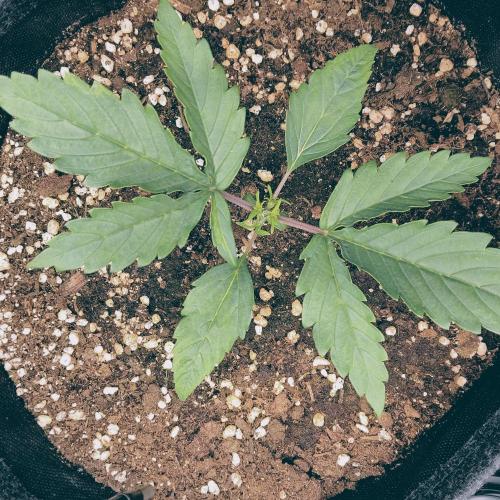
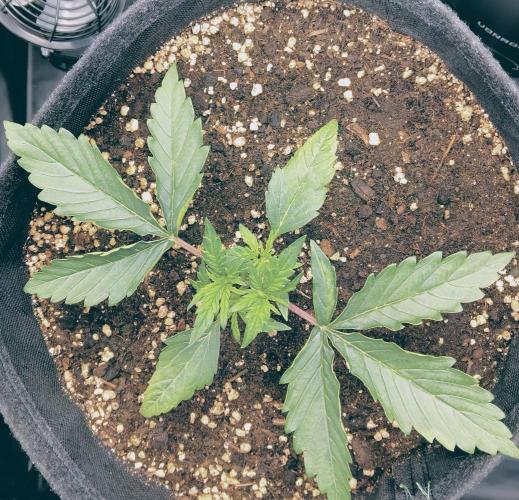
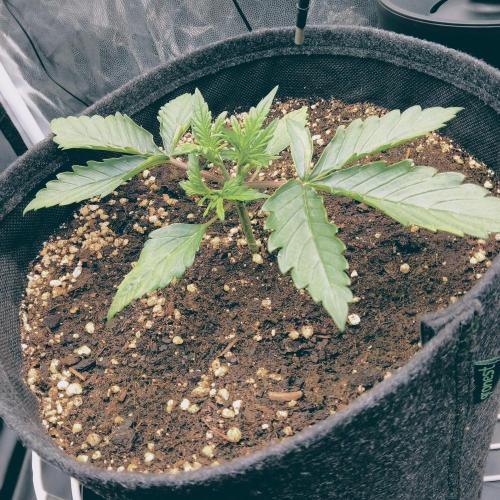
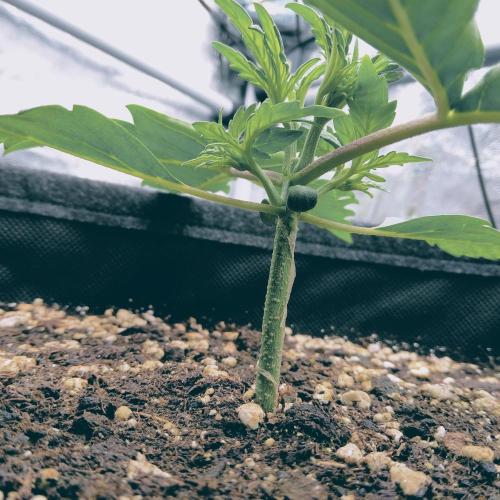
Tag 11: I've already topped the short one. Seems like she's handled it well. Let's see.
Tag 13: 2.2 liters of water + 1.5 ml/L Calmag. Water thoroughly once. 15 L softpot.
Tag 14: I think everything is good so far. I think she's picking up speed^^
Naaa... what went wrong this time??? Feel free to reply below 😁
The fan blowing down on the plant was not good. I turned on the one from below to push the moisture more against the tent wall.
Other than that, I'm satisfied so far. Let's see...
PPFD: approx. 620
_____________________________________________________________________________________________
So, my dear ones...
I'd like to summarize my grow equipment for you again.
Here’s my contribution for week 2 with, as mentioned in the video, a bit of garden talk.
As mentioned, it's easier for others who don't understand German to gather certain information.
U have to translate it then, sry Buddy
If anyone has suggestions or ideas, I'm of course open to them.
What's important to me is simply that everyone has reasonable and compliant access to a "high alternative" without having to think about alcohol.
It's budget-friendly and will definitely lead to pleasant results without breaking the vacation budget.
Treat yourself but live... It's just cannabis!!!
My current equipment looks like this:
TENT: Garden High Pro ECO Pro Box 60x60x140 (0.36m2)
EXHAUST: Garden High Pro axial inline fan (106 m3/h)
Pro Aktiv carbon filter (250 m3/h)
Sonodec soundproof exhaust hose
Standard hose clamps 3x
Here I refer to "Dirk's Grow Shop," which has this exhaust set for a very reasonable price. You can configure it yourself there.
Moreover, the uncle likes to throw in a lighthanger depending on what you order.
THERMO-Hygrometer: Garden High Pro with a second 1.5 m long temperature probe.
How to calculate the required cubic meters for your tent:
Volume of the grow box: Width x Length x Height x 60 = necessary exhaust performance per hour.
For a tent of this size like mine and a 150-watt lamp, the exhaust system should exchange at least 56 m3/h of air.
Since I'm running double, there shouldn't be any complications. If your environment is very warm and humid, I recommend an additional
20 m3/h or more. That means 106m3/h + 20 m3/h or more.
CIRCULATION: 2 x CSL table fans. They are adjustable / 2D and don't cost a fortune. They run smoothly without failures!
GROW POLES: 4x to counteract the negative pressure. Also known as space boosters.
POT: Gronest fabric pots 15 liters (they can hold about 21 - 22 liters of soil)
Then a dish rack so that the entire pot is suspended. Oxygen gets in everywhere. TOP!
Everything is still on a drip tray.
SCROG net
DRYING NET: 45cm diameter Secret Jardin
HUMIDIFIER: Vonroc. Unfortunately, not the most reliable. I had to reduce the outlet slot with a piece of glue stick, as seen in the video, because the humidifier can no longer be regulated correctly.
LIGHT: Mars Hydro FCE 1500 EVO with 150 watts dimmable. The dimmer is really important to not blast the short one with full light right away.
2x timer + 3-way socket with 2x USB ports for circulation.
Plant dome for the early seedling phase.
A pack of cable ties and tape should not be missing.
And finally, my homemade windbreak, so I can also have the kitchen window open without the short one getting a cold draft. ----- YOU DON'T WANT THAT-----!!! See Orion F1... My Bad.
Just glue together white and black cardboard and you're done. White for the inside and black for the outside.
And please pay attention to the VPD value of your plants. Very important for good harvest results. There are tables available online.
Also, it should be noted: Budget set equals manual adjustments and expensive set equals automated process.
-----------------------------------------------------------------------------------------------------------------------------------------------------------------------------------------------------------------------
Now let's get back to why we're even here.
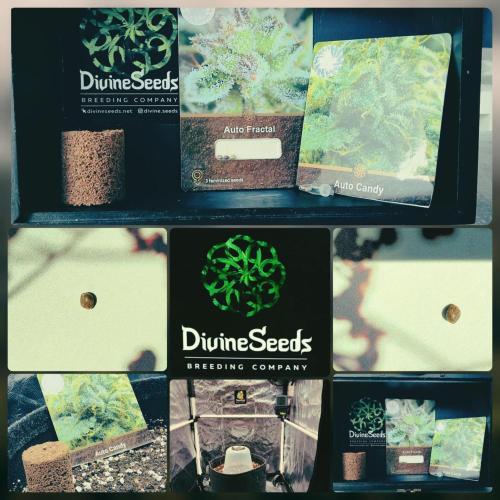
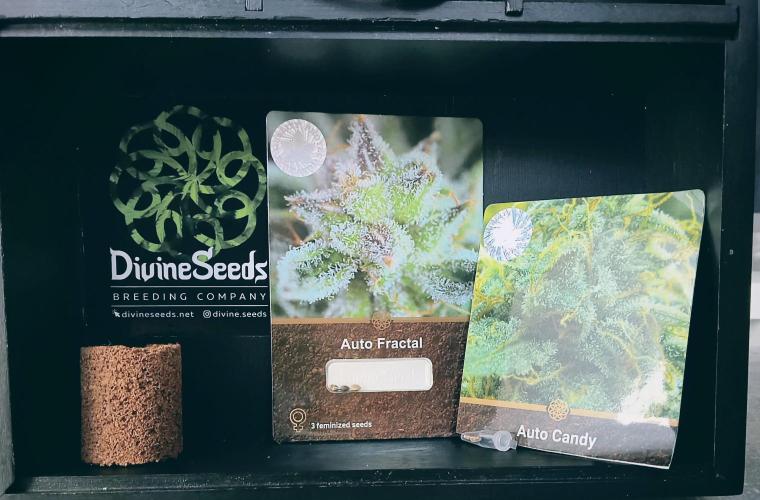
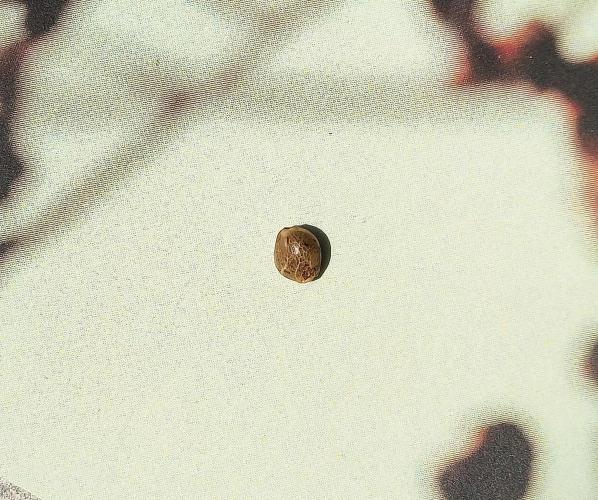
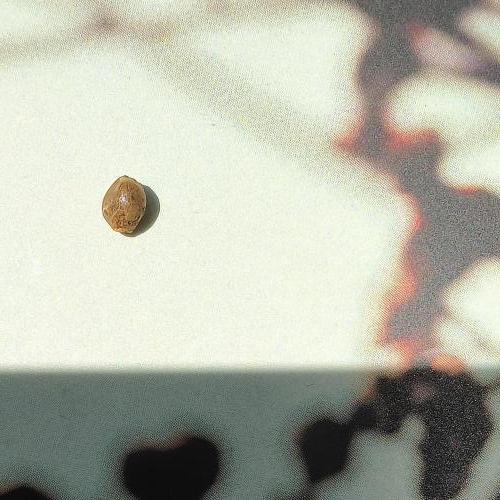
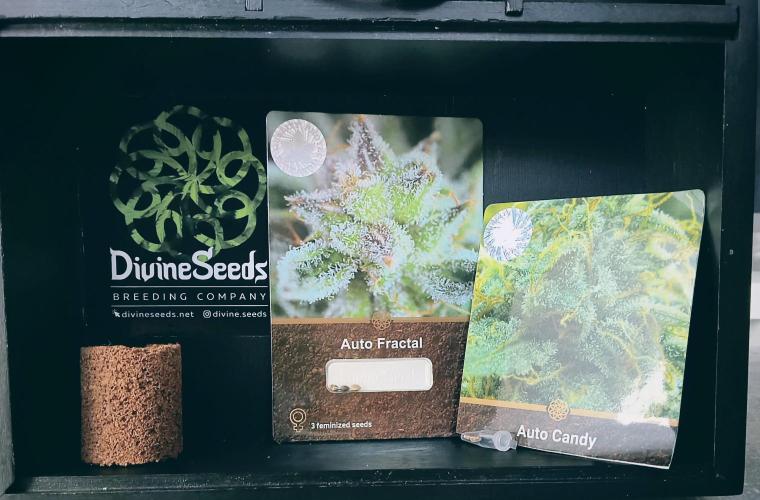
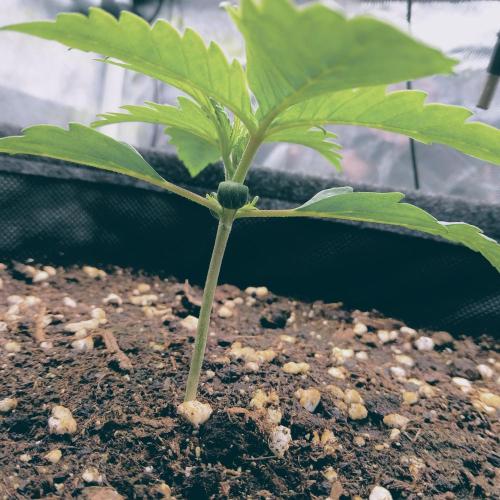
The Auto Candy from Divine Seeds. I want to emphasize again that out of the 3 seeds I received, 2 have germinated. One intentionally and one unintentionally. I lost them in the bed while taking a photo. Both have germinated. Germination rate 100% TOP
At the beginning, I made a mistake with the plant dome. It has 2 air slots at the bottom sides. I covered them with soil.
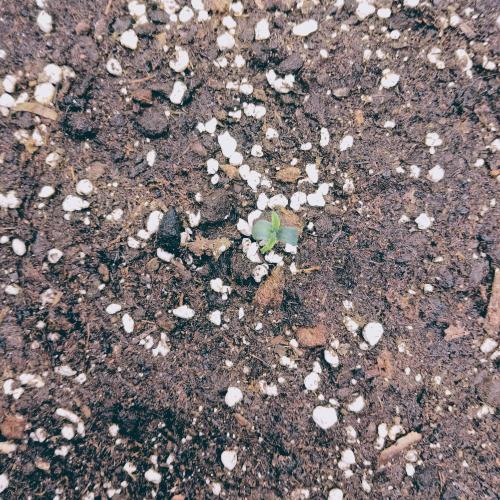
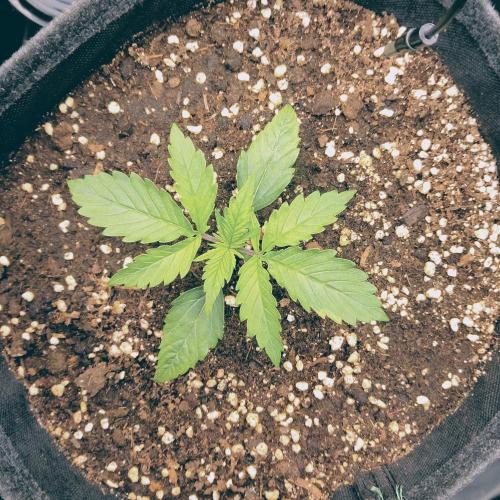
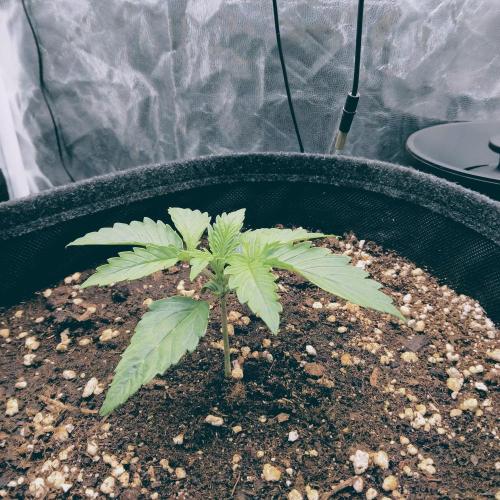
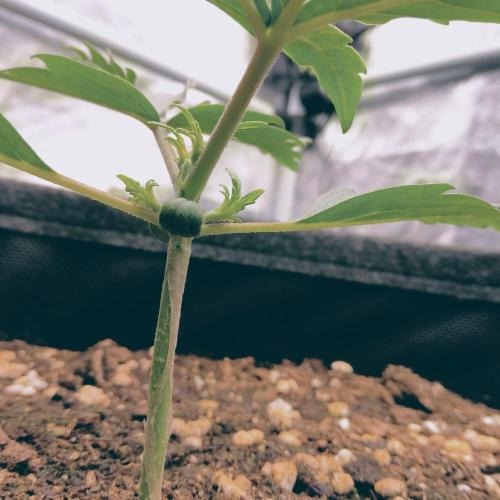
That wasn't very smart, as I probably took away some air for her to breathe. I thought I was doing something good by maintaining the humidity... As can be seen in the photos, she suffered a bit.
She turned "toxic green" and was very "swollen" (leaves) - too much of a good thing. But she bounced back wonderfully and is shooting forward.
All good. Lucky me.
In the first week, I started with about 200 PPFD and I'm at day 8 with 500 PPFD. Compared to the previous diary, I'm probably a day behind.
It should have been 300 PPFD. I should be able to get that back, as the temps and humidity are much better.
It's also a bit more consistent in terms of the environment.
Currently, I'm trying to settle between 27° to 28° Celsius and a humidity of 60-66%.
So far so good.....
Thank you and see you then.
3 likes
comments
Share
Used techniques
Topping
Technique
3
Week 3. Vegetation1y ago
6 cm
Height
19 hrs
Light Schedule
28 °C
Day Air Temp
No Smell
Smell
57 %
Air Humidity
20 °C
Solution Temp
23 °C
Substrate Temp
24 °C
Night Air Temp
15 liters
Pot Size
0.2 liters
Watering Volume
57 cm
Lamp Distance
Nutrients 2
Epsom Salt
0.26 mll
Calmag
1.5 mll
BavarianAutoLover Heyho..
The little one had 30.5 degrees this morning. Not so great. She still looked good though... A bit worn, you might say ;)
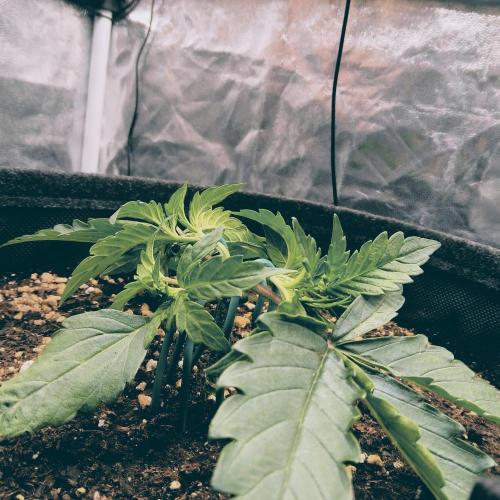
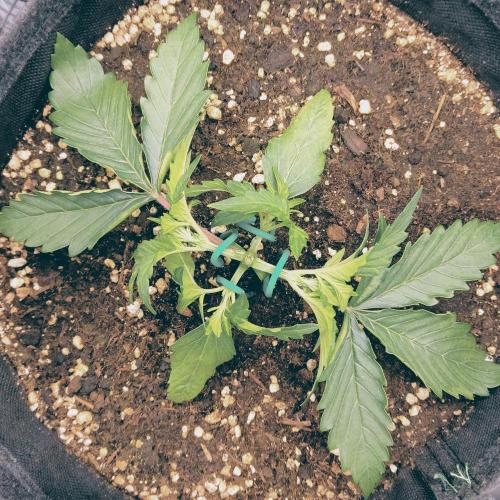
Now I've tied her down. After the topping, she could breathe for a couple of days.
Height is about 6 cm. Since the top came off, there's nothing new there.
She hasn't done much for 2 days. Right now, there's something to see.
I hope this will be a good week and I can manage the humidity with the tent open.
The lighting time has been shortened from just under 4 hours to 5 hours. So she gets less heat.
Currently, it's night shift from 12:00 PM to 5:00 PM. In the flowering stage, I definitely have to dim... Hmm...
Also, there was a "leaf shower" with Epsom salt today. Some purple is already showing on the stems.
Catch you later..
3 likes
comments
Share
Used techniques
LST
Technique
Enjoying this diary? Follow for more updates!
Prefer the old Diary view?
Go back to the old Diary view