DivineBuds420 Welcome to another grow with DivineBuds420.
This time, the journey begins with a dream.
Before this whole project started, my wife had a dream.
In the dream, she found a seed in cannabis flower and grew it into a plant.
When she woke up, she excitedly told me about it.
Some time later, it happened.
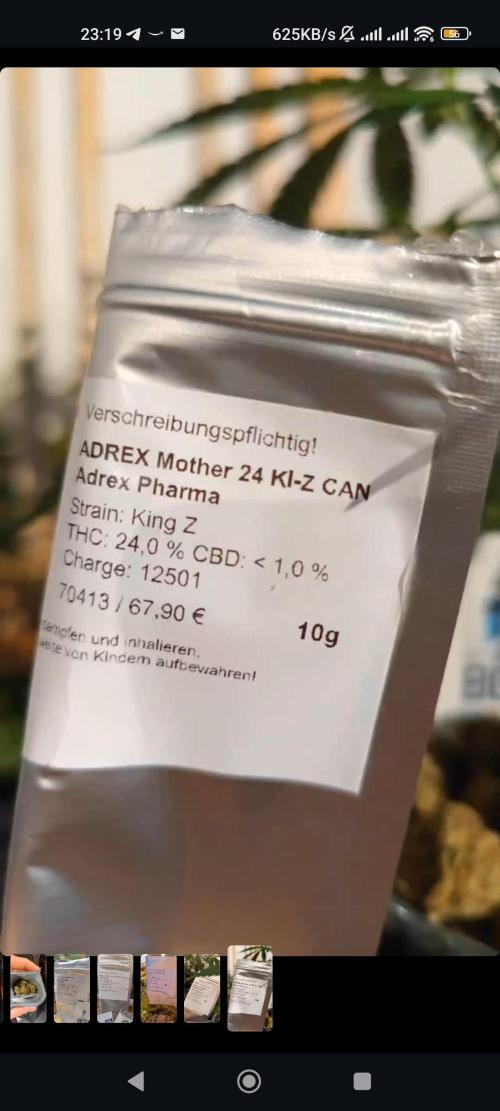
She actually found a seed in one of our medical cannabis flowers.
The flower was King Z.
According to the information available for this medical product, King Z was developed by Mother Labs and is a cross of King Sherb × Z Splitter.
That single seed became the mother plant for this entire grow.
Coincidence?
Maybe.
Or perhaps this is simply the universe unfolding in its own unique way. 🌱✨
I am fully aware of the risks that come with growing from an unknown bagseed.
The exact genetic makeup of this individual seed is unknown, and there is always a possibility of genetic instability.
But I also believe that every legendary genetic line started somewhere.
Some famous cannabis lines are said to have originated from seeds found in bagged flower.
So while growing an unknown bagseed is always a genetic gamble, sometimes the biggest surprises come from taking a chance. 🌱
💥 BOOM BOOM SPRAY
A few days before taking the cuttings, the mother plant received a treatment with BioTabs Boom Boom Spray as an additional boost before the cuttings were taken.
Boom Boom Spray is a 100% organic and vegan foliar biostimulant containing natural amino acids, peptides, glucides and minerals.
It is designed to support plants by helping them deal with stress, providing a nutritional boost and supporting plant growth and mineral uptake.
I decided to give the mother plant this additional support shortly before taking the cuttings, hoping to give the new clones the best possible start. 🌱
Before starting this project, I already allowed one clone to flower briefly to confirm that the plant was female.
🌿 THE SETUP
Strain: King Z
Genetics: King Sherb × Z Splitter
Developed by: Mother Labs
Origin of seed: Bagseed found in medical cannabis flower
Plants: Clones from one seed
Growing system: AutoPot Easy2Grow
Pots: 4 × 15 L pots, each divided into 4 sections
Growing space: Approximately 3.75 L of growing medium per plant
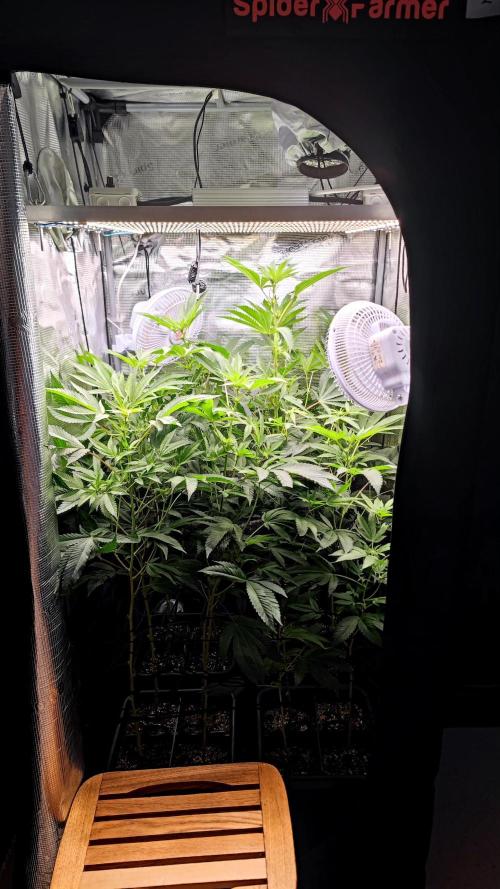
Tent: Spider Farmer 70 × 70 × 160 cm
Lighting: DIY lamp using Samsung LED strips
Planned maximum power: approximately 100 W
Nutrients: BioTabs — Just Add Water strategy
Water: RO water
Each 15 L pot is divided into four sections, giving us 16 individual growing spaces in total.
Of course, this also creates a challenge.
With four plants sharing one pot, the plants will have limited individual root space, and the 70 × 70 cm tent will become crowded very quickly.
The goal is to fill the tent quickly, keep the vegetative phase relatively short and create a full and relatively even canopy.
We will see how well that plan works in practice.
The biggest question now is what this individual King Z plant can become.
Will the plants develop consistently?
Will the genetics prove to be stable?
And most importantly:
Will this medical bagseed turn out to be a hidden gem?
High risk.
High reward?
Let's find out.
The journey begins. 🌱💚
2 likes
comments
Share
Used method
Peat Pellet
Germination Method
1
Week 1. Vegetation
1mo ago
1/3
5 cm
Height
23 hrs
Light Schedule
31 °C
Day Air Temp
7.0
pH
No Smell
Smell
23 PPM
TDS
65 %
Air Humidity
19 °C
Solution Temp
19 °C
Night Air Temp
0.5 liters
Pot Size
40 cm
Lamp Distance
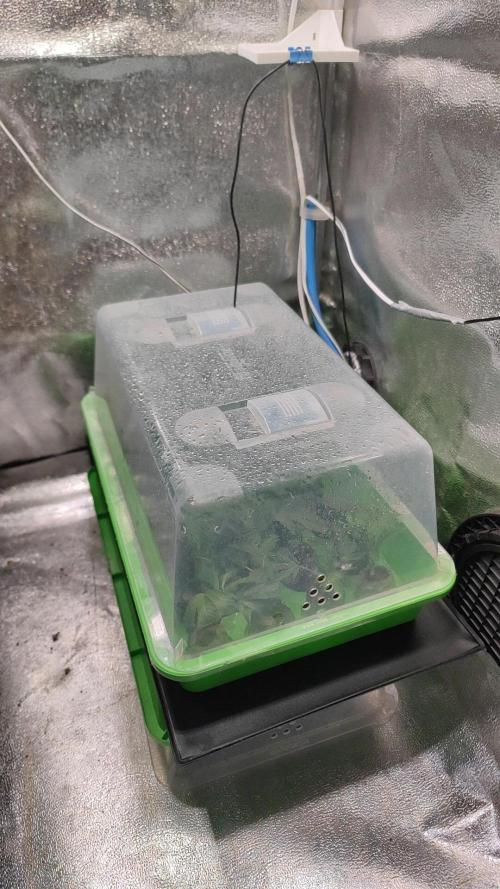
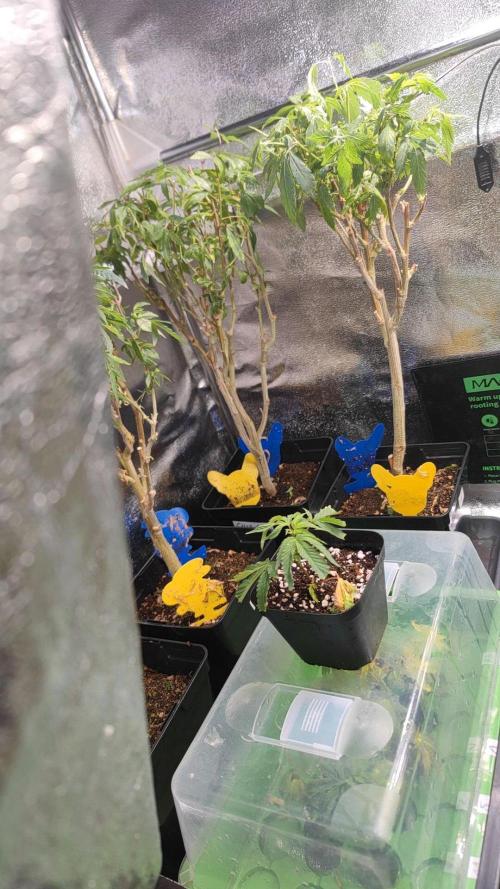
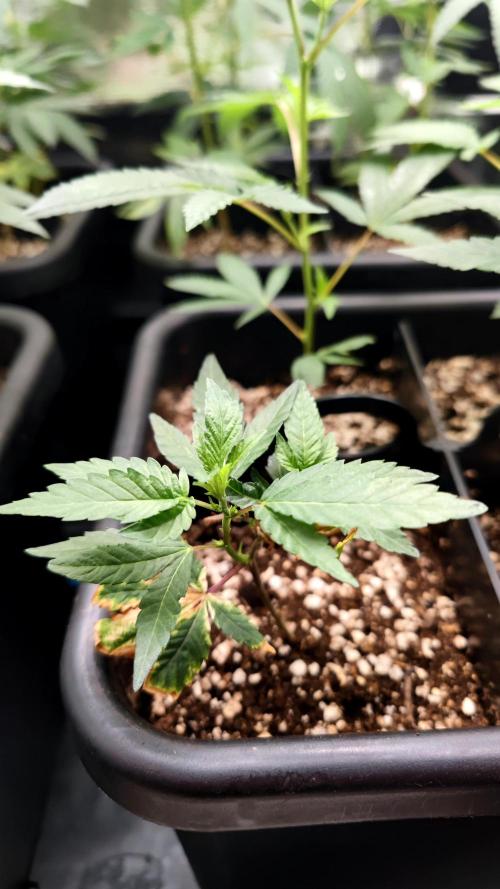
DivineBuds420 The first week of vegetative growth begins with the clones still fighting their way back.
The current heatwave affected the clones to different degrees, and all of them are still dealing with the consequences.
Some were hit harder than others, and the progress of root development also varies from clone to clone.
Some are already showing roots emerging through the peat pellets, while others are still taking their time.
As the first roots started to appear, it was time to give the clones a little more room to develop.
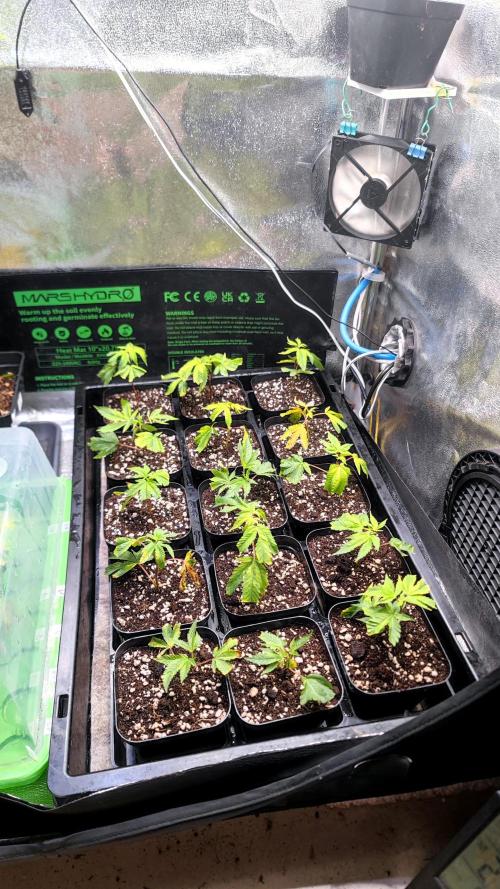
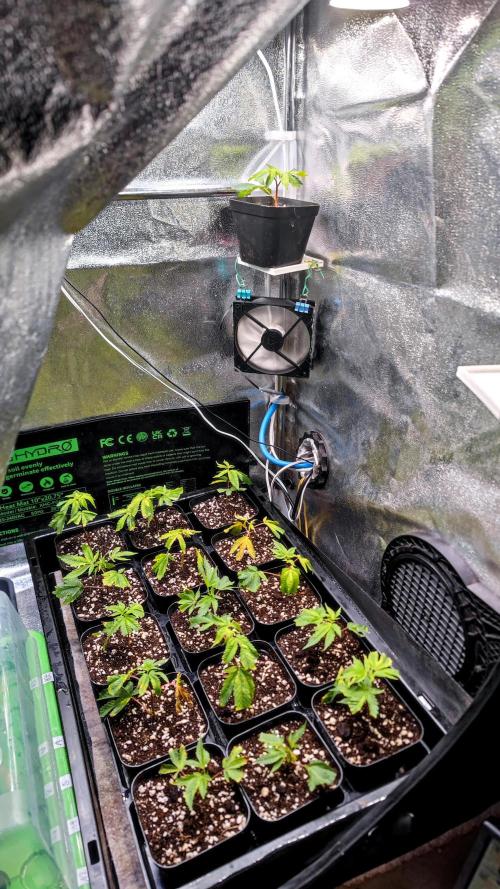
The rooted clones were carefully transplanted into small 0.5 L pots filled with recycled Light-Mix.
In total, 17 clones were transplanted.
16 plants are needed to fill the final setup, which means we have one extra clone waiting on the bench as a substitute player. 🏀🌱
They are all still struggling, but the first roots are there, and that is a good sign.
One step at a time.
Let's see if these little survivors can turn things around. 🌱💚
2 likes
comments
Share
Used techniques
Transplantation
Technique
4
Week 4. Vegetation
1mo ago
1/7
36 cm
Height
18 hrs
Light Schedule
29 °C
Day Air Temp
7.0
pH
No Smell
Smell
23 PPM
TDS
65 %
Air Humidity
21 °C
Solution Temp
21 °C
Night Air Temp
3.75 liters
Pot Size
40 cm
Lamp Distance
Nutrients 6
Startrex
5 mll
Silicium Flash
5 mll
Organic Fertiliser Tablets
2 mll
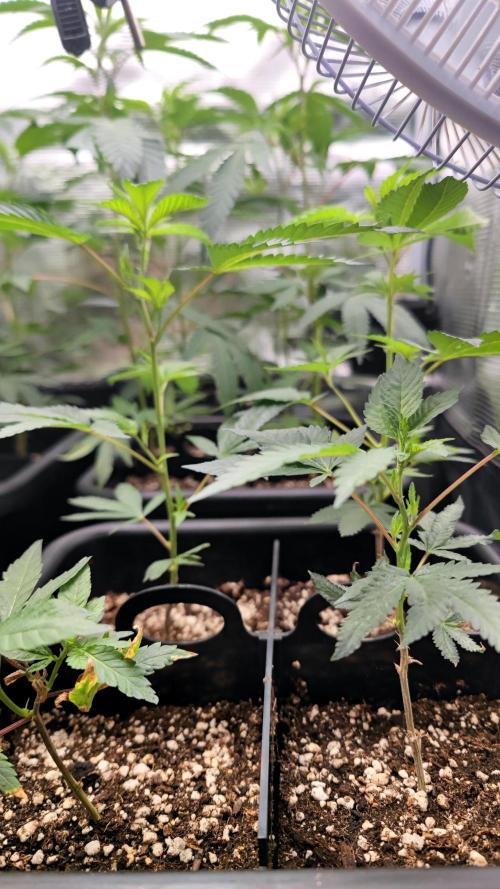
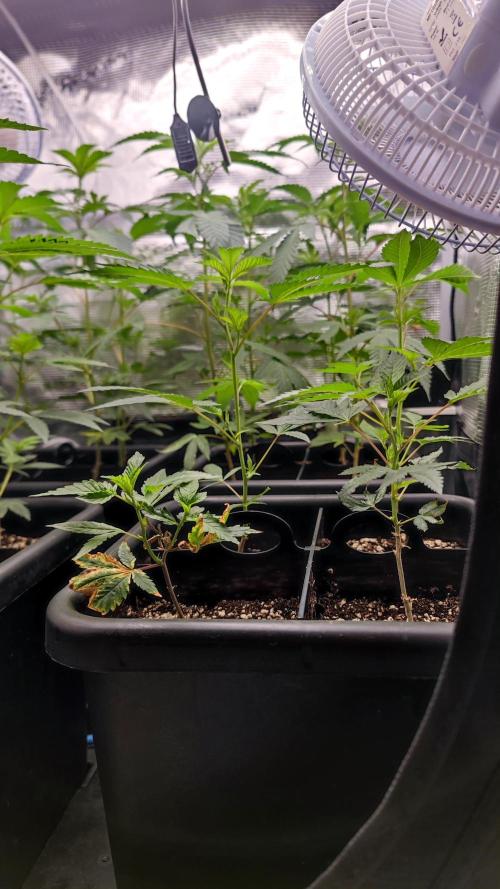
DivineBuds420 The last two weeks have mainly been about survival and recovery.
The clones were still dealing with the consequences of the heatwave, and some of them had a much harder time than others.
While some plants slowly started to recover, others were fighting just to stay alive.
The progress was far from uniform.
Some clones developed a stronger root system relatively quickly, while others remained much more fragile and took considerably longer to establish themselves.
This is where the unplanned asymmetry of this grow really began.
The original plan was to create a relatively uniform canopy from genetically identical clones.
Instead, the plants were already developing at very different speeds before the main grow had even properly started.
At this point, the clones ranged from approximately 10 cm to 36 cm in height.
Some were stronger.
Some were weaker.
Some were still fighting for their place.
But all of them are still here.
🌱 INTO THE FINAL POTS
16 plants were selected for the main setup, while the extra clone remains on the bench as our substitute player. 🏀🌱
The clones were transplanted into four 15 L pots, with each pot divided into four sections.
This gives each plant approximately 3.75 L of growing medium.
The four pots were placed into two AutoPot Easy2Grow trays and connected to the system.
🌱 PREPARING THE GROWING MEDIUM
For this grow, I am using the BioTabs Just Add Water strategy.
The growing medium was prepared with the BioTabs components needed to create the nutritional and biological foundation for the plants.
⚡ SILICIUM FLASH
Silicium Flash was added as an organic fertiliser and soil improver, providing silicon and essential nutrients to the growing medium.
🌿 STARTREX
Startrex was added to help create a biologically active growing medium and support the soil life around the roots.
BACTREX
Bactrex was used to introduce beneficial microorganisms into the growing medium.
🍄 MYCOTREX
Mycotrex was added to provide beneficial mycorrhizal fungi and support the development of the root zone.
💥 BOOM BOOM SPRAY
After transplanting the clones into their final pots, they received another treatment with BioTabs Boom Boom Spray.
I decided to use it as an additional boost while the plants were adjusting to their new growing environment and continuing to develop their root systems.
The goal of the Just Add Water strategy is to prepare the growing medium with the necessary nutrients and beneficial biology from the beginning.
From here, the plan is to keep things simple.
RO water.
After a few weeks, the AutoPot system takes over.
And let the biology in the growing medium do its work. 💧🌱
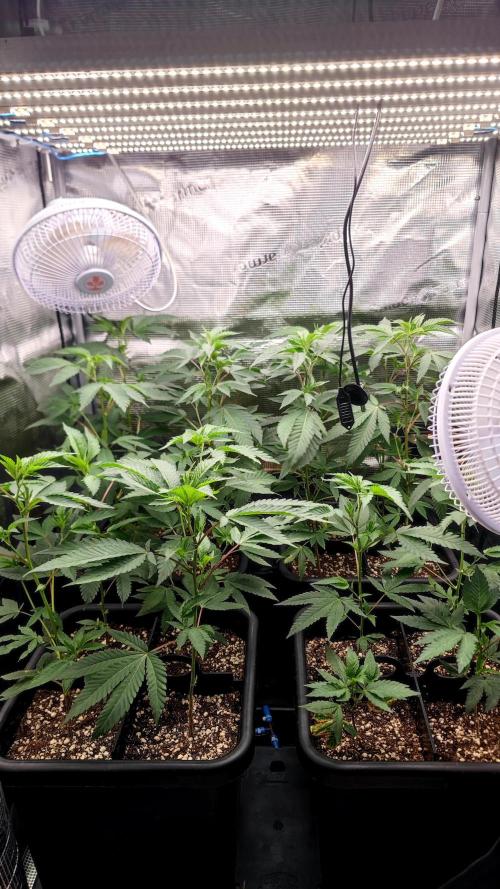
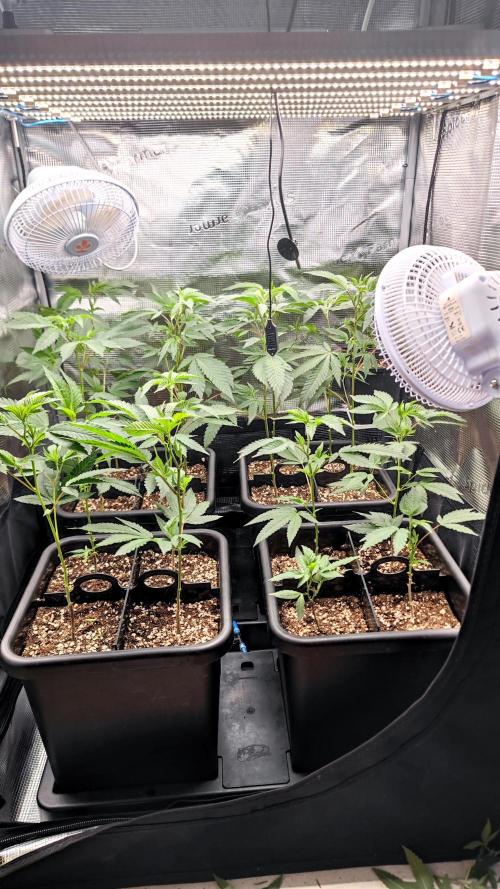
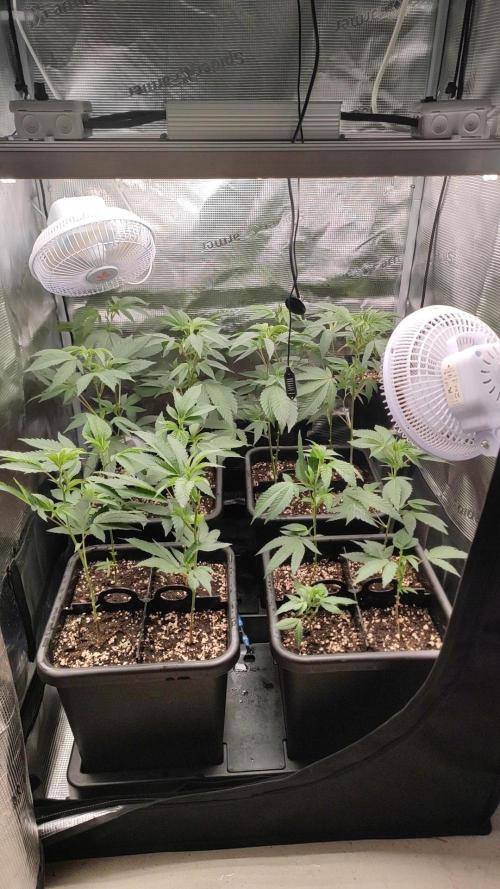
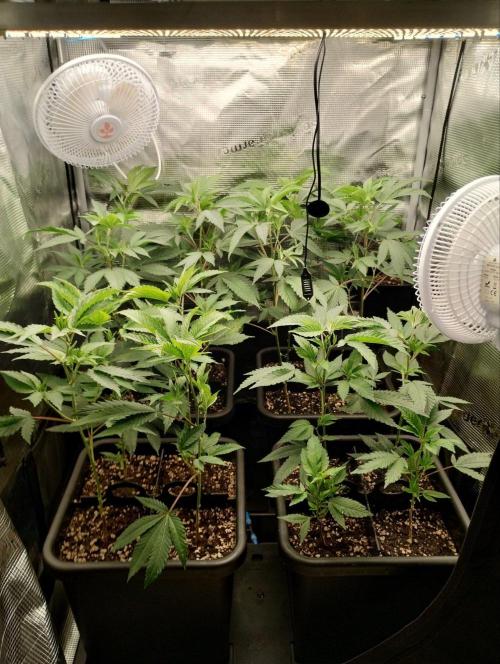
The 16 clones are now finally in their permanent positions.
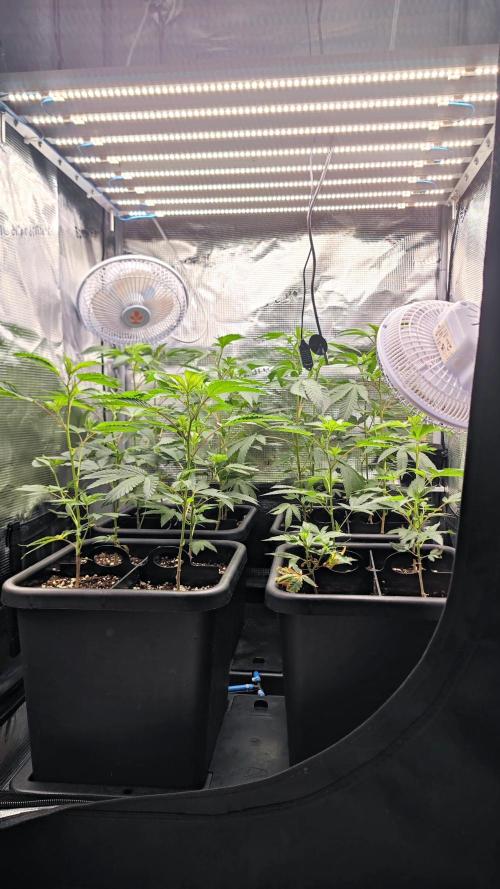
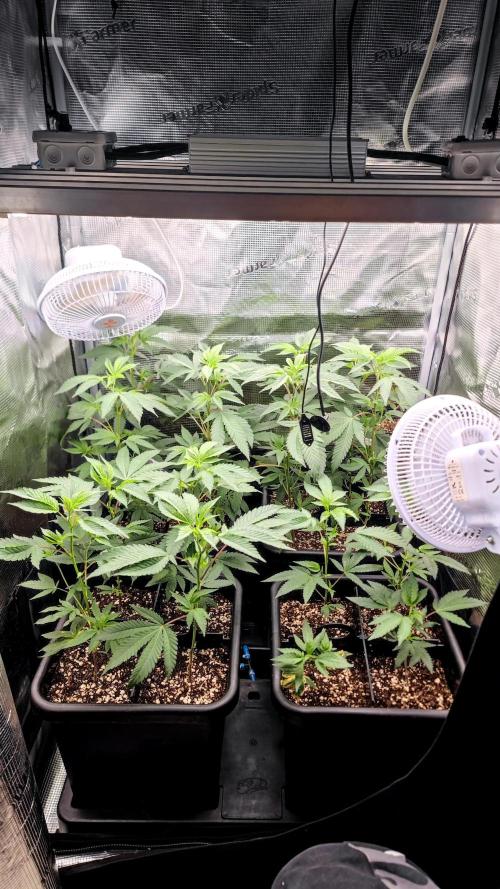
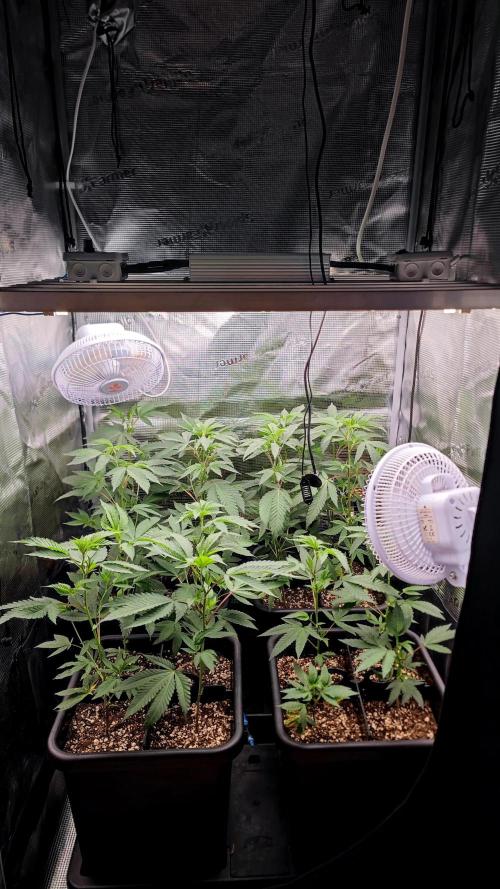
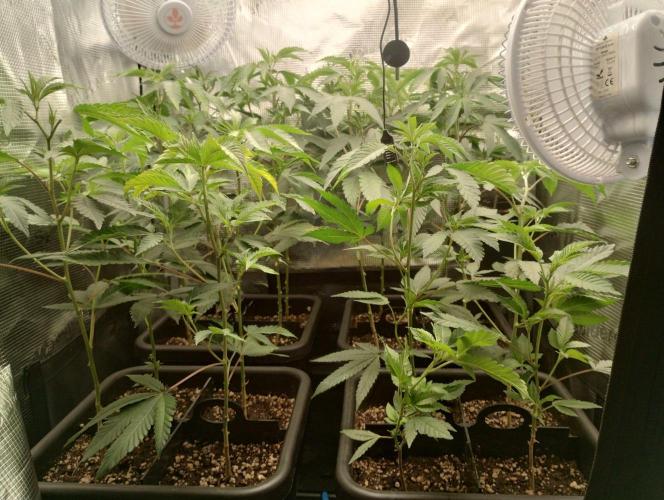
The tent is already beginning to fill up, but the plants are still very small and have a long way to go.
The next challenge will be to see how these survivors develop now that they have more space and a prepared growing medium.
Let's see what happens next. 🌱💚
2 likes
comments
Share
Used techniques
Transplantation
Technique
5
Week 5. Vegetation
25d ago
1/5
42 cm
Height
18 hrs
Light Schedule
26 °C
Day Air Temp
7.0
pH
Weak
Smell
23 PPM
TDS
60 %
Air Humidity
23 °C
Solution Temp
23 °C
Night Air Temp
3.75 liters
Pot Size
30 cm
Lamp Distance
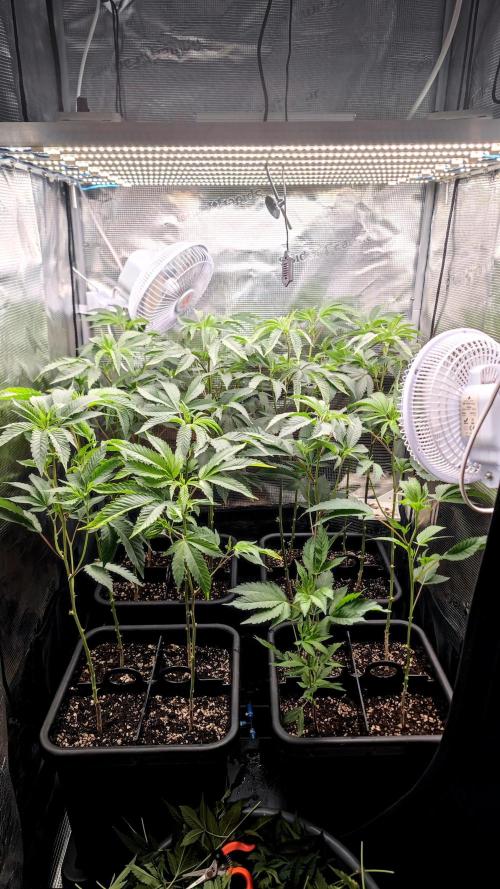
DivineBuds420 The plants have settled in well after being transplanted into their final pots and have recovered from their difficult start.
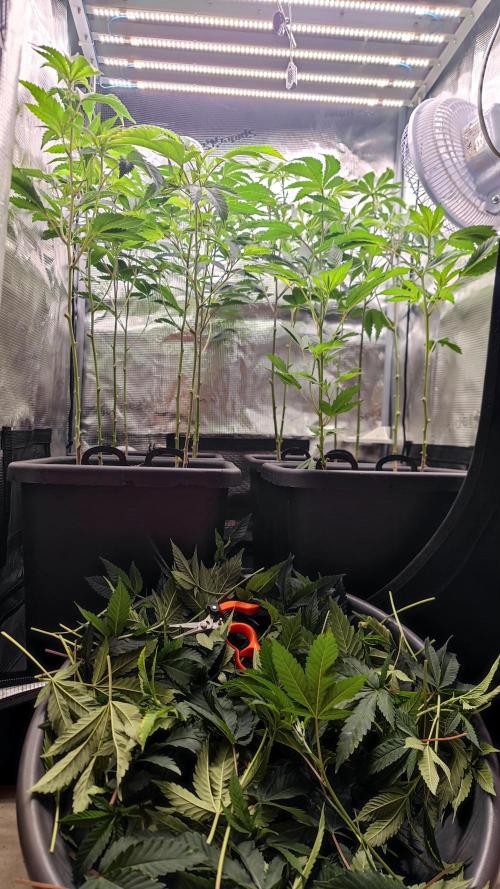
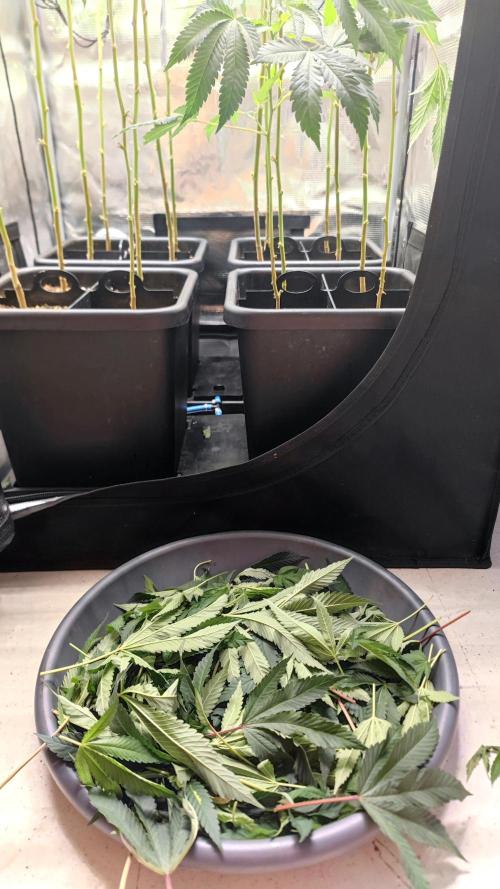
Now that they are established and showing better growth, I decided to do the first cleanup.
I removed a few of the lower leaves and small lower shoots to give the plants a little more space and airflow.
We are heading away for some days, so the plants will have to manage without us for a little while.
Luckily, we have someone taking care of them while we're away, so they are in good hands. 💚
Let's see what we come back to. 👀🌱
3 likes
comments
Share
Used techniques
Defoliation
Technique
6
Week 6. Vegetation
25d ago
1/10
50 cm
Height
18 hrs
Light Schedule
31 °C
Day Air Temp
7.0
pH
Weak
Smell
23 PPM
TDS
60 %
Air Humidity
21 °C
Solution Temp
21 °C
Night Air Temp
3.75 liters
Pot Size
30 cm
Lamp Distance
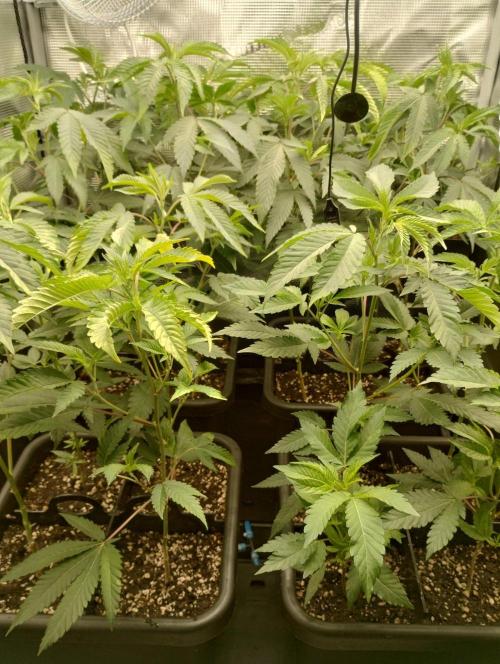
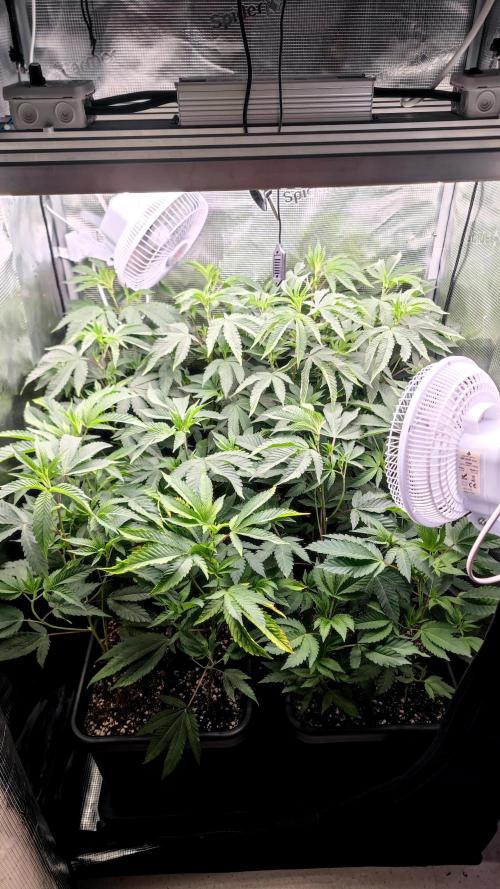
DivineBuds420 We are back home and the King Z clones have definitely used the time well.
The plants have grown noticeably and are looking stronger than before.
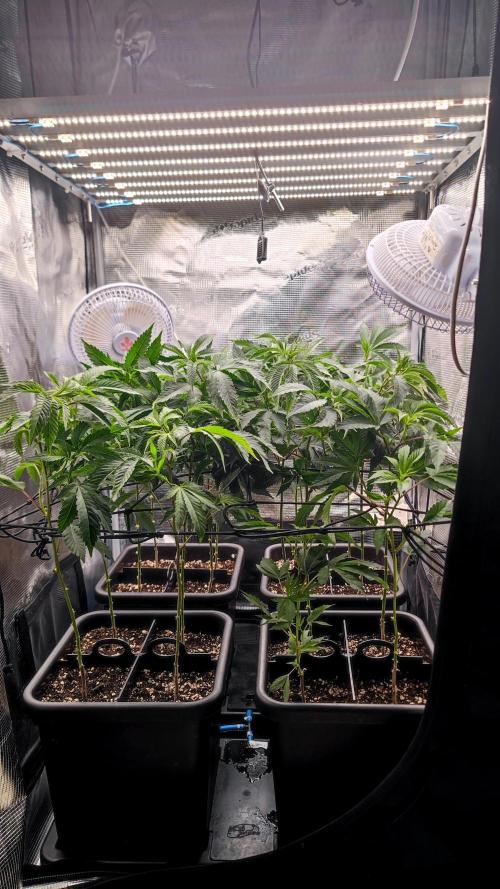
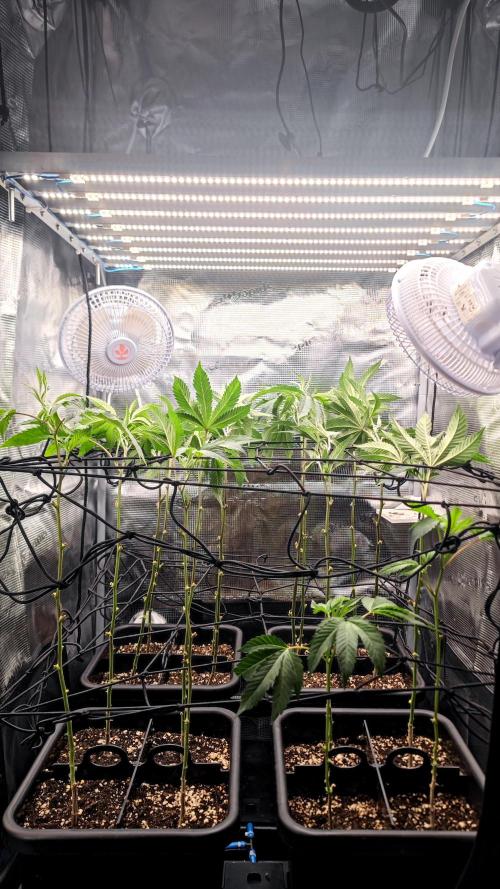
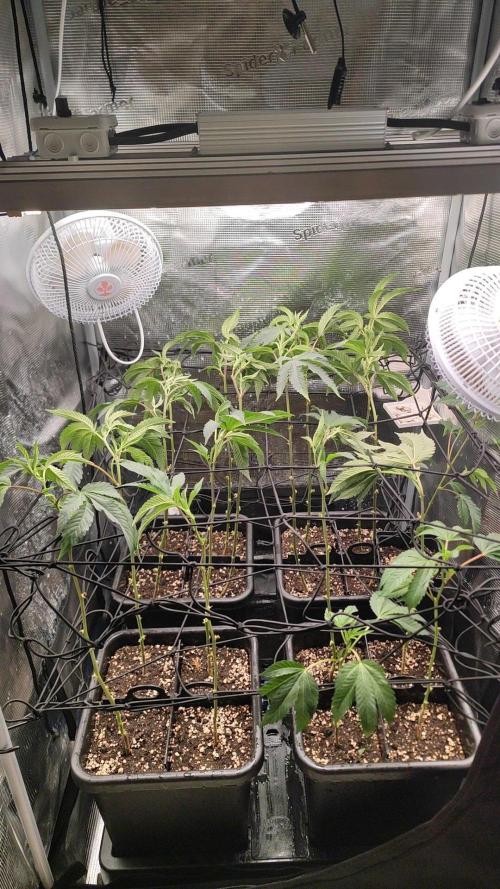
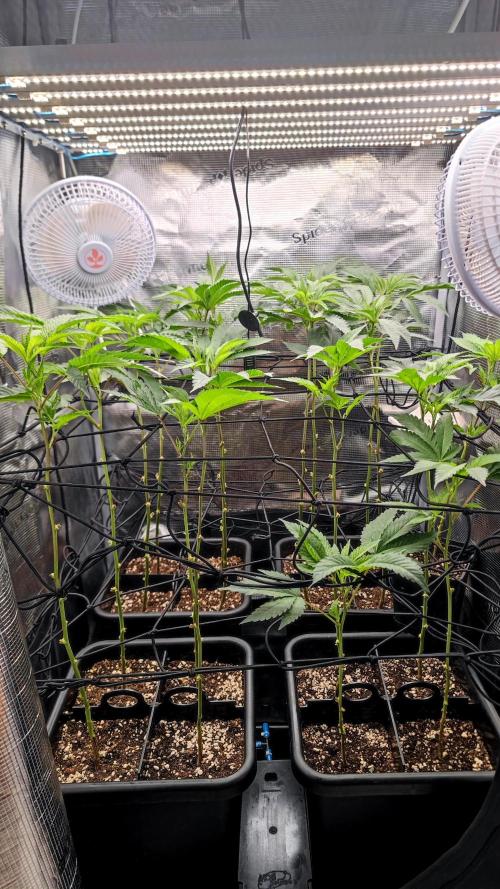
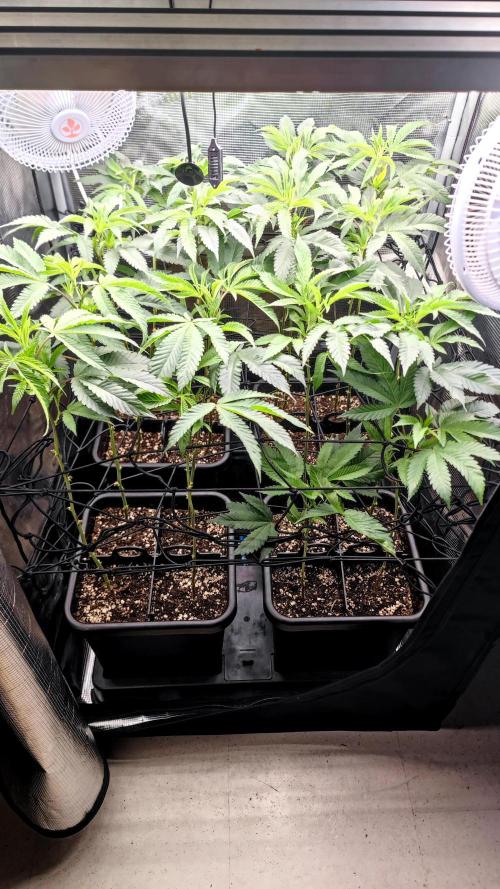
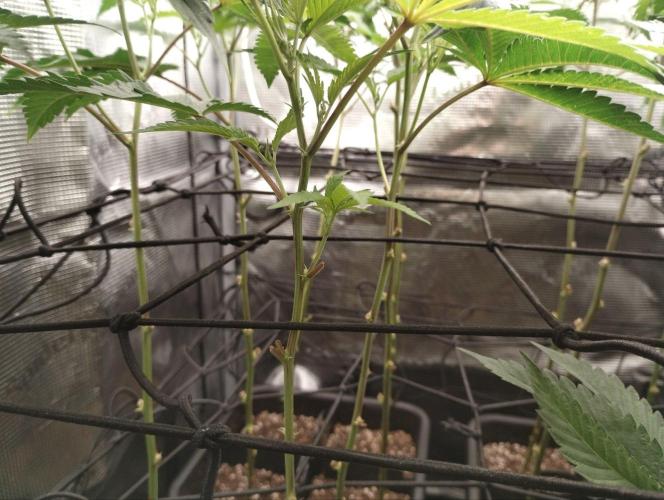
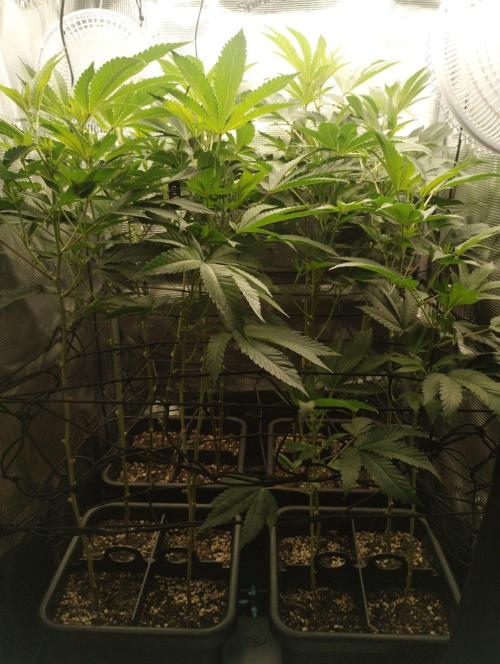
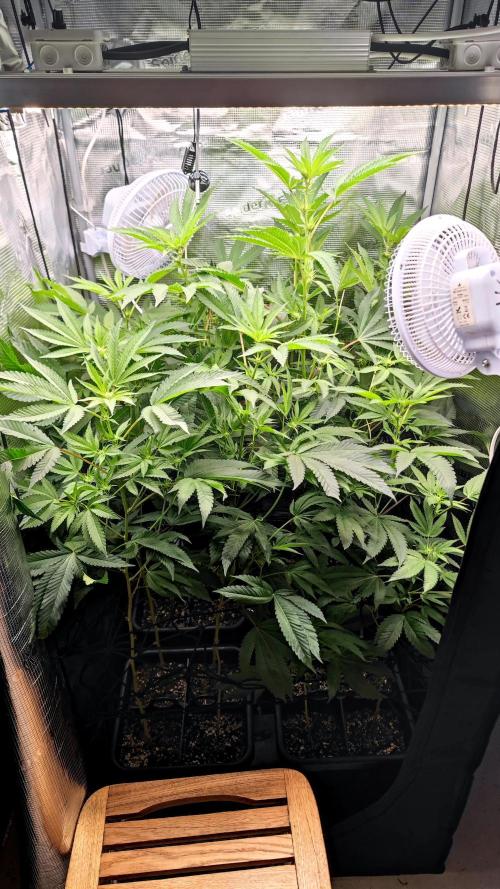
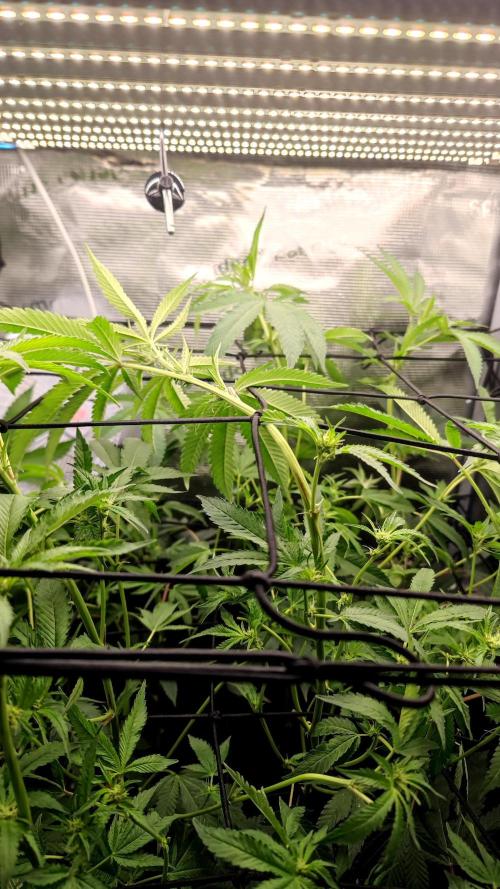
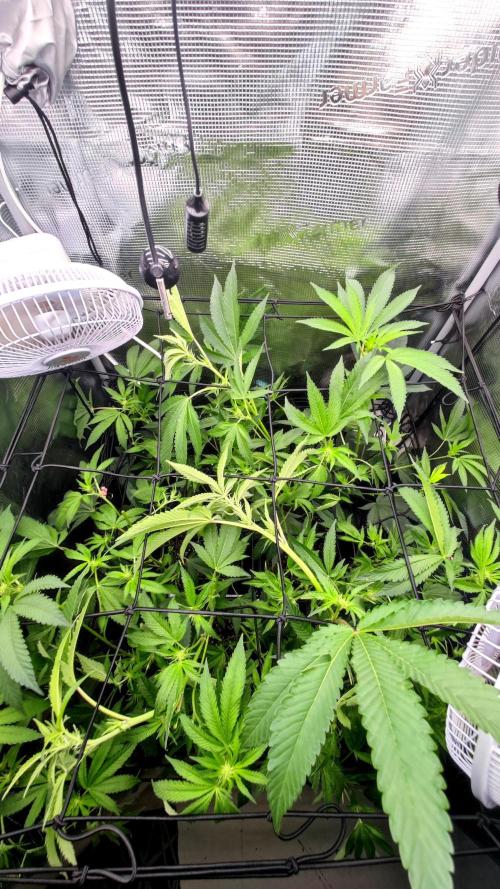
It was time for another light defoliation and I also installed a net to start shaping the canopy.
Because of the uneven growth caused by the difficult start, I decided to use the net a little differently than usual.
The plants were positioned through the net so that each plant from the back is effectively shifted one row forward.
The plan is to first guide the plants towards the front of the tent and then gradually bend them back towards the rear using a second net.
This hopefully helps to compensate a bit for the differences in height and spread the canopy more evenly across the limited space.
Let's keep shaping this jungle. 🌱💚
5 likes
1 comment
Share
Used techniques
Defoliation
Technique
SoG
Technique
7
Week 7. Vegetation
7d ago
1/9
60 cm
Height
18 hrs
Light Schedule
32 °C
Day Air Temp
7.0
pH
Weak
Smell
23 PPM
TDS
54 %
Air Humidity
23 °C
Solution Temp
23 °C
Night Air Temp
3.75 liters
Pot Size
20 cm
Lamp Distance
DivineBuds420 After recovering well from the previous defoliation, the plants were ready for another round.
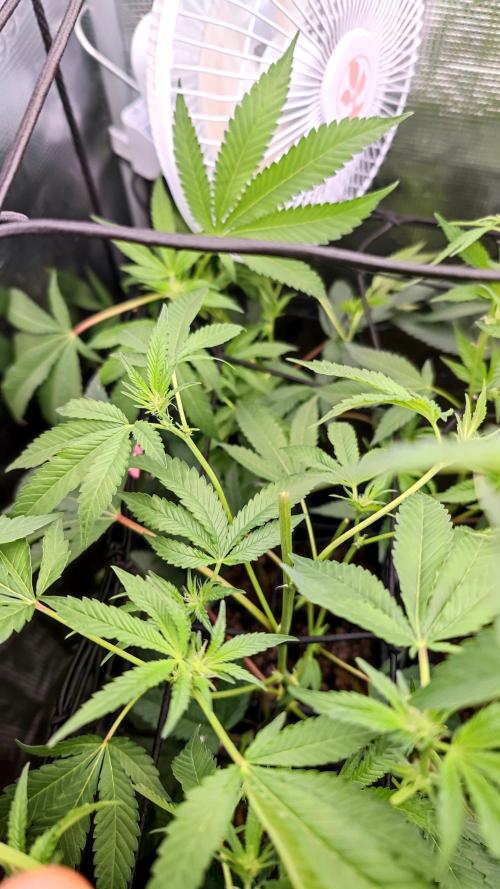
This time, I went for a more aggressive defoliation, removing more of the lower growth and opening up the canopy.
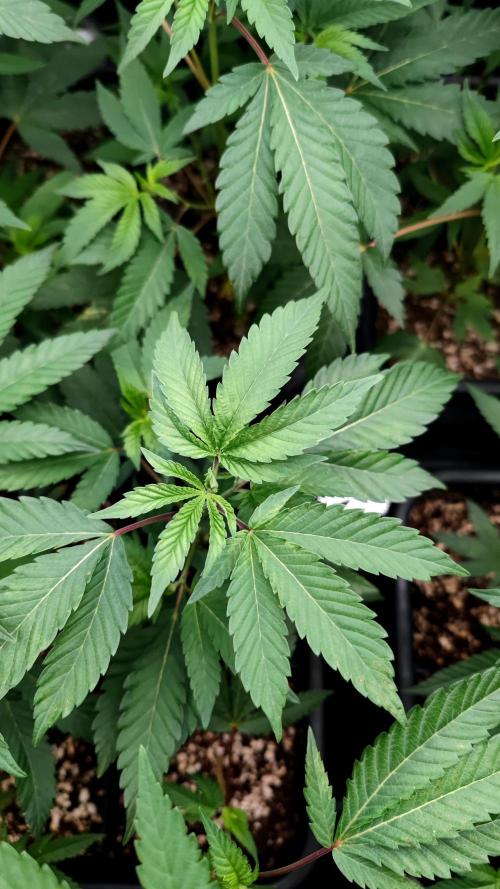
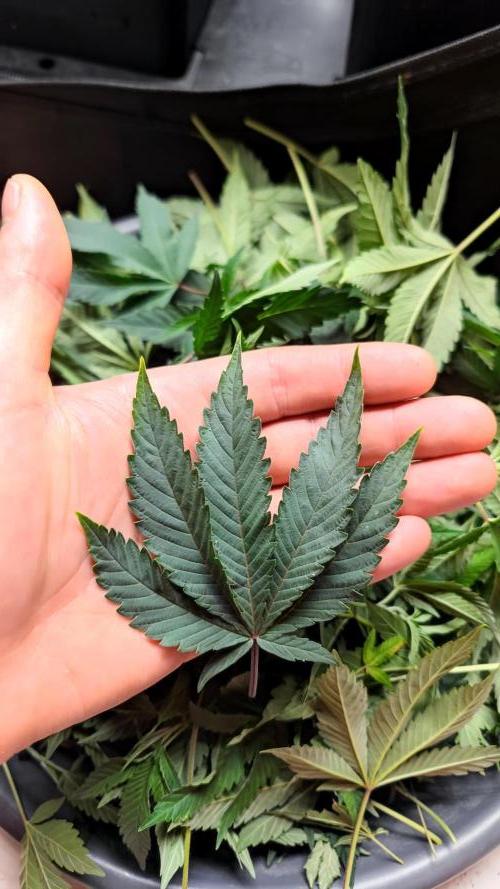
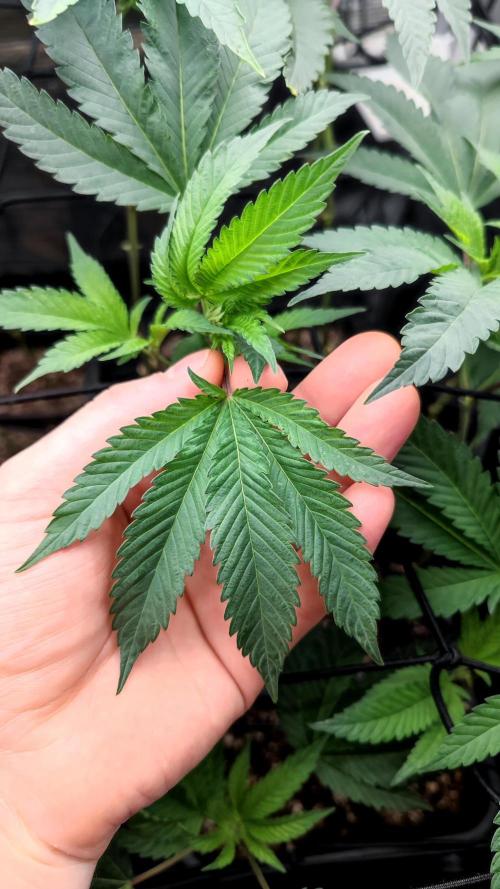
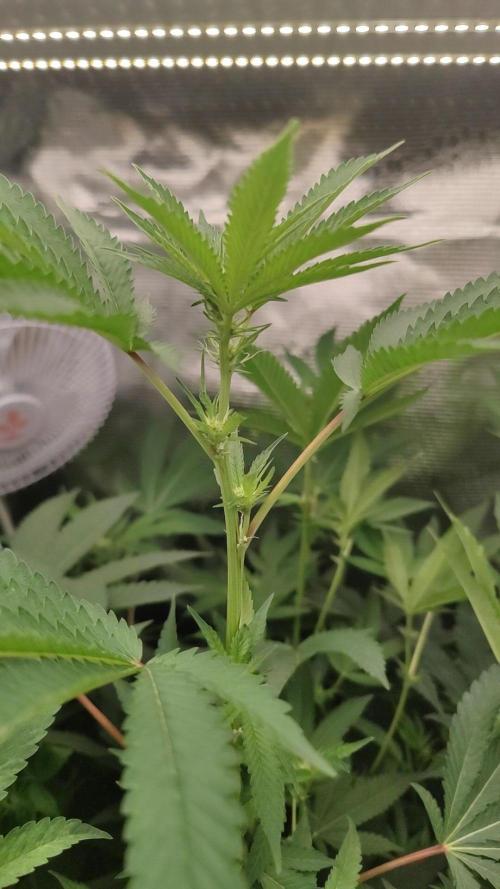
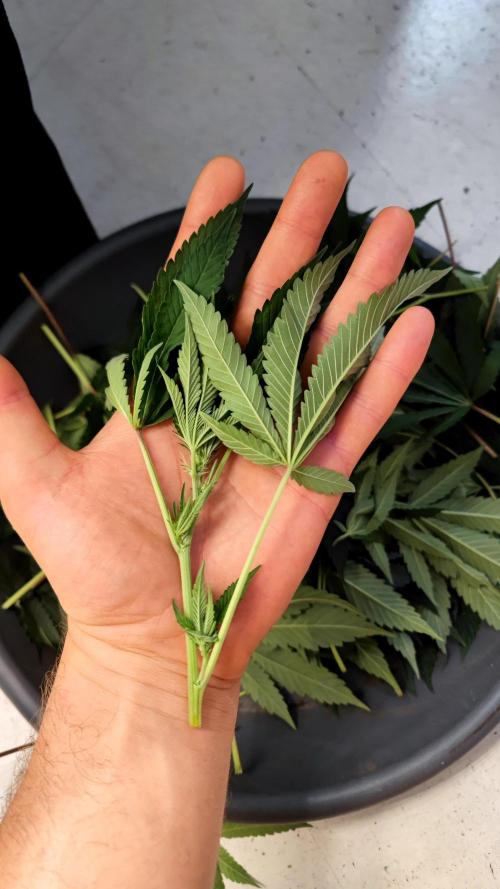
One thing I really like about this plant is the shape of its leaves.
The way the upper three leaflets sometimes end at almost the same height reminds me of a crown — quite fitting for a King Z. 👑🌱
I also installed a second net to continue shaping and spreading the plants across the limited space.
For the next few weeks, I'll be out of the country again.
My brother will be taking over as plant sitter. 🙏🏻💚
Before leaving, I decided it was finally time to switch the light cycle to 12/12 and officially start the flowering phase, as the vertical space in the tent is very limited.
The plants are in his hands now — let's see how the King Z jungle looks when I get back. 🌱💚
2 likes
comments
Share
Used techniques
Defoliation
Technique
SoG
Technique
8
Week 8. Flowering
7d ago
1/4
75 cm
Height
12 hrs
Light Schedule
32 °C
Day Air Temp
7.0
pH
Weak
Smell
23 PPM
TDS
54 %
Air Humidity
23 °C
Solution Temp
23 °C
Night Air Temp
3.75 liters
Pot Size
20 cm
Lamp Distance
DivineBuds420 We're away, but thankfully we've been getting some pictures from the grow sitter. 😅📸
And judging by the photos, the plants are doing really well.
The stretch seems to be quite pronounced already, with the plants putting on a lot of vertical growth.
Considering how much they have grown in such a short time, this could get interesting — especially with the limited headroom in the tent. 👀🌱
So far, so good.
Let's see how far these ladies want to stretch. 🌸💚
3 likes
comments
Share
9
Week 9. Flowering
7d ago
1/5
100 cm
Height
12 hrs
Light Schedule
32 °C
Day Air Temp
7.0
pH
Weak
Smell
23 PPM
TDS
54 %
Air Humidity
23 °C
Solution Temp
23 °C
Night Air Temp
3.75 liters
Pot Size
15 cm
Lamp Distance
DivineBuds420 We're still away, but the updates keep coming. 📸
The stretch is still going strong, and the canopy is getting denser.
At this rate, I'm getting more curious to see what this jungle will look like when we finally get back. 👀🌱
Let's hope they don't run out of headroom before we do. 😅🌸
6 likes
comments
Share
10
Week 10. Flowering
19h ago
1/17
90 cm
Height
12 hrs
Light Schedule
29 °C
Day Air Temp
7.0
pH
Weak
Smell
23 PPM
TDS
58 %
Air Humidity
22 °C
Solution Temp
22 °C
Night Air Temp
3.75 liters
Pot Size
10 cm
Lamp Distance
Nutrients 1
Bio PK 5-8
10 mll
DivineBuds420 After two weeks abroad, we're finally back home.
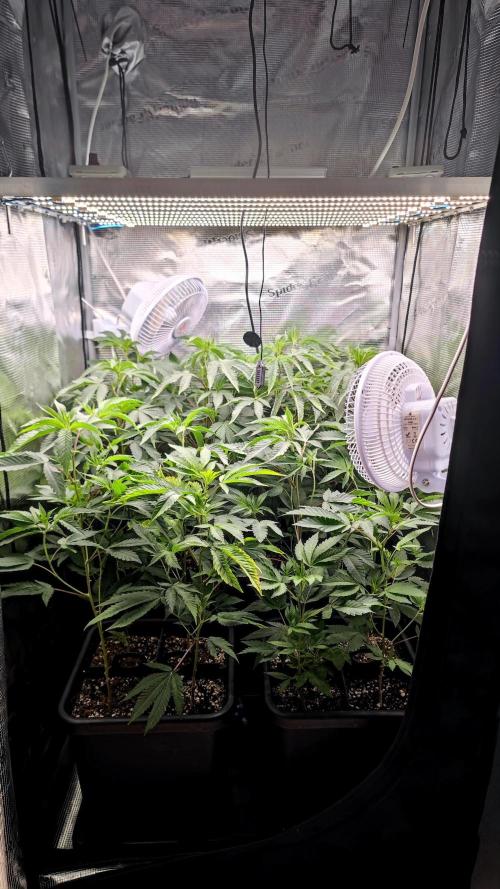
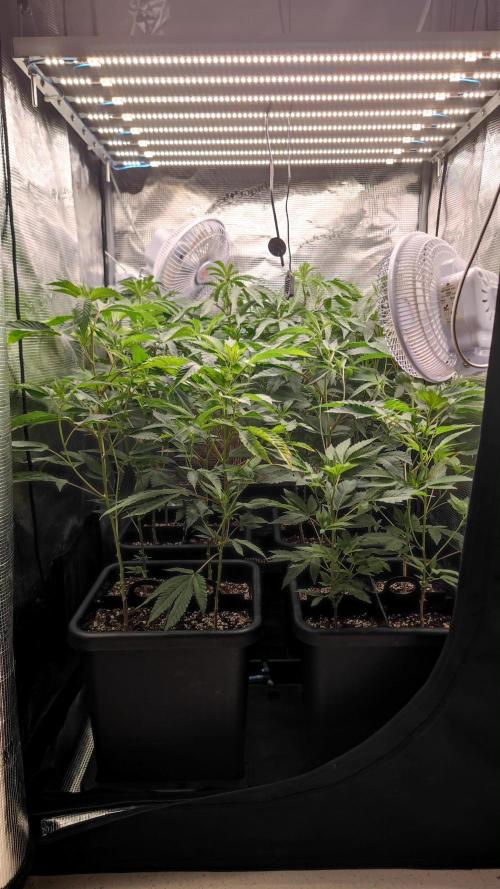
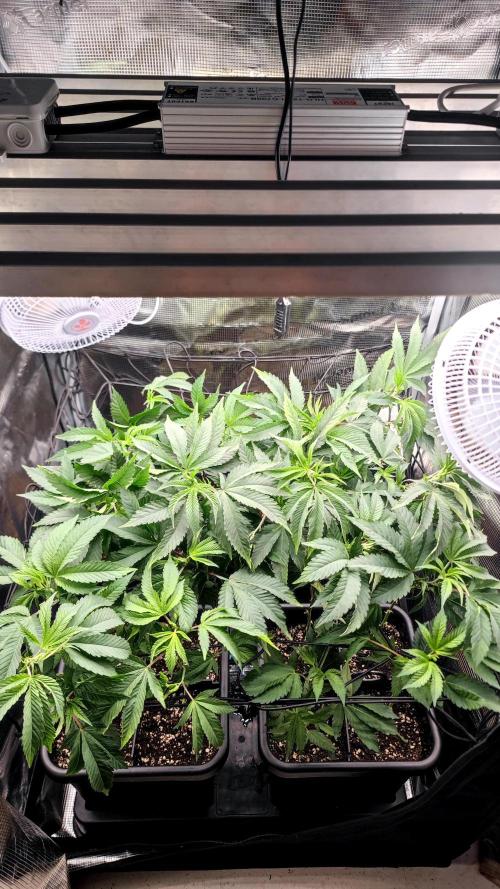
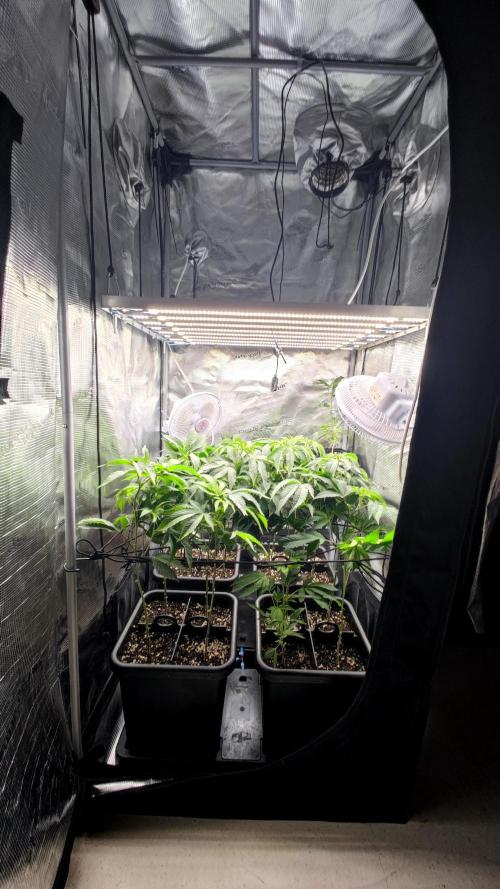
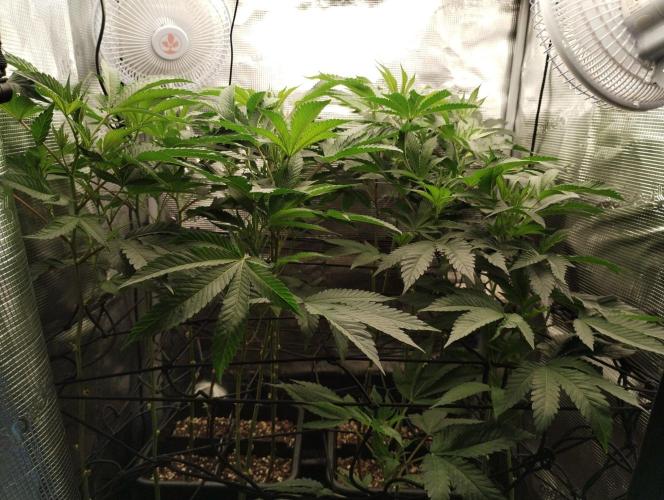
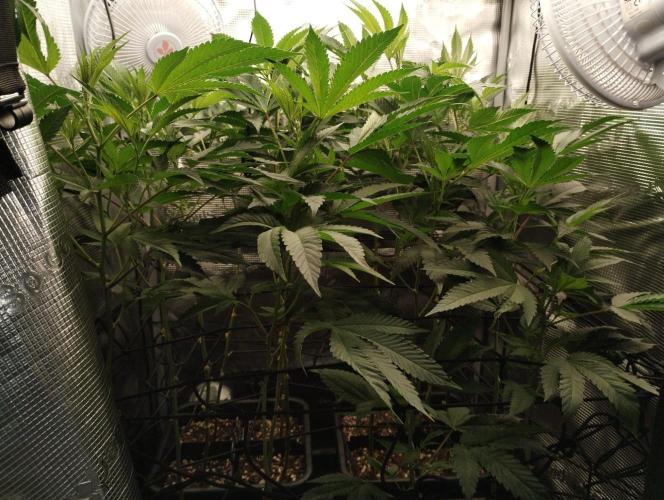
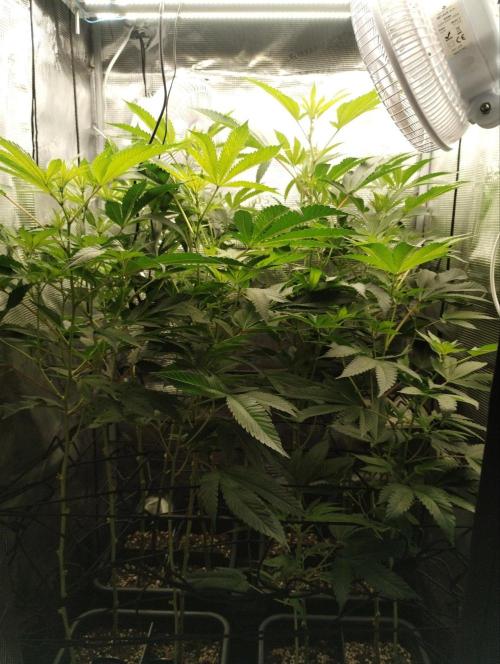
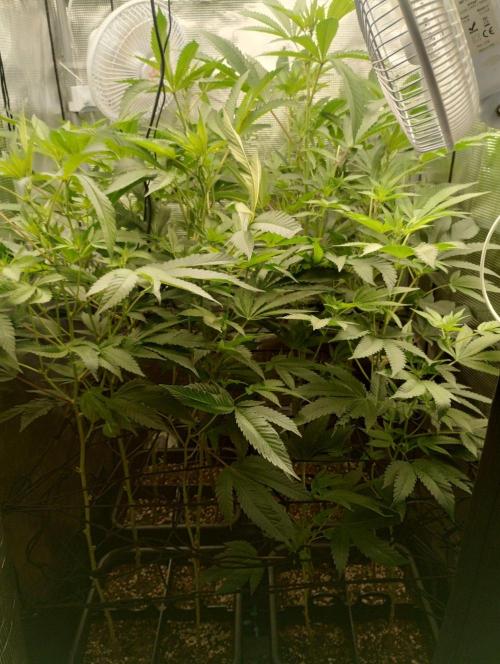
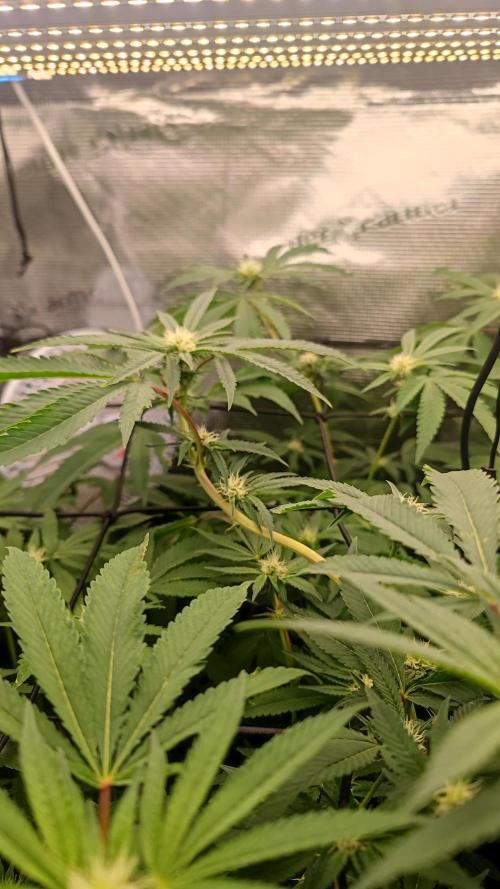
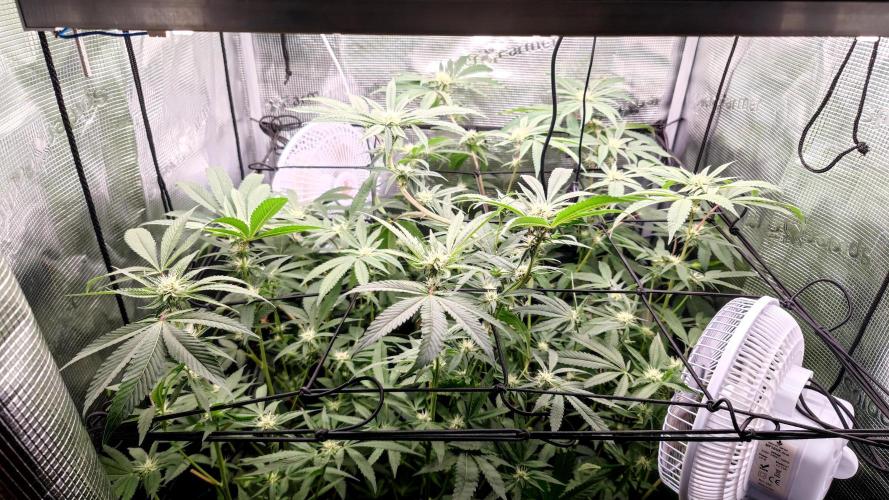
The plants have grown quite a bit in height during our absence and have developed a lot of foliage and a very dense canopy.
Unfortunately, the original plan of creating a relatively even canopy with evenly distributed branches hasn't really worked out. 😅
But we're making the best of it and trying to tame the chaos as much as possible.
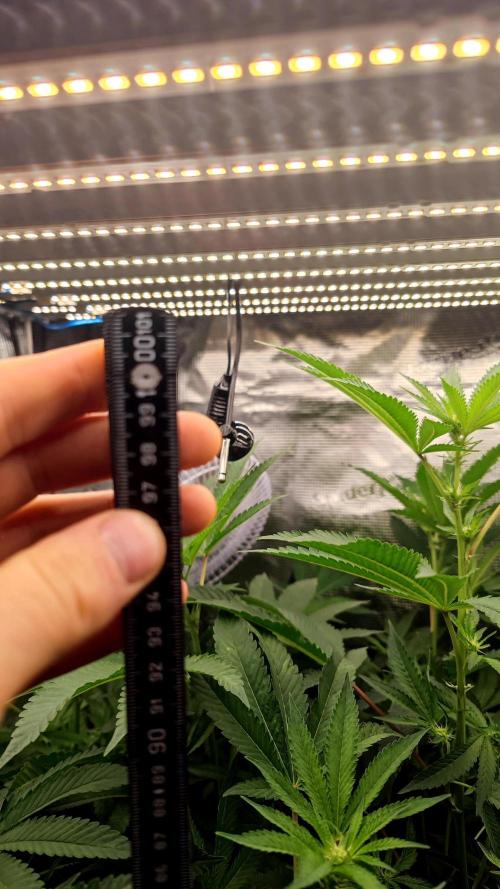
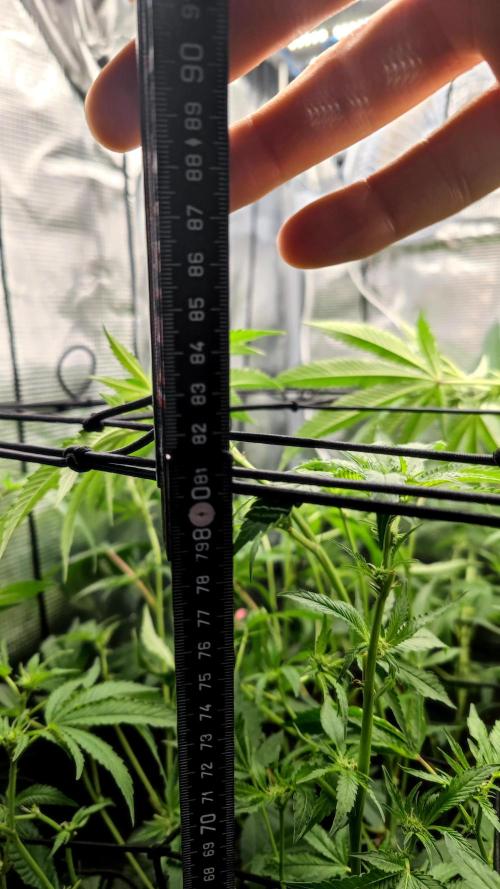
Vertical space is slowly becoming a serious issue, so I decided it was time to intervene.
I installed another net and bent the tallest branches down to keep the plants within the available space.
This actually gained us around 20 cm of extra headroom. The plants were around 100 cm tall before, and after bending them down they were only around 80 cm at their highest point. 🌱
Unfortunately, not everything went perfectly during the bending. One branch was bent too far and got badly damaged, while another one snapped completely. 😬🌿
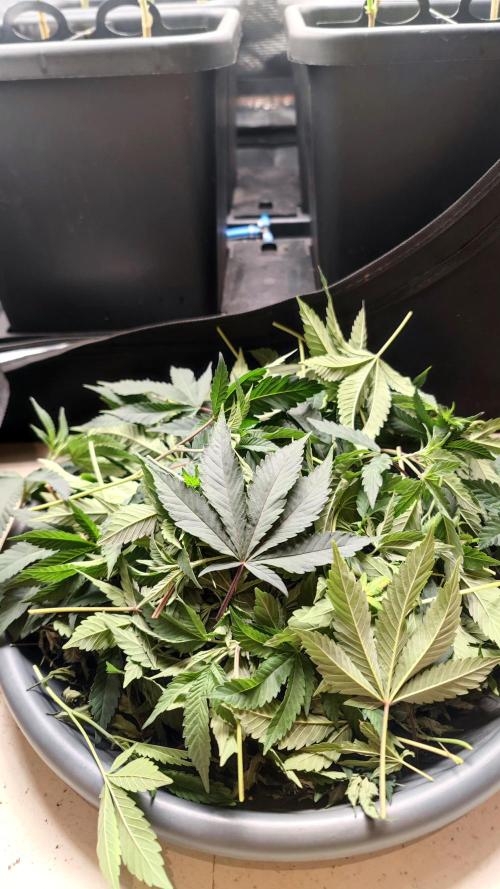
The plants also received another round of defoliation to open up the canopy and make some room.
After turning off the AutoPots for a few days, I gave them a hand watering with BioTabs Bio PK 5-8.
Each pot received 10 ml, which works out to roughly 2.5 ml per plant.
It's getting wild — let's see if we can keep it under control. 😂💚🌱







 commentedweek 616d ago