CountDoobie .
Day 1
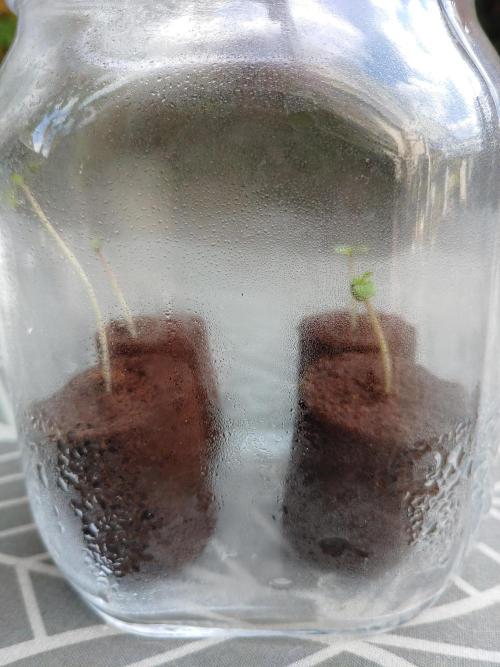
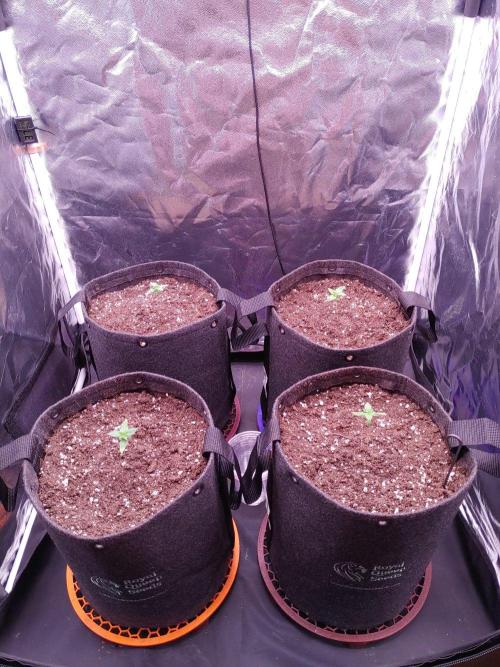
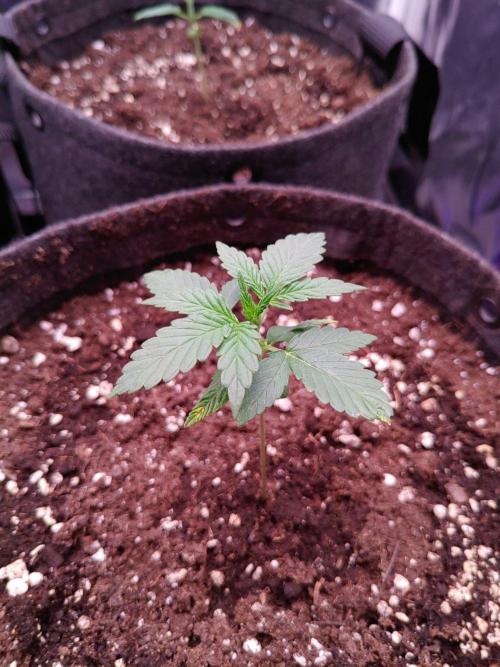
Today four RQS Northern Light Auto seeds have been planted in an RQS Soil Plug and are placed in a glass jar (without seal ring), to create a humid environment.
Day 4
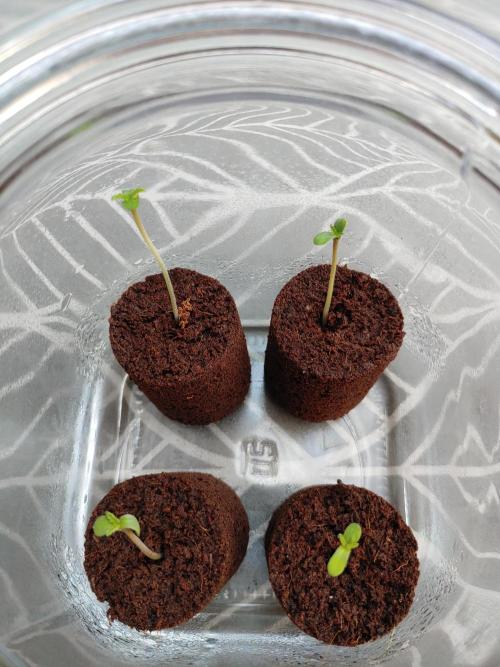
Three of the four seeds have breached the surface. One of these only breached the surface, but isn't above the soil line yet. The other two are above the soil line, but heave their heads still underground.
Day 5
Last night, the fourth plant has breached the surface as well.
Three of the plugs have a taproot sticking out of the bottom, meaning they should be planted.
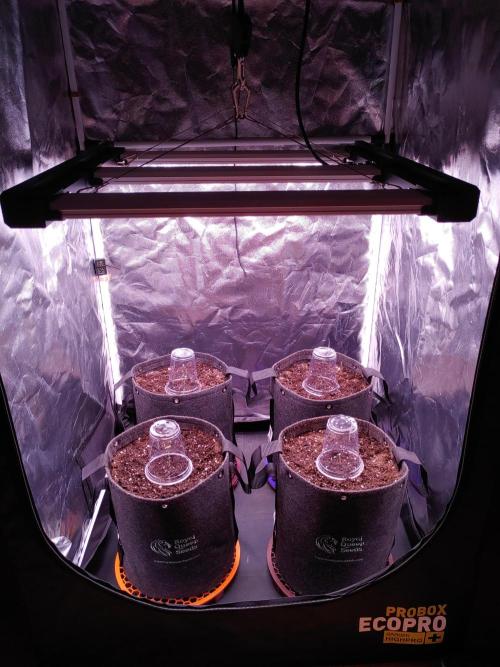
Four RQS Fabric Pot Pro have been prepared.
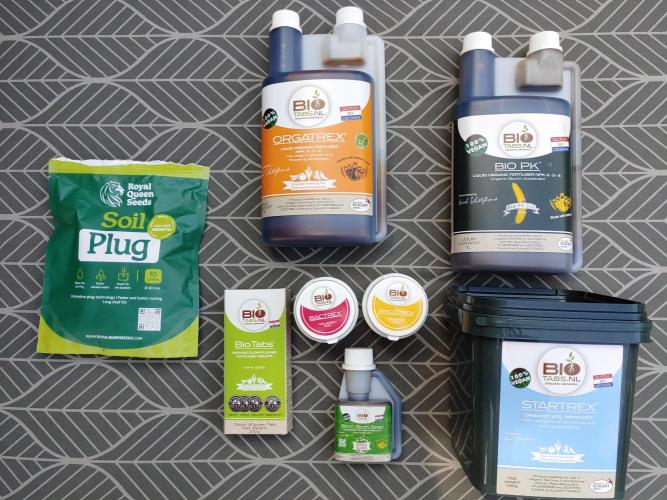
First the pot is filled with Biobizz Lightmix, 2/3 of this is poured over in a bucket with lid. 75grams of Biotabs Startrex is added and then tumble mixed in the bucket. When thoroughly mixed, everything is put back in the fabric pot and receives a light tap on the floor to prevent too much compacting from the first few waterings. After finishing all four, each pot received 1L of a Bactrex (1gr/L) and Orgatrex (10ml/L) solution.
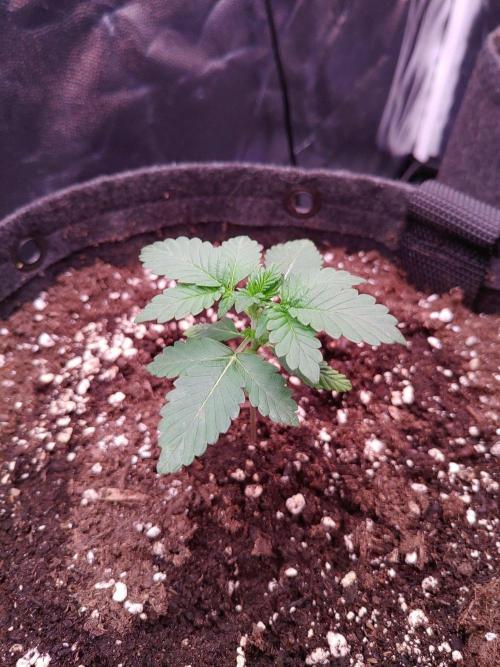
After placing the fabric pots in the grow tent, the Soil plugs are planted.
This is done by first making a ~15cm hole in the centre of the pot. 4grams of Mycotrex is sprinkled in this hole, the hole is filled with soil again and then mixed with the Mycotrex. After this, a hole for the Soil plug is made, making sure the soil plug will be deep enough to be fully under the soil, with each plant at the same height. 1gram of Mycotrex is sprinkled over the soil plug and in the new hole, after which the soil plug is carefully placed in the hole, making sure the taproot isn't damaged. The hole is then closed up and a humidity dome is placed over the plant.
The grow light had to be strung up right at the top of the tent, for the ppfd at the plant to be ~100.
Day 7
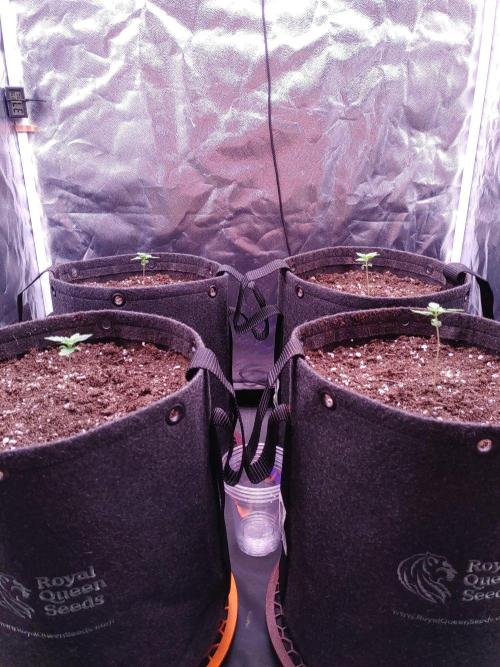
All four plants received two Biotabs fertiliser tablets each.
For each tablet, a hole is first dug halfway between the plant and the rim of the pot, about 5 cm deep. The tablet is placed in the hole and pushed deeper to ~10cm, after which the hole is closed again.
4 likes
3 comments
Share
Used method
Peat Pellet
Germination Method
1
Week 1. Vegetation
13h ago
1/2
5 cm
Height
18 hrs
Light Schedule
29 °C
Day Air Temp
No Smell
Smell
45 %
Air Humidity
22 °C
Night Air Temp
15 liters
Pot Size
Nutrients 1
BoomBoom Spray
5 mll
CountDoobie .
Day 10
All four plants have been sprayed with Biotabs BoomBoom Spray (5ml/L).
Day 11
All four plants have been watered with 250ml tap water, only watering around the edge of the pot to stimulate root growth.
2 likes
comments
Share
2
Week 2. Vegetation
13h ago
1/9
10 cm
Height
18 hrs
Light Schedule
29 °C
Day Air Temp
No Smell
Smell
40 %
Air Humidity
22 °C
Night Air Temp
15 liters
Pot Size
Nutrients 1
BoomBoom Spray
5 mll
CountDoobie .
Day 14
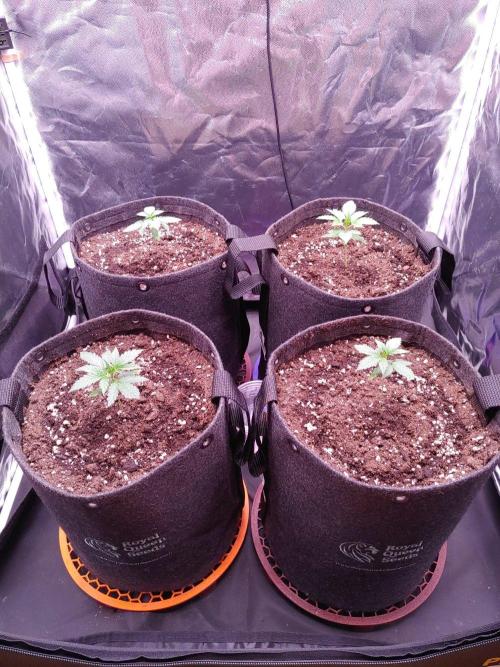
All four plants are sprayed with Biotabs BoomBoom Spray (5ml/L).
Day 15
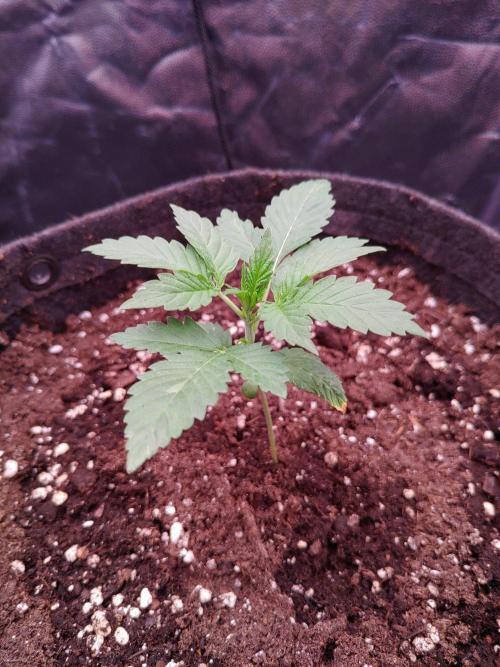
All four plants received 250ml of tap water, around the edge of the pot.
Day 19
All four plants received 500ml of tap water.
Day 20
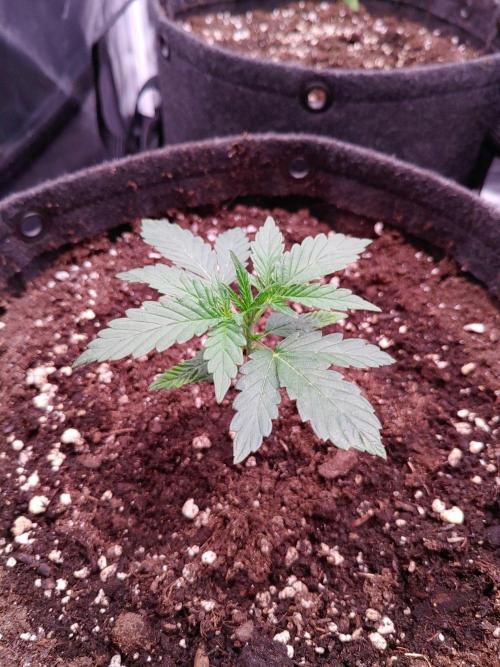
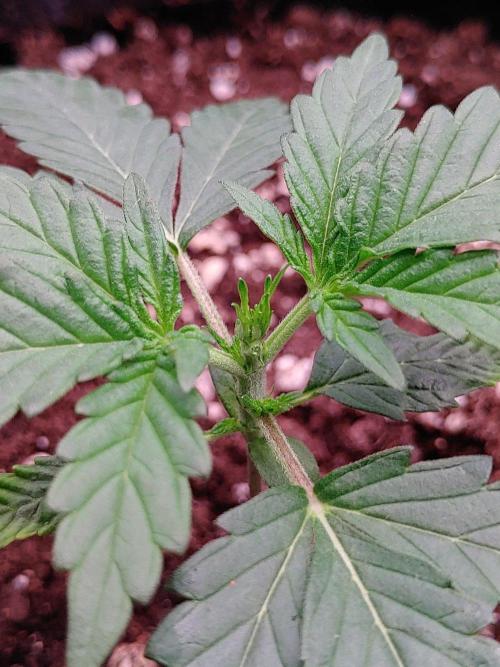
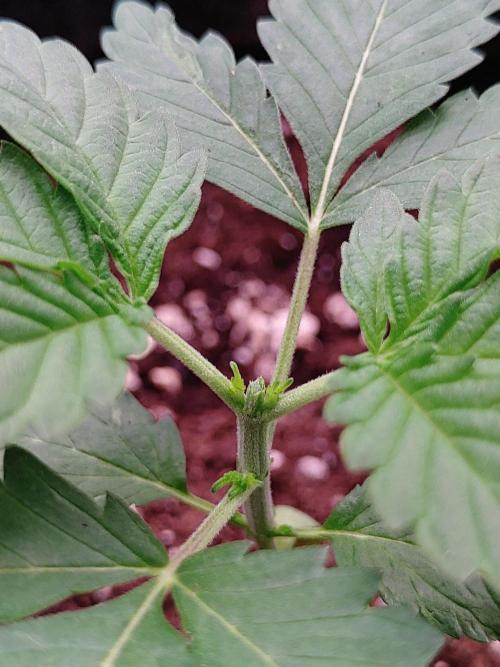
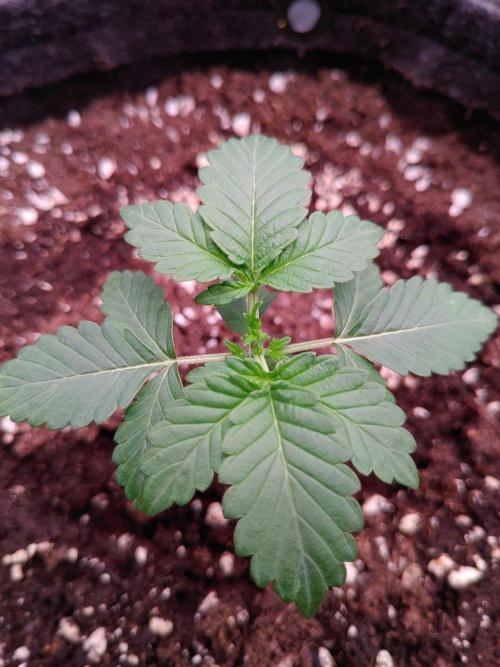
Various training techniques have been applied to the plants.
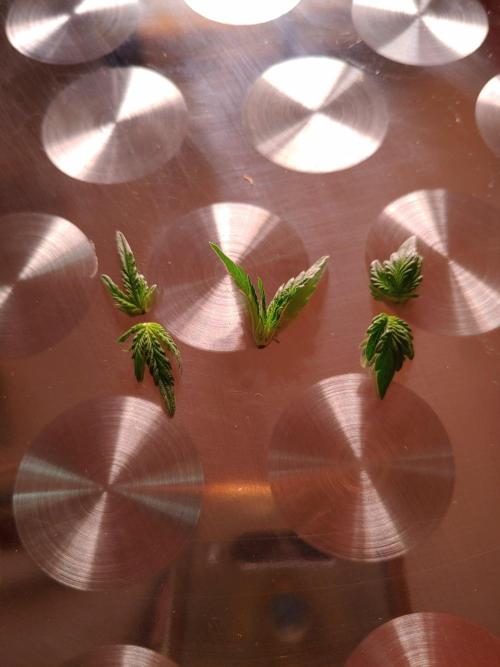
The plant on the rear-right was the best looking plant of the four and has therefore been chosen to apply topping. After sterilising the scissors, everything past the third node has been removed with a clean horizontal cut.
Both plants on the left side have their newest fan leaves removed. This is done to let the lower nodes receive more light and slow down the growth of the main branch a little, hopefully resulting in a more even canopy.
The plant on the front-right has been left alone for now, because it was the least developed of the four (still looking very healthy though).
All four plants have been sprayed with BoomBoom Spray, to help them recover.









 commentedweek 03d ago