


Special Kush #1 - Photoperiodic






Fan
150 mm Clip-on Desk Fan
Rapid Air Movement
Fan
TT inline 100mm 145/187 m3/h
Pure Fan

Filt
Premium Active Carbon Filter 100mm 160-240 m3/h
Urban Premium


Indoor
Room Type
Topping
weeks 2
LST
weeks 3
27 liters
Pot Size
0.2 liters
Watering
Start at 3 Week
G
Germination24d ago
RealChazzy Hello there, fellow growers!
After quite some time, I’ve finally decided to return to Cannabis cultivation. Although I’m a botanist by training, cultivation itself isn’t exactly my primary field of expertise, which makes this project all the more interesting to me. Rather than approaching it as an attempt to achieve a perfect grow from the very beginning, I’d like to treat it as a small personal experiment, documenting the plant’s development, observing its responses, and learning along the way.
For this run, I selected Special Kush #1 from Royal Queen Seeds. The variety initially caught my attention because of its remarkably low price, especially considering the consistently positive feedback surrounding it. I therefore decided to take the opportunity to experiment with my first photoperiod plant.
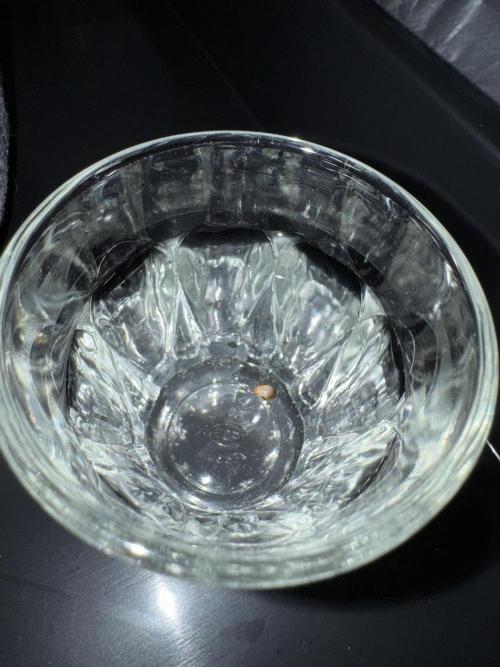
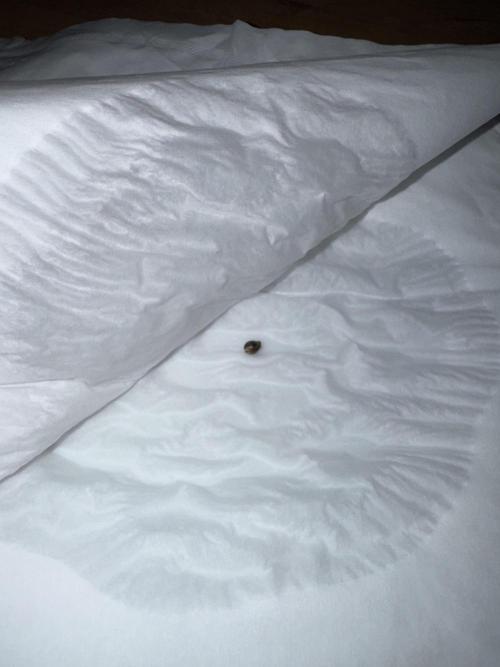
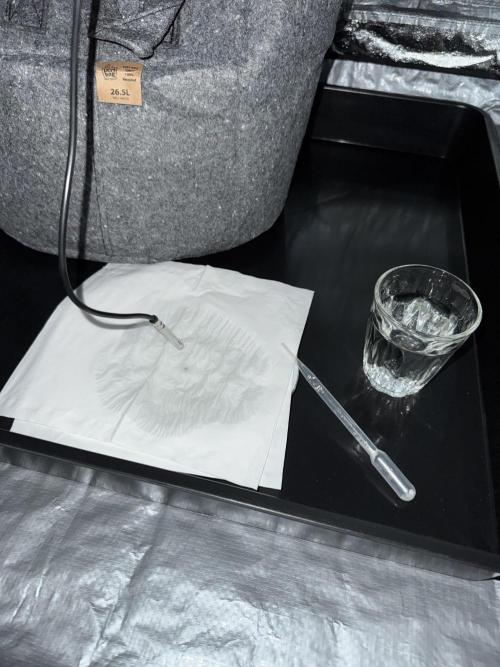
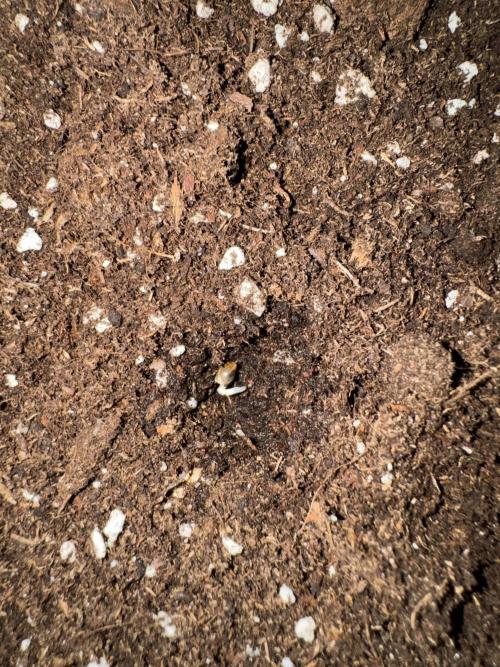
For germination, I opted for the classic combination of glass of water pre-soak followed by a moist paper-towel method. After approximately 24 hours of soaking, the seed was transferred to a moist paper towel, where it soon began developing a taproot.
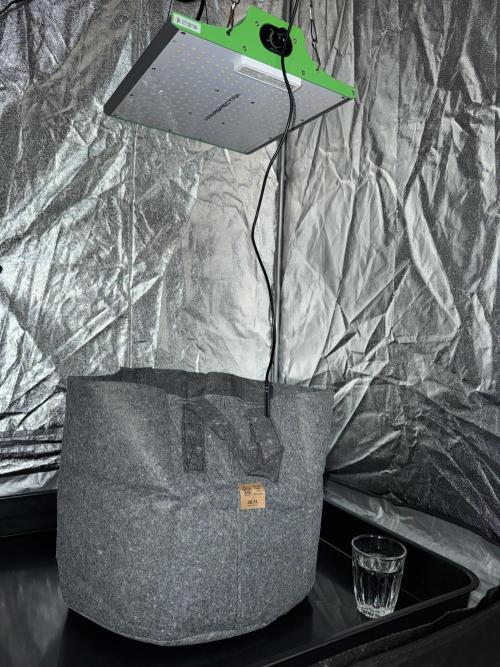
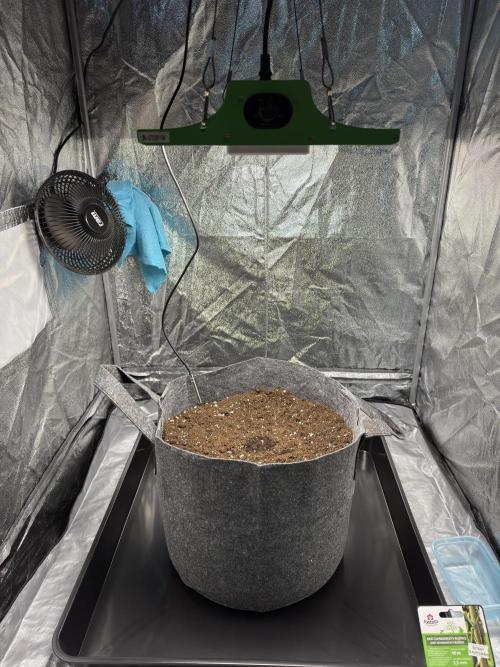
The germination process progressed rather quickly, and by Day 3, the emerging seedling was ready to be planted into its growing medium. I use BioBizz Light-Mix and a 26.5 L (7 gal) fabric pot as the final container.
At this point, I also established the initial lighting schedule and environmental conditions for the grow. The cultivation takes place in an 80x80 cm (31.5x31.5 in) grow tent, with a Viparspectra P600 LED providing the primary light source.
From this point onward, my main focus has been observation. As a botanist, I’m particularly interested in following the transition from the newly emerged seedling into a more structurally developed juvenile plant. I’ve therefore been keeping an eye on overall morphology, stem elongation, leaf development, and general plant vigor.
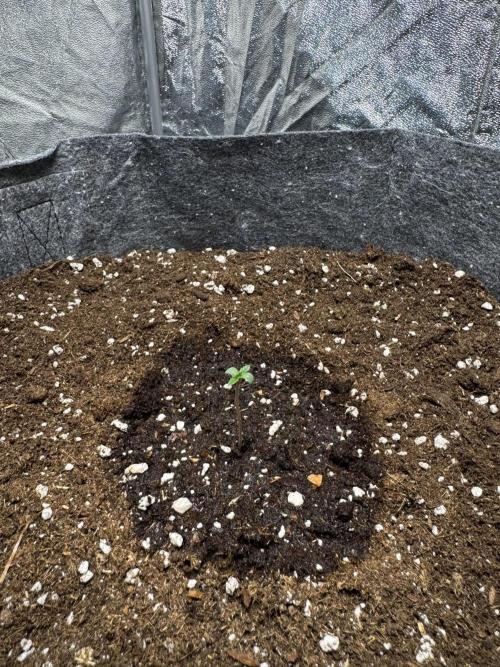
During the first few days, the seedling remained relatively small and delicate, so watering was carried out conservatively, primarily with a sprayer. The water used was maintained at approx. pH 6.
By Day 6, the seedling had reached 4.5 cm (1.77 in) in height. At this point, I made a small adjustment to the lighting conditions while keeping the fixture at the same distance.
Interestingly, by Day 7, the initial period of rapid vertical elongation appeared to be slowing down, while development of the first pair of true leaves became increasingly pronounced. This was a welcome change, as the plant was beginning to exhibit a more recognizable seedling morphology rather than simply investing heavily in early stem extension.
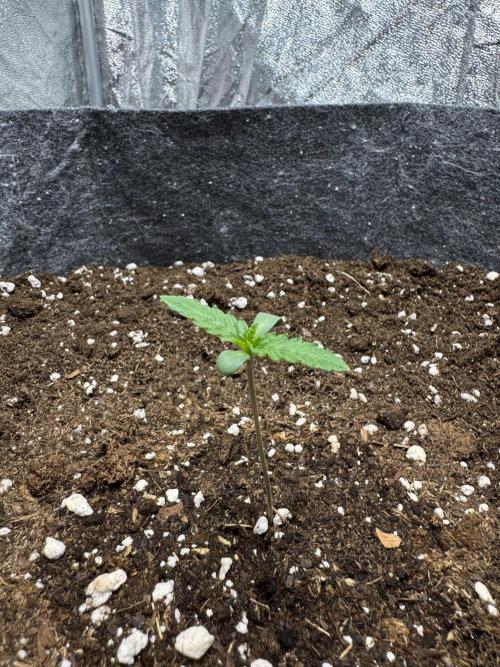
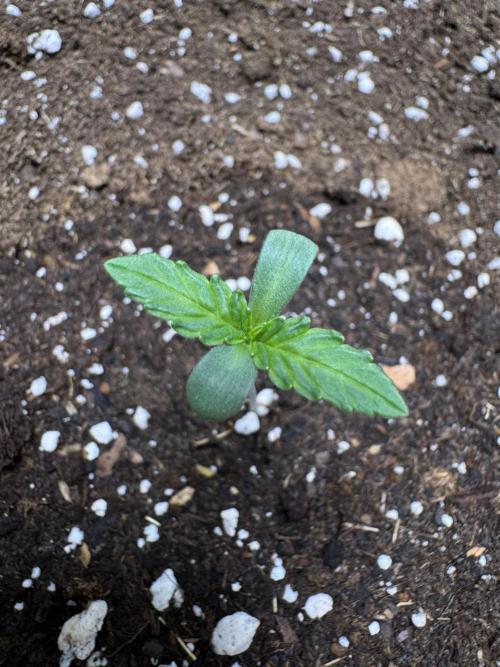
And that brings us to Day 9 since the beginning of germination, which I’m also going to designate as Vegetative Day 1 for the purposes of this journal.
At this stage, the seedling looks exceptionally healthy. It has a sturdy appearance, good coloration, and is showing clear progression in true-leaf development. Its current height is 6 cm (2.36 in).
So far, the experiment has been off to a very promising start. The coming weeks should be considerably more interesting as the plant moves beyond its earliest developmental stage and begins establishing a more complex vegetative structure.
See you next week!
3 likes
1 comment
Share
Used method
Glass Of Water
Germination Method
1
Week 1. Vegetation16d ago
9 cm
Height
18 hrs
Light Schedule
25 °C
Day Air Temp
6.3
pH
No Smell
Smell
73 %
Air Humidity
24 °C
Night Air Temp
26.5 liters
Pot Size
0.1 liters
Watering Volume
50 cm
Lamp Distance
RealChazzy Hi there again, fellow growers!
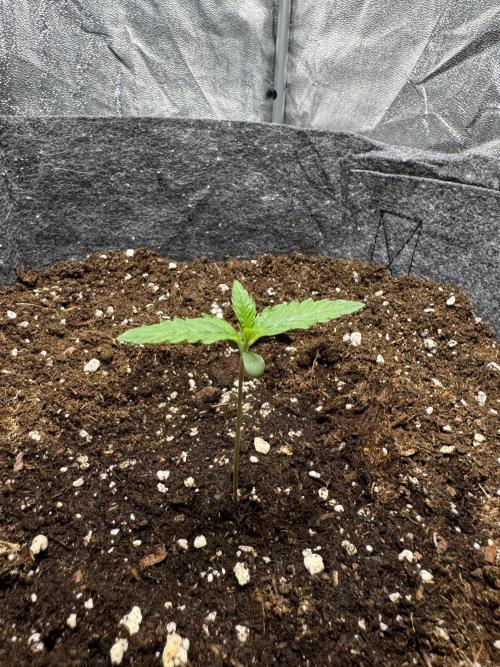
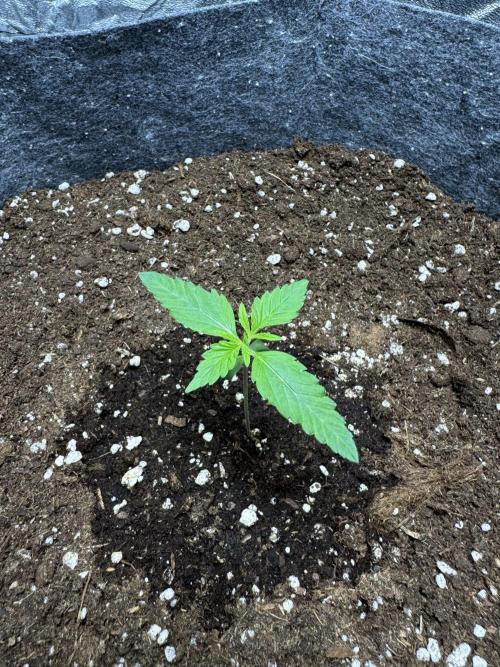
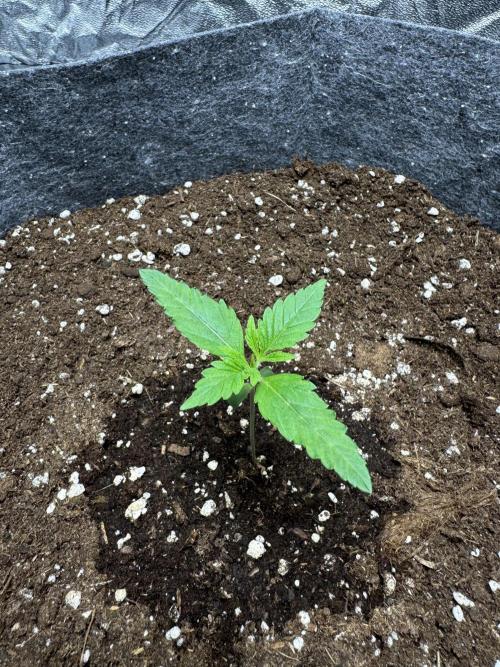
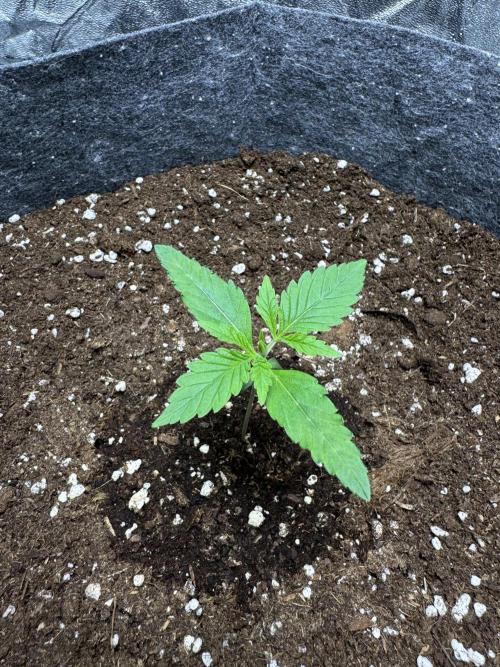
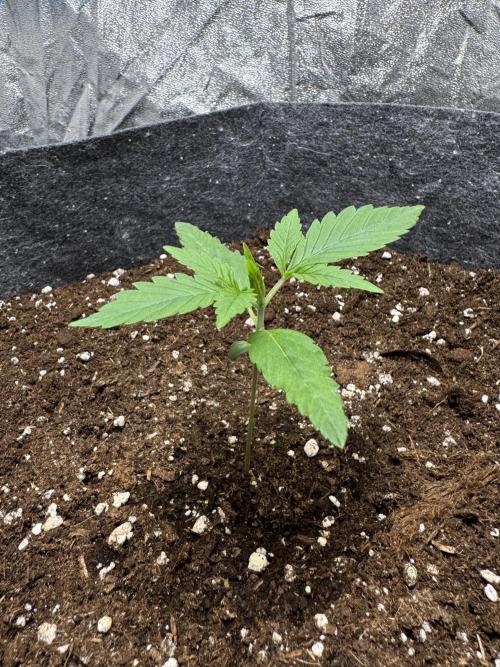
Vegetative Week 1 is officially in the books! The plant is doing remarkably well so far, showing no apparent signs of stress, dissatisfaction, or genetic abnormalities.
On Vegetative Day 2, I gave the plant its first more substantial watering, 0.5 L of water at pH 6.3. The growing medium retained sufficient moisture throughout the remainder of the week, so no further watering was necessary.
Environmental conditions remained fairly stable, with an average relative humidity of 73%, while I’m aiming to maintain it within the 70-80% range. The average daytime temperature was 25°C (77°F), compared with 24°C (75°F) during the night.
The plant started the week at 6 cm (2.36 in) and reached 8 cm (3.15 in) by Vegetative Day 7. Interestingly, most of its growth was directed toward leaf development rather than vertical elongation, resulting in a noticeably fuller appearance.
The light remained positioned 50 cm (19.7 in) above the plant throughout the week. On Vegetative Day 5, as the second pair of true leaves began developing rapidly, I increased the light output from 40% to 50%.
As for aroma, there is still very little to report. A noticeable scent is present only when the plant is touched directly. There’s currently no detectable aroma in the surrounding air.
That’s all for this week. Everything seems to be progressing nicely, and I’m looking forward to seeing how the plant develops furthermore!
See you next week!
3 likes
comments
Share
2
Week 2. Vegetation9d ago

12 cm
Height
18 hrs
Light Schedule
25 °C
Day Air Temp
6.2
pH
Weak
Smell
73 %
Air Humidity
23 °C
Night Air Temp
26.5 liters
Pot Size
0.14 liters
Watering Volume
46 cm
Lamp Distance
RealChazzy Hello again!
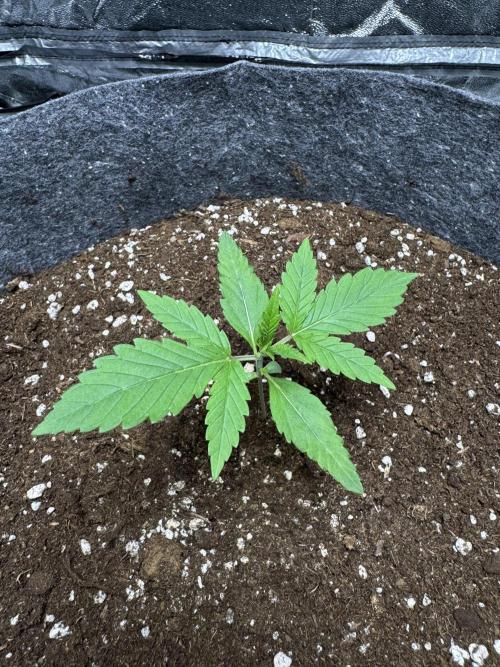
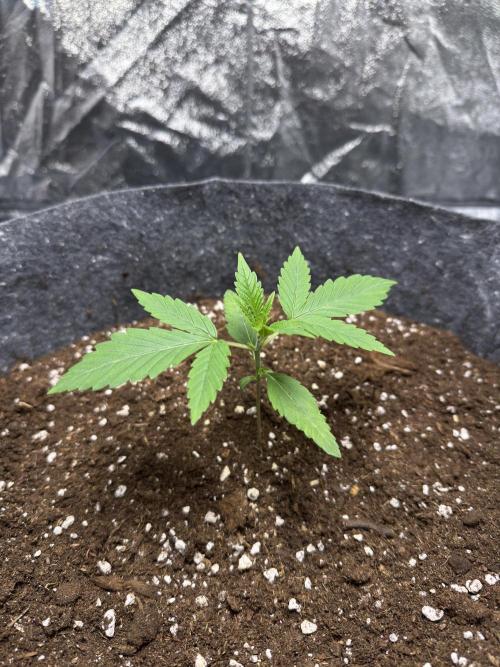
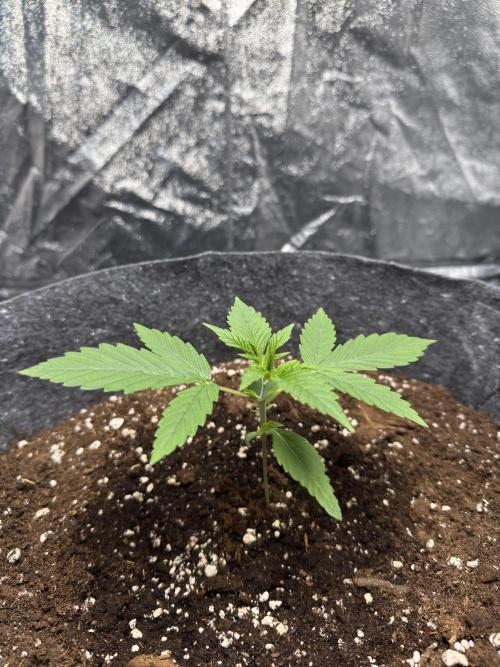
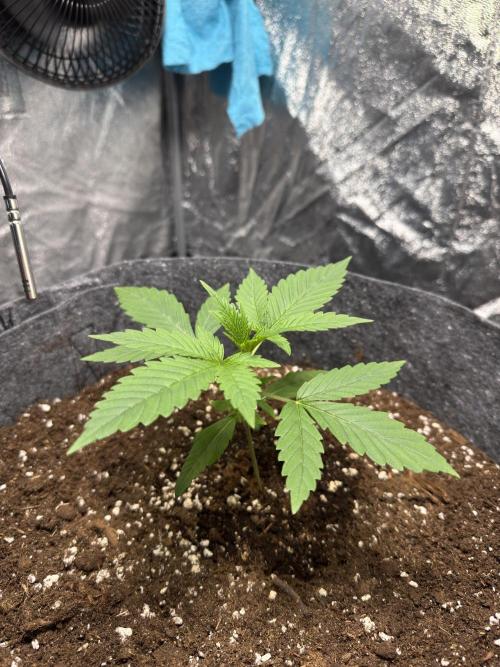
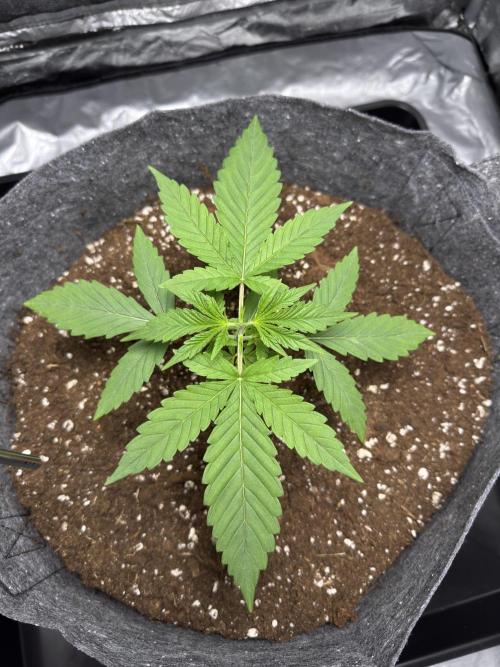
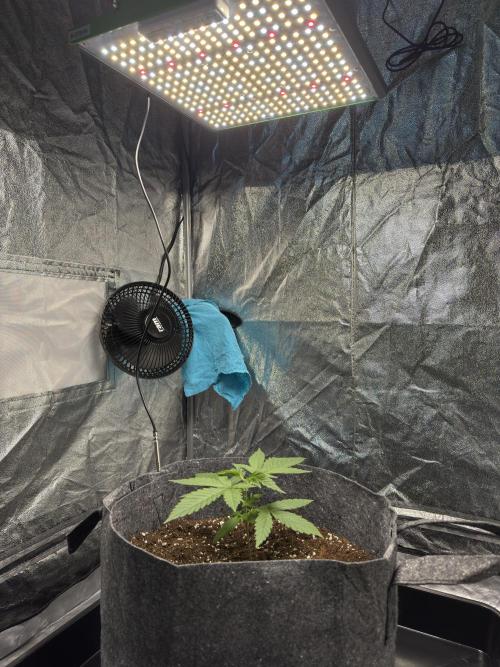
Vegetative Week 2 is officially behind us! The plant continues to establish itself well in the growing medium and is showing slightly more vigorous growth compared to the previous week.
On Vegetative Day 8, I increased the light output from 50% to 60% and adjusted the fixture back to approximately 50 cm (19.7 in) above the plant. At this point, the plant stood at 8,5 cm (3.35 in).
On Day 9, I gave the plant 0,5 L of plain water at pH 6,5; with no added nutrients.
By Day 10, the first faint aroma of the plant became noticeable for the first time. The fourth pair of true leaves was beginning to unfold, while the plant had reached 10 cm (3.94 in) in height.
By Day 12, the plant appeared to be thriving. I observed no discoloration, visible deficiencies, or other abnormalities, so I increased the light output once again, from 60% to 80%.
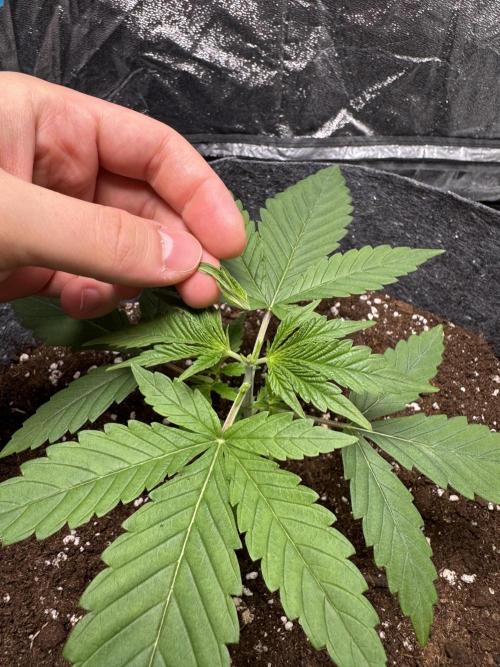
Vegetative Day 13 marked an important milestone, as I made my first direct intervention in the plant’s growth. A topping cut was made just above the fourth node, with the fifth node already developing. I deliberately left the surrounding fan leaves intact, as I considered additional defoliation at this stage to be unnecessarily stressful for the plant.
On the final day of the week, Day 14, the surface of the growing medium had dried out, so another 0,5 L watering with plain water at pH 6,2 was carried out.
Environmental conditions remained relatively stable throughout the week, with an average relative humidity of 73%. The average daytime temperature was 25,1°C (77.2°F), while the average nighttime temperature was 22.6°C (72.7°F).
My girl (hopefully) is becoming increasingly aromatic, so it probably won’t be long before a carbon filter joins the setup!
See you next week!
5 likes
1 comment
Share
Used techniques
Topping
Technique
3
Week 3. Vegetation3d ago
19 cm
Height
18 hrs
Light Schedule
24 °C
Day Air Temp
6.2
pH
Weak
Smell
74 %
Air Humidity
22 °C
Night Air Temp
26.5 liters
Pot Size
0.2 liters
Watering Volume
44 cm
Lamp Distance
Nutrients 1
Bio-Grow
1 mll
RealChazzy Hello again, dear growers!
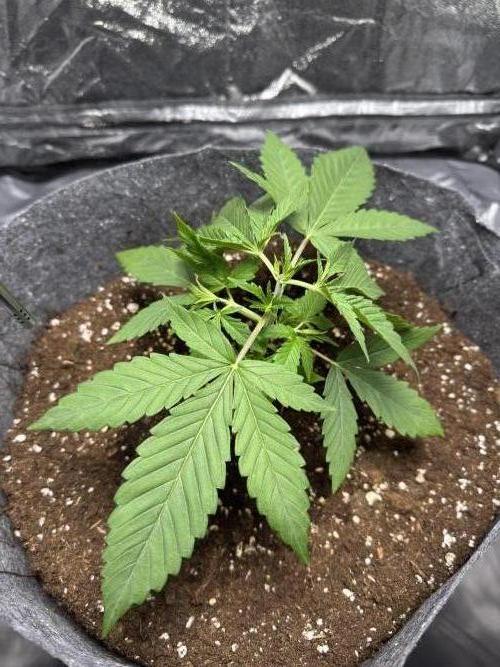
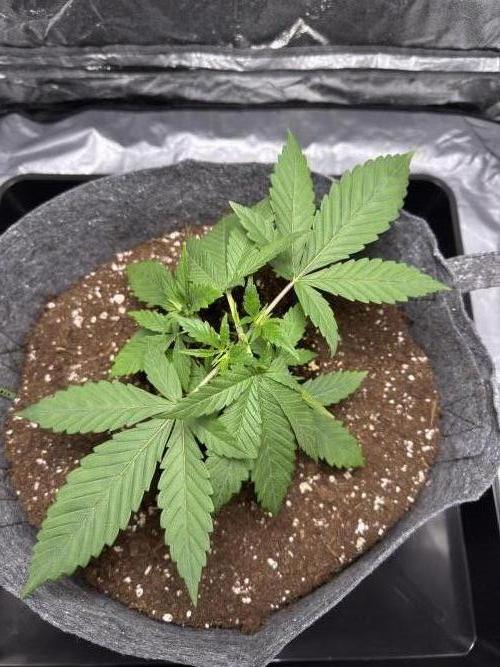
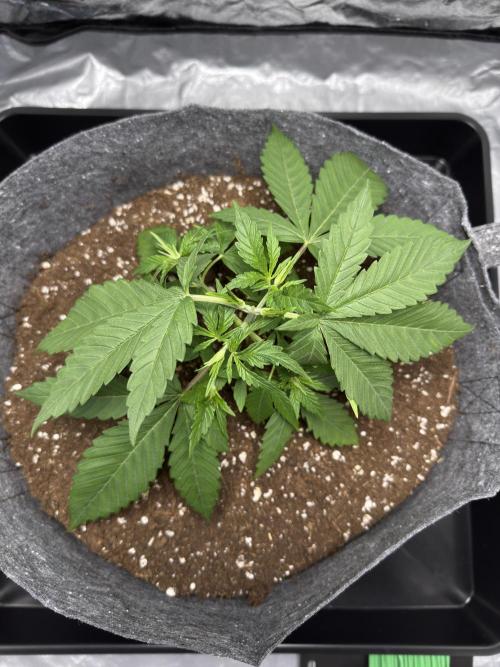
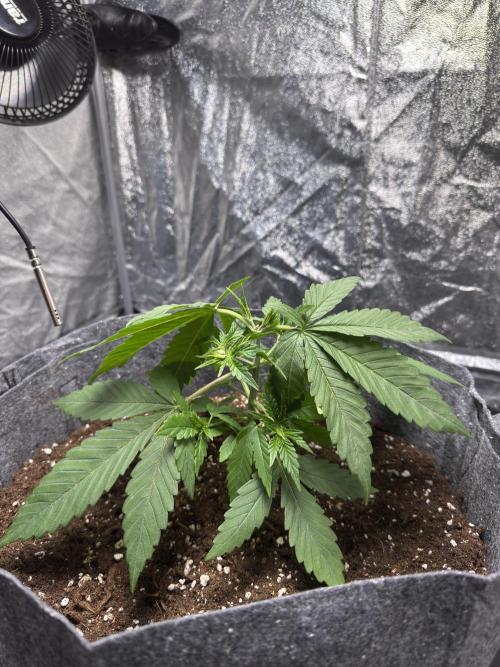
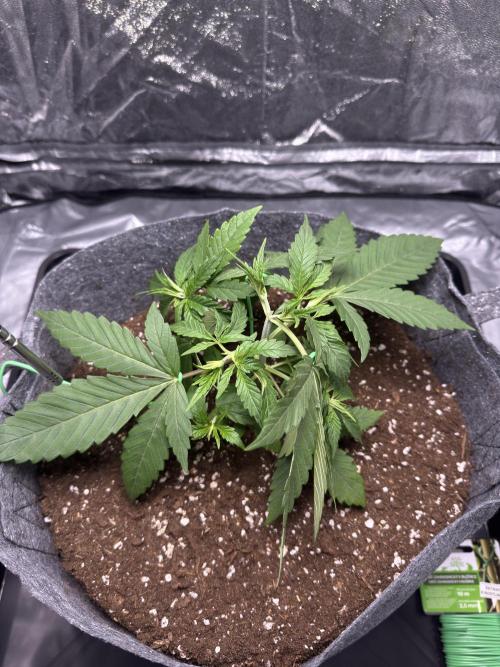
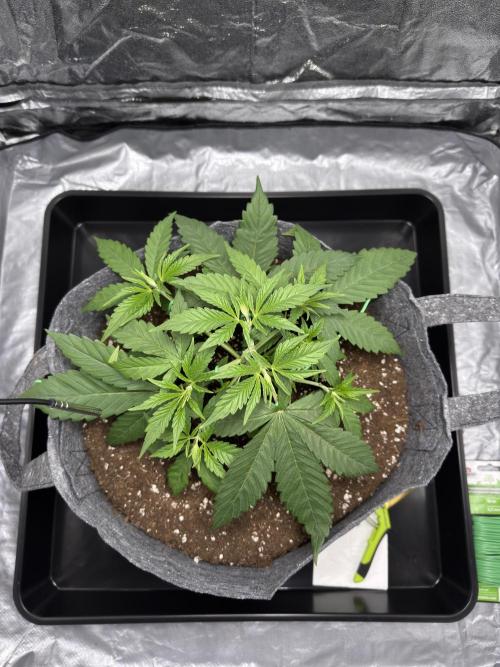
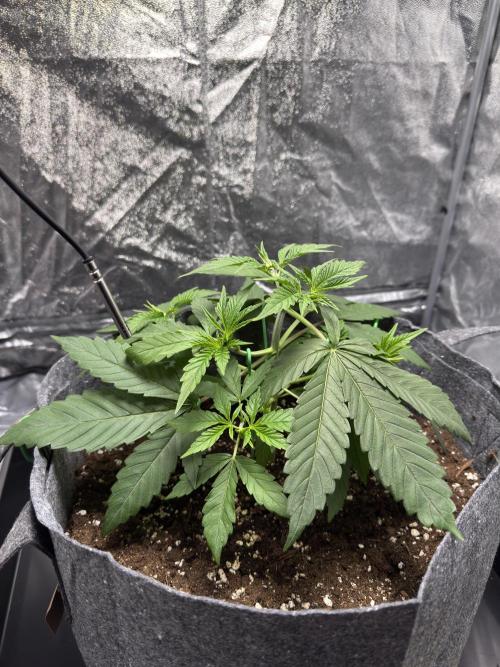
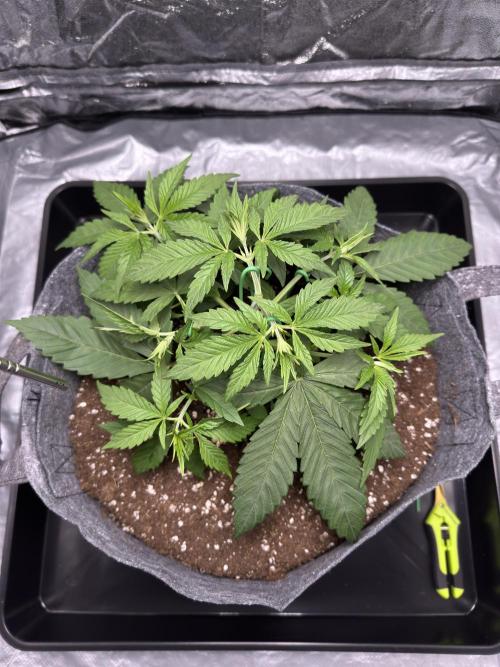
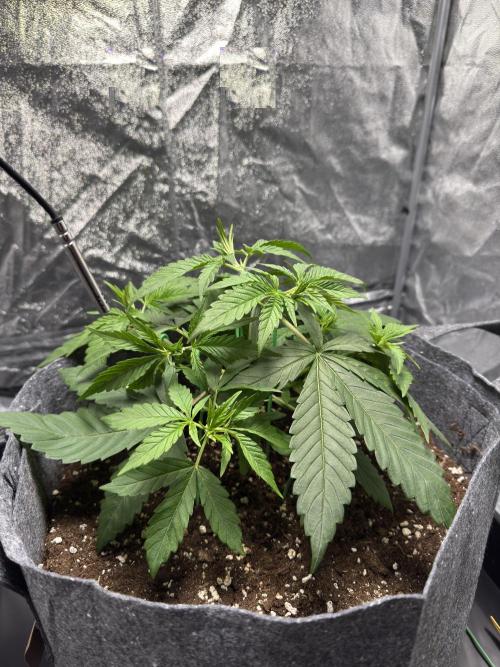
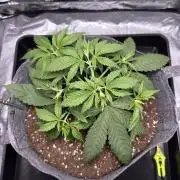
Vegetative Week 3 is complete! This week marked a noticeable acceleration in growth, with the plant beginning to invest considerably more into its overall structure. The difference is especially apparent when comparing the photos taken throughout this week.
So far, the girl continues to look remarkably healthy, with no visible discoloration, leaf deformities, or signs of stunted growth.
The arrival of astronomical autumn has finally started to make itself felt outdoors, with the temperatures gradually dropping. This trend is also reflected in the growing environment, although the change has been relatively moderate.
The weekly averages are: Relative humidity 73.7%; Daytime temperature 23.9°C (75°F); Nighttime temperature 21.4°C (70.5°F)
On vegetative day 15, the plant stood at 13 cm (5.12 in). By the end of the week, on Day 21, it had reached 19 cm (7.48 in).
The light remained at 80% output, with the fixture positioned approximately 44 cm (17.3 in) above the plant.
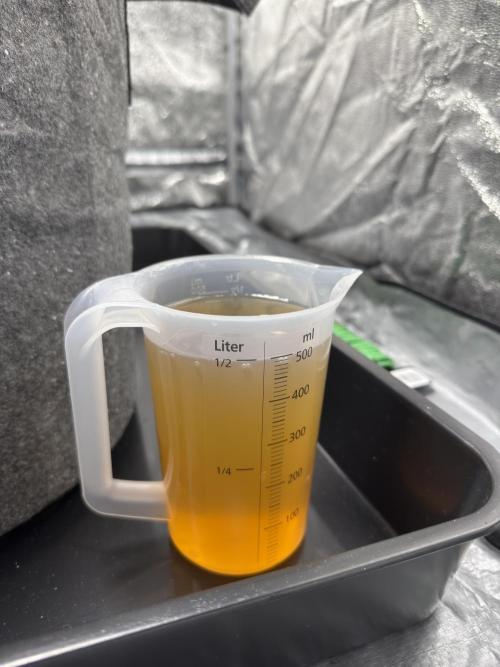
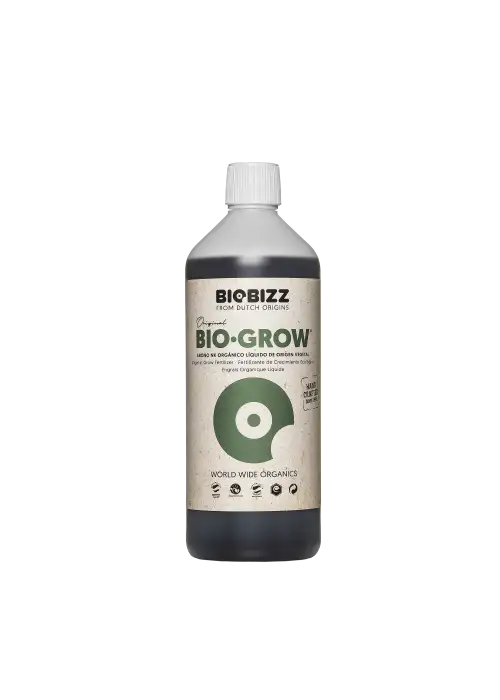
This week, watering was carried out only once, but the volume was increased from 0.5 L to 1.5 L. I also introduced the first dose of nutrients, using BioBizz BioGrow at half of the recommended concentration (1ml/L instead of 2ml/L). The plant responded really well, and the growing medium now appears to be drying noticeably faster than before.
This week also introduced a new training technique to the repertoire: LST. The main objective is to encourage a wider plant structure and promote a more even distribution of light across the developing colas.
LST was accompanied by occasional leaf tucking, although a few leaves were positioned in a way that significantly shaded important growth sites. These were removed manually with scissors, but the intervention remained very minor (only 4 small leaves in total were removed throughout the entire week).
The daily progression was as follows: Day 15 (leaf tucking only); Day 16 (leaf tucking only); Day 17 (leaf tucking and a check of the growing medium’s moisture level); Day 18 (first LST session in the morning, later that evening the plant recieved 1.5 L of dechlorinated water containing 1.5 ml of BioBizz BioGrow, at 6.2 pH); Day 19 (two small leaves removed, followed by LST adjustments); Day 20 (another two leaves removed, LST adjustments); Day 21 (further LST adjustments, without any leaf removing)
Overall, the plant appears to be responding exceptionally well. Growth has accelerated noticeably, the canopy is beginning to take shape.
See you next week! Onto the week number 4!
2 likes
comments
Share
Used techniques
LST
Technique
Enjoying this diary? Follow for more updates!
Prefer the old Diary view?
Go back to the old Diary view