


3M • Auto Blueberry ΘЯGΛИIϾ



VEG
CFL 6400K Fluorescent/100W
CFL 6400K
VEG
Panel 7700K Light Emitting Diodes/35W
Panel 7700K
FLO
Mix: FS, 2700K, 660nm Light Emitting Diodes/65W
Mix: FS, 2700K, 660nm


Soil
Custom

Indoor
Room Type
FIMing
weeks 5
Defoliation
weeks 6-8
6 liters
Pot Size
Start at Harvest
1
Week 1. Vegetation6y ago


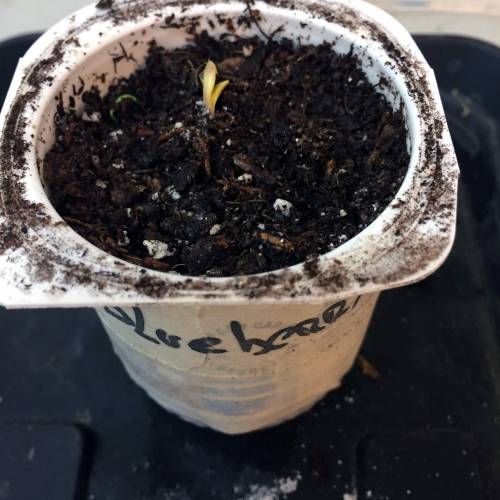
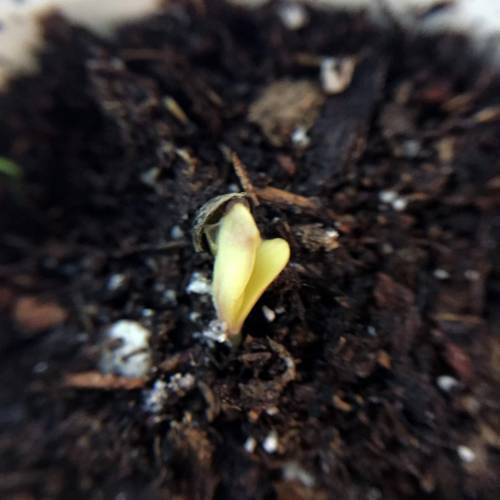
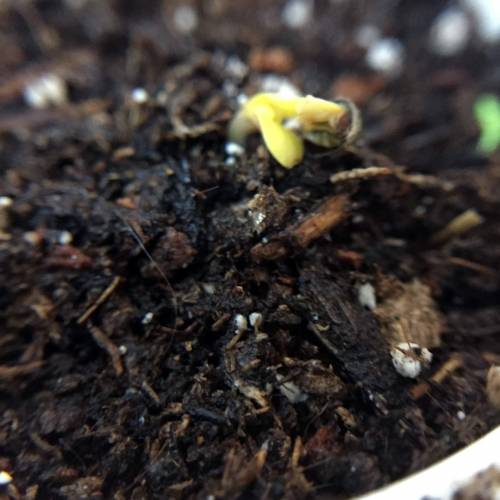
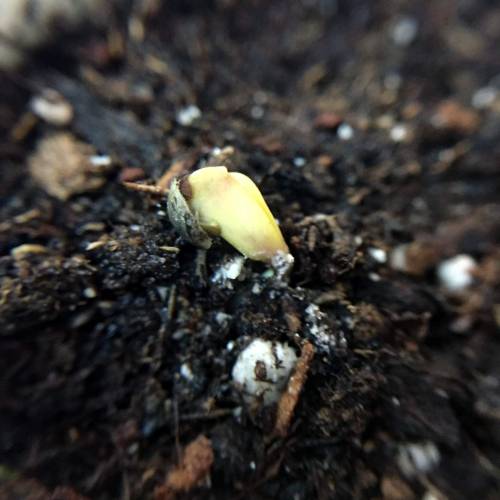
2 cm
Height
20 hrs
Light Schedule
28 °C
Day Air Temp
6.1
pH
450 PPM
TDS
70 %
Air Humidity
21 °C
Solution Temp
24 °C
Substrate Temp
23 °C
Night Air Temp
30 cm
Lamp Distance
Nutrients 4
Ormus
2 mll
Humato
1 mll
Auxinas
2 mll
deFharo 3M: Minerals, Microorganisms, and Organic Matter.
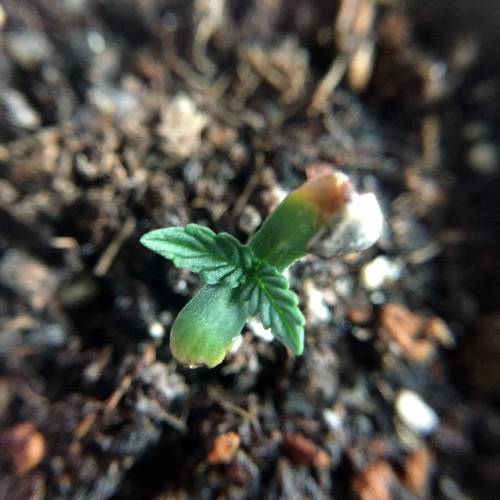
New bastard crop with an autoflowering variety mix of Blueberry x Ruderalis. 80% Indica - 20% Sativa.
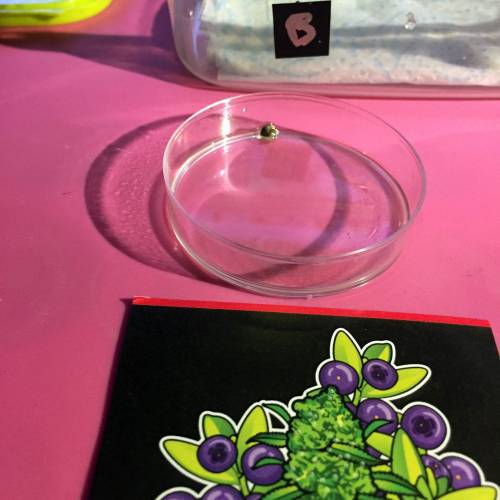
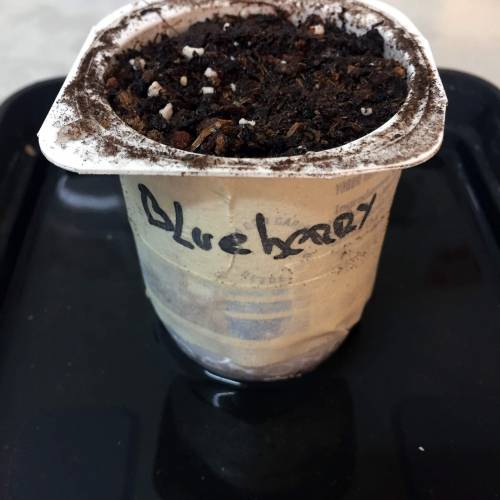
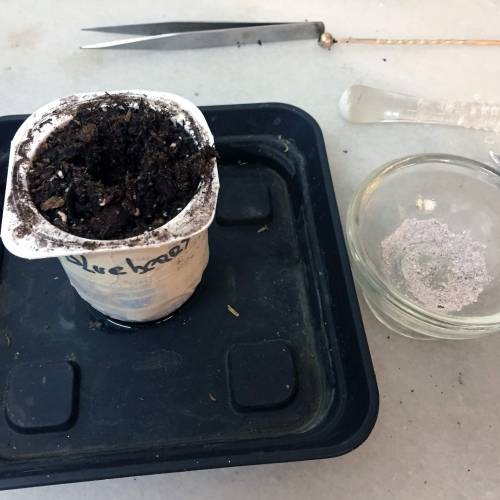
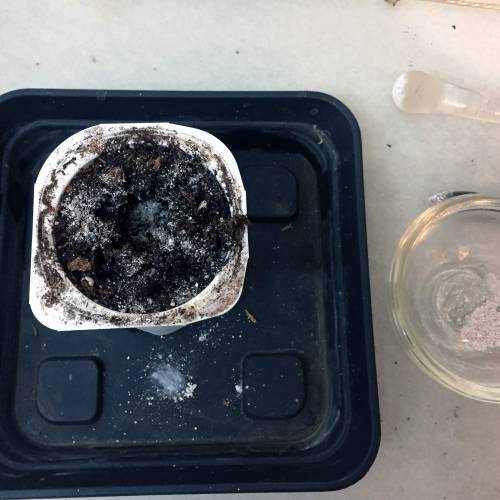
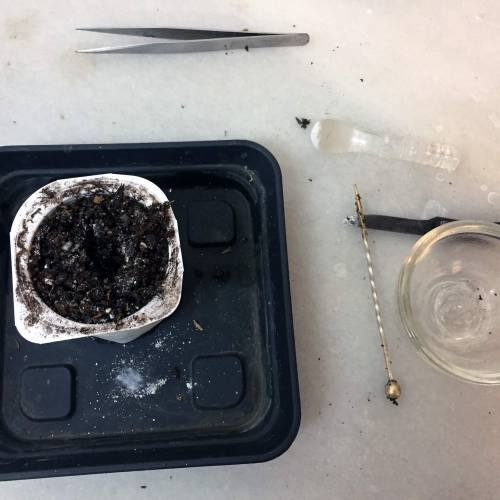
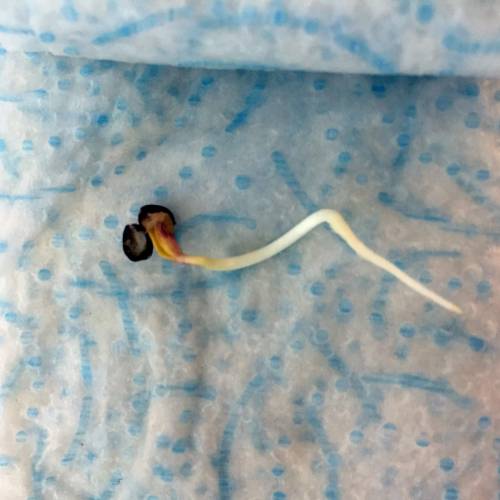
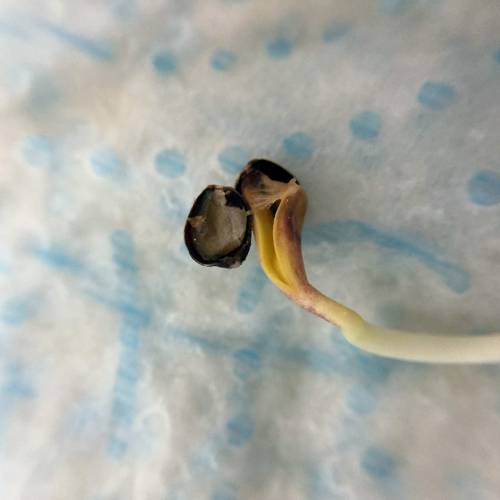
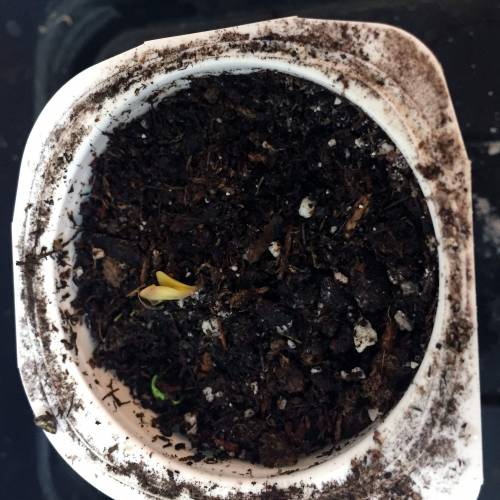
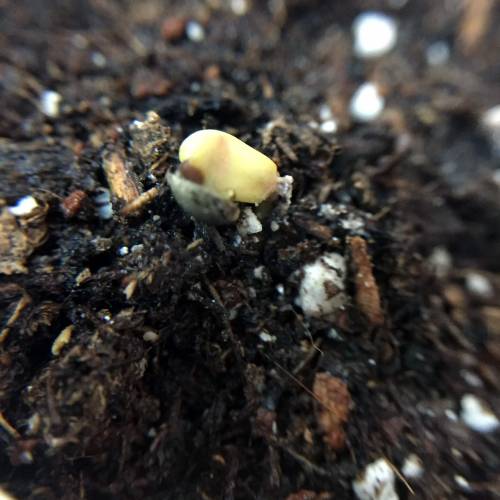
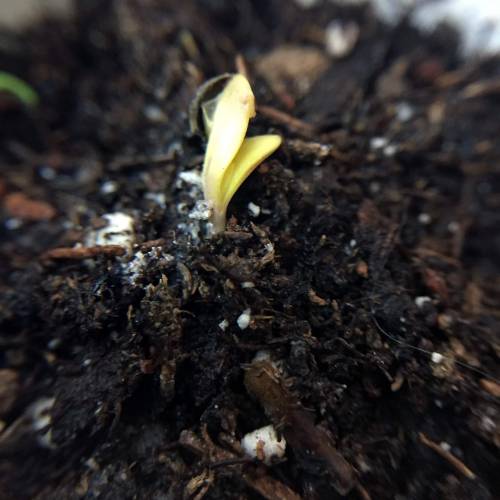
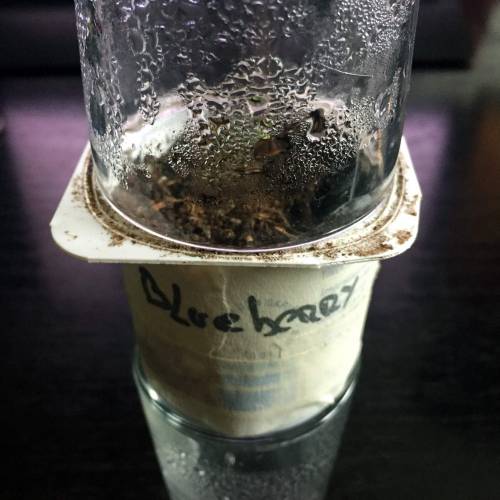
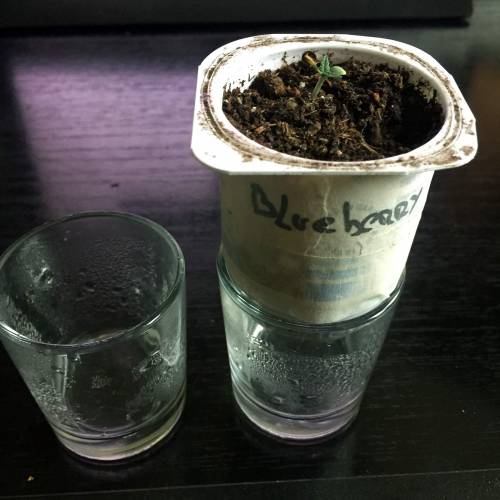
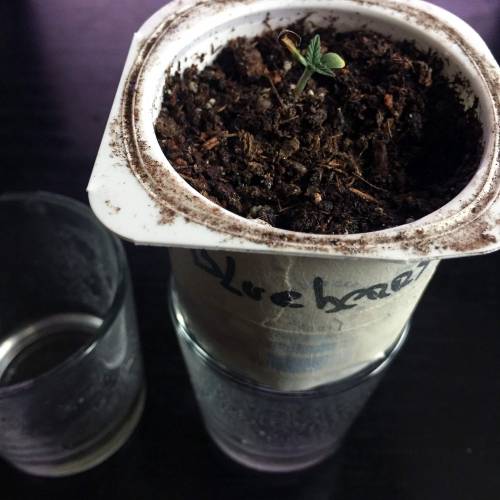
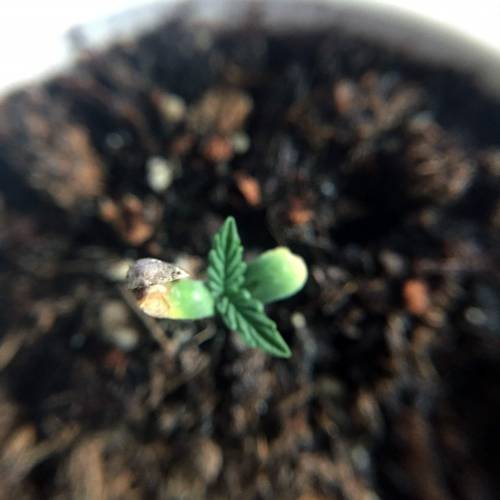
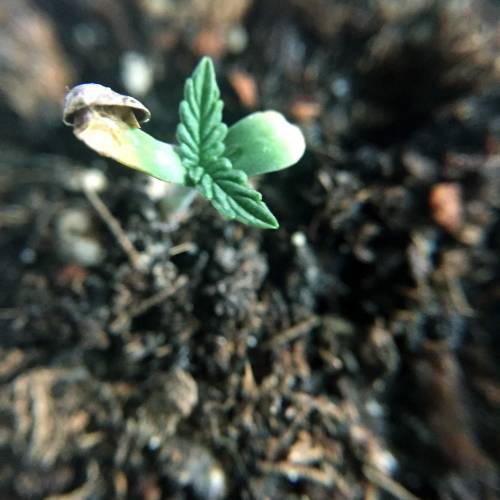
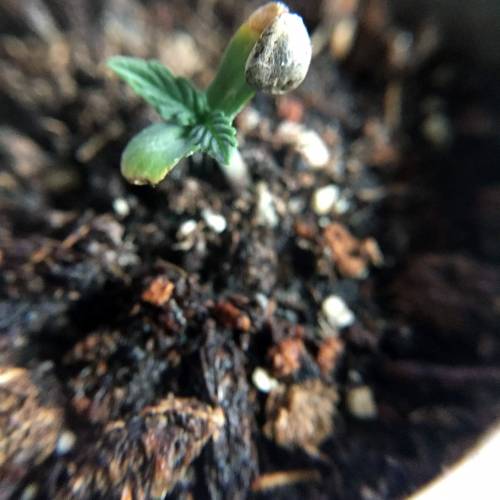
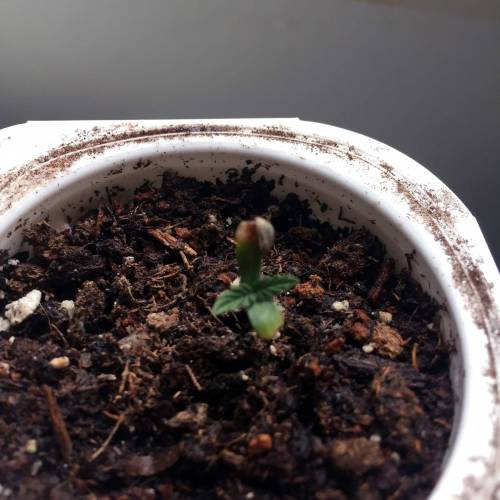
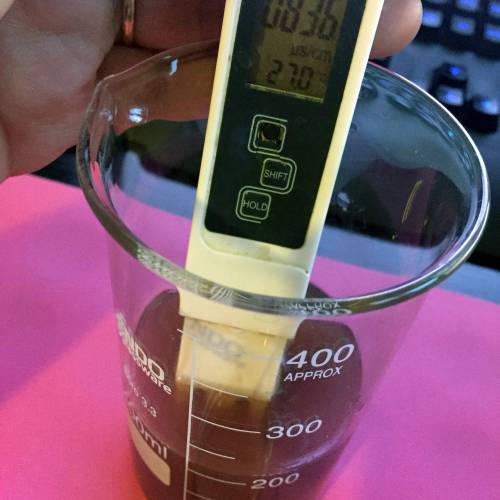
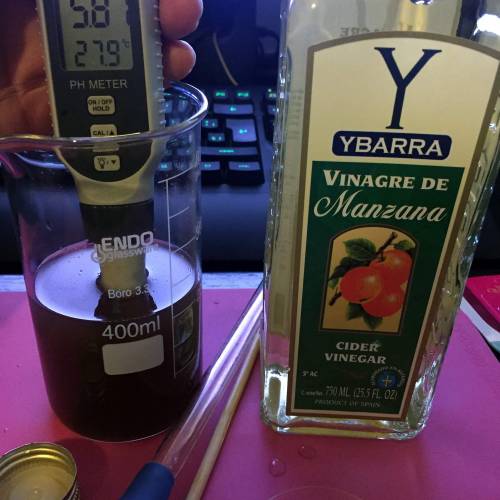
I prepared a solution made of ormus, homemade auxins, and humate to help germinate the seed. Before placing the seed between damp paper, I had the seed submerged in the solution for 3 minutes at 25°C. The seed germinated after 24 hours with a lot of vigor, and I transplanted it into soil after 36 hours. As in my previous diaries, I mix auxins (promotes rooting) and mycorrhizae into this first substrate, which is very light with peat, coco, and perlite. I also encapsulate the container from the top (to maintain high humidity) and from the bottom (to promote vertical root growth).
Despite the vigor in the seed germination, the transplant blocked the seedling for 3 days. I will leave the seedling in the same container for 3 weeks to create a strong root system.
Until next time. Cheers!!
7 likes
comments
Share
2
Week 2. Vegetation6y ago


4 cm
Height
19 hrs
Light Schedule
27 °C
Day Air Temp
6.0
pH
150 PPM
TDS
60 %
Air Humidity
22 °C
Solution Temp
22 °C
Substrate Temp
23 °C
Night Air Temp
30 cm
Lamp Distance
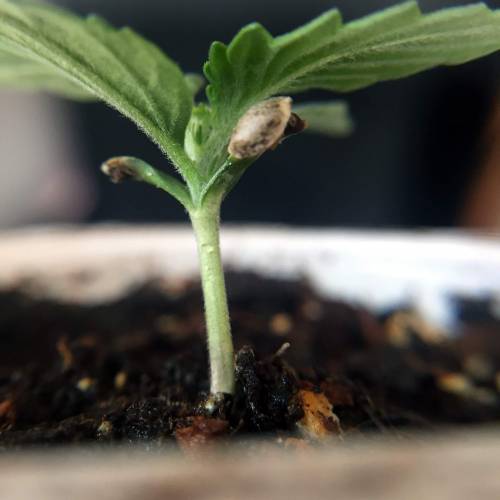
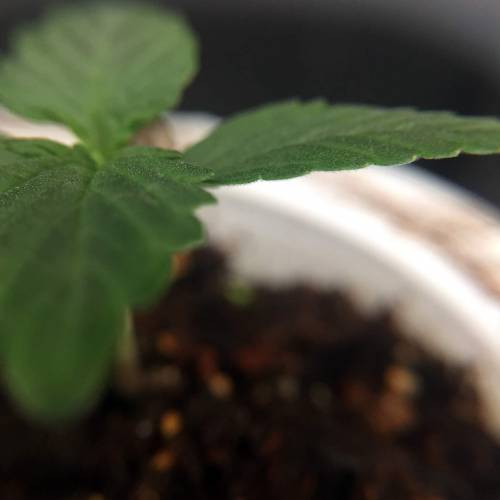
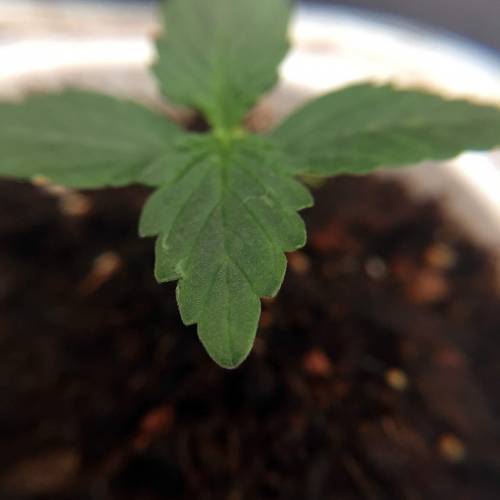
deFharo The growth of this seedling is progressing. It doesn't show much vigor, but I will wait for the roots to fill the container before transplanting. I'm not having a good experience with transplanting autos; I'm going to try to strengthen this seedling as much as possible, and after the transplant, I will be very careful with the substrate's moisture. I'm freaking out!!
I'm only adding mineral water with a bit of honey to help the microbes in the substrate.
Until next time. Cheers!!
6 likes
comments
Share
3
Week 3. Vegetation6y ago


6 cm
Height
18 hrs
Light Schedule
28 °C
Day Air Temp
6.0
pH
400 PPM
TDS
60 %
Air Humidity
22 °C
Solution Temp
24 °C
Substrate Temp
24 °C
Night Air Temp
5.5 liters
Pot Size
0.05 liters
Watering Volume
30 cm
Lamp Distance
Nutrients 7
Ormus casero
10 mll
Auxinas caseras
100 mll
MMA
10 mll
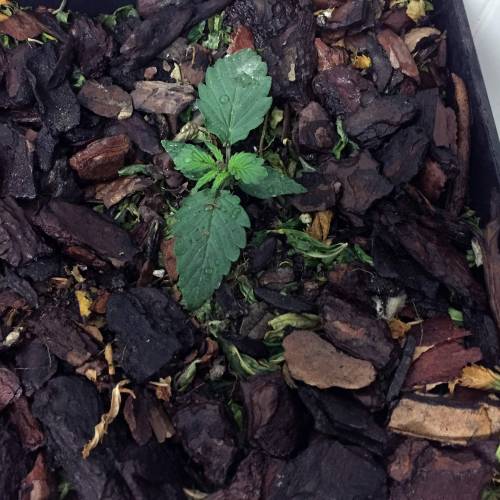
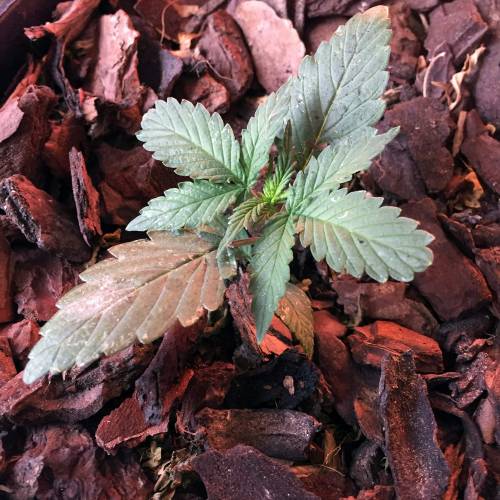
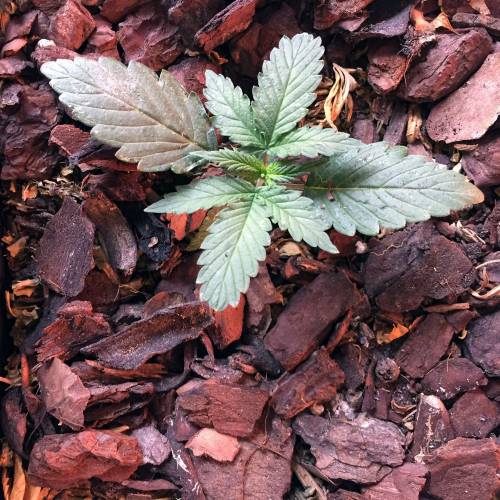
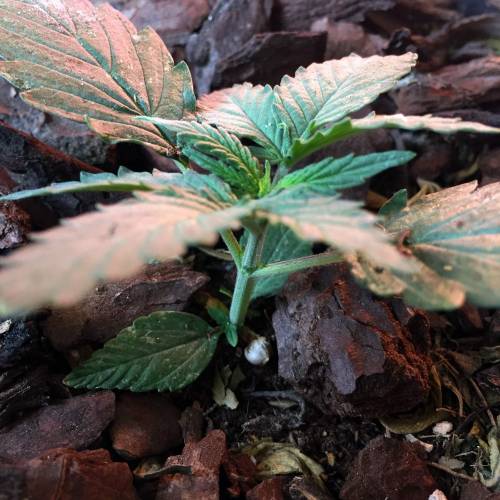
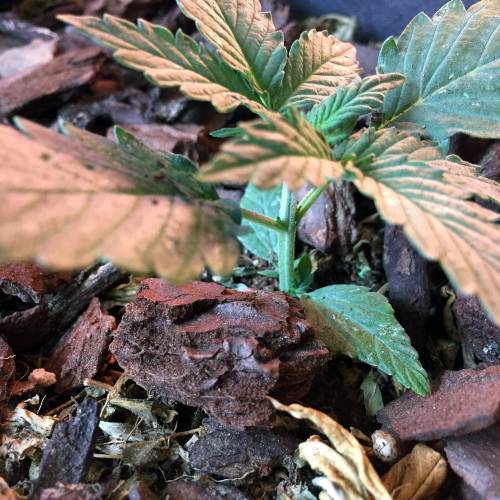
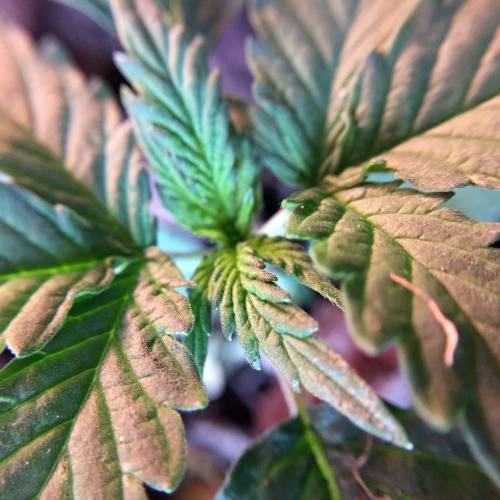
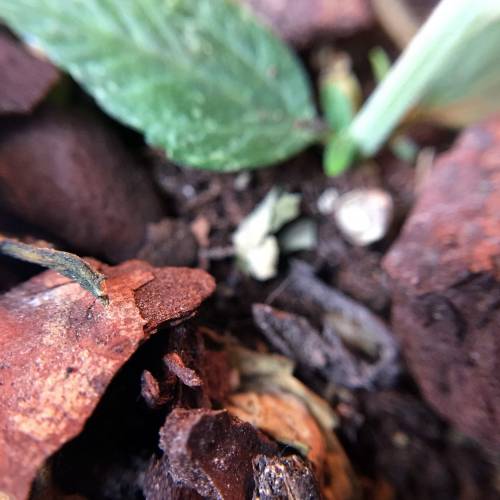
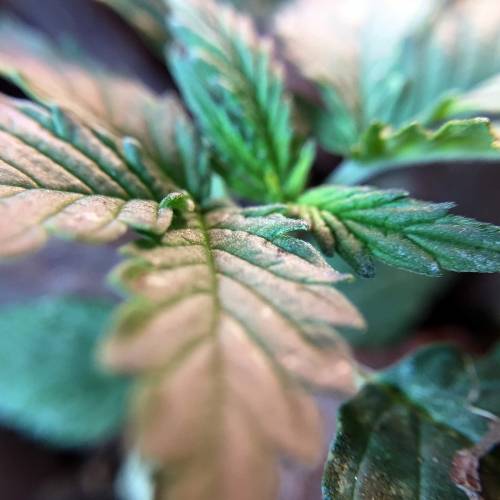
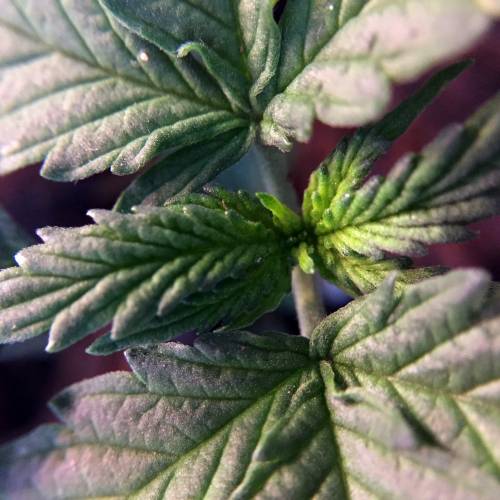
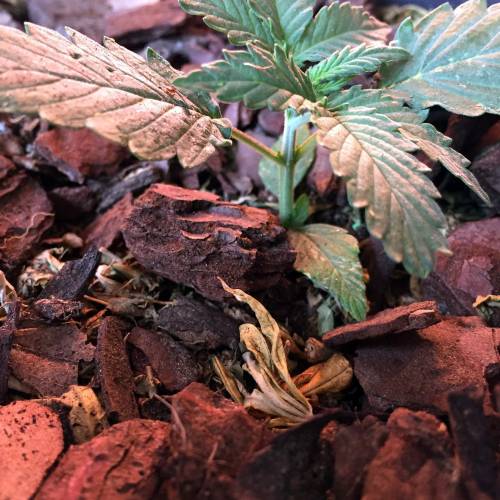
deFharo I decided to transplant early to the final pot. I was worried about the failures of my last two autos, so I paid special attention to the light composition of the substrate, the drainage capacity, and also the initial watering, which I did with 300ml. Of that, I applied 100ml at the base of the plant, and in the following days, I added the same amount of water that was consumed daily, about 50ml. Even though this seedling showed slow growth and when it was time to transplant, the few roots came off the soil, I lost hope for this crop. But 4 days later, the seedling looks healthy, growing, and settling into the substrate with vigor.
I prepared an aqueous solution (300ml) with nutrients for the first watering after transplanting to a 5.5l pot:
1) Day 18. Ormus 1% (Calcium, magnesium, and minerals), homemade liquid Auxins 10% (rooting agent), MMA 1% (homemade active microorganisms), Honey (free sugars, enzymes, minerals, and hormones), 2g of blood (N). pH: 5.8 EC: 1.2. 300ml
2) Day 19. Ormus 1% (Calcium, magnesium, and minerals), homemade liquid Auxins 10% (rooting agent), MMA 1% (homemade active microorganisms), Honey (free sugars, enzymes, minerals, and hormones), 2g of blood (N). pH: 5.8 EC: 1.2. 60ml
3) Day 20. Ormus 1% (Calcium, magnesium, and minerals), homemade liquid Auxins 10% (rooting agent), MMA 1% (homemade active microorganisms), Honey (free sugars, enzymes, minerals, and hormones), 2g of blood (N). pH: 5.8 EC: 1.2. 50ml
4) Day 21. Ormus 0.5% (Calcium, magnesium, and minerals), Honey and molasses (free sugars, enzymes, minerals, potassium, yeasts, and hormones), 0.5g of blood (N). pH: 6 EC: 0.6. 125ml
Until next time. Cheers!!
6 likes
comments
Share
4
Week 4. Vegetation6y ago


9 cm
Height
18 hrs
Light Schedule
30 °C
Day Air Temp
6.0
pH
550 PPM
TDS
55 %
Air Humidity
22 °C
Solution Temp
23 °C
Substrate Temp
22 °C
Night Air Temp
5.5 liters
Pot Size
0.07 liters
Watering Volume
25 cm
Lamp Distance
Nutrients 11
Ormus casero
10 mll
Auxinas caseras
80 mll
MMA
20 mll
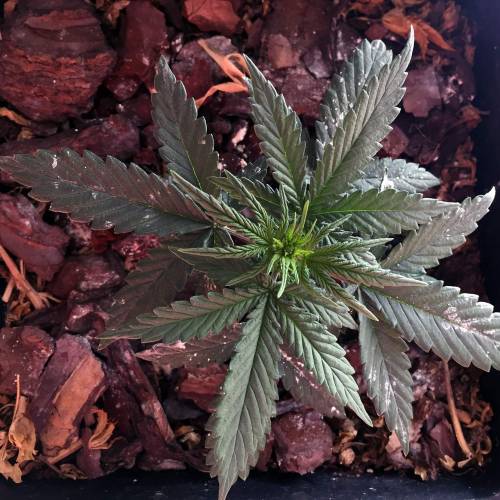
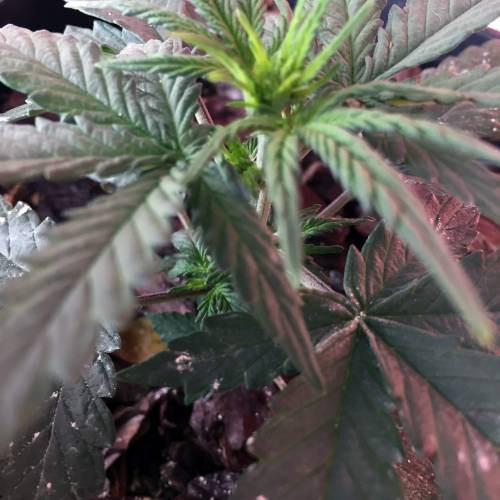
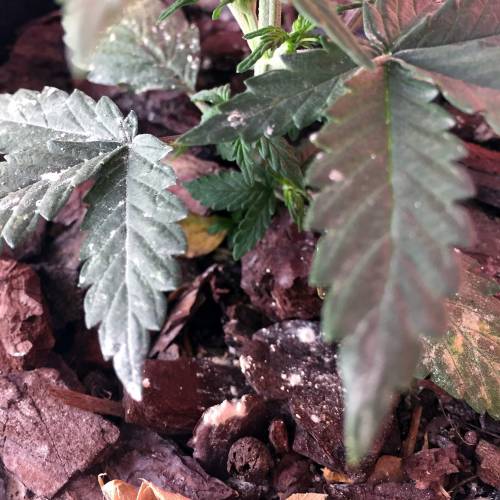
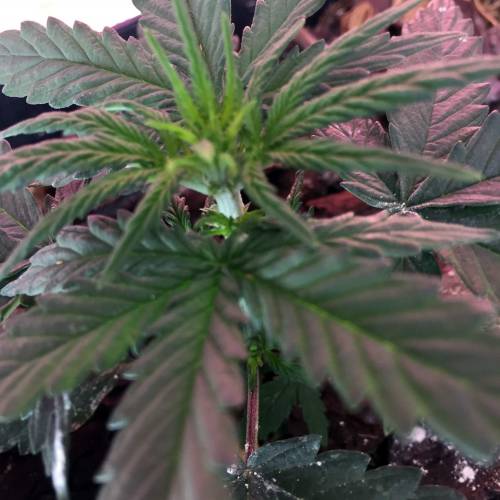
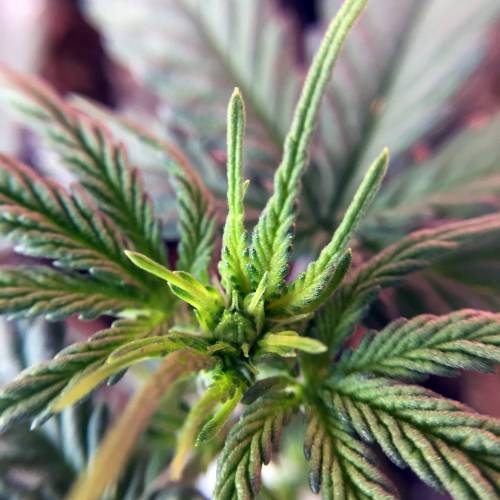
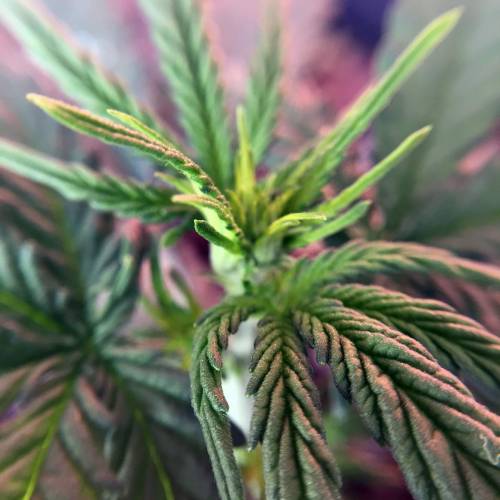
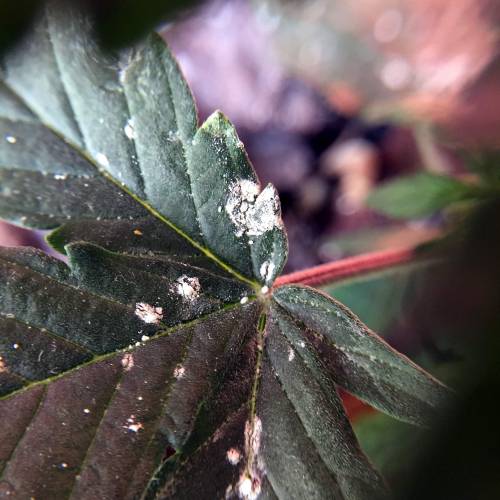
deFharo Fourth week of life for this little plant, it has perfectly recovered from the accidental transplant, good growth.
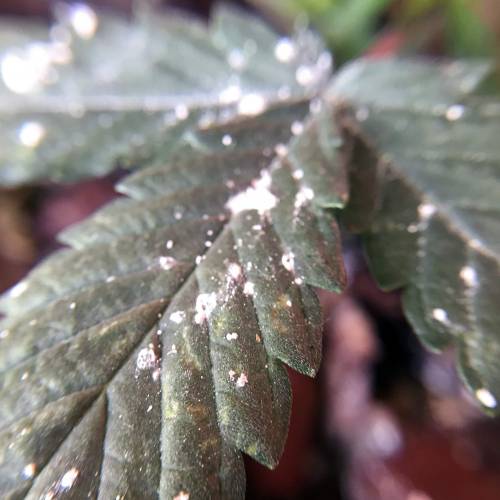
-On the 24th, I had to apply neem oil and sprinkle diatomaceous earth, as another seedling in the cabinet had alien bugs.
I continue with small nutrient waterings to recover the daily evaporation, keeping just the right moisture in the pot so the roots can advance in search of it.
In the multi-component waterings, I carefully control the pH, which I correct with apple cider vinegar at this stage.
😋 WEEKLY DIET:
1) Day 22. Ormus 1%, Molasses, MMA 2%, Hydro humus 2%. pH: 6 EC: 1.1 - 100ml.
2) Day 25. Ormus 1%, Humate-M 2%, molasses, animal protein 0.25%, hydro humus 1% and vinegar. pH: 5.9 EC: 0.75 - 50ml.
3) Day 26. Ormus 1%, Fruit Biol 2%, Hydro humus 1%, Molasses and vinegar. pH: 6 EC: 1 - 50ml.
4) Day 27. Ormus 1%, MMA 1%, Hydro Humus 1% and Molasses. pH: 6 EC: 1.1 - 75ml.
5) Day 28. Ormus 1%, Bio fruits NPK 3%, Molasses and vinegar. pH: 6.3 EC: 1.3 - 50ml.
Until next week. Cheers!!
6 likes
comments
Share
5
Week 5. Vegetation6y ago



11 cm
Height
18 hrs
Light Schedule
30 °C
Day Air Temp
6.2
pH
600 PPM
TDS
55 %
Air Humidity
22 °C
Solution Temp
23 °C
Substrate Temp
24 °C
Night Air Temp
5.5 liters
Pot Size
0.1 liters
Watering Volume
20 cm
Lamp Distance
Nutrients 9
Ormus casero
10 mll
Auxinas caseras
80 mll
MMA
20 mll
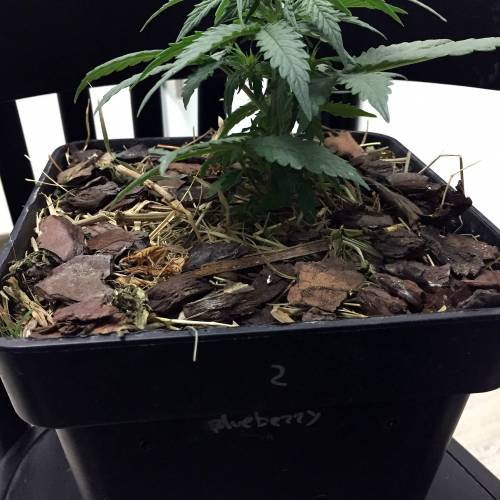
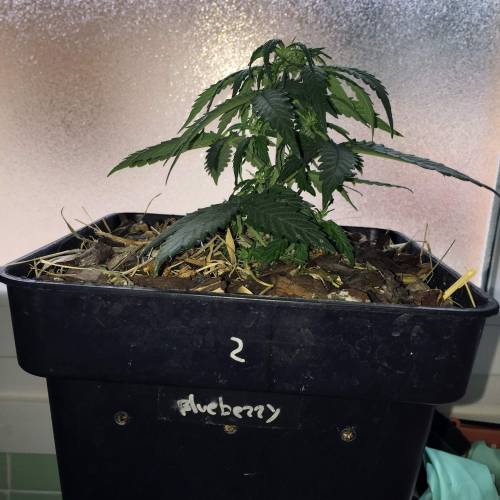
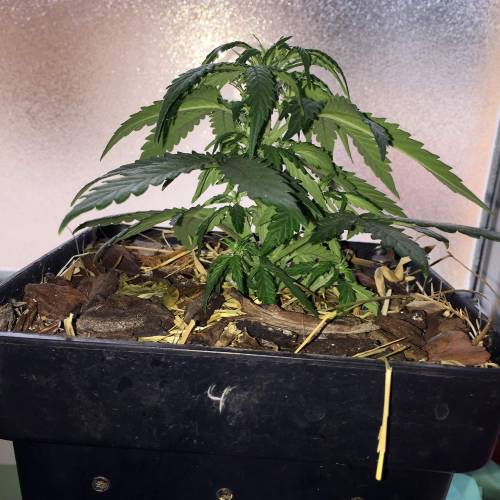
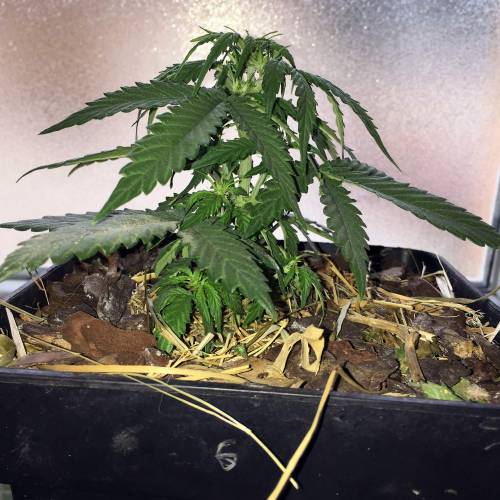
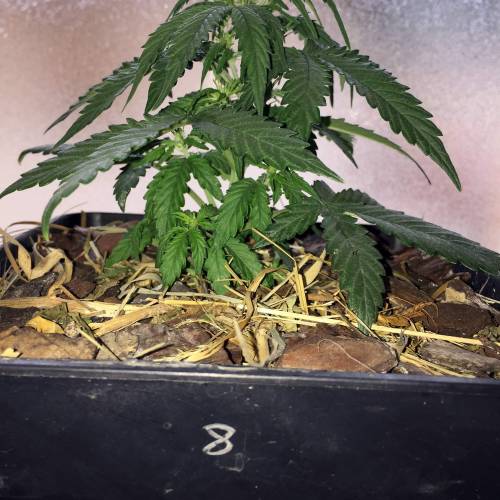
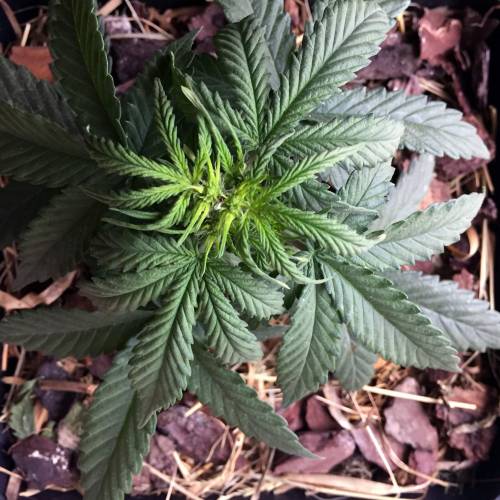
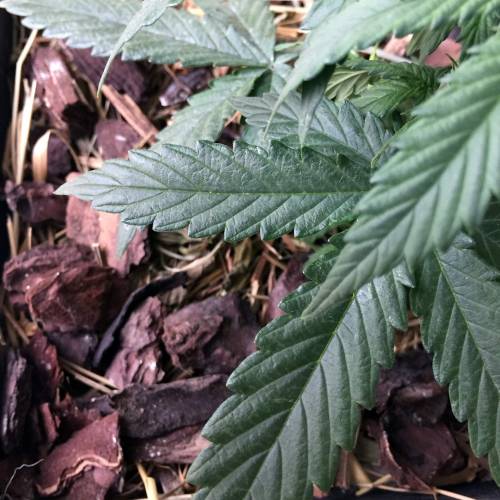
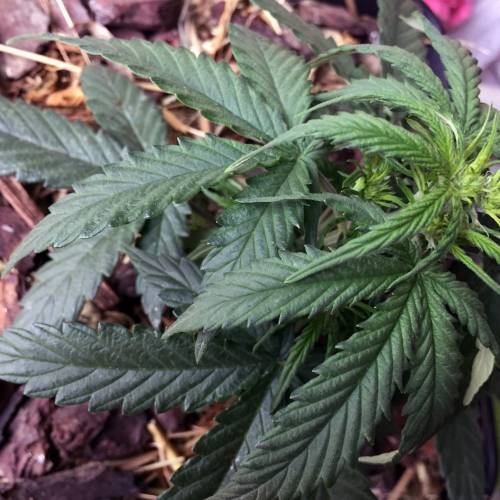
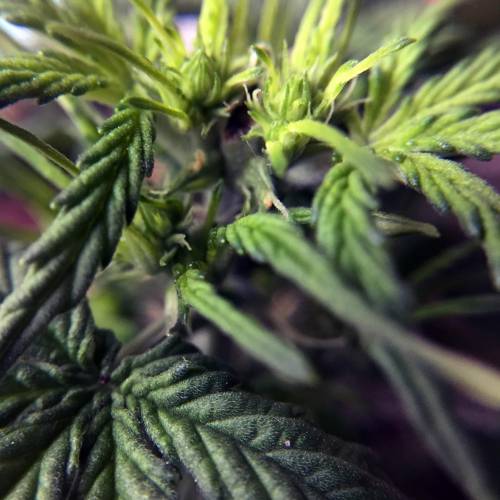
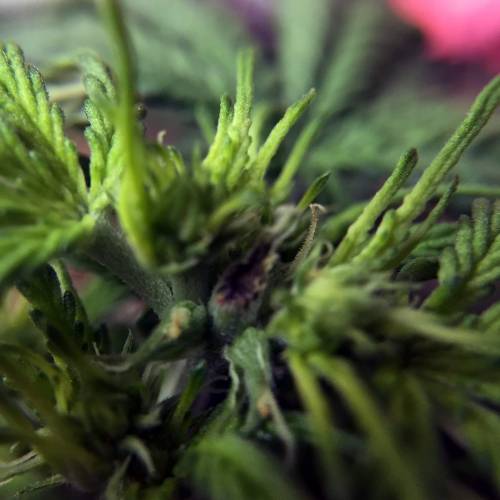
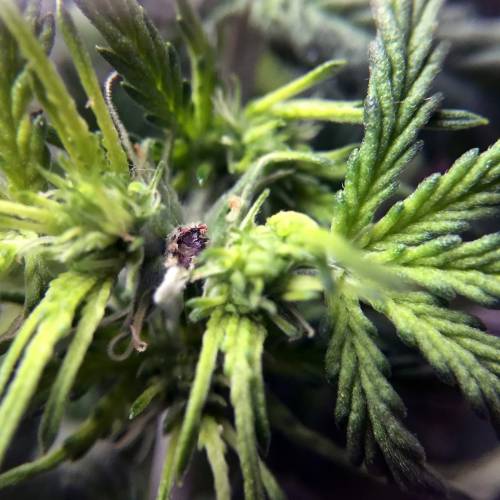
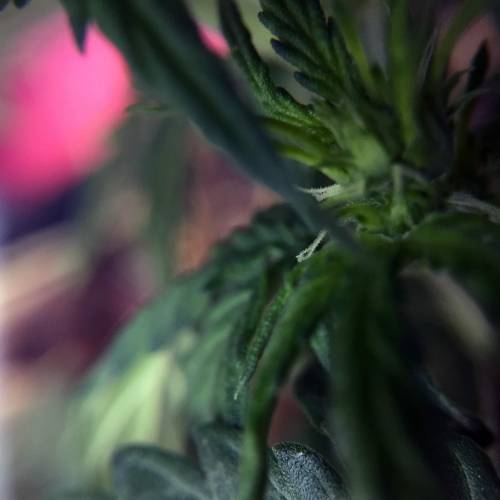
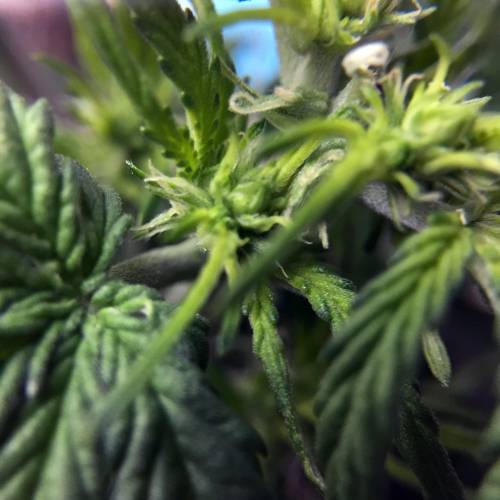
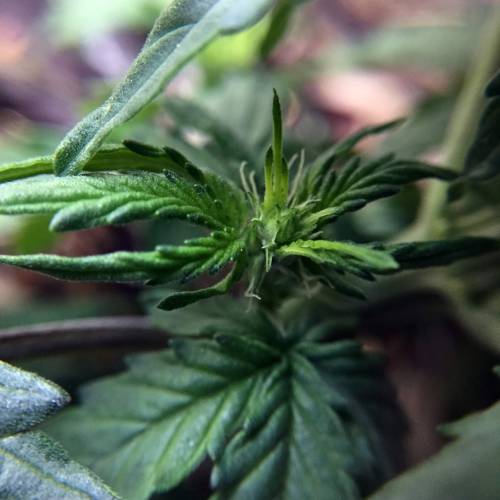
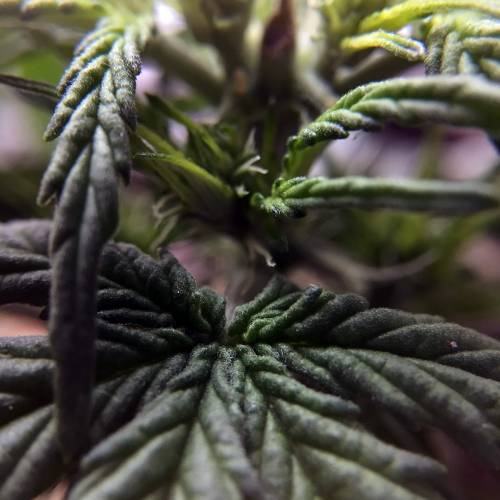
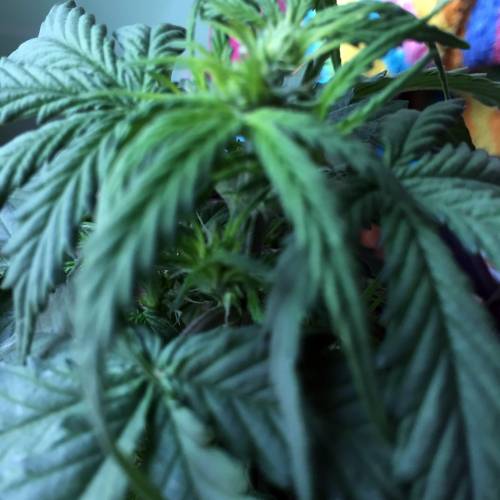
deFharo 35 days into the life of this little one, and I'm amazed by the vigorous growth, especially after the bumpy transplant. Not only did I do it in less time than usual, but the roots also fell apart. Still, the plant is pushing forward with vigor.
Today, I applied a FIM pruning to try to get a plant with decent colas. I was out of practice with autoflowering cultivation, and it caught me off guard—first for not transferring the germinated seed directly to the final pot, and second because the flowering took me by surprise with this and another plant. That's why I hurriedly did the apical pruning. After the experience of growing photoperiod plants, I think I won't touch autoflowering again; I like planning and having maximum control over the grow.
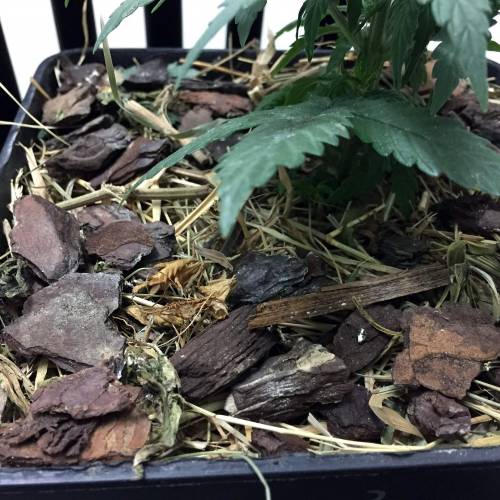
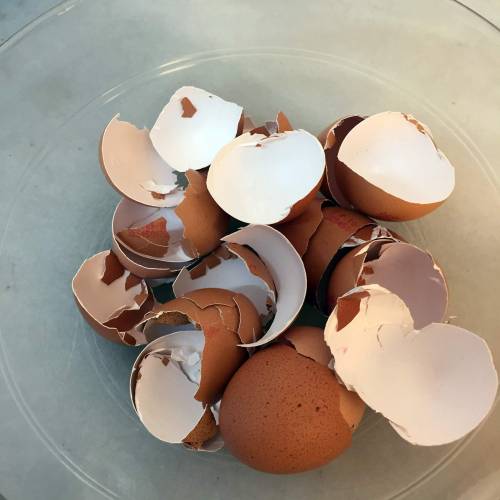
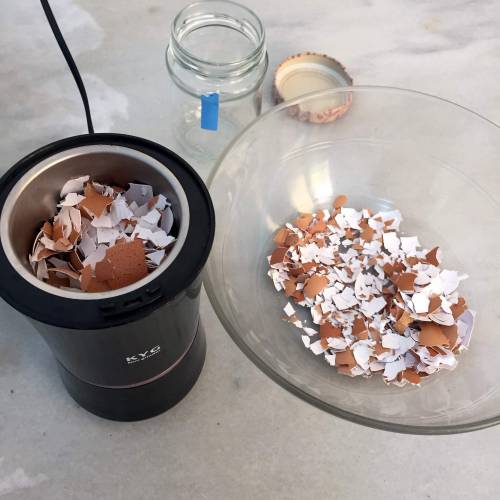
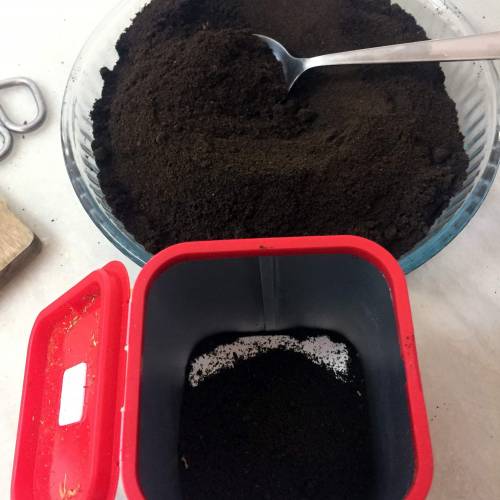
😄• Today as well, coinciding with the moon moving towards the Last Quarter, I applied solids on the surface that will be available for the plant in 10-15 days, coinciding with the First Quarter. The solid components change depending on the growth stage; in today's case, since it's a plant in the vegetative stage, I made a mix with: Alfalfa meal (N), homemade powdered auxins (hormones), Kelp (Stimulant), Worm castings (nPk Mg), Cottonseed meal (Npk), Fish meal (nP), Dried blood (N), Azomite (Ca K and minerals), Homemade leonardite humate (Acids: humic, fulvic, and humatomelanic), Phosphorite (P), Dehydrated peels of: Apple, Pear, Potato, and Orange (Vitamins, sugars, and minerals), Toasted Quinoa and Chia seed powder (Proteins and amino acids), Ground eggshells (Ca), and Coffee grounds (N). I mixed everything in equal parts and applied about 20g in the pot under the mulch. After applying it, I raked it in and made some holes down to the bottom of the substrate for aeration and better distribution of solids and liquids throughout the pot.
- I have maintained strict control of the moisture level in the pot for the last 3 weeks, starting with an initial watering of 300ml, adding 100ml from the base of the pot. I have been recovering the moisture consumed daily with mild nutrient solutions and controlled pH. I have to confess that since I have small cabinets and very few plants, I can give personalized attention to each one of them. In fact, I weigh the plants daily and calculate the moisture loss, the remaining moisture in the pot, etc. I do this through a customized Excel sheet for my purposes. 😜
😲 WEEKLY DIET
Day 29. Ormus 1.5%, Bio fruits MMM 2%, Liquid auxins 8%, Honey, Apple cider vinegar, Hydro blood 0.5%, Humate P 1%. pH: 6.1 EC: 1.2 - 70ml.
Day 30. Ormus 1%, Bio fruits NPK 3%, Molasses and apple cider vinegar. pH: 6.3 EC: 1.3 - 50ml.
Day 31. Ormus 1%, Bio fruits NPK 3%, Lacto ferment MMM 1%, Molasses. pH: 6.4 EC: 1.2 - 100ml.
Day 32. Ormus 1%, Bio fruits NPK 2%, Hydro Humus 2%, Honey and apple cider vinegar. pH: 6.2 EC: 1.2 - 175ml.
Day 33. Ormus 1%, MMA 2%, Auxins 3%, Honey, BAL 5%. pH: 6 EC: 1 - 75ml.
Day 34. Ormus 1%, molasses, Hydro blood 1%, MMA 1%, and apple cider vinegar. pH: 6.17 EC: 1 - 75ml.
Day 35. SOLIDS ON THE SURFACE + Ormus 1%, Bio fruits NPK 2%, Hydro Humus 2%, Honey, and apple cider vinegar. pH: 6.15 EC: 0.85 - 300ml.
😜 GROWING TIP
Reusing homemade waste. Organic cultivation is much more than a collection of nutrients; it's about reusing organic waste generated nearby that doesn't require energy expenditure for the planet.
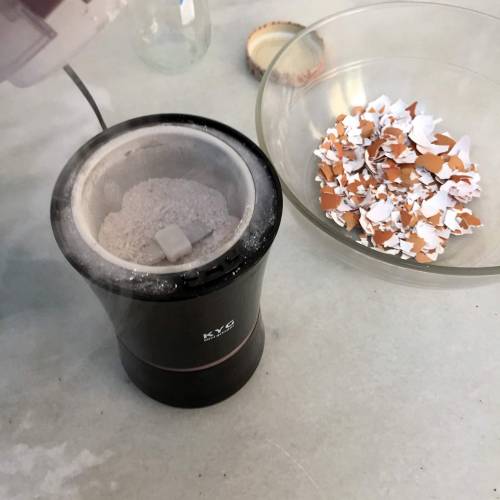
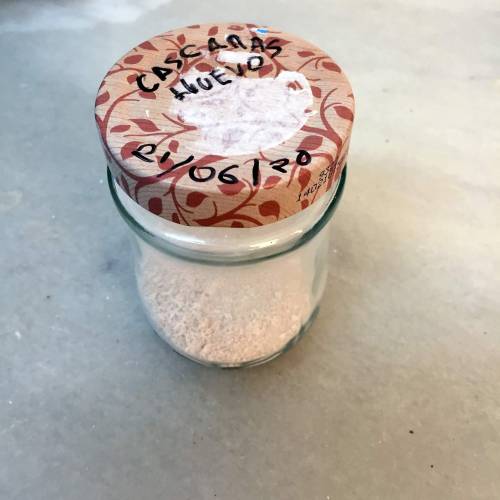
• Eggshells. 94% calcium carbonate.
- Wash and let dry.
- Grind until you get the finest powder.
- Store to apply in substrates or amendments.
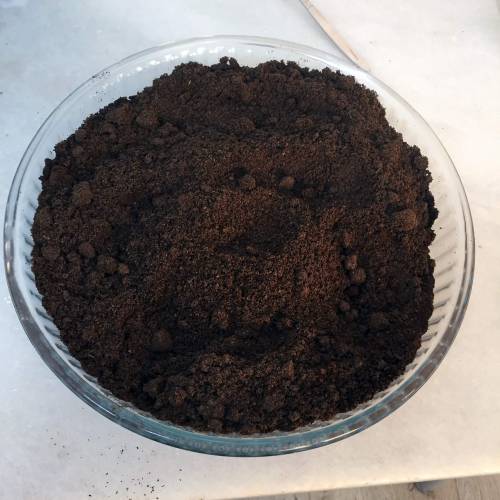
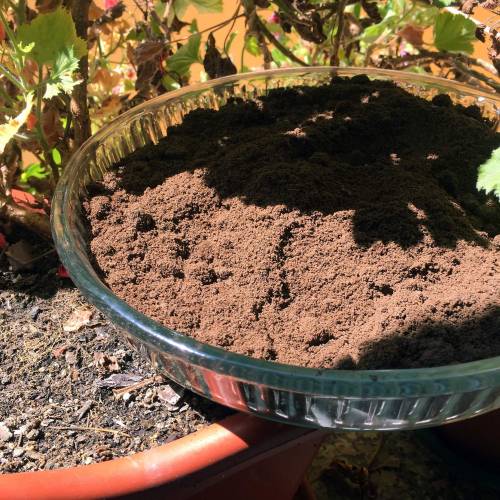
• Coffee grounds. Decomposes mainly into nitrogen, adds organic matter to the substrate.
- Collect and dry in the sun.
- Store in closed containers in the dark.
- Used coffee poses no danger of substrate acidification.
Cheers and see you next week!!
10 likes
comments
Share
Used techniques
FIMing
Technique
6
Week 6. Flowering6y ago


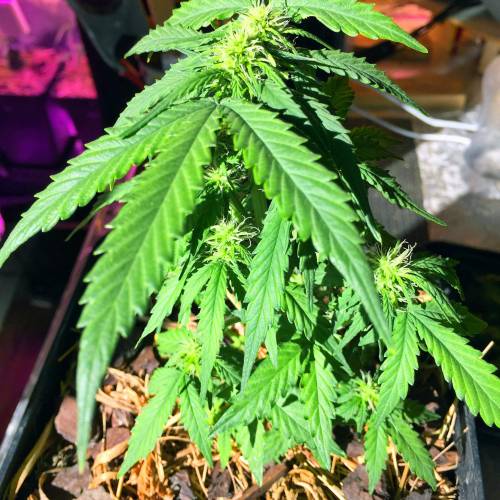
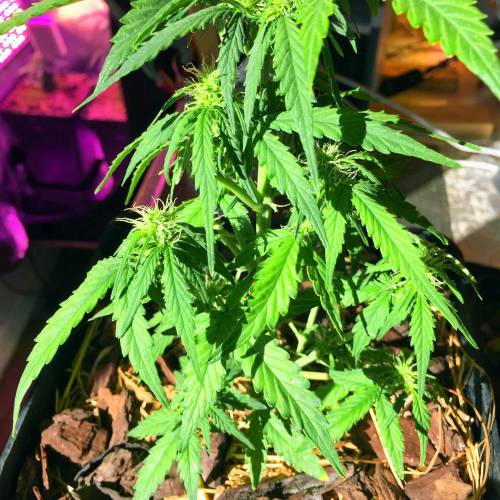
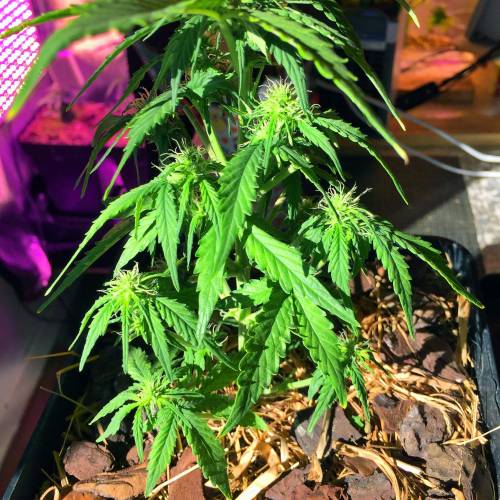
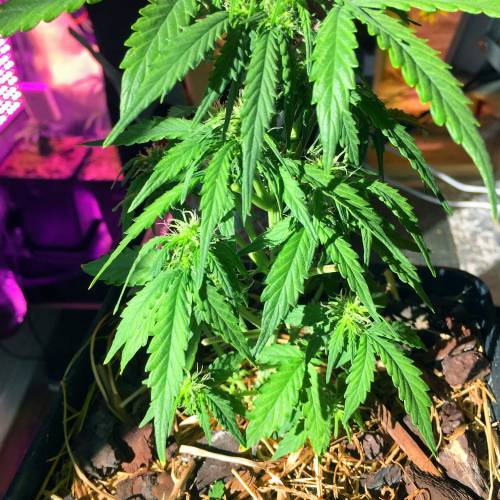
19 cm
Height
18 hrs
Light Schedule
31 °C
Day Air Temp
6.4
pH
400 PPM
TDS
55 %
Air Humidity
23 °C
Solution Temp
24 °C
Substrate Temp
24 °C
Night Air Temp
5.5 liters
Pot Size
0.1 liters
Watering Volume
20 cm
Lamp Distance
Nutrients 4
Ormus casero
10 mll
MMA
20 mll
Melaza
3 mll
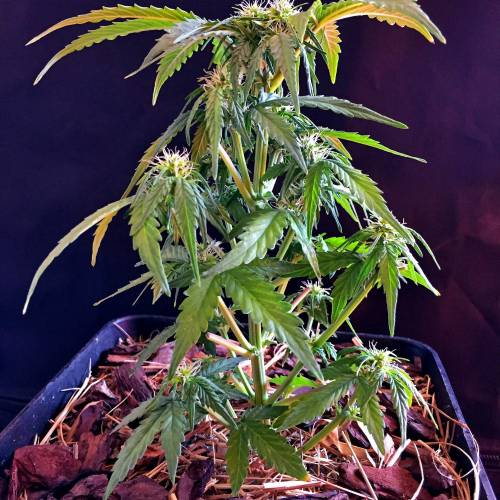
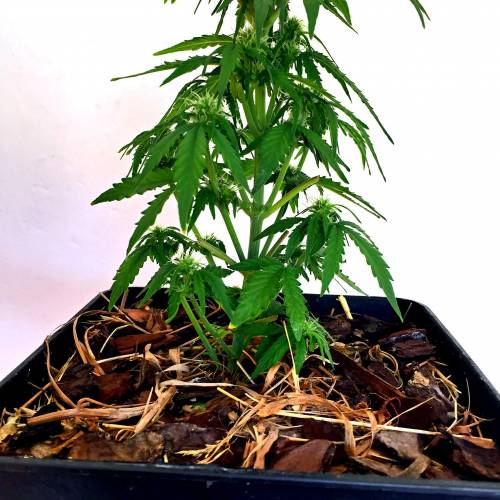
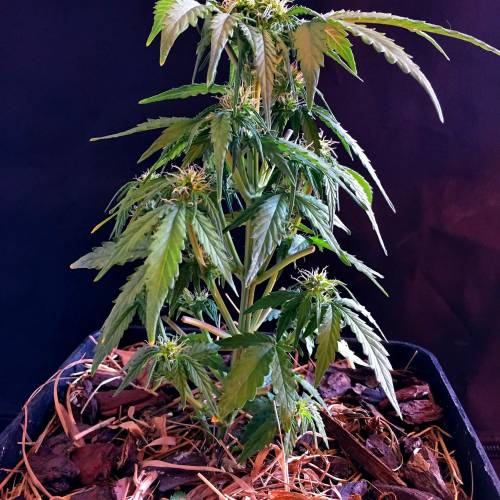
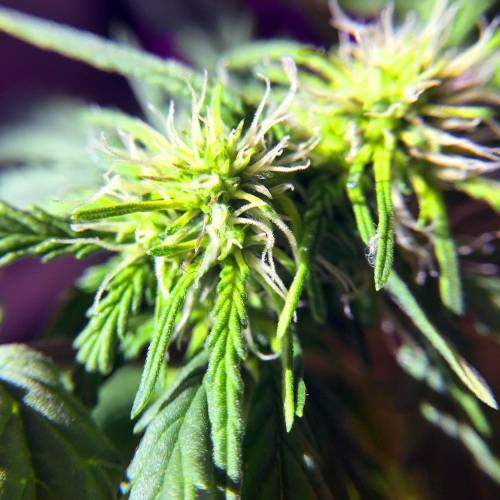
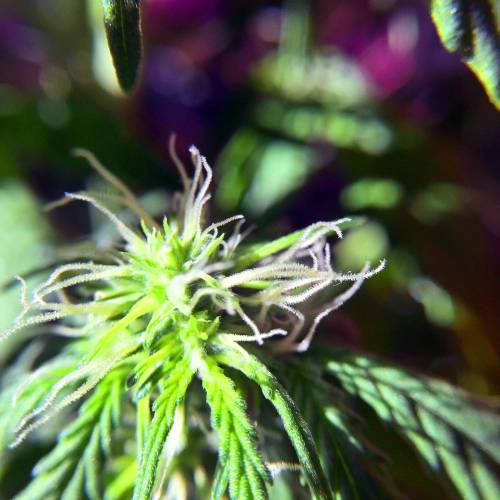
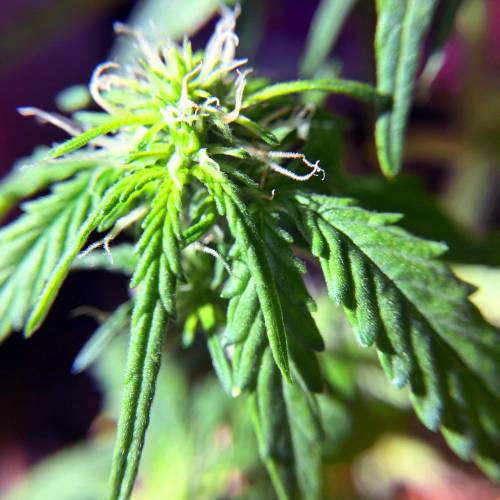
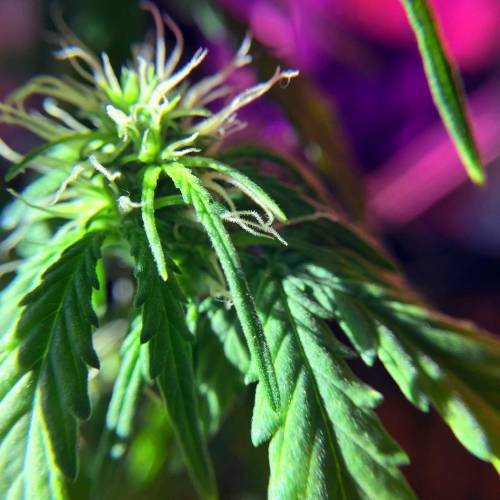
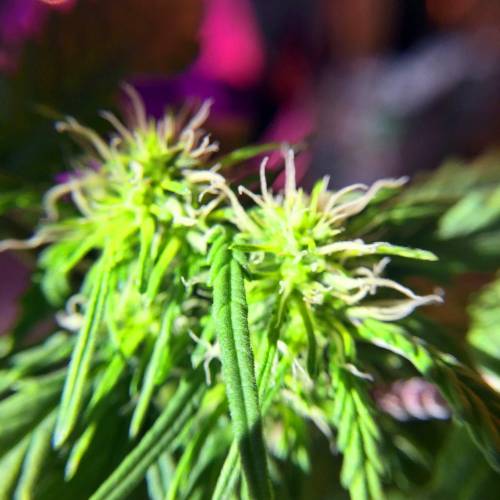
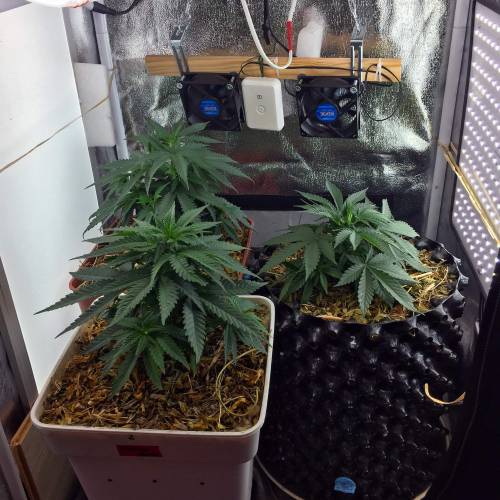
deFharo Sixth week of life, the plant is progressing confidently after last week's FIM pruning, showing several tips, now it's time to grow. For now, I'm watering with nutrient solutions (MMA - inoculation of MM with minerals - and molasses) aimed at the proliferation of the MM in the substrate. I'm going to wait another week to apply soluble nutrients; for now, with the solid input from last week, the MM already have plenty of work, so I'll keep giving them "sugar" to make them feel strong and comfortable :)
I've removed half a dozen large leaves to invigorate the crop and allow light to reach all the tips.
Two days ago, I moved the plant from the cool white cabinet to its permanent cabinet with a wider range of light spectra, focusing on the reds. I hope that next week the plant will stretch.
😎 NEW CABINET SETUP
Schedule: 18/6
Size: 40x40x120cm
Lights: Mars Hydro 60 FS, Warn White LED Panel + 660nm and 2700K LED Panel
Consumption kWh/Day: 3.40
Until next week. Cheers!!
7 likes
comments
Share
Used techniques
Defoliation
Technique
7
Week 7. Flowering6y ago


21 cm
Height
18 hrs
Light Schedule
31 °C
Day Air Temp
6.4
pH
400 PPM
TDS
55 %
Air Humidity
20 °C
Solution Temp
26 °C
Substrate Temp
28 °C
Night Air Temp
5.5 liters
Pot Size
0.15 liters
Watering Volume
20 cm
Lamp Distance
Nutrients 7
Ormus casero
5 mll
MMA
10 mll
Melaza
3 mll
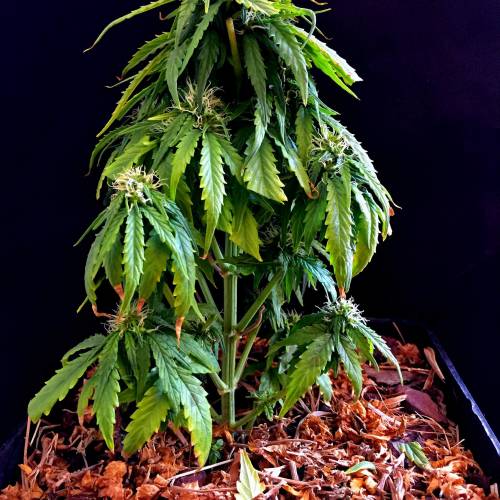
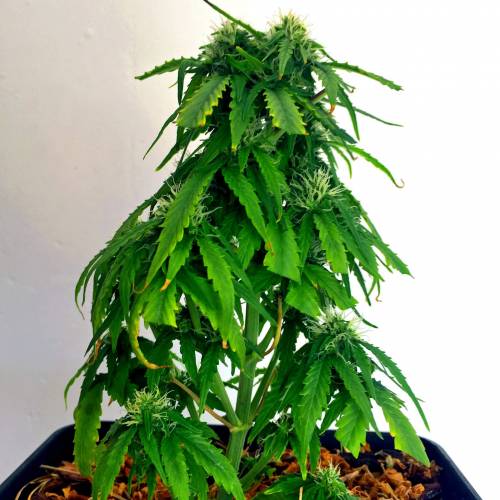
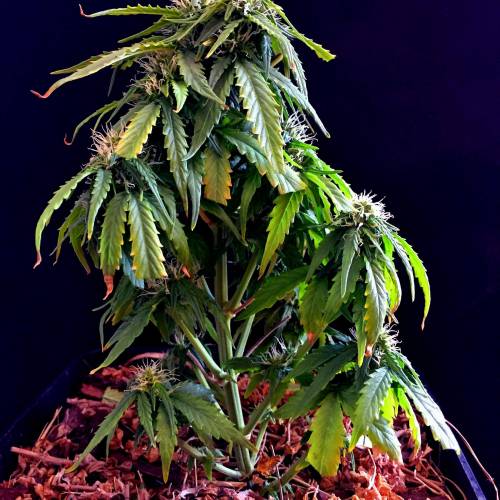
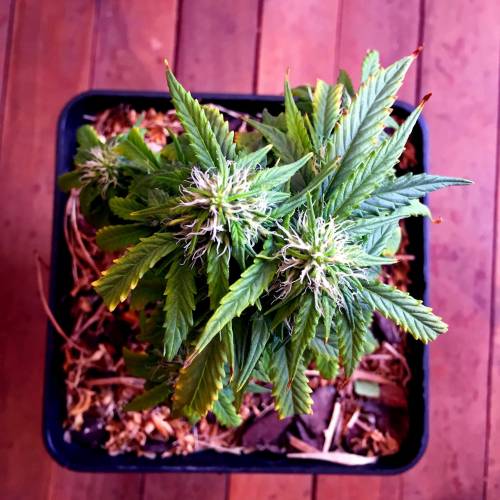
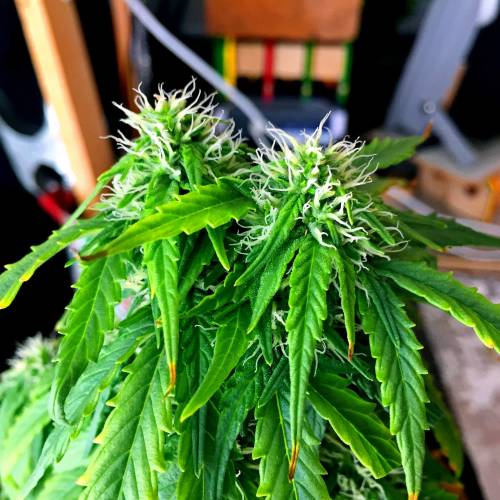
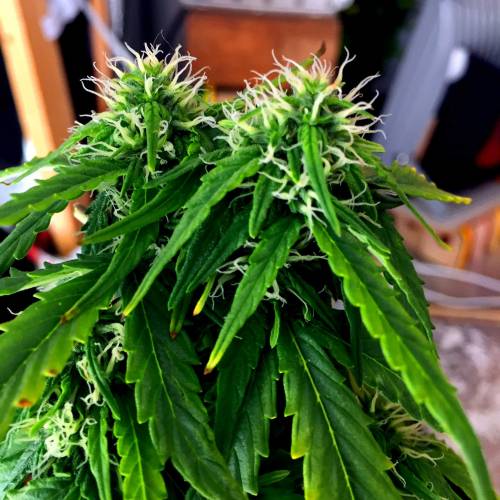
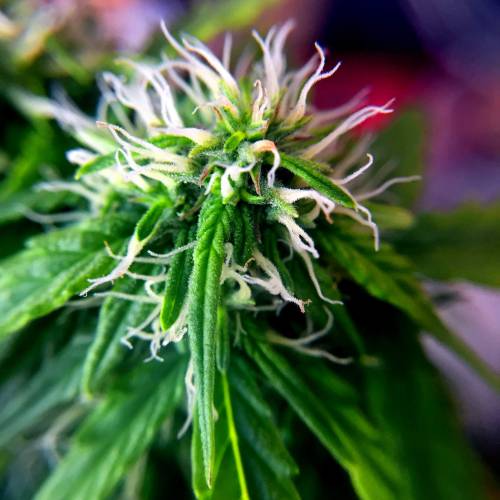
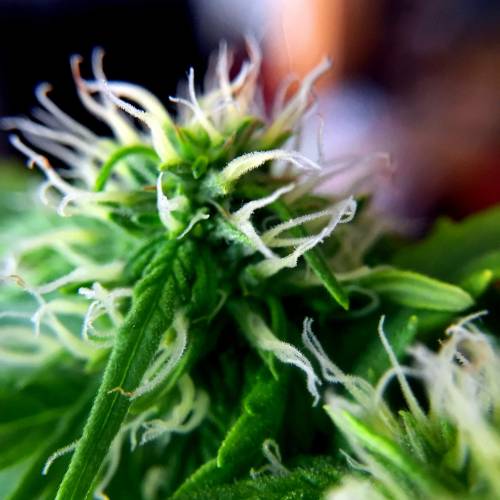
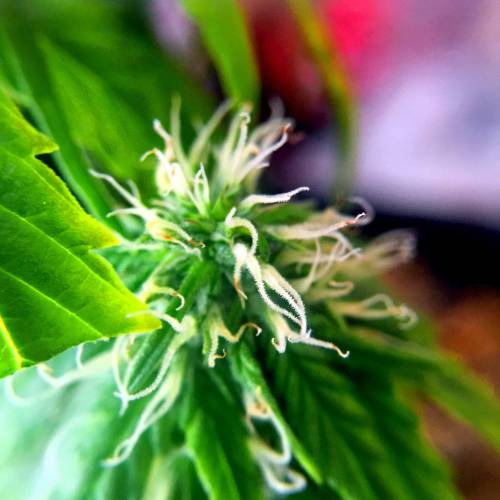
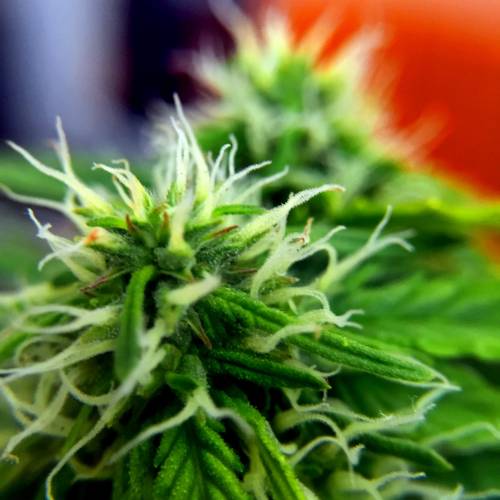
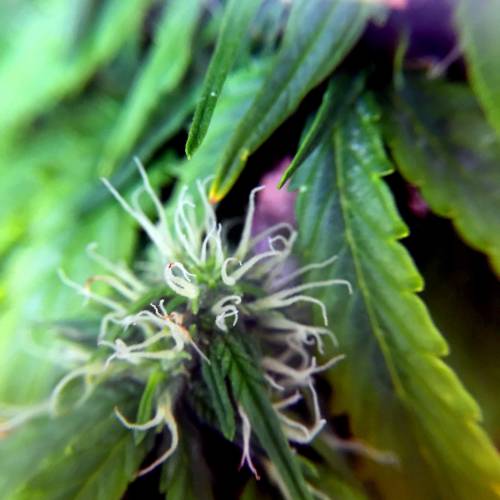
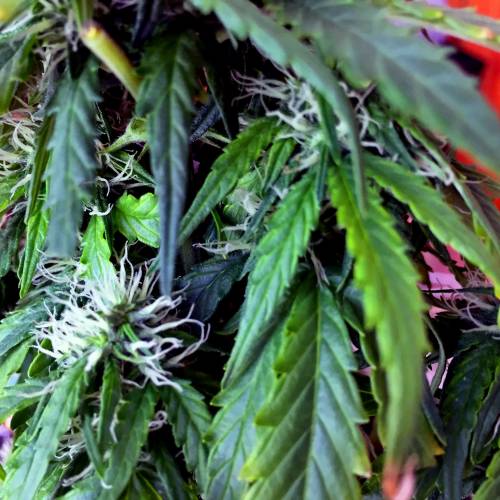
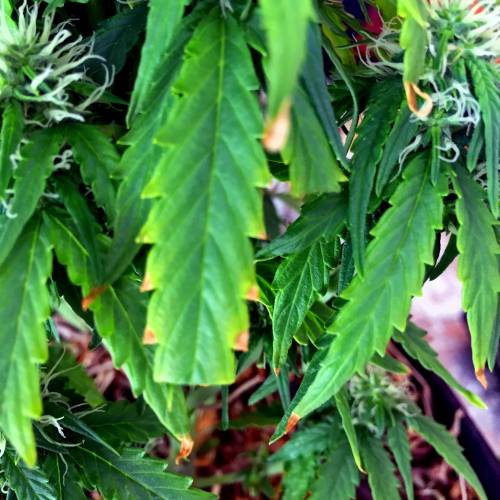
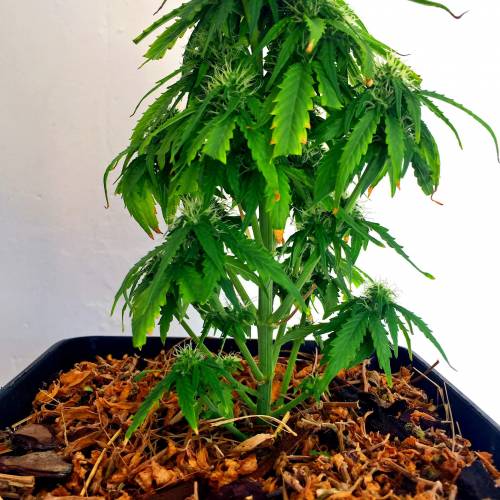
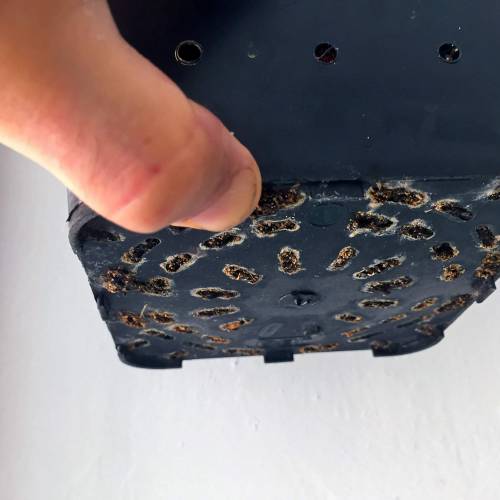
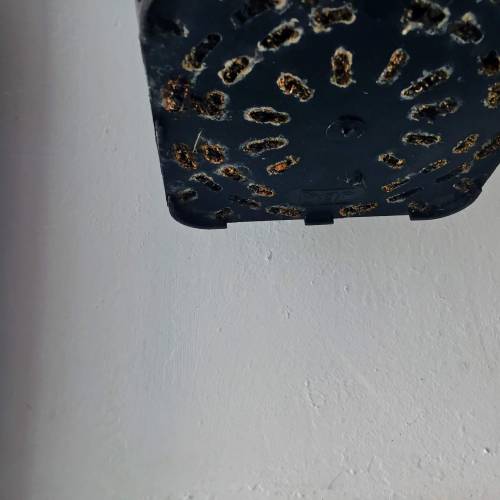
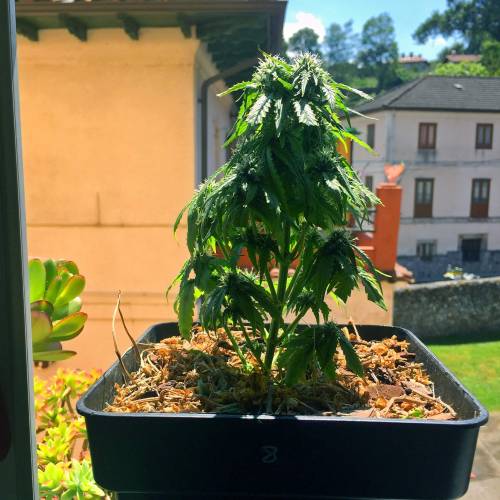
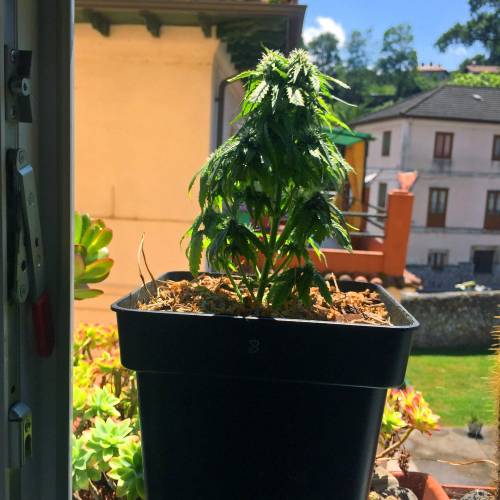
deFharo This grow was going really well until this week, suddenly it showed signs of potassium deficiency and above all, the plant has been blocked for 3 days due to overwatering.
On day 47, I did a thorough watering trying to bring oxygen to the entire root system, I had been observing for days the low moisture consumption at the base of the pot. I applied a watering with pure water and molasses (700ml) and to my surprise, there was barely any runoff. Until that moment, I had been growing this plant and two other autos in the same 5.5l pots with saucers. The day after this deep watering, the plants showed clear signs of excess moisture; I managed to get at least 200ml out by putting absorbent paper at the base of the pots several times. These pots have a terrible design at the base, the drainage holes are barely 2mm off the ground and by using saucers, what was happening is that it was clogging the lower drainage, preventing aeration, and therefore the roots may have felt this excess. I don't know if I can recover them; for now, I've removed the saucer from the base and raised the pots to allow air to circulate underneath. Also, today I took them outside to speed up water consumption to dry out the substrate as much as possible in the shortest time to continue the grow normally.
The potassium deficiency also caught me by surprise; I've gotten out of the habit of growing autoflowering strains. Indeed, I hadn't applied any nutrients with potassium until now. To try to remedy this, I immediately prepared a solution with Potassium Humate, although this would add more moisture to the substrate, the deficiencies were increasing and I needed to start fixing it. Once the substrate is ready for the next watering, I'll start applying flowering nutrients to see if I can get something decent from this grow.
Until next week. Cheers!! 😒
10 likes
comments
Share
Used techniques
Defoliation
Technique
8
Week 8. Flowering6y ago


21 cm
Height
18 hrs
Light Schedule
31 °C
Day Air Temp
6.2
pH
850 PPM
TDS
55 %
Air Humidity
20 °C
Solution Temp
28 °C
Substrate Temp
28 °C
Night Air Temp
5.5 liters
Pot Size
0.15 liters
Watering Volume
20 cm
Lamp Distance
Nutrients 5
Ormus casero
5 mll
MMA
10 mll
Melaza
3 mll
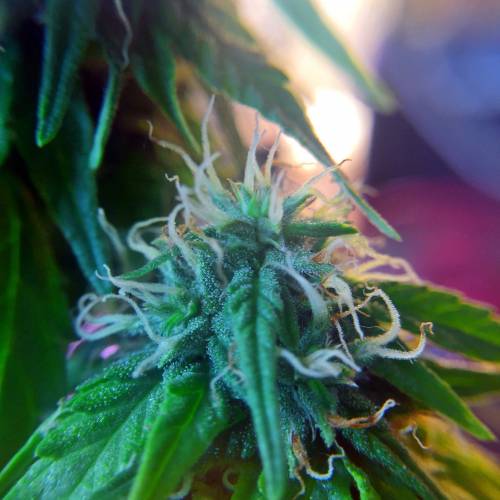
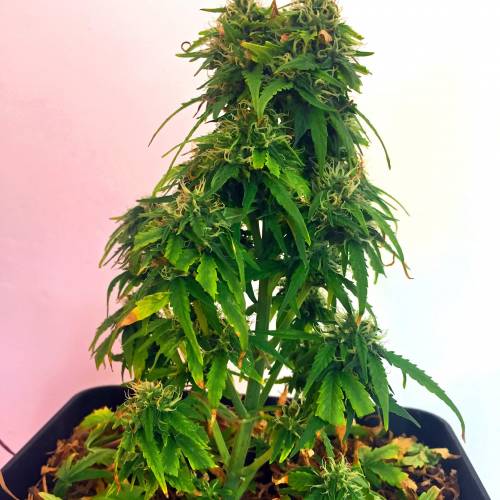
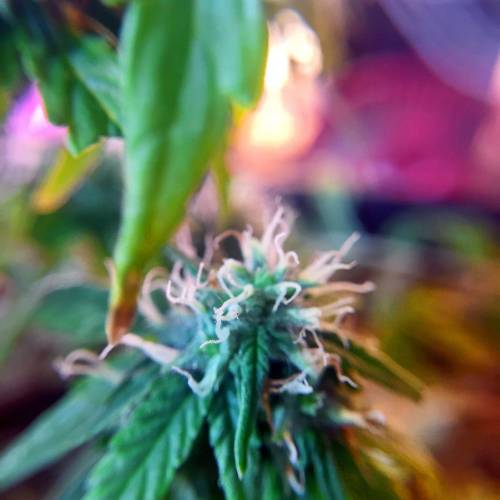
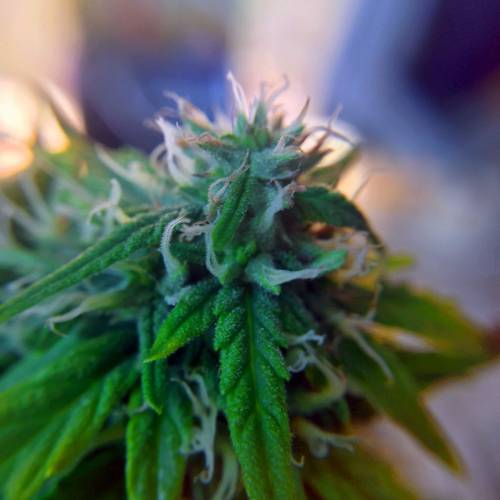
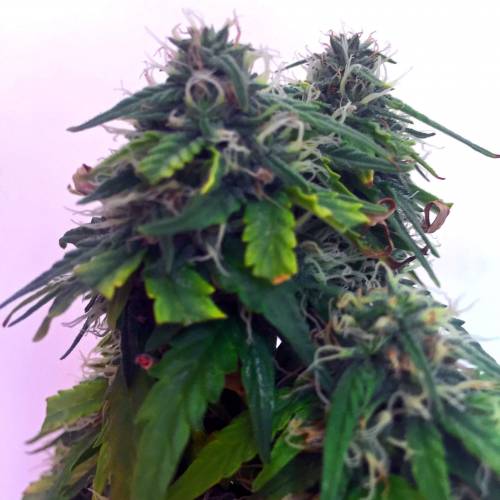
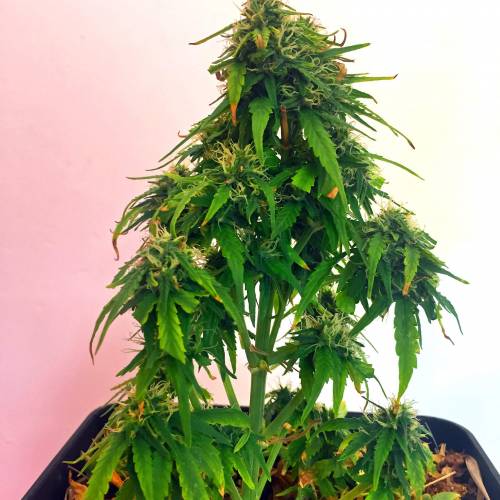
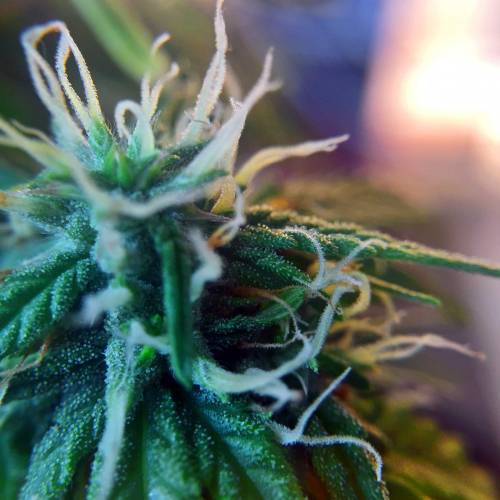
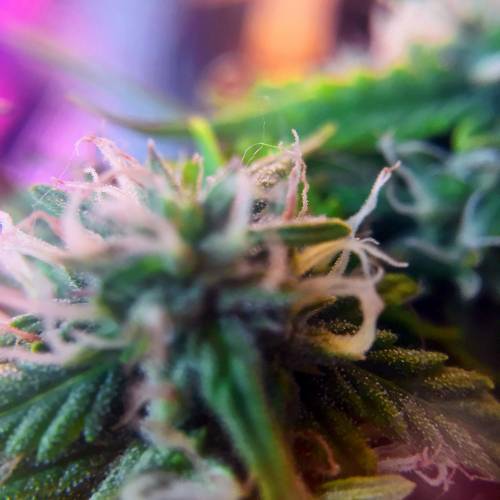
deFharo Eighth week from seed, the plant seems to be reacting positively after the blockage caused by excess moisture at the base of the pot, due to the clogging produced by using a plate with a flat pot at the bottom, which caused a harmful accumulation of moisture at the base for root development.
I let the pot dry until it had only 10% moisture, then I prepared a multi-component solution to try to improve the deficiencies caused by the root blockage:
Day 55. Watering with Potassium Humate (Humic acids, potassium, and organic matter) at 1%, NP Fruit Biol (N, P, minerals, and vitamins) at 1%, Ormus (Ca and Mg) at 0.5%, and Activated Mountain Microorganisms MMA at 1% (Inoculation of MM and minerals)
I will continue to let the substrate dry as much as possible before applying the next waterings.
Despite its small size, the plant is very compact, and I can't wait to see the blue colors of the strain.
Until next week. Cheers!! 😬
8 likes
comments
Share
Used techniques
Defoliation
Technique
9
Week 9. Flowering6y ago


22 cm
Height
18 hrs
Light Schedule
31 °C
Day Air Temp
6.1
pH
950 PPM
TDS
55 %
Air Humidity
20 °C
Solution Temp
28 °C
Substrate Temp
28 °C
Night Air Temp
5.5 liters
Pot Size
0.2 liters
Watering Volume
20 cm
Lamp Distance
Nutrients 6
Ormus casero
10 mll
MMA
10 mll
Humato PK
10 mll
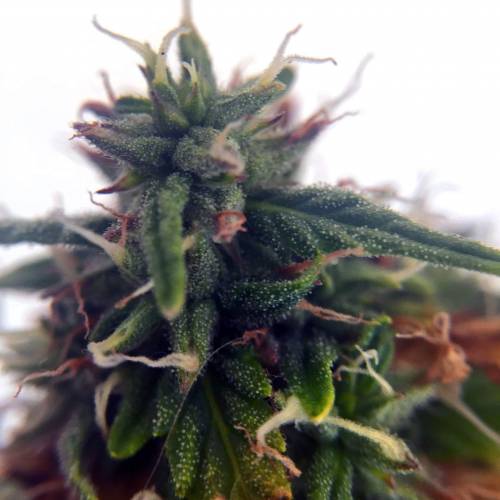
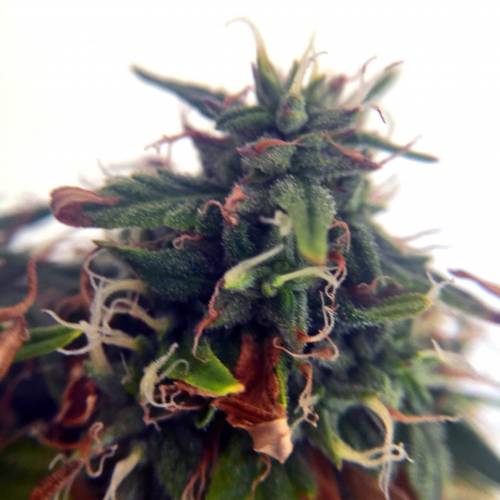
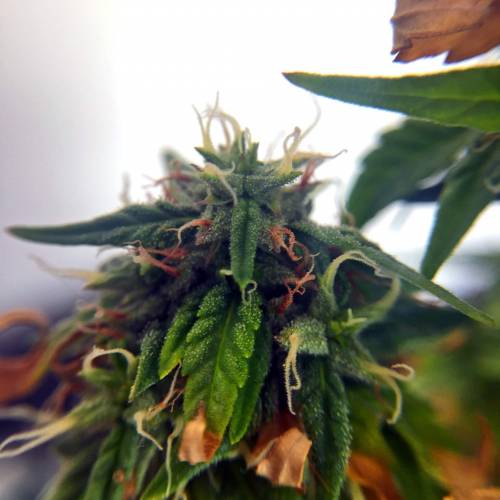
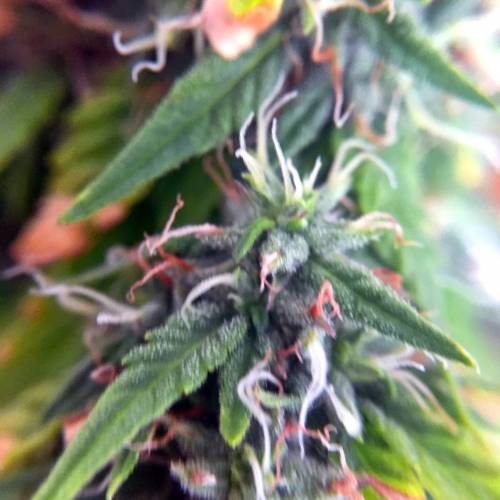
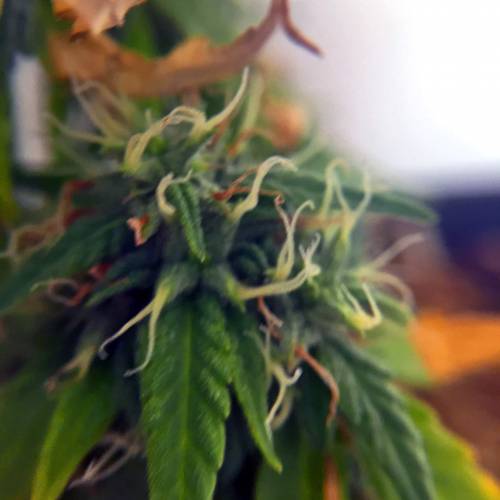
deFharo Day 63 from seed, the signs of root blockage keep appearing non-stop. Even though I've managed to stabilize the moisture in the pot and the water consumption, I don't think this crop can fully recover. Although the buds are very dense, the small size of the plant won't allow me to smoke more than a dozen joints.
I'm letting the substrate dry out a lot before the next watering and providing a mix of nutrients with vitamins and minerals. I'm looking forward to seeing the color appear in the tails.
Cheers. Until next time!! 😟
7 likes
comments
Share
10
Week 10. Flowering6y ago


22 cm
Height
14 hrs
Light Schedule
31 °C
Day Air Temp
6.5
pH
500 PPM
TDS
55 %
Air Humidity
20 °C
Solution Temp
28 °C
Substrate Temp
28 °C
Night Air Temp
5.5 liters
Pot Size
0.2 liters
Watering Volume
20 cm
Lamp Distance
Nutrients 5
Ormus casero
7 mll
Lacto guanos
11 mll
Miel
3 mll
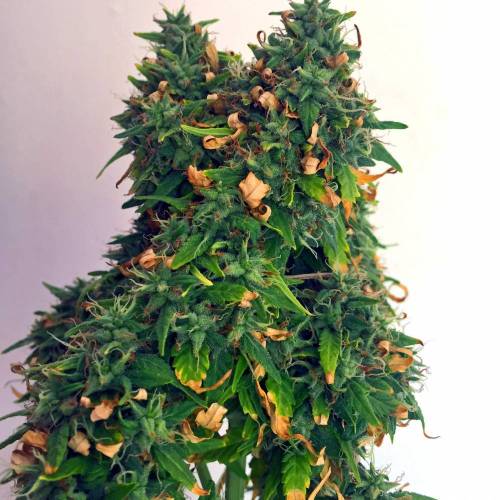
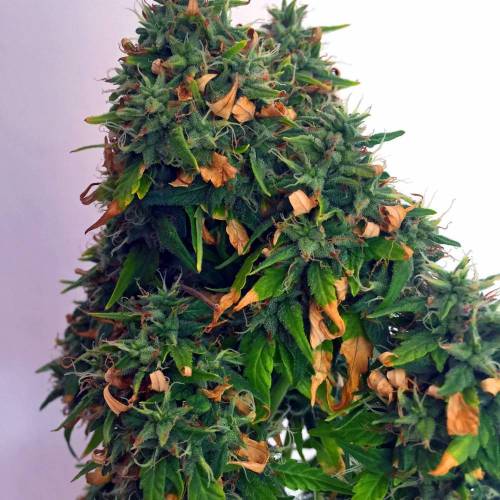
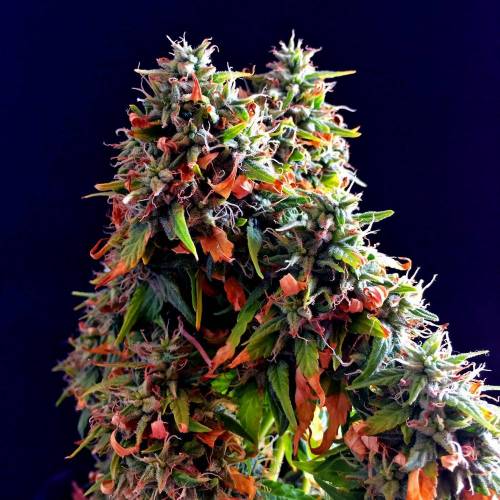
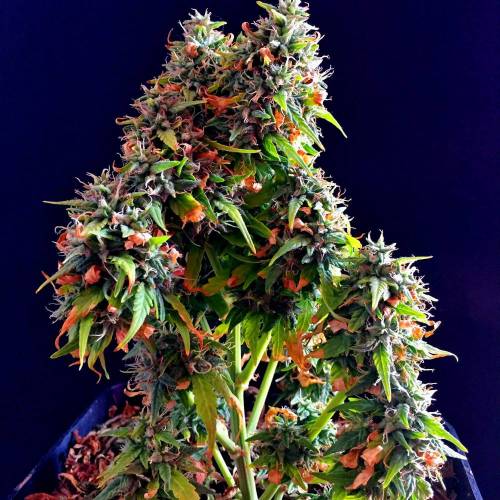
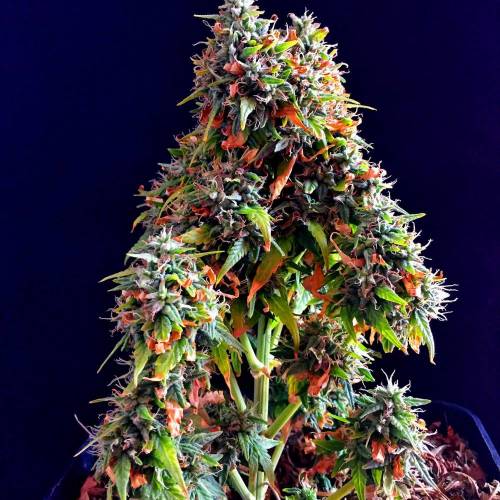
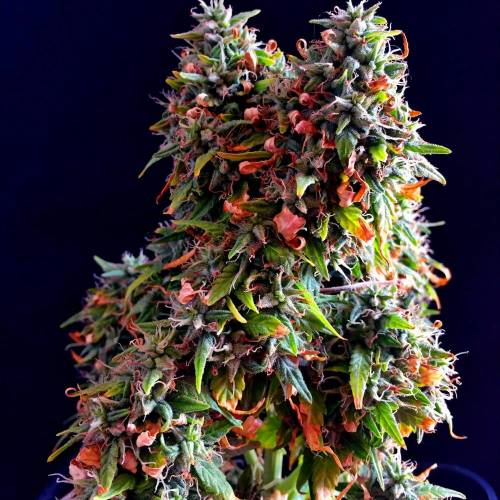
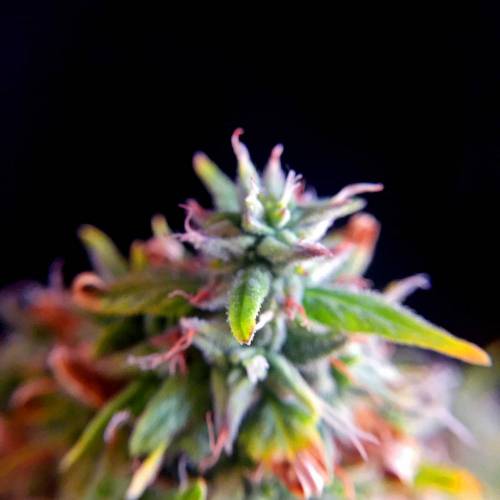
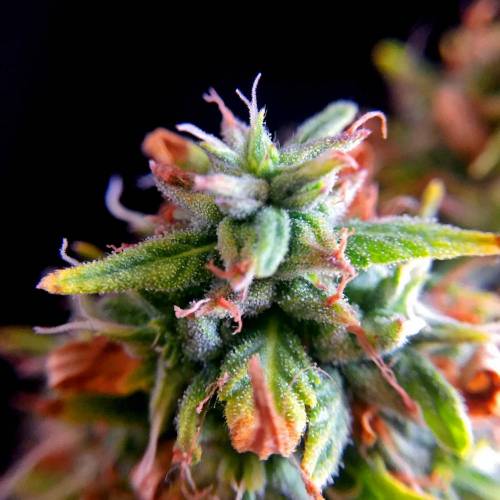
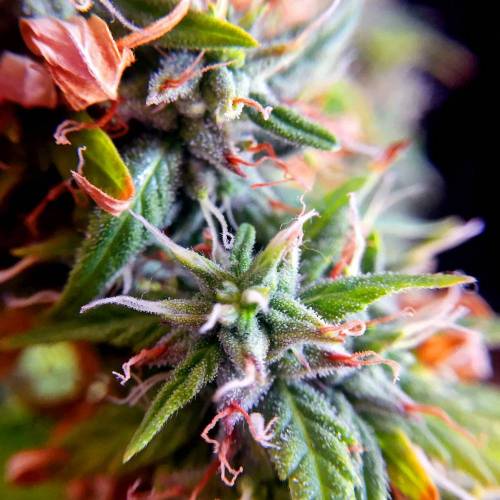
deFharo This little one has gained a bit of weight, the water consumption is moderate and constant which gives me the opportunity to feed her more often. I'm going to keep her for another 10-15 days, until she needs the space she's taking up for a new grow.
I’m eager to check out the root system, to see what happened.
Cheers. Until next time!!
7 likes
2 comments
Share
11
Week 11. Flowering6y ago


22 cm
Height
14 hrs
Light Schedule
30 °C
Day Air Temp
6.3
pH
Weak
Smell
650 PPM
TDS
58 %
Air Humidity
20 °C
Solution Temp
27 °C
Substrate Temp
27 °C
Night Air Temp
5.5 liters
Pot Size
0.15 liters
Watering Volume
30 cm
Lamp Distance
Nutrients 3
Melaza
2 mll
Lacto algas EM
11 mll
Humato K mineral
10 mll
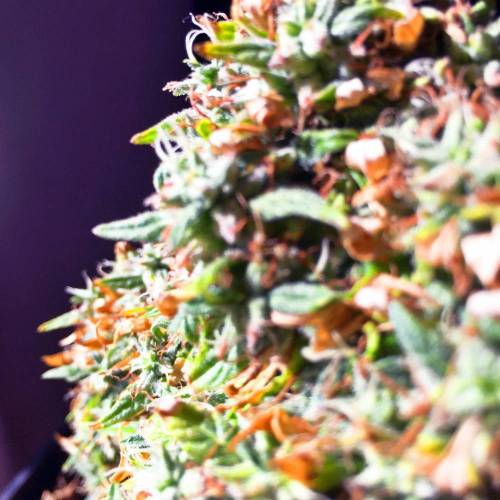
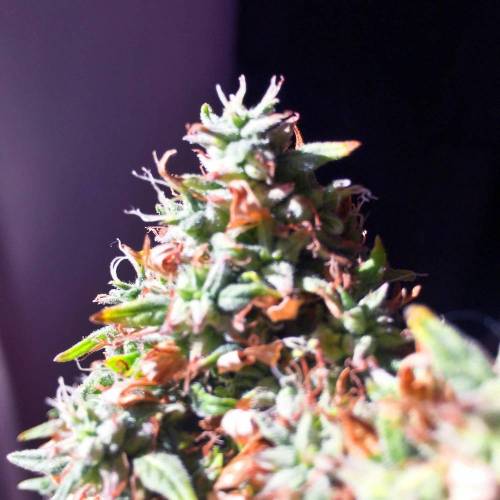
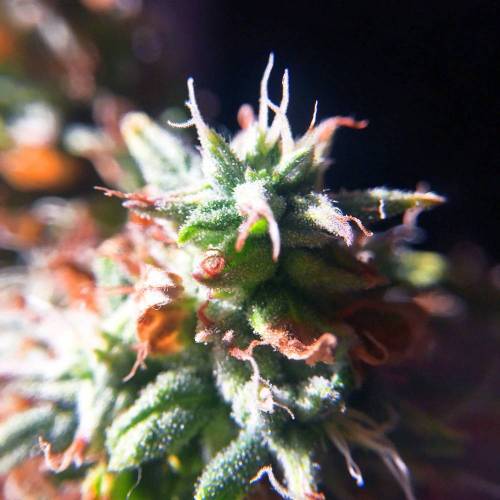
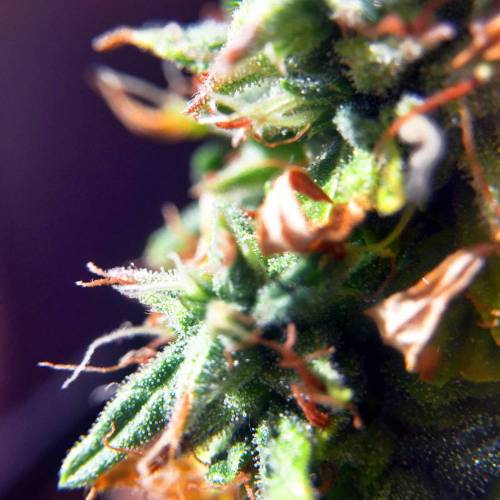
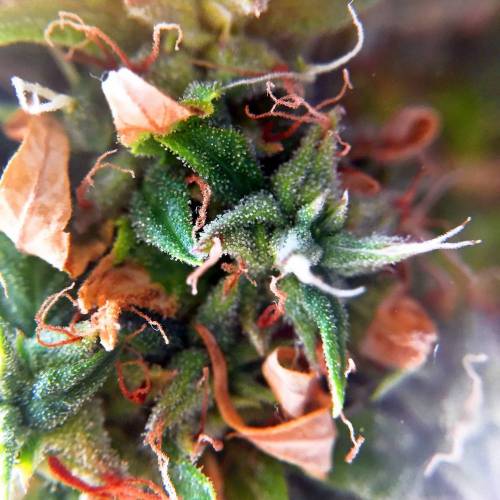
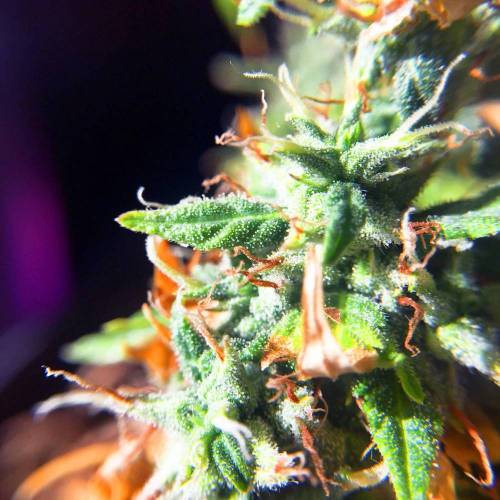
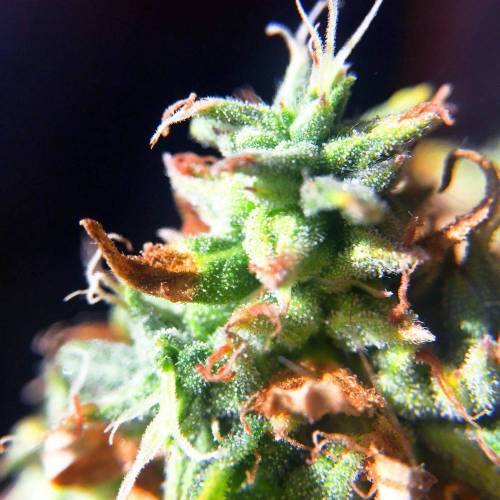
deFharo It's been seven weeks since seed, and the combination of my inexperience, too much light and heat, or humidity blockage has ruined another one of my autoflowering crops.
I'm going to wait another week before harvesting it and turning the page 😞
Greetings to everyone. Until next time!!
11 likes
3 comments
Share
12
Week 12. Flowering6y ago


22 cm
Height
14 hrs
Light Schedule
30 °C
Day Air Temp
6.3
pH
Weak
Smell
650 PPM
TDS
58 %
Air Humidity
20 °C
Solution Temp
27 °C
Substrate Temp
27 °C
Night Air Temp
5.5 liters
Pot Size
0.15 liters
Watering Volume
30 cm
Lamp Distance
Nutrients 3
Melaza
2 mll
Ormus
10 mll
Bio frutas PK
30 mll
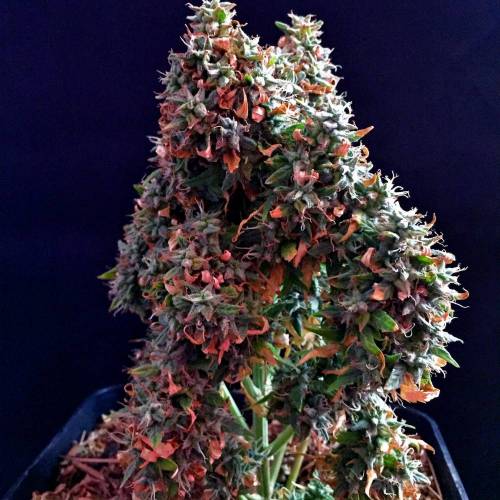
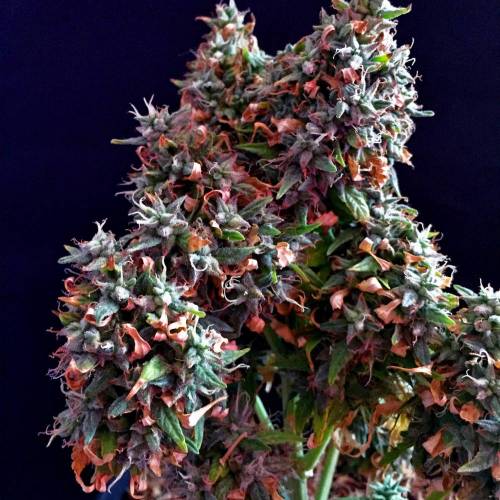
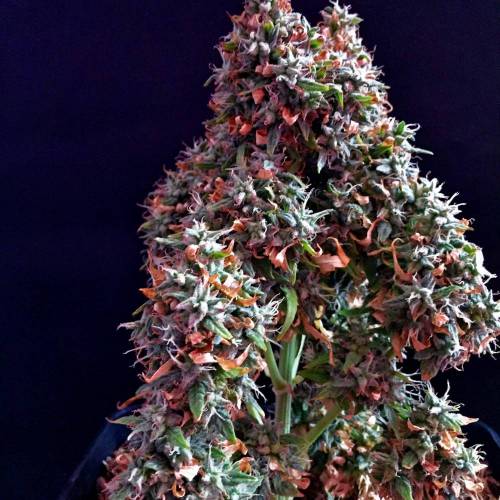
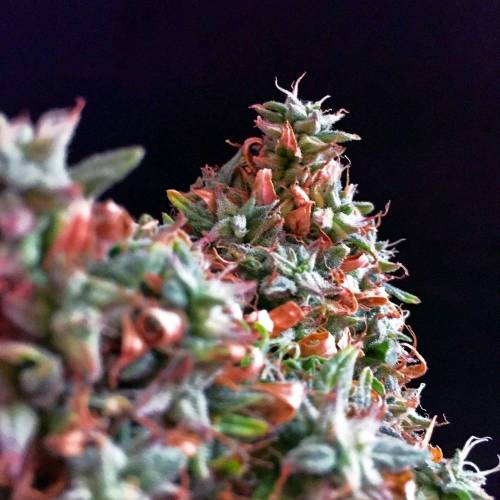
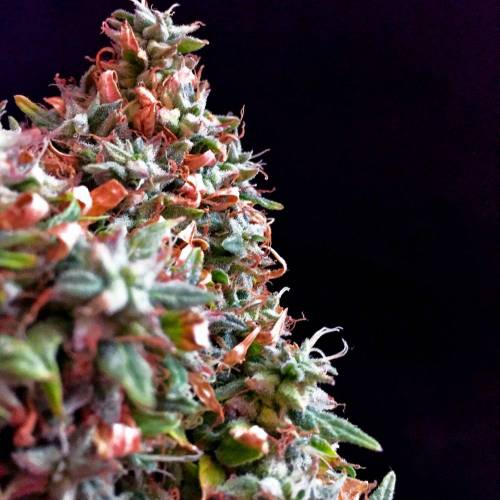
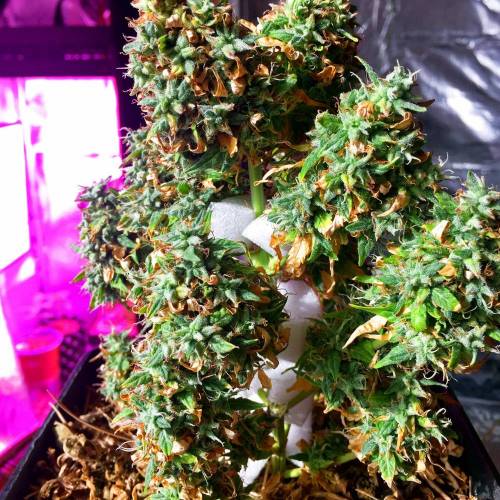
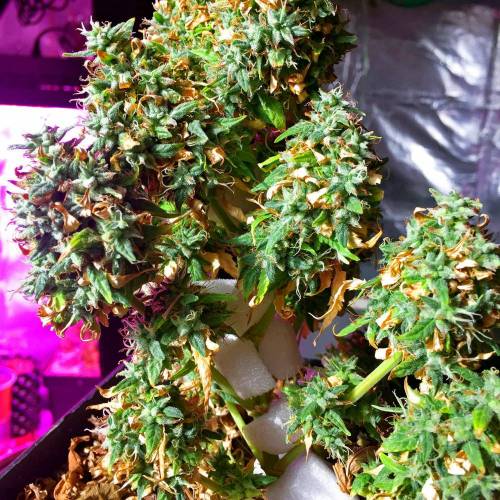
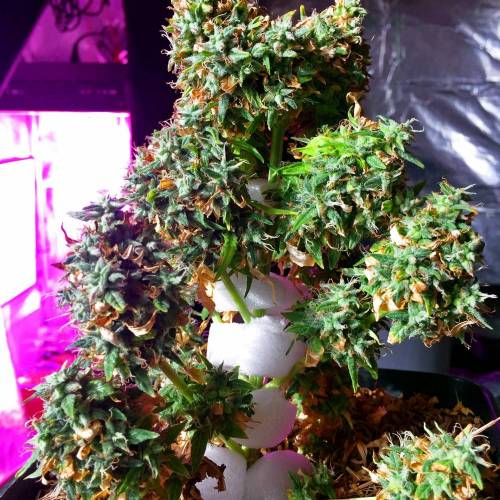
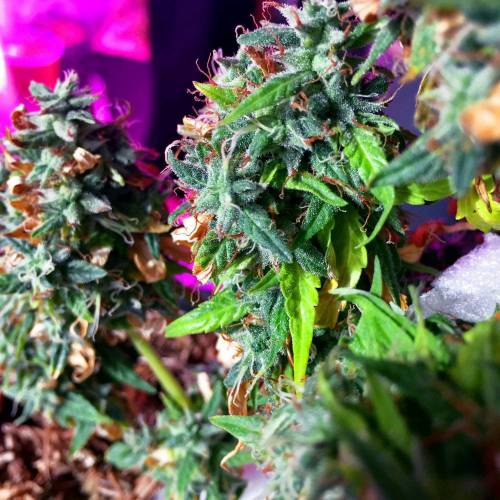
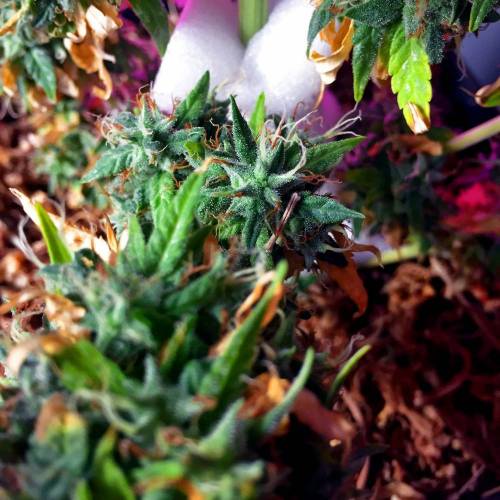
deFharo I've been waiting for the typical color change of the Blueberry, but it hasn't happened. This grow that started off well got blocked and began showing massive signs of leaf burn as soon as I moved it to a different cabinet. The symptoms were exactly the same as what I've been experiencing with my last failed grows. I confused them with various issues, and no solution fixed anything, but the mistake repeated itself grow after grow. Now I know that the common denominator in all the grows has been the exaggerated light intensity I've been applying, causing the leaves to burn and drastically reducing photosynthesis. The buds are becoming very compact, and the plant is also stunted, in an attempt to protect itself from the excess light. This never happened to me when I only had one cabinet, as the changes in spectrum and intensity were gradual. Since I set up my second cabinet and the following ones loaded with lights, the problems started. With more than 8 failed grows this year and me being quite clueless, I had assumed that the plants would handle all the possible light intensity and that would make them more compact and resinous, but that hasn't been the case. So I'm going to grab my photon and spectrum meter again!!
I'm going to harvest this plant in 3 days, once the substrate moisture is gone. Today I separated the branches to air them out and promote a bit more photosynthesis since the inner leaves of the buds are healthy; I hadn't given them light!! I'm left wanting to grow this variety properly. Most likely, I'll start another diary with a feminized blueberry strain I have around here.
Cheers and health!! Thanks!!
10 likes
comments
Share
12
Week 12. Harvest6y ago
Happy Harvest Day!


5/10
Rated
Un cultivo accidentado, la planta resistió todos los embates, pero se quedó enana. Voy a guardar estos pequeños cogollos para épocas de escasez.
Show more
Translate
Spent 85 days
Ger Veg Flo Har
57 g
Bud wet weight per plant
17 g
Bud dry weight per plant
1
Plants
0.16 m²
Grow Room size
Normal
Difficulty

Earthy, Sweet, Woody
Taste
Height
Day air temperature
Air humidity
PPM
PH
Light schedule
Solution temperature
Night air temperature
Substrate temperature
Pot size
Lamp distance


deFharo The grow started off strong, but the change of tent and the intensity of the lights began to ruin the grow. I didn't identify the symptoms in time and was trying the wrong solutions that made things worse.
Anyway, I'm just happy about the space it left free in my grow tent.
I'll complete the harvest data in a couple of weeks.
Cheers and health!!
12 likes
4 comments
Share
Equipment Reviews


9 comments
Sort by
popularity
popularity
newest
oldest

DoDrugs420 commentedweek 125y ago
Blueberry Auto Bastard is looking sooo fine, lemme have that!
likes 2

deFharo commented5y ago
@doDrugs420, thank you... but maybe you need glasses!! 🤓 🤷♂️
likes 5
DoDrugs420 commentedweek 125y ago
Blueberry Auto Bastard is looking sooo fine, lemme have that!
likes 2
deFharo commented5y ago
@DoDrugs420, thanks... but this was another failed grow!! 😩
likes 5

HighRoller909 commentedweek 116y ago
this can't be a ruin dude,great job.it is looking so good
like 1
deFharo commented6y ago
@HighRoller909, thanks, at least I hope I learned something :)
likes 7

Ferenc commentedweek 106y ago
Lovely Bonsai mate! @deFharo
like 1

frogDUDE commentedweek 116y ago
Looking good my friend! 💚 💚 💚
likes

krulll commentedweek 106y ago
good job, looks great
likes

the end.
Enjoying this diary? Follow for more updates!

Prefer the old Diary view?
Go back to the old Diary view