How and When to Transplant Cannabis: Your Complete Guide to Transplanting Cannabis

When you were a wee kid, you probably slept in a cradle, then moved onto a small bed, and eventually moved onto a big bed. Think of your plant’s container as its bed. As the plant grows, it needs to move from a small container to a bigger one until it reaches the flowering phase.
This is where transplanting comes in. Without it, you risk your plant growing in a small container or losing a lot of nutrients to drainage — both of which can be a problem for your plant’s growth and eventual yield.
So, what is transplanting and how can you do it? Learn all about transplanting cannabis in this article.
What is Transplanting Cannabis?

When you grow cannabis in a pot, over time, the plant will outgrow the container as the roots develop and the plant grows bigger. Thus, you need to move the plant to a bigger container that can sustain it for the next stage of its growth. Ideally, most growers do it at least three times during a plant’s growth cycle, but it's okay to do it twice if the plant is happy and not showing any signs of being root bound.
The process of shifting the plant from one pot to another is called transplanting.
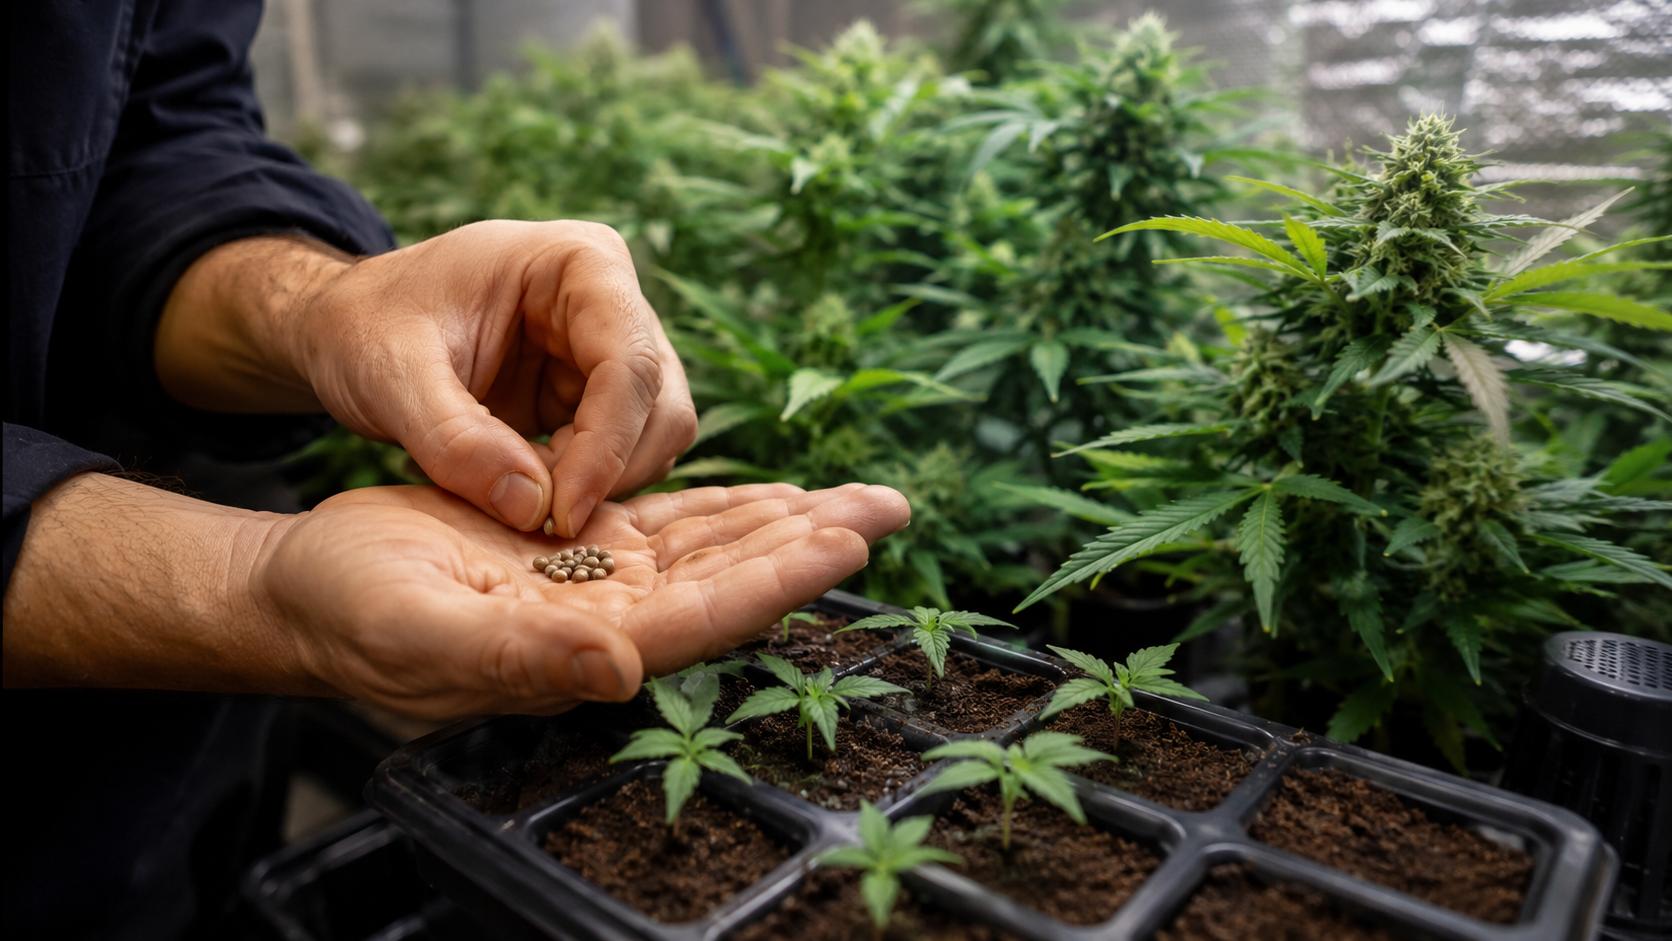
If you're growing cannabis in a container with soil, you will most probably start by germinating the seeds in a solo cup or between paper towels. Once the seedling is developed, you will transplant it into a small pot, followed by a bigger pot after some weeks.
Why Do You Need to Transplant Cannabis?

Transplanting cannabis is crucial for healthy plant growth, but why is that? Because you need to ensure your plant has enough room within the root zone for adequate root development.
For instance, if you grow cannabis in a smaller pot, it can get rootbound, where the roots turn into a root ball and can’t grow any further. This can lead to various problems in the plant, starting with nutrient deficiencies as the roots cannot absorb nutrients properly. Plus, a small root ball will stop the plant from growing further. Eventually, root lock can lead to the plant’s death.
Thankfully, diagnosing rootbound cannabis is easy — look for the following symptoms:
- Stunted new growth
- Slow development of buds
- Stems turning reddish brown
- Nutrient deficiency
- Drooping and wilting leaves
- Plant stretching
- Unusual spots and discolorations on the leaves
On the contrary, if the roots have enough room to develop, they can absorb nutrients and water more efficiently, supporting vigorous plant growth. This would eventually lead to a fruitful yield, both in terms of quality and quantity.
Additionally, transplanting cannabis at the right time can help you perfect your watering cycle. With the right container size, you don’t need to water the plant more than necessary to ensure the roots get adequate nutrients and water — something that would not be possible if the container is too small or too big.
Another minor advantage of transplanting cannabis is that the plant does not tip over. For instance, if the cannabis plant is growing too tall and wide but the container is small, the plant can buck under its own weight and tip over.
Why Can’t You Transplant Your Cannabis into the Largest Pot?

You are transplanting cannabis to ensure the roots have enough room to develop, so why not just plant your cannabis in the largest container instead of transplanting it three times?
Unfortunately, you can't do that because although transplanting sounds like a lot of hard work, it's crucial because growing in the final container may cause various other problems for your plant’s growth.
The first problem with growing cannabis in a large container is that you will face watering problems. When you water the plant, most of the water and nutrient solution will not reach the small root ball of the plant, so you will have to compensate for this by watering more and more.
This can also cause other problems like a nutrient deficiency in the plant and even affect soil health due to excess watering.
When you add a lot of nutrients to the soil — more than necessary — the soil will become saturated with nutrients, and when the root expands through this soil, it can begin to rot or experience pH problems, cascading into other problems.
In many cases, transplanting cannabis in an oversized container can even slow down the plant’s growth!
How Often Should You Transplant Cannabis?

If you are germinating seeds using paper towels or a solo cup, your first transplant will be when you move the seedlings to a small pot. Beyond that, you need to observe the plant and determine when you need to transplant it to the next container.
Remember, you can’t preplan transplanting because it entirely depends on how your plant grows and when it outgrows its container.
When the seedlings are ready for transplanting again, you can either transplant them to an intermediate container or the final container. It is recommended that you transplant it into an intermediate container, especially if you are a beginner.
Transplanting into an intermediate container will help the roots absorb all the nutrients and water with minimal wastage while also allowing you to master the wet-to-dry watering cycle.
You can transplant it to the final container if you are an experienced grower. Note that this process is valid only for photoperiod plants because you don't need to transplant autoflowers at all.
The next transplant will occur when the cannabis plant is ready for flowering. You need to transplant it to the final container before you flip the light cycle from 18/6 to 12/12.
For most growers growing photoperiod cannabis, transplanting twice or thrice will work just fine, but in some cases, depending on the strain and your local climate, you may have to transplant it one more time.
When is the Best Time to Transplant Cannabis?

As mentioned earlier, you can’t preplan the transplanting schedule for your cannabis plants; instead, you need to understand the plant’s growth and act accordingly. However, there are three instances where you need to transplant cannabis, and they are as follows:
- Transplant the seedlings into their first pot
- Transplant pot seedlings into intermediate containers
- Transplant the plant into the final pot before switching to flowering
You can transplant your cannabis more or less than this if required, but only during its seedling and vegetative stage. Transplanting during bloom is always a bad idea. Plus, when transplanting, you must do it carefully to avoid transplant shock. More on this later.
Factors to Consider When Transplanting
You must consider various aspects of the plant to determine the best time to transplant, such as the following:
1. Number of Leaves
Usually, seedlings planted in small containers are ready for another transplant into an intermediate container when they have sprouted 4 to 5 sets of leaves. Note that this depends on the strain you are growing, so act accordingly.
2. Development of Roots
The next factor is the development of the roots. Yes, checking the roots sounds difficult when you are growing in soil, but here’s a life hack: check the bottom of the container and the drainage holes. If you notice any of the roots growing out of the holes, your plant has outgrown the container and you should transplant it.
Additionally, you should also check the color of the roots. Healthy roots are visibly white, but if you notice any discoloration or darkening, it may be a sign of root lock. In this case, too, you should transplant your cannabis immediately.
3. End of the Vegetative Phase
The third factor is when the plant is ready for bloom. You need to move the plant to the final container before it starts flowering so the roots have plenty of room to expand during the flowering stretch.
Can you Transplant a Flowering Cannabis Plant?

In any case, you should never transplant cannabis when it is flowering. During this phase, the plant will transfer its energy supplies to bud zones and won’t have enough energy for root development.
If you transplant your cannabis during this time, it can experience a transplant shock, which can lead to a drastic impact on your plant’s bud development and yield. Plus, the plant won’t have enough energy in store to recover from the shock, leading to higher chances of compromised yield.
How to Transplant Cannabis?

A lot of this sounds complex, but transplanting cannabis need not be so. It can be easy if you know what you are doing and take the right steps. To help you, here is a short guide on how to transplant your cannabis at the right time.
1. Choosing the Right Pot Size
The first step in transplanting is choosing the right pot size for your cannabis plant. Whenever you are transplanting your cannabis, the following pot should be 2 to 3 times the size of the current pot.
Doing so will ensure the roots have enough room to develop while reducing the chances of you needing to repot your plant again.
As a rule of thumb, a regular cannabis plant requires at least two gallons of soil for every foot of growth. So, know the height of the strain you are growing and choose the quantity of soil and container size accordingly.
However, if you are not sure about the plant’s height, you can go for more over less.
As for the final pot, most cannabis strains do well in a five-gallon container. But again, this depends on the strain you are growing and whether the plant is indoor or outdoor. Outdoor cannabis plants tend to grow a lot bigger and some may even require 20 gallons of soil instead of just the five that their indoor counterpart would use.
Here is a measurement guide on how much soil you would ideally need based on the plant’s height:
- Up to 6 inches: 16 oz
- Up to 12 inches: 1 gallon
- Up to 24 inches: 3 gallon
- Up to 42 inches: 5 gallon
- Up to 60 inches: 10 gallon
- Up to 84 inches: 20 gallon
Best Type of Pots to Use
The type of pots you use depends entirely on your preferences. Here, the most common choice for cannabis growers is white pots with drain holes on the bottom. White pots don’t generate a lot of heat compared to black pots, letting the soil stay relatively cool, and they are sturdy enough to hold the soil and plant’s weight.
On the other hand, other growers prefer using air or fabric pots that air-prune the roots, which is good for root development and health. This is a good choice if you want something better for a small additional cost.
2. Preparing Your Cannabis Plant for Transplanting
The next step is to prepare your cannabis plant. Remember, transplanting is a stressful process for your plant and you need to prepare it well to avoid transplanting stress. Follow these steps:
- Cut the nutrients in half and let the soil dry out as much as possible before the transplant. This is because removing a plant with saturated roots can be damaging.
- You also need to prepare the new container ahead of time. Flush and sterilize the new medium to prevent nutrient or pH imbalances and avoid pests and other pathogens. You can then add food back into the medium with boosters and fertilizers.
- You can also recycle old soil to maintain the pH and nutrient levels as per your plant’s requirements.
- Always remember to check and adjust the soil’s pH before you transplant your cannabis. The ideal pH range for this is between 6 to 6.5.
3. Transplanting Seedlings into a Container
Once the seedlings have grown 4 to 5 sets of leaves, it is safe to move them into a new container. Follow these steps to move your seedling into a new home.
- Sterilize the area and wear clean gloves to avoid contamination of the roots
- Ensure the soil is dry so it does not fall apart when you pull the plant out
- Ensure the new container’s soil is flushed, fertilized, and pH tested
- Hold the plant, squeeze the container and flip it to remove the plant
- Place the plant in the new container with old soil to minimize the risk of transplant shock
- Avoid leaving the roots out of the soil or exposed to light as it can damage the roots
- Once the plant is settled in the new container, water it
Transplanting a Vegetative Cannabis Plant
Depending on your plant’s growth and the size of the container you chose during the first transplant, generally, the next transplant should occur when the cannabis plant enters the vegetative stage.
Use the steps mentioned earlier in the article to know the exact time for transplanting.
Also, for the pre-flowering stage transplant, you should try to do it at least two weeks before the plant begins to flower.
Transplanting cannabis during its vegetative stage is a little risky, especially as it nears the flowering stage, so you need to be extra careful. To transplant vegging cannabis, follow these steps:
- Prepare a clean area for the transplanting process.
- Add a new medium to the follow-up container while leaving plenty of room for the big root ball — leave a few inches on the top of the container.
- Flush the soil and add nutrients and check the pH of the new soil and ensure it is the same as the old soil to reduce the risk of shock
- Ensure the new soil is fluffy and light, so you can plant your cannabis easily in it.
- Next, spray some water over the plant and squeeze the old container to loosen the grow medium, turn the plant upside down, and let gravity pull the plant out for you.
- Quickly place the root ball in the hold in the new container and cover it with loose soil.
- Water the plant thoroughly immediately after the transplant.
- The plant will take a few hours to settle, so keep temperature, relative humidity, and light consistent for some time.
Feeding the Plant After Transplanting
You will flush the new soil, so when you move your plant to it, it will get hungry. This is why you need to feed the plant properly after transplanting it.
It is recommended that you use the same nutrient solution as before to feed your plant. You can also recycle old soil. And you must check the pH and EC levels of the new soil to ensure they are the same as the old soil.
If the pH and EC levels are different, the plant may not be able to absorb the nutrients from the new soil efficiently.
For the next week, you should be extra vigilant of your plant and monitor it regularly for any signs of nutrient deficiencies or shock. If you notice the leaves turning yellow and stems purple, it is likely due to wrong pH levels.
After a couple of weeks, you can increase the nutrients as the plant would have settled into the new container. But be wary of nitrogen-burnt tips or nutrient burns on the plant.
How to Prevent Transplant Shock in Cannabis?

The biggest risk your cannabis plant faces during a transplant is shock, which can stunt the plant’s growth and affect the yield. No one wants that. Fortunately, it is relatively easy to avoid shocking your plant as long as you are careful and take the right precautions during the transplant.
In most cases, shock occurs when the plant is suddenly moved into a new environment it’s not used to — new soil, different pH levels, and new relative humidity. So, the most important step in preventing a transplant shock is to ensure that you keep the conditions the same between the old soil and new soil and recycle the old soil as much as possible.
Here are some other tips that you should follow:
- Never touch the roots during transplanting — they are very fragile
- Prune any decaying roots with sharp pruning scissors
- Use the same potting medium and fertilizers in the new container
- Flush the new soil before fertilizing it and always check the pH and EC levels
- During the transplant, minimize the roots’ exposure to light and air as much as possible
- After the transplant, don’t change the light, temperature, or relative humidity until the plant settles in the new container
Follow these steps and your plant will not face any issues or shock during the transplant.
Do You Need to Transplant Autoflowering Cannabis Plants?

Autoflowering cannabis strains grow fast and stout, so generally, they don’t require transplanting at all. You can plant the seeds directly into the final pot and let it grow — this is the beauty of autos that makes them so easy to grow.
Plus, transplanting autos has one major downside — their short growing cycle — after the transplant, autos don’t usually have enough time to recover and settle in because of the short growth cycle.
But that does not mean you can never transplant autoflowering cannabis; in some cases, you can. If you have to transplant auto cannabis, you need to be meticulous about timing.
Transplant your autoflowering cannabis when it has developed at least 4 to 5 true leaves and a strong root system, and give it a week to recover from the process. All the other steps remain the same as photoperiod cannabis plants.
Summary: How and When to Transplant Cannabis: Your Complete Guide to Transplanting Cannabis
Yes, there’s a lot to transplanting cannabis, but doing so is relatively easy. Follow the steps mentioned above and take the right precautions to prevent shock, and your plant will reward you with big, bushy nugs.
And to help you further, keep the following tips in mind:
- Cut the nutrients in half before transplanting the cannabis
- Ideally, choose a container that’s twice as big as the current one
- Sterilize the transplanting room and do not touch the roots to prevent contamination
- Do not overfill the new container — keep the soil airy and fluffy
- Work fast so you don’t expose the roots to too much light and air
- Give your plant at least a week to settle before training it or changing any environmental conditions around it
- Always transplant at least two weeks before bloom
- If you are growing a large strain, consider getting a container with a frame or stake support
- If you are transferring the plant to its final container, only saturate the center of the growing medium and water the plant straight down — this will promote vertical growth of the roots
Your cannabis plant is your baby and transplanting it ensures it always gets the correct-sized bed to sleep and grow in. So, why not transplant it the right way?
Read more