Likes
Comments
Share


@love_2_grow
Follow
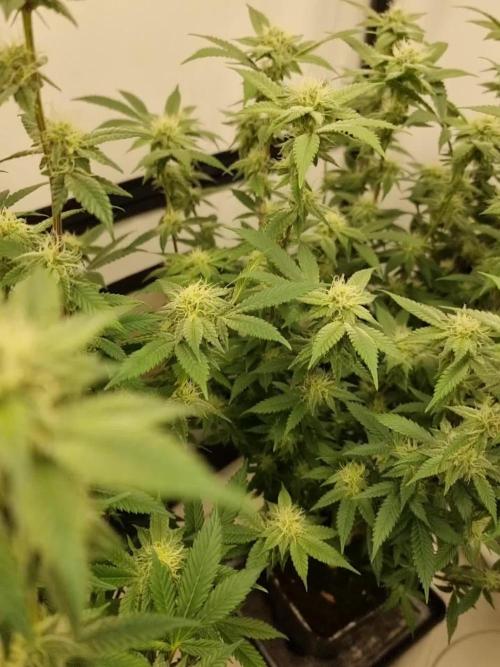
D21 - Start of week three of veg for the second girl, while it is only the start of week two for the first girl as I had to replant her. I will probably do the first topping on the second girl this week but I'll see in a few days where she's at. I gave both girls around one liter of water @ pH 5.9. A bit on the low side as I used too much pH down but it'll be fine for one watering.
D24 - Yesterday I switched my light from the seedlings program to the veg program, and I'm now reading around 500-600 PPFD across the canopy. On the high end for sure, so let's see how the girls handle it.
However, the daytime temp in the tent jumped up to around 30 degrees C after I switched the lights. #tinytentproblems
I also added some support to #1 as she has a relatively thin stem but large leaves, so the oscillating fan keeps knocking her around. The second girl also initially had a slender stem, so I guess it is their genetics. (#1 is 12 cm tall and 15 cm wide, while #2 is 20 cm tall and 35 cm wide.)
I will need to top the second girl this week as she grows a lot each day. I'm considering mainlining her but haven't made up my mind yet.
I gave both girls around one liter of water @ pH 6.5.
D25 - A couple of days ago, switching the lights to the veg program made the cover crop explode and turn into a jungle.
I decided to trim down the red clover to increase the airflow around the girls and reduce water use.
I watered the girls only yesterday, but they were already thirsty again, so I think that the clover was drinking quite a bit as well.
After cutting back the clover, I gave each girl around 1.2-liters of water @ pH 6.5.
D27- Today was the last day in week three of veg for the second girl and the last day in week two for the first girl. I really should have topped the second girl already, so that will need to be done as soon as possible. She is 26 cm tall and 38 cm wide, while the first girl is 13 cm tall and 27 cm wide.
Yesterday, I removed the support from the first girl as her stem had gotten more robust, so it was no longer necessary.
Today, I started brewing compost tea (worm castings, neem meal, kelp meal, biochar, rock dust, algal limestone, bentonite, and molasses) which I will leave overnight and feed to the girls tomorrow.

Likes
4
Share


Likes
15
Share


@CanadianFillmore
Follow
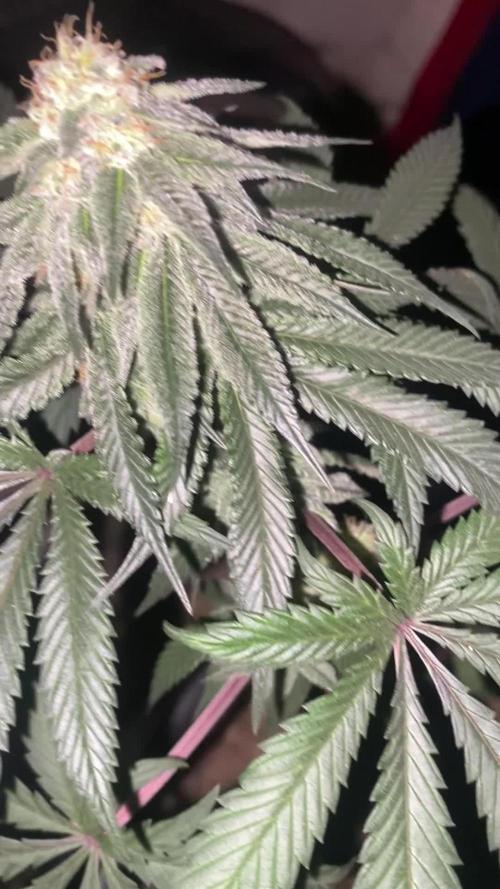
Overall very happy with this plant grow. She was by far the hungriest of the four plants in this grow, but she still developed nicely, loads of sticky sweet smelling buds. Will update in 2 weeks, after the first smoke.
Update! Smoked the first buds from this harvest, the smoke was smooth, light berry/fruit taste, it will get stronger as they cure in their jars. Overall, I am happy with the plant, the bud product and quality. She's not a super heavy indica, but she can still pack a punch!

Likes
6
Share

@midnitrtoker
Follow
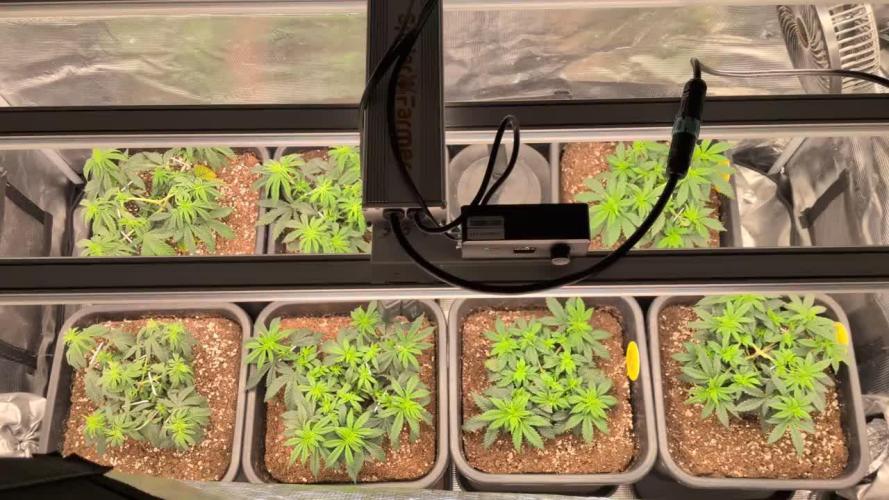
This 10gal reservoir has been a game changer!!! If you’ve been wasting/going through your nutrients fast I suggest you get one of these and in the comments add Midnitrtoker from IG sent me. Trying to get sponsored and give one of these systems away!! Like I said i filled up the res with 10gal and it has gone 4weeks!!! Today I empty out what’s left and change the feed to flower. That means we up the EC a tad and let it go. If 10gal lasted up 4 weeks we will be using 5gal this time and hope it lasts us the first 3 weeks of flower. I have not experienced any deficiencies the tips are turning purple but that’s because my night temps drop to the low 70s even to 69F. I took cuts of these girls again. Next round we will be using Floraflex or Athena. Same environment different nutrients we will see which company gives us the biggest harvest. See you all at the end of week 1 Flower.
Likes
39
Share


@Siriuz
Follow
Happy growing everyone
Thank you so much sweet seeds
We promise and we are here to show you
Stay tuned because we just started
And she will grow beautiful indeed
Best of luck to all growers in their journey
DAY 1
TO
DAY 3 THEY FINALLY SPROUT
FIRST COTYLEDON SHOWING
DAY 4
TO
DAY 5
HAD TO MOVE HER TO A BIGGER POT DUE
TO TAPROOT COMING OUT OF PEAT MOSS


Likes
15
Share


@MG2009
Follow
03/25/2021
Flowering has begun!
I hope you can see in video, pics of close ups soon!But till then I have made banana peel tea, and mixed 1 tbls. To 2 liters water she drank it all no run off but soil wasn't dry either will check weight of pot tomorrow and then water as needed. I want her drink her tea!

Likes
19
Share


@Ieiogrow94
Follow
Purtroppo le 5 genetiche con la p hanno sviluppato le 🎱 🎱 ed ho preferito tagliarle per evitare stupide impollinazioni alle altre 20.
Purtroppo si è staccata la corrente ed una vokta attaccata mi è rimasto il display del deumidificatore acceso durante il periodo notturno, CHE SFORTUNA!!!
Ma si va avanti ancora più cazzuti di prima!
Le piante sono bellissime le ho defogliate e fertilizzate questa settimana ora si finisce il tutto.
Vedremo nelle prossime cosa succederà!!!
Grazie a tutti per il supporto 🔥🔥🌲🌲


Likes
27
Share


@Silverback_Guerilla
Follow
4/5:
Took 4 cuttings from the shortie
4/12:
All 4 are rooted and growing!
5/1:
Transplanted from 1gallon pots to 5 gallon pots.
5/3:
Decided to grow one of them in my tiny tent and the other 3 will go outdoors.
5/4:
Took 2 of them outdoors under the 270w and sunshine.
5/6:
Trained all of them today and fed some boomerang along with the kelp, molasses, big bloom, and silica. Foliar fed and took the last one outdoors.
The one in the tent is really flourishing!
5/7 - 5/17:
Excellent growth! The supplemental lights are making all the difference.👍
Did some more training on all of them early in the week.
The one in the closet is spreading out nicely and budding up pretty quickly...but what's very cool is that all 4 clones outdoors are flowering?!?!? I sure hope they go ahead and finish rather than starting to revegetate as the days continue to get longer.
Much rain for the past few days, but it let up long enough for me to install another 200w of waterproof 3000k LED lights a couple of feet above them. Very intense lighting, great bang for the buck. So now, I've got 350w of 3000k and 120w of 6500k in the outdoor garden. That's gonna have to do it, as I also am using 1400w in my indoor gardens, plus a/c..bills are getting ridiculous.
5/18 - 5/28:
The clone in the tent is still stacking up really well. I guess the ones outdoors are too, but next to the seedling plants, they seem puny. Many buds though...
Since they decided to flower early, I sprayed them all down with a product that is loaded with hormones and auxins and stuff that's supposed to retard vertical growth and promote branching. It's also supposed to speed arvest time by as much as a week. I hope they can finish before the summer solstice (June 21), otherwise they might try to reveg instead of finishing..
Hopefully it helps keep them from stretching so much that I'll have to supercrop them. Their mamma was a shortie, so they really shouldn't get too tall anyway.
I also foliar fed them several times this week with something called MicroLife Maximum Blooms, Pow! They love the stuff!
5/28 - 5/31:
I did some training on a two of the outdoor clones early in the week between rain showers, and foliar fed with Microlife maximum bloom formula. She was looking a little N deficient, so I assume the dry amendments have petered out. They were dry enough, so I top-fed her with another couple tablespoons of cavern culture and on the 31st. I gave them big bloom, tiger bloom, grow big, beastie bloomz, silica, endoboost, signal, humic acid, liquid kelp/fish emulsion, and liquid molasses. The indoor clone is looking awesome. I fed her heavily on the 30th.
It just feels so strange that I'll be harvesting outdoor photos in June!?!
That's it for week 8-
6/1 - 6/8:
Early in the week I gave them about a half gallon of water with liquid molasses, cal-mag, silica, and beastie bloomz only.
I foliar fed them a couple of times during the week, right at daybreak.
I fed them on Saturday, the 6th..about a gallon each..beastie bloomz, microlife maximum blooms, cal-mag, humic acid, grow big, big bloom, sweet & sticky, and signal.
They are looking very good..buds galore. The indoor clone got the same nutes, but on different days. She's also covered in buds, and they are beginning to fatten up.👍
6/9-7/4:
Busy with other gardens, so not many updates...
Indoor clone got to spend the last 2 weeks of her life in my closet under the quantum boards and UVB. I harvested and washed her buds on 6/28, let her hang dry and weighed and jarred her up on the 4th of July. She came in a 111g of cola and 45g of lower bud with only about 5g of larf. Nice!👍
She smells just like her mommy and has the same uber-dense buds. She was topped, so the buds aren't as mighty as the mamma's, but much more plentiful.👌
Outdoor clones:
I had a massive spider mite attack, and during the same week, I had a grasshopper invasion...I lost a few plants, one of which as a FFT1 clone.
I had just harvested my autos and my indoor clones from the closet, so I moved the remaining two clones in under the quantum boards. I treated them for spider mites several ways for several days and have given them much TLC. Hopefully their buds fatten up some more. They stanky, but they kinda slim...
7/11:
I harvested the last two clones tonight. So sticky!!! I washed them and hung them to dry.

Likes
10
Share


@Kevjunior20
Follow
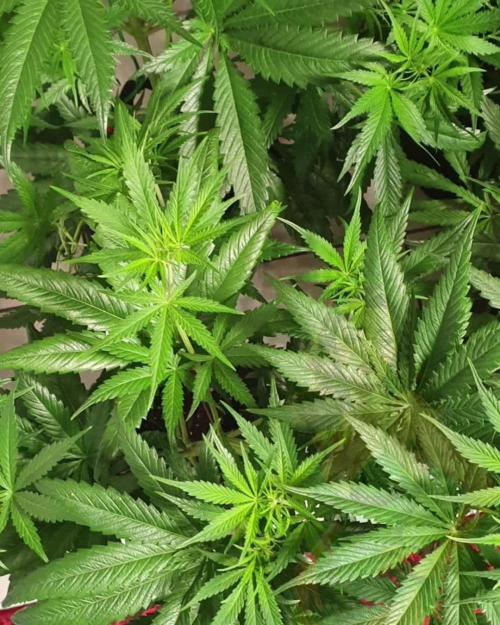
Beginning of third week, changed up my set up! Ready to see how these girls react to the Nutes also I have two slow growing plants(purple lemonade autoflower) & (seedsman autoflower lemon)


Likes
9
Share

@LittleBigTrees
Follow
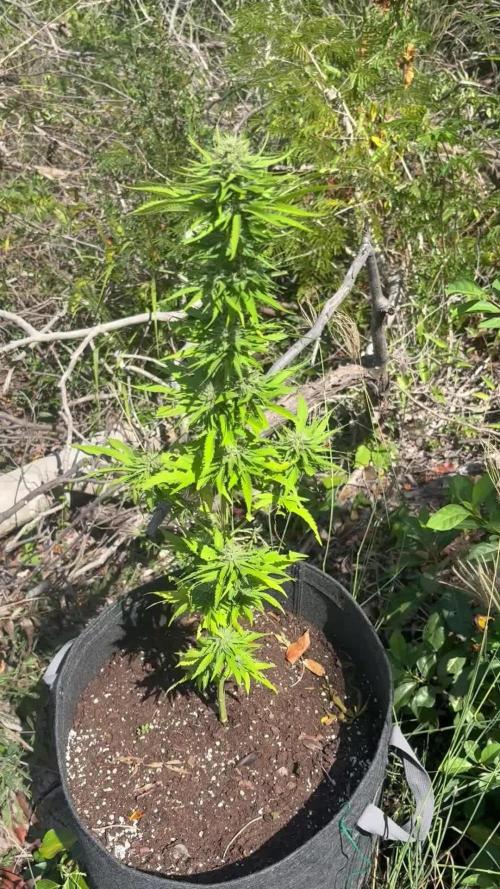
Feeding full strength. 20% run off. 700ml at lights on and lights off.
Defoliating fan leaves as needed.
I will adjust the feed slightly next week.

Likes
13
Share


@WeedM8
Follow
Hello m8 welcome to this journey with me in this diary will have very interesting strains hope u find something useful
PersianGirl
- [ ] 1st week Veg: germinated in substrate lighting very close so it jets medium high humidity after the 3rd day they started sprouting
- [ ] 2nd week Veg: this week my ventilator broke down and as the temperature stayed very warm nothing developed much
- [ ] 3rd week Veg:fortunately this week i had fixed the ventilation and the temperature has go down a bit allowing the little plants to develop and reinforce
- [ ] 4th week:very good developments in this week I already started feeding a bit two times but i didn’t have to…once was enough
- [ ] 5th week Veg:this week they were very strong green i only had to water them good and keep the ventilators going no stop .They have good hight already ,but as i have to strains together. I want to transplant them when the hight of the other one have stretched… I’m thinking to transplant next week if not the next one
- [ ] 6th week Veg: this week it went great fortunatly i dont have pests that eat my buds i’ve givven a fed once the substrate is very rich already the plants streached very well i will transplant today so be ready m8 i cant wait to show you the progress
- [ ] 1st week Fl:they started stretching and looking very healthy just transplanted
- [ ] 2nd week Fl this week I’ve been away i had a friend taking care of them they stretching very well i hope that she starts putting energy into the flo
- [ ] 3rd week Fl:they are streaching very well ..getting the light very well
- [ ] 4th week Fl:there we aree guys the good stage is heree good high hope dosent effect de prod
- [ ] 5th week Fl:pumping very good this week a lot of changes started already being fros
- [ ] 6th week Fl:
- [ ] 7th week Fl

Likes
44
Share


@SooSan
Follow
12/12 + 61 jours
Vu qu’il y a 16 plantes mais que sur growdiaries on ne peut mettre que 8 variétés j'ai divisé en 2 diaries pour le bas de la tente
1️⃣
🏠 90x60x90
☀️ FC-E 4800 => puissance a 75%
🍁
1x Black Bomb / Philosopher Seed
2x Amnesia Lemon / PEV Seeds
1x Blueberry / PEV Seeds
1x Blueberry / 00 Seeds
1x Wappa / Paradise Seed
1x Dark Phoenix / Green House Seed
1x Quick Sherbet / Exotic Seeds
1x Mango Cream / Exotic Seeds
1x Banana Frosting / Sensi Seed
1x Hindu Kush / Sensi Seed
3x Fast Mix / Sweet Seed
📎 https://growdiaries.com/diaries/122084-grow-journal-by-soosan
📎https://growdiaries.com/diaries/124052-grow-journal-by-soosan
2️⃣
🏠 30x60x50
☀️TS1000 => puissance a 80%
🍁 4x Quick Sherbet - Exotic Seed
📎 https://growdiaries.com/diaries/122080-grow-journal-by-soosan


Likes
6
Share