
Likes
Comments
Share


@SooSan
Follow
12/12 + 137 jours
Vu qu’il y a 16 plantes mais que sur growdiaries on ne peut mettre que 8 variétés j'ai divisé en 2 diaries pour le bas de la tente
1️⃣
🏠 90x60x90
☀️ FC-E 4800 => puissance a 60%
🍁
Black Bomb / Philosopher Seed
Amnesia Lemon / PEV Seeds
Amnesia Lemon /PEV Seeds
Blueberry / PEV Seeds = 17g
Blueberry / 00 Seeds = 17g
Wappa / Paradise Seed = 11g
Dark Phoenix / Green House Seed
Quick Sherbet / Exotic Seeds = 14,5
Mango Cream / Exotic Seeds
Banana Frosting / Sensi Seed = 11g
Hindu Kush / Sensi Seed 10,5g
Mix 1 / Sweet Seed = 26,5g
Mix 2 / Sweet Seed = 15g
Mix 3 / Sweet Seed = 22,5g
Mix 4 / Sweet Seed = 14,5g
📎 https://growdiaries.com/diaries/122084-grow-journal-by-soosan
📎https://growdiaries.com/diaries/124052-grow-journal-by-soosan
2️⃣
🏠 30x60x50
☀️TS1000 => 100w = 54g
🍁
Quick Sherbet - Exotic Seed = 12g
Quick Sherbet - Exotic Seed = 12g
Quick Sherbet - Exotic Seed = 17,5g
Quick Sherbet - Exotic Seed = 12,5g
📎 https://growdiaries.com/diaries/122080-grow-journal-by-soosan


Likes
141
Share


@bioaccessory
Follow
Формирование зелёного экрана оказалось довольно интересным и совсем не хлопотным занятием - достаточно раз в сутки, а то и реже, загнуть ветки по перспективным направлениям под решеткой. Сломанная ветка таки прижилась, но еще пару дней не буду её беспокоить. В остальном всё ок, по плану ожидаю начало цветения, соответственно вношу корректировки в питание, показатели в норме.
В этот цикл я решил включить в питание добавку Delta9, у меня уже есть положительный опыт использования этого стима. Вношу по следующей схеме:
-минимум 4 раза, завист от продолжительности периода цветения
-первая обработка ≈за 10 дней до начала цветения(через пару дней после включения режима 12/12) разбрызгиваю по листу 6мл. на л.
-второй раз как только зацветет, под корень 5мл. на л. (вношу без базовых удобрений)
-в третий раз через 10 дней снова обрабатываю по листу 6мл. на л.
-и в заключение, еще через 10 дней, лью под корень 5мл. на л.
Через неделю буду добавлять лампу с диодами красного цвета 660нм.
Спасибо, что заглянули, и будьте здоровы! 🙏
Продолжение следует ...😶

Likes
6
Share


@I_Identify_As_A_Dan
Follow
Week 8 for Space Panda by Atlasseed,
Unfortunately pheno 1 was a bit mishandled and 1 of her mains was broken 😥 from 4 down to 3. Still going to keep her and continue main-lining her she will just end up with 12or15 mains instead of 16.
Other than that they both seem fairly happy, growth speed isn't too bad either. Think this strain will absolutely explode when shes transplanted into 25L pot from her insane root production.


Likes
21
Share


@krewgrew
Follow
Hi
I would like to introduce you to my first ever, cobbled together, but so far so good, growers' garden.
I welcome and look forward to your ideas and advice.
Germination done in between cotton pads.
The one seed that didn't germinated was bigger and darker than the others(slightly).


Likes
5
Share


@Bamz84
Follow
No Complaints No Issues Or Problems In The Garden...just being watered PH 6.0 and cal mag for now☺️

Likes
2
Share


@Velk1
Follow
Plant grew out doing its thing , med feeder can handle rough conditions and heat ! Great for beginners
Likes
38
Share


@Oyziphar
Follow
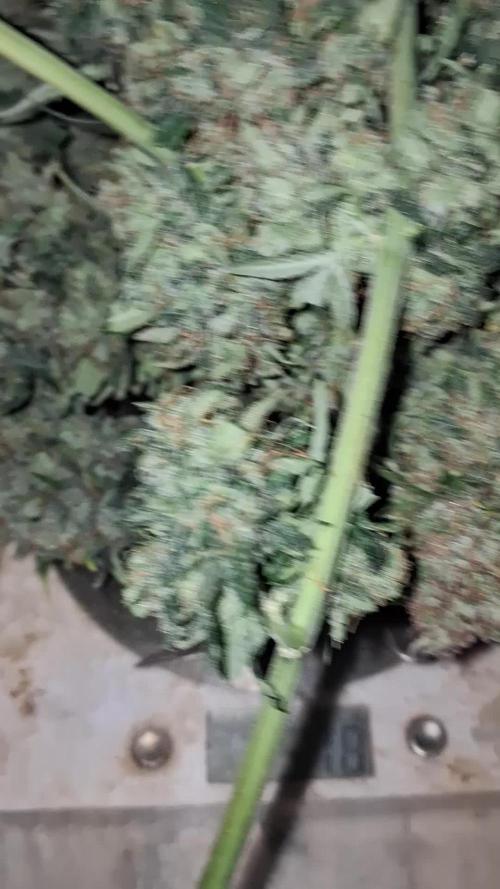
Trichomes and strong smell. That's what we like 😋😍
👆 Largest plants = Triple G = 125cm
👇 Smallest plants = Wedding Gelato = 85cm

Likes
30
Share


@HydroGrowLED
Follow
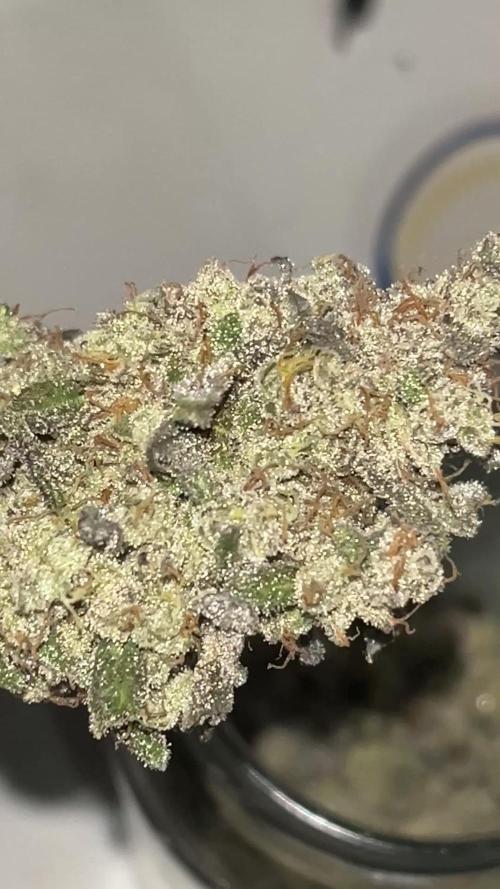
Quite a few are finishing up I’m gonna start the flush in around a week then harvest few days after that, incredible thc on this strain and buds are really dense I couldn’t recommend a better autoflower then this is best I’ve ever done 💪🌱😜

Processing
Likes
25
Share


@EveryGrow
Follow
Hey guys and girls :)
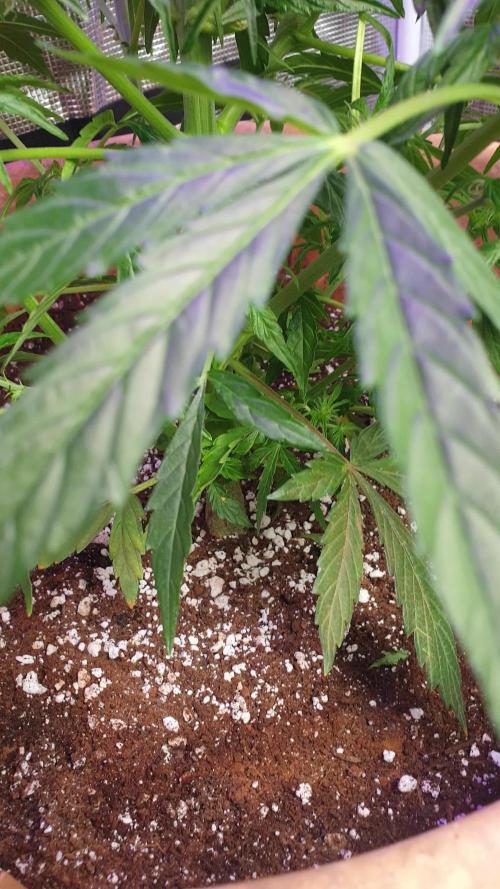
Week 4 little update. These girls could be boys and also, I am pretty sure these are not automatic :) They take a long time to develop and grow. You can also see they developed some insufficiency, the leaves don't look god. Do you guys know what is this and can it be solved with natural solutions? I will not add any nutrients. I mean will not add anything they sale as nutes. Any "gandma's" remedy guys? Feel free to advise!
Thanks for watching and will update next week!
Likes
73
Share


@Rando1314
Follow
Good week aside from the 3 larger ones yellowing or turning lime green….they are all getting the same food wonder if they need some more nitrogen or a calmag hit to keep em goin. It’s just the leaves…the bud sites are all still a good green color…any ideas def lmk happy farming yall


Likes
3
Share

@Jardin33ro
Follow
Todo llego a su fin, aun no se cuanto es el peso final pero tieme muy buena pinta. En unos dias actualizamos con fotos del secado y resultado final
Likes
2
Share

@Hundreds
Follow
Very impressed with this genetic form
Royal Queen Seeds
Milkyway (F1)
Its seems to have burst multiple flowers over the space of a week on top of what was there last week.

