


Likes
10
Share


@valiotoro
Follow
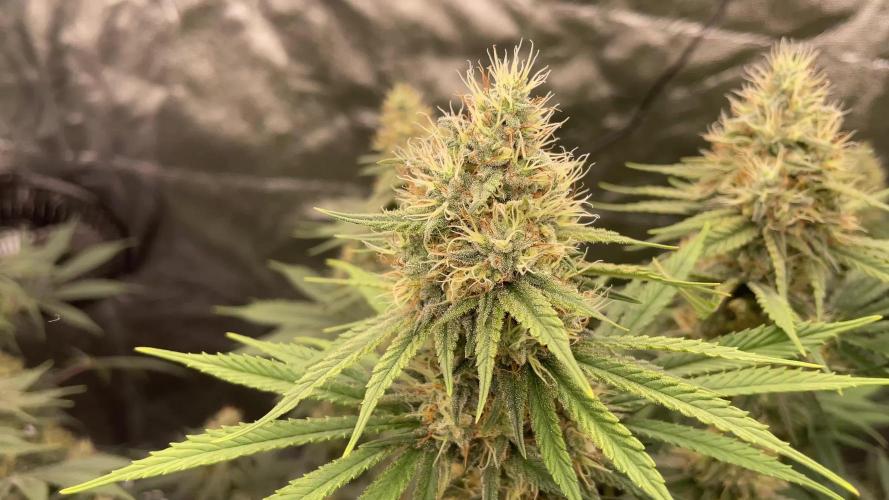
Photoperiod buds 🤩
The smell is absolutely divine very fruity,sweet & tropical🍋🍊🍉🍌
Solid like a diamond 💎
Bay harbor butcher’s trim to show the density

Likes
5
Share

@Bear_Grows_Green
Follow
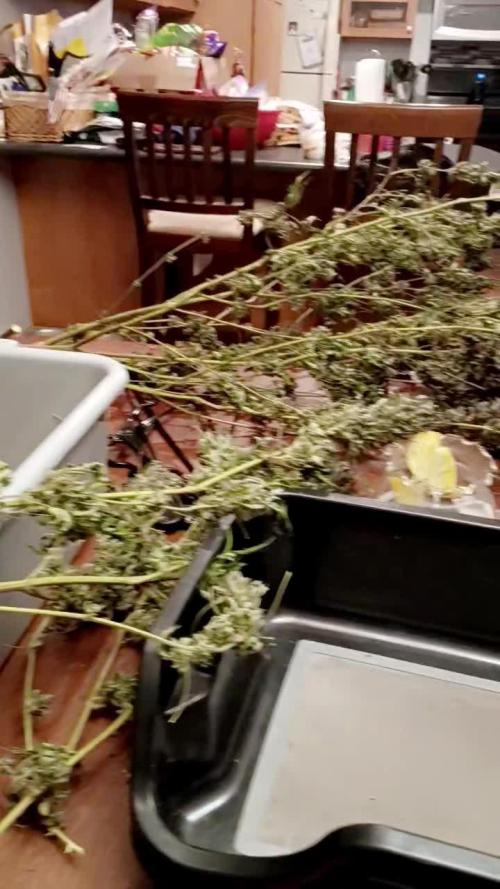
Harvest day!! Can't wait to try the smoke in a. Few weeks....
Wish I could have let them ride another 2 weeks but got to much rain in the future forecast starting today. All in all easy grow would have been easier if I used dry amended soil instead of bottle feeding. Strain is very restitant to light leak/stress and saw no issues with pm or rot. One plants the smaller one doesn't have a lot of nose to it just smells like weed. The other the bigger one smells like sour candy. Hope I didn't loose to much potency or weight harvesting early.Turned out great has a sour fruit dipped in diesel smell. On top of the flower I got 18.4 grams of dry sift from trim and 171.3 grams of trim that uses for making rso or infused oil/butter


Likes
31
Share


@Crybabypete
Follow
Still going.
Put up a second light to try to get some additional bud growth and avoid larf as much as possible.

Likes
7
Share


@ibbzy
Follow
Ahhhhh this tent is atleast going somewhat well. It’ll be a recovery from the photoperiod tent light leak :(
They still stretching ahaha, each strain has a dwarf pheno which is hilarious imo
Smells like an orange/tangarine forest….damn.

Likes
40
Share


@Bread_n_Buds
Follow
Our Zamnesia autoflowers have been on their journey through the magical flowering period for a while now, this is the second week of flowering considering that autoflowers still flower spontaneously some sooner than others but all around the 3rd-4th week. .
---- The general environmental conditions are good, the heat has increased a bit more but for the first weeks of flowering it is not a big problem, let's remember to never exceed 27 degrees centigrade in the last 4 weeks to avoid compromising the quality of the flowers. If necessary open the growbox but never let it exceed 27-30 degrees
where 30 is already a lot. The positive thing is that as soon as the lights go out the change is already somewhat visible and as autumn progresses we will also improve. The humidity is fluctuating but we try to control it with two dehumidifiers when necessary, pushing both of them possibly not into the growbox but directly into the room. (I dehumidify the room and the air in the growbox should also be dehumidified)
--- Here we are at very high levels. I have two Blue Cheese one a little taller and one a little smaller and super resinous already now - The autoflowering ones are good but please, try the latest generation F1 Hybrids. Plant, tall, vigorous, healthy really compliments for this strain. It is forming buds super fast only the Sticky Beast is behind it incredible the photos are only at the 5th week and look a bit ...
--- Fertilization program - The fertilizers are always Plagron and I'm following the table that I generated on the site depending on the chosen substrate. Create your own card and follow it, never be presumptuous my friend as I have been in the past, follow the card and look at the plants, not all need the same amount of fertilizer. We have come to the time to give a good dose of iron in the first weeks of flowering, already of race life not sprayed but mixed with fertilizers. We then added the power buds to stimulate the birth and development of flowers.
---- https://plagron.com/it
- Power Roots - 1ml/l
- Alga Bloom - 4 ml/l
- Pure Zym - 1 ml/l
- Sugar Royal - 1ml/l
- Vita Race - 5 ml/l
- Power Buds 1ml/l is now added i have to tribute more than something to this bad guy!
--- The 100% Organic pack by Plagron can be found on Zamnesia at the link: https://www.zamnesia.io/it/11457-pla gron-easy-pack-natural.html
--- Now dehumidifier running keeping the range from 45 to 55%
// Strain Description // If you were looking for a reliable, versatile and accessible strain, here it is. Blue Cheese F1 Automatic by Zamnesia Seeds uses F1 genetics to produce uniform, rewarding and easy-to-grow plants. This strain stays small, so you will have no problem finding a place to grow it. After just 10 weeks from seed, you can enjoy tasty buds with relaxing effects.
- Strain — Get a seed of this fantastic strain - https://www.zamnesia.io/it/10673-zamnesia-seeds-blue-cheese-f1-automatic.html
- Growbox and air sistem --- https://www.secretjardin.com/
- Light — P2000 - https://www.viparspectra.com
- Music and sound --- I made my girls listen to 432hz frequencies and music from www.radionula.com
- Z --- You can find these seeds, much more from the world of cannabis, mushrooms and an incredible series of accessories and gadgets on the reference site not only mine but of many growers
---- https://www.zamnesia.io

Processing
Likes
Comments
Share


Likes
60
Share


@julian100614
Follow
Su primera semana de floración y la planta ha crecido casi 10cm 🔥
Hemos empezado a suministrar los nutrientes de floración de una manera progresiva, empezando por 1ml de cada uno para estimular los brotes. De la misma manera reducimos poco a poco los de vegetación para no estresar a la planta.
Empieza a crear los primeros pistilos y crecen rapidamente 💪 las hojas se ven muy sanas 💪🍀

Likes
10
Share


@Canadian_Steelheader
Follow
End of week 6, Day 42 and all is going well. Did another defoliation 3 days ago and they bounced back nicely again. Started to lower the light schedule to get ready for 12-12. Currently at 15 - 9 going to 14 - 10 for Saturday , 13 - 11. Sunday and 12 - 12 on Monday. Let’s go Flower, been waiting patiently for the switch.

Likes
13
Share

@valiotoro
Follow
Hello everyone 😎
After 24hours in a glass of water with a few drops of hydrogen peroxyde all the seeds have germinate🌱🍒🥤
They will grow under the new Mars Hydro FC1200 evo💥
Likes
23
Share


@Firepharmer
Follow
Week 5
Everything looks good and frosty .. I’ll add the futur vert uv LED’s in a few days


Likes
6
Share


@BoooBooo
Follow
Plant started really good. unfortunatelly, humidity and temperature is very low, but she is good for that stresses I guess )) i’m working on both problems, hope all conditions will be perfect soon and she will be a monster ))
Likes
7
Share


@ZinosBest
Follow
So this is the first round for 2023. This year will be USA PREMIUM quality and types. I did the last upgrade on my growing tent so everything is set for newcomer.
I really excited about this year, this will be a brutal grow year.
Likes
24
Share


@nonick123
Follow
Día 66 (05/08) Cerrado por vacaciones
Día 67 (06/08) Mi amigo viene a casa a hacer un riego con 1 Litro de H2O pH 6,5
Día 68 (07/08) Cerrado por vacaciones
Día 69 (08/08) Vuelta de vacaciones! A ver como están después de 5 días sin verlas... 😱
Riego con 1 litro de H2O pH 6,5
Añado 3 cm de sustrato nuevo porque se ha compactado y se ven las raíces! 😢
Día 70 (09/08) Riego 500 ml H2O pH 6,55
Eliminación de algunas ramas bajas
Día 71 (10/08) Riego 500 ml H2O pH 6,55
Sesión de fotos semanal!
Día 72 (11/08) Riego con 1 Litro de Té Vegetativo de Lurpe Solutions. Preparación: 24 horas con bomba de aire (oxigenación) con ingredientes:
Green Sunrise 8 ml/L + Insect Frass 16 ml/L + Hummus Lombriz 8 ml/L + Melaza 1 ml/L + Kelp Hidrolizado 0,25 g/L
Aplicación foliar Kelp hidrolizado de Lurpe Solutions a 0,25 ml/l
💦Nutrients by Lurpe Solutions - www.lurpenaturalsolutions.com
🌱Substrate PRO-MIX HP BACILLUS + MYCORRHIZAE - www.pthorticulture.com/en/products/pro-mix-hp-biostimulant-plus-mycorrhizae

Likes
28
Share


@Grow_N_Smoke
Follow
We are down to the final week! Just 2 more watering days and then I'll be ready to cut them down, trim, and hang this weekend.
It had been a long 21 weeks and I am not prepared for my next grow. Usually I like to run perpetually with my 2x4 tent, I should have had another set of 6 starting when I flipped these ladies into flower. That way when these finish I could have had another set ready to go in.
But things came up and I am behind schedule and running out of nutrients. Honestly that is okay though because I am planning my whole year out. I'll buy the few items that I need such as PH Down, some ph pen calibrating powder, grab some more Flora micro and bloom, stock up on fabric pots, coco coir, and perlite. I'm even thinking of getting some new strains!
Stay tuned for next week's harvest!


Likes
2
Share

@Diaaz
Follow
Week 12 and the finish line is getting close! The buds are looking noticeably denser now, with great resin production and healthy colors throughout the canopy. The Green Sensation and CO₂ seem to be doing their job. It's always rewarding to see a grow come together after a smooth flowering cycle. Looking forward to seeing the final swell and harvest results.
Likes
93
Share


@PEAKYPLANTERS
Follow
Hello friends. Welcome back to peaky's garden
Second week of rinsing for this beautiful little girl who is already starting to show some signs Amber on these Trichomes
One of the strains is giving me huge satisfaction ,I think I've never grown such a big beast "autoflowering" wow I'm really surprised by its branching
I really like this strain a lot
Likes
5
Share


@braxat420
Follow
Top fed power bloom and glacial rock dust again. The pot really filled out nicely, great stacking on the Banana Jealousy. I'm excited for the weeks to come. Day 14.

Likes
6
Share

@hanspeter77
Follow
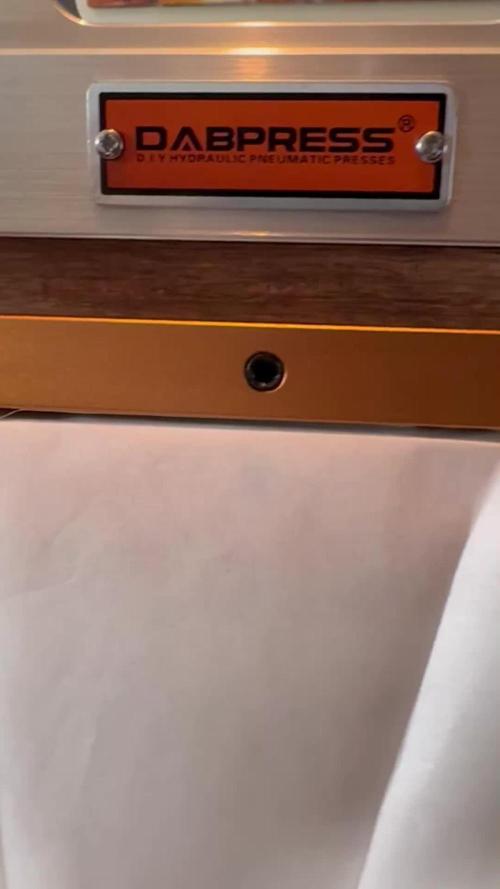
Ich hab aus dme meisten rosin geppresst, zuerst getrocknet dann bubble hash gewaschen.
Leider habe ich keinen freezedryer, würde sich auch nicht lohnen für so kleine mengen ^^
ich habe es im Tiefkühler getrocknet und danach im kühlschrank.
aber das nächste mal werde ich nur im tiefkühler trocknen dann wird es noch etwas hellerdas habe ich dann gepresst bei ca. 75 Grad für 2-3 minuten.
ich bin eher der freund von kalt pressen.