
Likes
Comments
Share


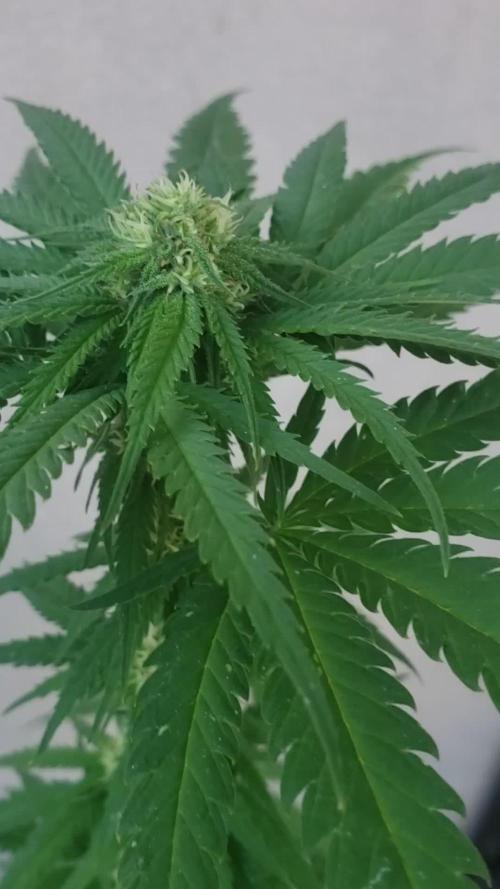
@Myrcene_Dream
Follow
-Germinated seed in peat pellet and 3 days later sprout popped up
-Put peat pellet with sprout in a 5 gallon fabric pot containing Pro-Mix HP
-Placed into tent where temp/humidity is constant at 78F 70%
-Gave a 3tbsp top dress of Gaia Green all purpose on day 6
-Watering a bit every 3rd day or so

Likes
3
Share


Likes
6
Share


@mingokoon
Follow
Week 3: 2 are thriving 10" and 7", 1 slightly smaller 3", 1 quite small but healthy green and 1 sickly. light is now at full so I will wait while they grow into the light but may lower it depending on how they take the light. I will slowly bring it to 3'. Started the calmag and increasing nutes.

Likes
2
Share


@viggagrow
Follow
Right now I'm flushing with my homemade substance, it pushes pretty much clean, planning to harvest next week.
Before harvesting I will let these girls sleep for 48 hours, hoping that a purple color will appear.
Currently night temperatures are around 19 to 15 degrees.


Likes
11
Share


@Hempshire_Empire
Follow
I was out of town for 5 days and when I came back there was zero water left in here. The person who was supposed to watch it failed to do so but luckily I got there in time and the roots look fine. That's why the leaves have been droopy
This plant is starting to smell so good! really having a tough time with humidity even with a dehumidifier but she still seems happy and no signs of mold.

Likes
44
Share


@Bretwalda
Follow
Thinking a week more growing, my microscope is too powerful i think pain to use saw a couple ambers but i think most are still cloudy if not see through. Should i lay off nutes this week or?

Likes
4
Share


@SuperGluedGrow
Follow
Did LST and topped Pheno 1 & 2, 3 is too funky to mess with. I think PH was just my issue and possible too high intensity light as I lowered to 60%, but also brought my PH to 6.5 so I'm guessing that helped too.
Likes
12
Share


@ZzTooRightOGzZ
Follow
She doing so good after the lst I did earlier this week.
Topped her towards the end of week 3.
Likes
3
Share

@kickthebass
Follow
Week 4 – Veg State:
Manual watering with RO water, compost tea, molasses, and liquid seaweed with topical application of Mycorrhizal fungi spores 1x per week. FIM'ed both plants on Friday to increase bud sites.
Likes
16
Share


@Mrg7667
Follow
About day 38 i am just realizing that i am stupid and been feeding the biogrow for cocoa coir 🤦♂️ way iver nuting with soil it says never to go over 1ml/L
So i will be flushing for at least 1 or two waterings. Looking for the tip burn to stop spreading and the tips to not look like there clawing

Likes
31
Share


@JUNGLE_B4RNS
Follow
It smells like harvest is coming folks 😄
Stopping the nootz on most of them, except for some others late ladies with a Sativa dominance I will keep feeding lightly until they’re done ... if they finish in time 🤞
Very happy with :
Gypsy Widow
Herz OG
Sir Jack
Blue Monkey
Not really happy with :
Spicy Bitch, getting 3 differents phenotypes , 1 proper Sativa, and 2 others hybrid with an Indica dominance, 1 of the hybrid is a hermie and the other one is lost in the Flower opening stage since weeks without swelling...
Mango Cream , getting fluffy buds all over to the top...
Exotic Thai, such a nice structure, but the main bud won’t be a donkey dick bud as expected...
(P.S: I’m looking for a job in the Cannabis industry as Master Grower, Mineralogist, Quality Control 🐞)

Likes
8
Share


@Jenda1797
Follow
so far no problem. I only have problems with the temperature, but so far I can handle it somehow
Likes
4
Share

@The_Doctor_Green
Follow
Hola a todo el mundo 🌎.
Perdon pero no se porque me ocurre que no me carga las imágenes, pero bueno , les cuento que esta #BigBang de @DivineSeeds esta en su segunda semana de floración, y para ser honesto , de las 3 geneticas que estoy cultivando, es la que en comparación ya tiene los cogollos más desarrollados ( las otras 2 son de rápida floracion, pero los cogollos son más pequeños).
A la planta le di un riego foliar con jabón para combatir los trips y los pulgones que vi aparecer.
En cuanto a fertilizantes utilice top candy y top bloom 1 y 2 ml x litro de agua respectivamente.
Esta semana también he medido el drenaje, y obtuve valores altos (ph 7.5 y Ec 950ppm). Asique los próximos riegos los hare con un ph más bajo (5.6-5.8) para poder estabilizar los niveles nuevamente.

Likes
17
Share


@Northern_Ent
Follow
Aug 24: biggest of the four plants this year, and seems to be doing fine.
Don’t take flash pics of photoperiods unless you’re immediately using a 730 nm light to put them into dark mode.
Aug 26: have been watering in the morning with warmed water and that seems to help. Small kettle takes a while to boil but 2 L in a 5 gallon pail will warm up pretty cold water left out overnight.
Lazy compost tea again today. I’ve held off for a couple weeks on the tea thinking that I didn’t want to over do N, but now’s the time for a little tea tuneup.
Aug 27: all four plants look happier the day after another lazy compost tea. The yellow on the new growth has been pretty persistent on the Gelato throughout this grow, but she’s notably greener today.
Now down to 14 h daylight, and still using the 730 nm far red light every night at dusk.
Aug 28: still growing taller.
Aug 30: this plant is get quite big for her intentionally smallish 5 gallon pot which will hopefully encourage her to finish faster.

Likes
3
Share


@CalGonJim
Follow
My favorite strain for some reason. It always survives, I thought one seed died. So I planted another...week later the other one grew. Survived mealy root bugs and all the insect soap, neem oil both altered the pH massive 5 to 9 fluctuation burned other plants but she kept going. She's smells like chewing gum fresh when I grind her up. I only dry for a day or over night because I do 4 smaller colas that don't take much time to dry. Got about an 1/2 oz or something, I trim and smoke as I go along, my grow tent is like my refrigerator , I just take some when I need it. 😎👍

Likes
36
Share


@nonick123
Follow
Día 73 (12/08) Riego 500 ml H2O pH 6,55
Todas las plantas muestras las preflores hembras! (excepto LemonPaya)
Día 74 (13/08) Riego 250 ml H2O pH 6,55 . Están muy bien hidratadas
Pequeños ajustes de LST
Día 75 (14/08) Hoy día de lluvias torrenciales
Riego 250 ml H2O pH 6,55
Día 76 (15/08) Detecto mosca blanca en varias plantas. Aplico Spruzit a 10 ml/l ahora que aún no estamos en floración
Riego 500 ml H2O pH 6,55
Día 77 (16/08) Riego 500 ml H2O pH 6,55
La mosca blanca ha desaparecido completamente
Día 78 (17/08) No riego. Mañana a primera hora aplico Top Dress y riego profundo
Va a empezar la floración!
Día 79 (18/08) Alimentemos el suelo con Top Dress! 💥 Aplicamos 4 g/L sustrato de Tasty Flowers TD by Lurpe Solutions.
Total = 84 gramos / maceta
Riego con 1 Litro H2O pH 6,5 con 25 ml/L de Humus de Lombriz Liquido
Aplicación foliar Kelp hidrolizado de Lurpe Solutions a 0,25 ml/l
💦Nutrients by Lurpe Solutions - www.lurpenaturalsolutions.com
🌱Substrate PRO-MIX HP BACILLUS + MYCORRHIZAE - www.pthorticulture.com/en/products/pro-mix-hp-biostimulant-plus-mycorrhizae


Likes
9
Share


@Green_Friends_Inc
Follow
Commencing Week 7: day 43 on January 12th
Today I left the dirty girls (I call them that because they are in soil 😋) out of the tent for their first time in their lives to hang out with some new girlfriends (my photoperiod s).
They seem very happy to be hanging out with them 👍👍
The other day I took one of my personal photoperiod Crosses and pollinated one of the bottom flowers of the bloody skunk, hopefully seeds will be coming soon :-)
Today I started thinking about how much longer they have left and it seems the bloody skunk is nearing the finish Line already. In the beginning of this diary I wanted to achieve the goal of getting some autoflower seeds by taking one of the syrup strains and cross breeding it but none of my syrups strains made it from seed for some reason. So now I'm thinking about taking the top bud off of bloody skunk in the next week or two and letting the rest of the plant go through rodelization so I may still achieve that goal. We shall see.
Thanks for the great genetics everyone attention and support. Won't be long now till I actually get to do a harvest report 😎👍


Likes
7
Share

