The Grow Awards 2026 🏆 


Likes
Comments
Share
@DankeyeBeaverjuice
Follow
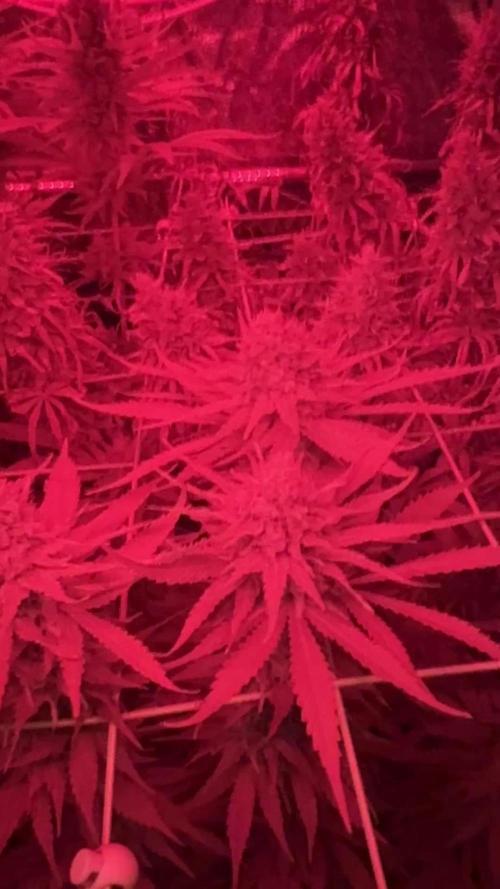
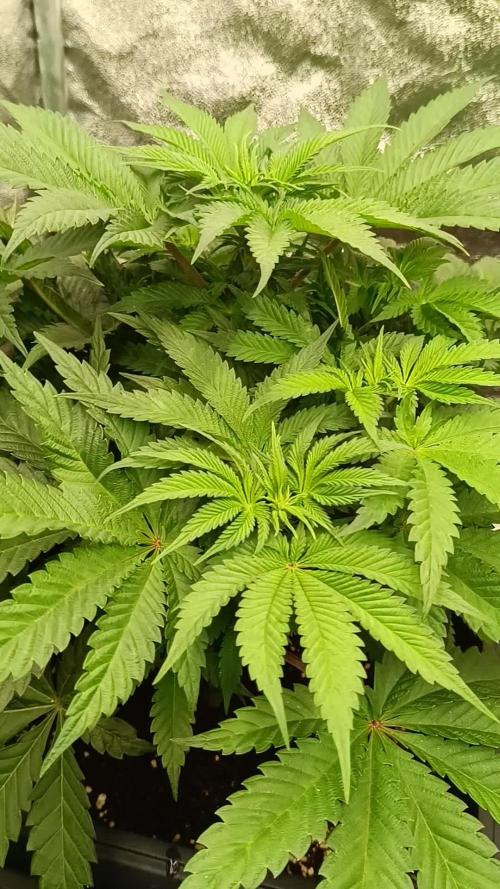
The aroma of wood and lemon is over whelming as I did a light defoliation during the start of the week, this will aid in finishing up the lower bud sites.. Super close to harvest now but she is still throwing out fresh white hairs so I know there's some fattening up to do. Counting these last fleeting days can always feel so taxing don't you agree? Anxiously awaiting harvest time now, patience in all good things. 💪

Likes
5
Share
@ReddDwarfBear45
Follow
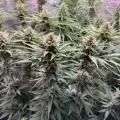
The grow is going great for my first time however I have made a lot of mistakes up to this point but the Gurlz are still thriving.
Likes
20
Share
@ChitownCannaChica
Follow
Umm—- well I thought this week might be the last, but based on the mid to lower trichome reading—- I have at least 2 more weeks! I was pushing this lady hard for an auto and the leaf yellowing is becoming evident. Maybe some flushing coming up. ✌️🏻💚🌿💨

Processing
Likes
41
Share
@Hawkbo
Follow
Everything is still alive thankfully and smells fuckin tremendous. The pictures were taken on day 49 or 50. I'll probly start flushing some of them over the next week the citradellic are lookin close. They kinda all look close even tho I expected some 70 dayers with the mostly sativa crosses but I gotta get in there and check the trichs.
Got all the pics I have up, I realized I didnt have any full plant pics of 2, and minimal of 3 so next feed I'll try to get some and next week I'll make sure I get alot of good ones. I feel like I should start the flush soon this strain seems to finish very quick theres already a good amount of amber trichs at day 50.

Likes
4
Share
@FicoCG
Follow
Liebe Leute,
Die Woche 8 ist im vollen Gange!!!
Ich habe mir heute die Mühe gemacht und das Vorschaltgerät der Hauptlampe aufs Dach mit einem Blech zum Schutz gelegt, damit die Temperatur etwas runter geht!
Ich habe jetzt für die letzten Wochen die Lampe nochmal auf volle Power gedreht und hoffe, das ich jetzt bei den Außentemperaturen bei nicht mehr als 29 Grad Celsius im Zelt Lande.
Die GG#4 und Purple Haze, haben den Düngeschock gut verkraftet und gehen top in die letzten Wochen der Blüte.
Leider hat es die Lemon Skunk (Red No.2) etwas erwischt, aber sie müsste es auch bis zum Ende durchhalten.
Die Trichome sind noch klar und warten nur noch darauf zum Höhepunkt zu kommen. Ich ernte aus Erfahrung wegen der Wirkung bei ca. 10% Bernstein. Also die nächsten zwei Wochen Augen ganz weit auf und die Lupe aus der Hose kramen.
Ich hoffe euch gefallen die Bilder und wie die Lady‘s aussehen!
Liebe Grüße, euer Fićo


Likes
16
Share
@Mo_Powers
Follow
the weather in my part of germany is really bad for this summer at the moment. it's raining too much. i've put them in a dry place to prevent mould from forming. maybe they're not getting as much fertiliser. they'll get one more week and then they'll be harvested.
Likes
4
Share
@georgesa
Follow
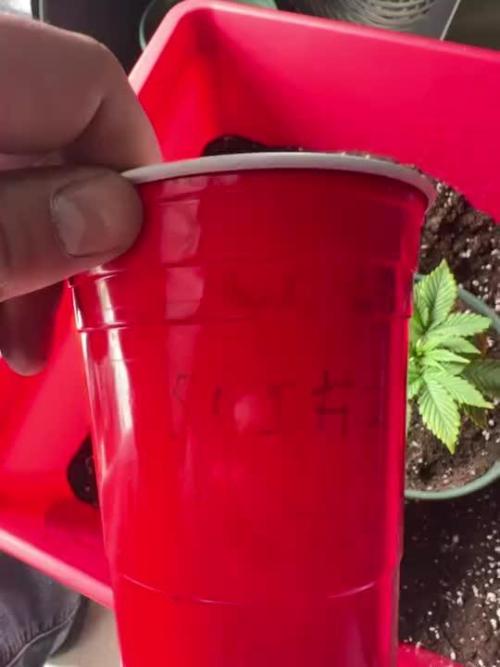
Transplanted to 1gallon pots. Plants are growing nicely and looking healthy!
Likes
8
Share
@High_Grade_Dadli
Follow
Well I having been laggin with update but I think am up to speed now...well u kno the fitess of the fitess must survive....still been having so water lag issue with the older one so finally decided to change the pot but she still managed that bit of stress good well see what happens in the rest weeks to come.....the other two are 6 weeks this week ...the one that got hst not by choice the crown is barely hanging on have some tape holding it managed to push a seed....this strain seem to be very resilient.....look at dem resin and this is jus the 2nd week of flower....until next time happy growing
Likes
15
Share
@Dirty_rich
Follow
Bastante bonita, buen producción a pesar de que le dio botrytis en la copa principal y tuve que cortar por prevención.
Un olor muy original, honestamente me gusto mucho, la considero fácil de cultivar con un plan de nutrientes medios.

Likes
26
Share
@Reyden
Follow
LSD-25 deve essere una genetica bellissima dai tratti viola a predominanza indica ma che è capace di portarti con la testa molto in alto! Già da adesso il colore del gambo risulta più scuro più rosso delle sorellastre, questo dice molto del suo tratto genetico…voglio vedere come si svilupperà, non penso di fare dei particolari allenamenti alle piante ma solo una potatura delle foglie e forse qualche piegatura ma steremo a vedere…grazie @Fast_Buds per queste bellissime genetiche 💯

Likes
Comments
Share
@DeepRootsGrowTrees
Follow
JAW BREAKER / ROYAL QUEEN SEEDS
WEEK #23 OVERALL
WEEK #3 FLOWER
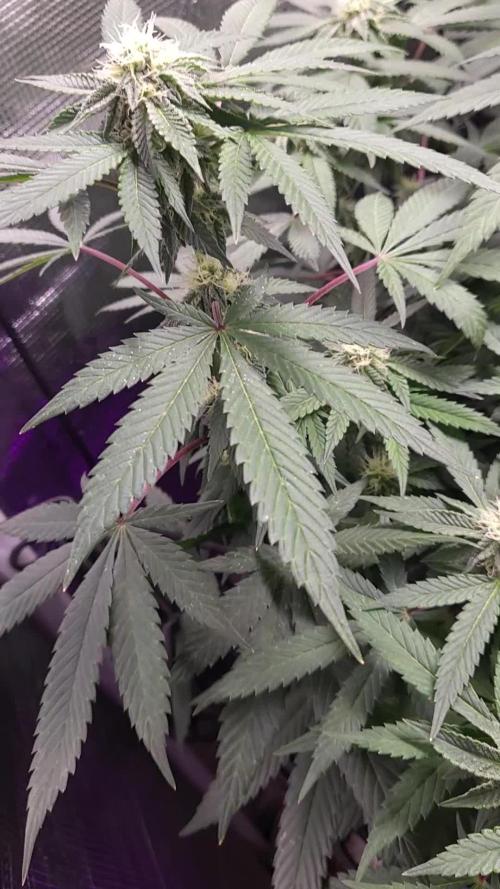
This week she's done stretching and she's stressing to focus her energy on producing flower. I've trimmed the bottom of the plant to focus energy where it's needed more. Stay Growing my Friends!!
Thank you 😊 for stopping by and taking a look it's much appreciated!!
BUDTRAINER.COM code "Deeproots" gets you 10% off you purchase!
JAW BREAKER / ROYAL QUEEN SEEDS
Likes
201
Share
@Hattiwatti
Follow
Hola 🐴
This diary must be doomed 🤣
Auto kabul seems not to flower properly under 24h of light at day 60 . I think its not auto. More likely "early". Overgrowed closet so it's time to move on and give stage to next warrior.
Hopefully Auto Kabul is now growing in greener fields 🙏
With lot of hope and trust for next try 🤣
Lets go KANNABIA 🤝


Likes
46
Share
@Ju_Bps
Follow
Hello my friendly growers,
This end of week, smeel the end of the plant,
Trychromes of today look plant ready to harvest so I ll harvest tomorrow.
See you in few day for the result of harvest.
Thanks to follow and like me,
Nice community 😍🤩
Have a good week
Likes
Comments
Share
@AlbStoned
Follow
Bisher wachsen die Damen unauffällig / schön. Der Dünger wurde gut angenommen.
Likes
9
Share
@Esoteric_growing
Follow
Defoliated today at day 21, I think I vegged a little too long as they got a lot bigger than anticipated. Now I know how this strain stretches I can judge my veg time a lot better next round.


Likes
23
Share
@NordicCropz
Follow
Its done! Even though I expected a higher yield, I'm happy with my first harvest. It could have gone worse. Got 61 grams of the biggest plant, it took eternities, but the yield is pretty decent for a first grow.
Thanks WSE! Next up will be Strawberry kush and Harlequin.

Likes
12
Share
@007kgrowerBR
Follow
Temperatura variando de 23 a 29C
Umidade entre 60 e 85%
18/6 fotoperiodo
Likes
6
Share
@Ieiogrow94
Follow
Eccoci qui...
Tutto va per il meglio, questa settimana ho eseguito Lollipopping e Defoliation per far si che le cime principali sprigionino al meglio il loro vigore.
Siamo verso la fine del progetto ora bisogna solo aspettare la fine...
Grazie a tutti per il supporto🔥🌲❤️
Likes
5
Share
@Momgrowsthechronic
Follow
Welcome to the end of Week 7, Day 49 of the Fast Buds replenishment grow. The Lemon Pie Auto strain is turning out to be a beauty as usual with the Fast Buds genetics. The tallest two plants have topped out at 28 inches or 71 cm tall. I believe this strain grows anywhere from 70-120 cms tall so I am on the low end of what these plants can do. But the bud sites are decent and the buds themselves are putting on steady weight weekly. I have increased the fertilizer again in Week 7 to five (5) mls per gallon and they are tolerating it incredibly well. I rarely use this much fertilizer when growing autoflowers but Fast Buds strains are notoriously greedy and I love it! I can smell the plants starting to ripen and I can’t wait for this harvest- almost there…until next time. 🔜
Likes
12
Share
@Leonweed10
Follow
Poco a poco tomando mas fuerzas estas pequeñas en su segunda semana de vida,parametros controlados se espera una buena evolucion estas semanas siguientes!!