The Grow Awards 2026 🏆 


Processing
Likes
101
Share


@DogDoctorOfficial
Follow
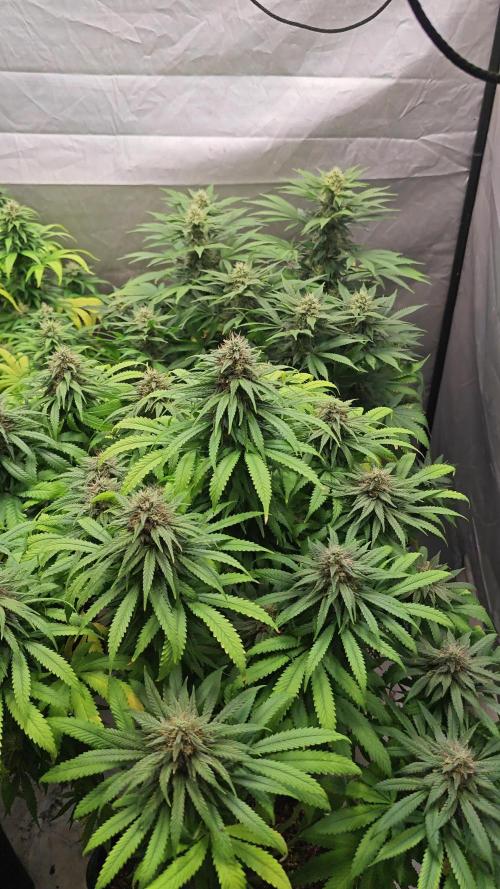
All going kind off as planed, appart from the SuperGlue Girl. just did a big 2,5 gallon Flush on her and now waiting for the soil to dry and start over the feedings. clean her good so i'm hopping for the best 😅 lets see how they react and if they cacth up 😍😋
Loving this LED Tec 😍
Girls:
1-BlueBerry
2-Alaskan Purple
3-Poyote Gorilla
4-Hindu Kush
5-Whitw Mango
6-Super Glue
7-Badazz Cookies
8-S.A.D.
tent -8x8 / 2.4x2.4 but i'm only using 1/2 so 4x4 / 1.2x1.2
Led - Lumatek 465w Compact Pro at 100%
All i Grow is medicine for myself,
Stay safe, stay tuned and B Happy
Peace out
D
Likes
16
Share


@AestheticGenetics
Follow
4/1/25
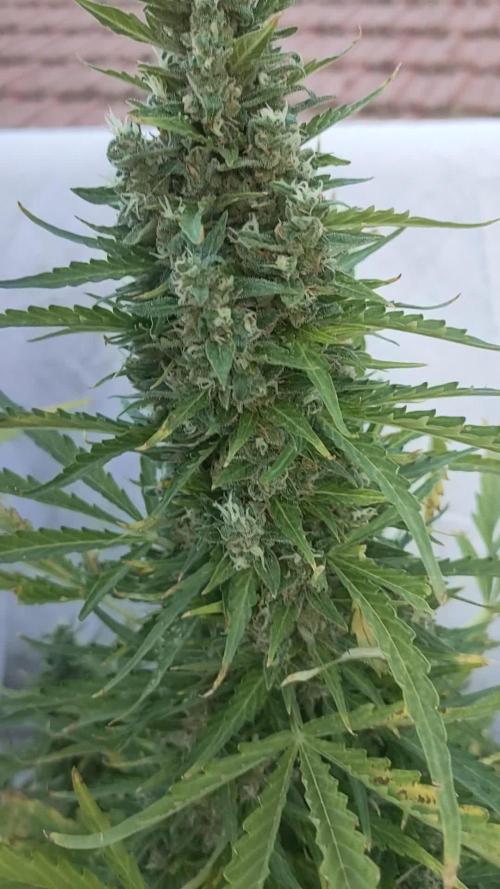
She has super long, almost spider web type pistils that are super beautiful. I can see the calyxs packing on under neath the pistils and forming the buds.
She has a nice stacking to her. Maybe 6+ nodal cola.
Shining, fuzzy, glistening trichomes stretching out across the fan leaves.
Top Dressed with 2Tsp of Bloom, 1tsp of Microbe Charge, and 1Tsp Bloom Booster.
Ive also been trying a new method for the top dressing efficacy. I got the idea while watching build a soil using the earth box.
I have started covering the soil with some aluminum foil to kind of act as a cover so the feeder roots will come up to where the top dressing is. which seems to be working fairly well and simply.
4/6/25
She is producing super nicely so far. Seems to be thinner, longer buds. But i can visibly see the buds forming calyxes underneath the pistils. Very bulbous and full calyx stacking
4/7/25 the buds are starting to pack on some weight. everything looks happy and
Likes
3
Share


@mquintero7
Follow
Still thinking what went wrong and accelerated the flowering process. Maybe the pot was too small for this plant. Maybe she is a little root-bound. Still, the smell is amazing right now, awaiting for the trichomes to be fully cloudy looking and oxidize a little bit to harvest. No fertilizing at this stage.
Likes
9
Share


@TiRobotProds
Follow
Parfait elle se comporte bien les bourgeons gonfles énormément. Une odeur fruité se dégage de la tente.Les engrais bio RQS organic sont excellents elles font un super travail sans excès ni de carence. Rajout de guano au dessus du terreau pour l'explosion floral ☠️☠️ a bientôt pour plus d'informations.
Likes
176
Share


@DevilsBud
Follow
Hallo fellow growers.
Happy to be in week 3 of veg with Cookies Gelato . I def enjoy how they are developing into something beautiful.
Hopefully with all the love there getting
They will continue to grow happily ☺️
I maybe going to be doing some Topping at one of plants in the end of the week and start little LST test with the LST clips see if they work
Day 15 Veg Phase
💪🌿👍
Day 16 Veg Phase
Today i am going do some LST test on the cookies gelato #2 . The other plant i am going to leave alone for now #1 is going a lil slower then #2 and maybe i am going to do nothing to #1 and see if there is a difference . I am still learning and want to try out all Dif grow techniques .
Also later today i have topped the #2 too hope it all goes well
Day 17 Veg Phase
I think topping has worked will see in few days if heals up quickly so far so good 🤞
Also the soil was way to dry and i think i put almost 1 liter per plant extra the sides where bone dry and that is not good for roots to move true dry soil
Day 18 Veg Phase
Overwatering was not harmful at all they are still growing strong . So i might start giving them more water every 24 hours then they would normally get . Also i recommend the LST CLIPS 👌👌💯
Also have bin LST the main on both plants
Day 19 Veg Phase
I have bin pulling the main on both plants further to the side bit by bit don't want to overstress them . It will also be the only thing i am Going to do to the plants. And let topping heal and the LST on the main get more of a bend . The LST clips going to use later in stage
Day 20 Veg Phase
Did some more LST on main of plant #2
Plant #1 got topped and some more LST
Day 21 Veg Phase
Leaving the girls alone today to let them heal and grow
Have nice weekend growmies 🤘🤘
Likes
11
Share


@420DeepGrow
Follow
📆 Semana 10:
La Candy Bubatz XL entra en la recta final de su floración con una presencia imponente. Los cogollos alcanzan su máximo volumen y firmeza, rebosando resina que cubre hojas y cálices con una textura densa y vidriosa. El aroma se vuelve más penetrante, complejo y maduro, dejando notar su perfil terpenoide característico. Los pistilos ya están en su mayoría oscuros, retraídos, y los tricomas muestran una mezcla equilibrada de tonos lechosos y ámbar, señal clara de que la cosecha está a punto de llegar. La planta mantiene su vigor, sin señales de estrés o deficiencias, completando su ciclo con equilibrio y fuerza.
¡Seguimos creciendo fuerte! 💪
Likes
8
Share


@Alien98
Follow
This week I harvested the top of one lady and the others are getting bigger every day, now I want to start the flush so I can harvest all of them next week or maximally in two weeks.
Likes
23
Share


@Athos_GD
Follow
Strain was easy to grow. Had some herms but since I only have 2 plants I was able to pinch the balls off. Buds have no seeds and are a strong smoke. Really hits the lungs.
Likes
56
Share


@guerilla
Follow
Day 1. I feel this week will be the last week for veg. I have roughly 80% of the net filled.
Day 2. Increased base nutrients by 50%
Day 3. Stretching and tucking under the net.
Day 4. I spent most of the day telling these lovely ladys how beautiful they look..
Day 5. All good in the hood..
Day 6. NOT GOOD! I am 100% certain they have nutrient burn!
I went away and let a family member fill the res. PPM was read wrong and resulted in the girls getting 1200 PPM for 2 days.
As recomended by Autopots i empty the entire Res. Washed it out. And filled it with 5.8 PH water..
I removed the bad leaves..
see pics of burn on leaves
Day 7. PH 5.8 water in res. They seem to be ok. I dont think theres any new burn on leaves..
Peace.
Processing
Likes
2
Share


@Sundown
Follow
This lady eats and drinks a lot, she,s drinking 30L per week of nutritive solution with 1.8/2.0 EC without complaining, she's looking very healthy .
Likes
47
Share


@Reyden
Follow
Continua il tragitto verso metà della fioritura e ieri sono state sciacquate solo con acqua a ph neutro.
The Sin è la pianta più alta di tutte con foglie più strette presentando caratteristiche più Sativa..quando entro nel box sento odori buonissimi 🤤 da rimanere lì ore per cercare di catturare più possibile ogni sfumatura della sua fragranza 💜non resta altro che aspettare 🌱👌
Likes
1
Share


@Pot_Portraits
Follow
Almost time for, lights, camera, action !
She will get a decent defoliation to show those beautiful flowers and then she is ready to be documented, what an exciting and stressful grow for me, not because of the plants but because of the ridiculous temperatures we reached this summer 🌞
Likes
33
Share


@Titoff
Follow
Cette semaine grand changement, une de mes tentes étant enfin prête à être coupé, après bien entendu avoir eu au moins 10 jours de rinçage, a donc subis une petite permanente, suivis d’une coupe été. Un travail de titan, commencé à 14H et finis à 6h du matin ! Je pense pour la prochaine session à investir d’un appareil de type trimmer pour faciliter le travail. Par contre étant un peu dépassé par ce travaille, je me suis un peu emmêlé les pinceaux et je me retrouve donc à présent avec les filles coupées mais impossible de dire qui est qui ! La poisse, petit manque d’organisation, je l’avoue, ferais mieux la prochaine fois. Je me pose tout de même la question de comment estimé au mieux le poids mouillés car sur la balance, j’ai pour l’instant 2kg, je vous donnerais donc le poids final sec par la suite qui correspondra donc plus au fameux gramme par watt que tout le monde recherche. Bon Grow à tous
J’ai laissé semaine de floraison car j’ai toujours une tente en floraison et ma semaine de récolte sera donc compléter de manière plus juste et plus précis par la suite.
Likes
6
Share


@Ninjabuds
Follow
My Rainbow Saltz plant is really taking off! I had to remove a lagging branch, but ever since then, it's just exploded with new growth. It's got these beautiful, vibrant leaves and the buds are starting to get nice and frosty. I'm getting a sweet, fruity aroma with a hint of spice – it's gonna be a good one!"
This past week has been a whirlwind of work, leaving little time for anything else. My phone's camera roll is sadly neglected, with only a few snapshots to show for it. But finally, I'm finding a moment to catch up on my grow diaries. It's been exciting to see the progress, even if it's just through photos. I'm looking forward to documenting the next stage!
Likes
23
Share


@MyWetPussy
Follow
The plant was harvested on the 73rd day. It was hung not as a whole plant but by separate bud sites. Bud sites had the larger fan leaves removed before the drying process. Temps for the drying were 62F 55%RH for 10 days. She then had a quick cleaning of sugar leaves and jarred for cure. Final report will be coming shortly.😍
Processing
Likes
8
Share


@Energie111
Follow
it was a super week, the girls grew nicely, the full moon is always effective. :) I like to grow cannabis.


