The Grow Awards 2026 🏆 


Likes
Comments
Share
@RDWCGrowing
Follow
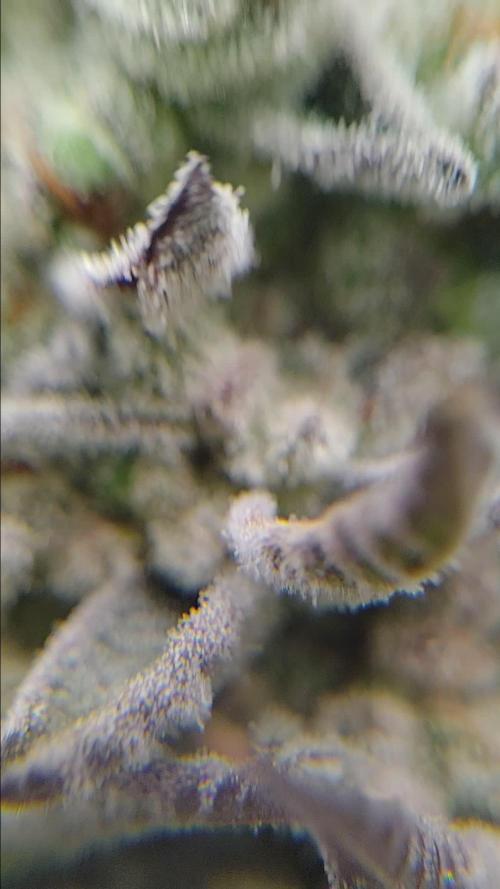
1/11/2024 Vegetation Week 1 Day 1- I have a root almost in the water.. Yay!! Top feeding is almost done. she is looking a little sad as I work the transition Top feeding but once the roots are fully in the water she will start to take off. Ensured my PPFD is set between 250-300 it is set to: 258
1/12/2024 Vegetation Week 1 Day 2- I have a root in the water.... NO TOP FEED TODAY SIR!!! now that a root is touching the water and she looks stable, I am not going to topfeed, I will see how she looks tomorrow and as long as everything looks good I am going to go ahead and do a change and week 1 fill on Nutes.. I know it is a couple of days in but the same Nutes go through Week 2 and get changed at Week 3 So I should be good to go.. I will just ensure I fill to root touching the water when I change tomorrow.
1/13/2024 Vegetation Week 1 Day 3- Water Change Day!!
I added 36 Gallons of Water to the system:
Silica= .5mil/gal= 18mil
CalMag= .75mil/gal = 27mil
FloraMicro=3.0mil/gal = 108mil
FloraGro=2.0mil/gal = 72mil
FloraBloom= 2.0mil/gal = 72mil
PH DOWN= 30mil
Very important thing with this system is to now wait the 24 hours for the system to adjust.. Do not make any further adjustments to your PH up or Down for 24 hours to allow time for the system to balance.
1/14/2024 Vegetation Week 1 Day 4- Today I just adjusted the PH to ensure that it was right at 6.0
1/15/2024 Vegetation Week 1 Day 5- Today I Cleaned up the lower damaged leaves from the transition from top feeding to roots in the water. She looks good today.
1/16/2024 Vegetation Week 1 Day 6- Today I just took a picture of the beautiful lady for Log. Other than that just normal day to day operations, check the pH, check the Humidifiers and fill as necessary, check level of water in the Res. Everything looks great. onto Tomorrow!!
1/17/2024 Vegetation Week 1 Day 7- Today I filled the humidifers, checked the PH and just let her grow.. Grow baby Grow.....

Likes
16
Share
@SeshHouseCannabis
Follow
This week we lost one of the Slurricane due to rotten root that were caused by the electricity blackout. Other plant were doing fine. Hope everything will be good until harvest.


Processing
Likes
8
Share
@420Somewhere
Follow
Day 14 of flower and all 4 plants have stretched over a foot in the last week. Should start putting all of their energy into flowering now.
Looking really good so far. Really, really good.


Likes
34
Share
@NewfieFarmer
Follow
Paint does not dry, nor does water boil under a watchful eye.
I got a new supplemental light. Mars 600.
It was only $100.
Number 1 continues to brown out the hairs. Nearly all done now. Trichomes are getting milky. I trimmed off a larfy bid this week and speed dried it. Was awesome. Taste was amazing even with the speed dry.
Number 2 continues to put on a show. It looks like this plant was in a blizzard. So many trichomes, loaded, and continuing to put them on. No amber, but they are definitely getting whiter. On top of those purple leaves, she is dazzling, and smells like juicy fruit bubble gum. I tried a small bud of this as well, it was excellent.
Super mutant looks like she is going through a deficiency..... Again.... How much nutrients can a plant drink before it would be considered toxic? Just kidding, I'm from the probation era and have smoked green oil mixed with motor oil. 😊
So, in lieu of the awesome taste on the bud, I'm not doing a flush like everyone says for a week. Canna nutrients are pretty mellow. I figure if I flush the last day, I'll be ok. The super mutant, I figure this plant is going to grow forever and will definitely need a good flushing.

Likes
26
Share
@GrowGuy97
Follow
Day 56 ladies are really starting to get some massive buds, tent smells amazing! I can’t wait to see what this harvest looks like😍😍
Thanks for following & make sure to check back for daily updates friends! Happy growing✌️🏼🌱


Likes
24
Share
@Weed_marseille
Follow
Cette semaine, j'attends impatiemment l'explosion de fleurs et doucement elles explosent 🌱🌺
Les feuilles jaunissent je les enlève avant qu'elle ne tombent. 🍃
La température 🌡️est bien tombée depuis cette été. Cela devrait faire une meilleure récolte !

Likes
21
Share
@MG2009
Follow
12/03/2021
All going pretty well, some leaves got sprayed to heavily with Neem oil and got burnt a little bit but they will be fine. Foliar fed (901C) spray leaves and saturated top of soil with sprayer. All in all a decent week I will readjust light distance to increase lights intensity sometime in the next week. Also need to number these girls so I won't confuse them. Update pictures mid week.
Processing
Likes
Comments
Share
@Jbcultivates
Follow
Sticky and loud is all I can say! Hopefully whatever damage and burn I have doesn’t hurt my buds too much l! But otherwise they’re stacking up well! Couple more weeks to go!


Likes
21
Share
@growops123
Follow
Bounce bak pretty quick from a recent re transplant.....
Growing at a pretty fast rate
Plants look good imo

Processing
Likes
14
Share
@mrekansh
Follow
Plant seems to like the support i was off for a week ot two but dozed them with 1 ml nutes and 1 ml greens of (city greens) concentrated in 1 lt water plant seems ready to flower now as the growth is tending towards the stems and they have started to turn more purple 🔥 please comment

Likes
9
Share
@RSAFirstOrganicGrow
Follow
Saw a few burnt tips at the start of the week so I’ve only been feeding water. Other than that I still just hope to harvest, at least. So far so good she’s been quite strong from the get go!
I hope to last another week, exciting times ahead!

Likes
14
Share


Processing
Likes
20
Share


Likes
76
Share
@BB_UK
Follow
Took a while to get there but OMG little note quick! So I started her in a 1 litre pot and stuck her on top of a 1.5L Pepsi bottle with the top chopped off! And she yielded heavily for that amount of soil a whopping! 224.63 wet weight so can’t wait to see what she holds dry because them buds were like boulders! So dense! I will be back to document her dry weight and then a couple of weeks later with the update on the smoke report! But I know it’s going to be so loud! She has deep pungent aromas like gassy and sweet! She’s going to be a powerhouse! She was a little over as today a banana developed but that just tells me “well done” timing just right! She’s a little long for my taste of auto but I do suggest anyone grow her she’s amazing! In the end!

Likes
3
Share
Likes
9
Share
@Gardenofgods
Follow
This is week 3 going into 4. Not any proplems apart from neededing a ppfd reader. Anyone recommend any good ones.
Likes
15
Share
@Shizzlemanizzle
Follow
Day 36
Done nothing just let them grow and trimmed a few leaves
Day 37 - watered them with feeding. Decreased the amount by 25% except the base nutes. Added 12ml CalMag on 4L water by request of the community.
If leaves curl down more, I will consider a flush.
Day 38
No feed. Color changed from the middleone overnight, I think that’s a good sign. Maybe someone can comment on that 💪🏽. For me it looks very good, I know a few leaves show signs of nutrient burn but I decreased already and no new signs appeared
Day 39
No feed until tomorrow.
Day 40
Fed them with very low amount of fertilizer. I aimed for a ppm of 1000 but I went a bit higher until I have osmosis water . Runoff ppm was 2000, but I have to say I am measuring ppm since this week and will fix this problem
Day 42
No feed

Likes
109
Share
@JOE_S_GARDEN
Follow
Our most infamous strain with the stickiest buds in the game. A knockout artist who boasts a staggering 24% THC. Very big and potent. The “glue” comes from so much resin, that your fingers will literally be stuck together while trimming. A large-sized plant that only needs around 9 weeks to reward growers with big enormous sticky fat buds, that any type of grower will fall in love with. Super easy to grow and her pine and diesel terp profile will impress even the most experienced cannabis connoisseur. She is well suited for beginner growers and hash makers should not miss out on this trichome queen.
Bud descriptionGorilla Glue Auto’s buds will be chunky and dense, with a heavy resin production that causes your fingers to stick together like super glue. The buds are dark green, with swollen pointy calyx that swell wrapped in bright orange hairs. A truly impressive amount of trichomes that would make excellent cup winning extracts hands down.Smoke reportShe is one for smokers with the highest tolerances and fans of powerful hybrids. Gorilla Glue Auto is extremely potent and her effects are not for the light-hearted. Not only will she glue you to the nearest armchair, your eyes and face will slowly feel the force of her physical effects while you enjoy a nice head high that will keep you deeply motivated and energized. Certainly a perfect choice for staying at home and lounging out with friends or relieving stress and pain while maintaining an uplifted spirit that allows you to continue with your day-to-day chores.Plant AppearanceThis lady likes to stay low and will usually grow to a height of 60-130cm, making her ideal for keeping out of sight. She does not require much maintenance and will reward you with massive yields of up to 450-600gr/m2. Her growth structure is short and bushy, thanks to her sativa dominance, and will grow one main central cola, with fat side branches all around. Once flowering starts, expect Gorilla Glue Auto to fill out thick and fast, as she begins to pack on size, weight and go crazy with the trichome output. From seed to harvest she is ready in 9-10 weeks, where she will finish with a short and fat appearance.