The Grow Awards 2026 🏆 


Likes
Comments
Share
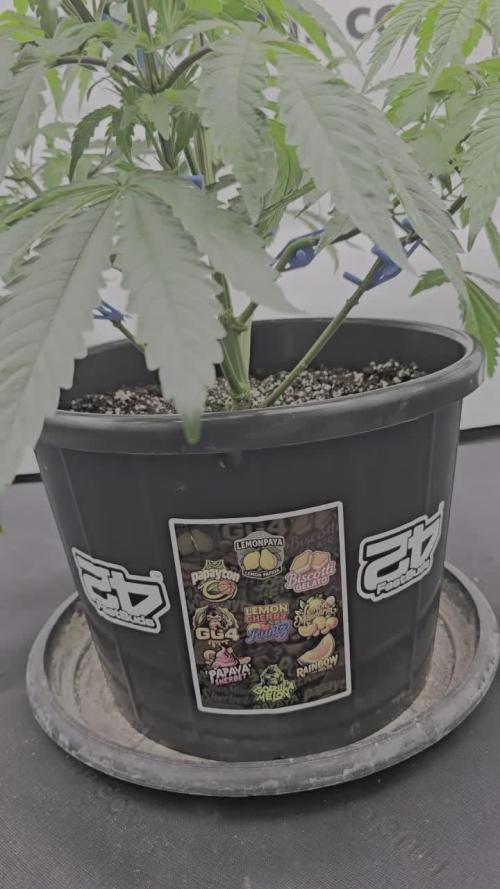
@Coopmc
Follow
Second gusher flushed for harvest this coming weekend the other I pulled a week ago is dry and trimmed taste great!!


Likes
5
Share
@Cortez_The_Konqueror
Follow
Started some early training on this one.. loving the leaf colorations ✌️🏼

Likes
19
Share
@Fre_84
Follow
the dinafem seed did not make it. It was replaced with a royal queen seed hulkberry (which bore a lot of fruit in the last harvest). The other seeds are all fine
Likes
10
Share
@tontodedoverdee
Follow
31/1
So yes I've had some trouble keep this lady under control, she keep forcing again LST so to give a better light compensation at the lower branches I've cut a top leaf, now the canopy look much more uniform hope she gonna react and respond well, we'll see in the next days
4/4
So we had an amazing week, the runtz improves a lot and start to produce many withe pistils, it's gonna be the last week of vegetation so from now on i was thinking to add an extra light, the low branches are streching out and the top cola it's incrementing his yield, hope to see new nice improvement
btw Happy easter!

Likes
10
Share
@russrahl
Follow
Going great so far for this girl. She’s progressing along quickly compared to the Cement Shoes growing beside her. Buds are already looking like there plumping up and most of the hairs are beginning to turn. Haven’t put the scope to her yet but It’s looking like she’s gonna finish earlier then I predicted. Gonna try and push it 8 weeks but all depends on my tricombs. Getting low on supply as well so that will also going to have to effect my decision unfortunately. But we will see, still got lots of honey left from the shake so gonna be a week of just dabing maybe to let this girl finish rite...lol Been keeping the nutrients pretty much the same this week as the last 2, trying to keep the reservoir around 750ppm and letting the ph swing from 5.8-6.2. She’s loving everything so far. Got a bit of heat stress showing on some larger leaves in the middle of the screen but light is maxed out higher wise and DLI is in the 65-75 range directly under the light at the canopy top but the light mover helps keeps things from heating up too much and gives them breaks like a cloud over the sun does. That’s it for this week, couple more to go! Cheers 💨

Likes
4
Share
@IslandTerps
Follow
Strain: Fast Buds – Mixed Photoperiod Pack #2
Grow Type: Indoor
Pot Size: 3 Gallon
Medium: Peat Moss & Perlite
Nutrient Line: Athena
Week 6 Update
She’s doing amazing this week showing great growth and filling out nicely. For a plant that was only topped once, her structure looks really good.
The training clips have definitely helped open her up and shape her just right. She’s healthy, vibrant, and showing no deficiencies. I’ll be flipping her to flower this week and can’t wait to see how she performs once she starts stacking.
Feeding
1.7 L Athena nutrient mix (will increase gradually if needed).
Indoor Climate Conditions
Temperature: 18–23°C
Humidity: 60–65%
VPD: ~0.5–0.8 kPa
See y’all next week! And don’t forget to use my discount code ISLANDT for 15% off your next order at Fast Buds!


Likes
Comments
Share


Likes
2
Share
@DisTentAint4Campin
Follow
Had some issues all the seeds shells kept sticking to the codeliden leaves i know butchered the spelling im a lil late on this diary as some of the plants are a couple weeks old


Likes
33
Share
@FlavoursUk
Follow
Just letting her ripen now, colours coming in.. and fading out nicely. Last few days will be RO water. EC is still lower than what comes out of my tap, 0.5.
We are near..
Day 77 - the girls are nicely faded/flushed with RO water, so my EC is sitting lower than what comes out of the tap.. only like white ash burning and to maximise flavour and smells. Shes currently a problem as the small tester bid i took left the whole place smelling very strong to the point where i haven't chopped her yet as the smells too strong even with a carbon filter. (No joke). Thinking to possibly chop either tomorrow or the day after.
Not much to report until I've chopped and left to hang dry, I'd normally let the whole plant hang dry but might have to do it differently due to the sheer size of these girls. Once hang dried she will be in jars (might even get some more boveda packs). But yeah, stay tuned for this one 😉 this ones gonna pack a punch.
Again i tried to upload a 3 minute video but GD won't allow the video.

Likes
5
Share
@pzwags420
Follow
Cantaloupe haze needed a good flush brought runoff from 2000 ppm to 1100ppm will continue to monitor.


Likes
12
Share
@QueenBZA
Follow
What a week, the Amnesia Haze from Divine Seeds continues to pack on flower and is honestly worth the wait for weight if you know what i mean 😉 she is currently going through her flush period and will luckily make it for atleast a week of drying and two weeks of curing before competition time, wish she had more time but unfortunately the glory of holding one of the first East Coast Canna Cup Trophies is the goal at hand and we get the feeling that she is without a doubt a cup winner. 29th April is D Day, wish us luck till then everyone


Likes
6
Share
@Roberts
Follow
Tangerine Band is growing great. I switched her light times yesterday to flowering times. She got a little defoliation today to help with stretching light. Everything is looking good. Thank you Exotic Seeds, Spider Farmer, and Athena nutrition. 🤜🏻🤛🏻🌱🌱🌱
Thank you grow diaries community for the 👇likes👇, follows, comments, and subscriptions on my YouTube channel👇.
❄️🌱🍻 Happy Growing 🌱🌱🌱
https://youtube.com/channel/UCAhN7yRzWLpcaRHhMIQ7X4g.

Likes
64
Share
@Prof_Weed
Follow
Okay heute startet die 5. Woche, von der Höhe her jetzt nicht überragend, kann sein der Lichtabstand war am Anfang nicht hoch genug. Ich denke am Schluss wird die Pflanze nur 60 cm hoch sein, aber buschig.
Ich denke das Pre Flowing startet in einer guten Woche.
Die Pflanze scheint ein wenig empfindlich zu sein bezüglich Dünger, hab den EC Wert auf 1.3 runter gefahren da sie an wenigen Stellen minimal Nutrient Burn hat.
Das ist das tolle an Hydroponic, einfach das Wasser wechseln.
Ph liegt bei 6.0 im Durchschnitt.
Hab hier und da wenige Blätter entfernt sowie 1 Ast der es niemals nach oben geschafft hätte.


Processing
Likes
5
Share
@AgroCultiveta
Follow
Holaa, empezaremos este seguimiento desde la 4ªsemana. (ya que lo comencé y no fotografíe desde el principio, servirá para aprender)
Son dos esquejes que me regalaron los cuales no estaban identificados.
Estamos en invierno en mi país por lo que tengo problemas con la temperatura, ahora cambie mi iluminación led y está aumento la temperatura a 20ºC cuando esta prendida que es algo mas aceptable en comparación a los 16º o máximo 18ºC que se llegaba con el anterior. Ahora falta corregir la temperatura con el led apagado, estoy pensando que haré. Esa será la principal dificultad de este cultivo.
Si alguien tiene alguna recomendación será bien recibida!
Likes
18
Share
@HanesGrow
Follow
Harvesting my fist plant this week.
I've read that stopping watering before harvest will increase resin production.
You can see that most leafs on the bottom right plant turned yellow.
Most of its trichomes are cloudy with a few amber ones here and there.
Likes
37
Share
@OrganicPower
Follow
It’s warming up outside so the a/c and dehumidifier are working a bit. Got the lights on during the night so just a few hours at lights on they work a bit hard. Cleaned up underneath removing any sucker shoots and leaf that was near the soil. Not much really. Mostly on #3 as I didn’t train out the branches as much and she grew tighter together, so I removed mostly all inner growth blocking light and that allowed a lot more penetration and flow. Left a few leaves below to die off naturally…more the better. Gonna put some Grub Grenades in the pots with some yellow sticky cards. Not because I see anything, just being cautious. I do see what looks like Springtails but don’t seem to be an issue yet. Still looking green and healthy so I’m happy!
Grow on!
Update
Made a few adjustments. I let the tops grow into the tsw2000, 18” to tops. I didn’t like how they looked so I raised it back to 24” where I’ll keep it. The “Kind LED” I know from previous grows that it can’t get closer then 24”. But this is my first run with “Mars” so I’m still figuring out the distance for my setup with additional overlapping light intensity from other lights. With that being said another pod failed so I’m down 2-Kind LED’s now. Gonna remove all old tech and use all newer TS series lighting. All Mars moving forward. Seems to be a great light and when compared to other quality lights you can’t beat the price!

Likes
2
Share
@BucketHathead
Follow
3/28/23
After drying the last two they’ve been trimmed and into jars
Barnyard looks like it’s ready to cut the trichs are visibly amber. But I’m just not ready I want to run this long so I’m gonna leave it for another week at least and let the buds swell as much as possible. No rush on it!