The Grow Awards 2026 🏆 


Likes
Comments
Share
@MeaCulpa
Follow
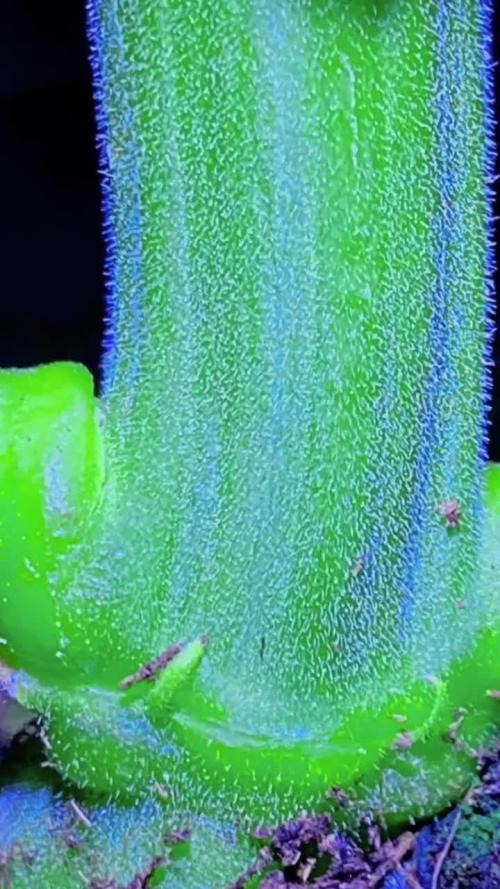
Half time in bloom.
I made a video with and one without flash. This is always a bit misleading.
I set Josefine a bit higher. I should have done this much earlier as she was already the smallest the whole time.
I defoliated a tiny bit. Should be.
A few leaves are turning yellow, but I think I watered a little too much, or gave too much fertilizer.
However, it doesn't look alarming to me at the moment. They'll catch themselves again.
Otherwise, I'm looking forward to the first week of April.

Likes
17
Share
@Joni2017
Follow
Hello again, Growdiaries family! 😎
We have officially entered the flowering stage, and the transformation is becoming visible day by day. My Critical has reacted to the 12/12 flip with impressive vigor, showing that all the work during the vegetative stage was worth it.
📏 Evolution & Stretch: The plant has reached 24 cm today. The internodal spacing is stretching just as expected, and the 4 main colas are starting to aim for the light with more intensity. The canopy remains remarkably uniform.
✂️ Applied Techniques:
Final Canopy Check: No more high-stress training. I’m letting the plant focus all its energy on flower development.
Airflow & Structure: Thanks to the previous thinning, air is moving perfectly through the center and around the fasciated stem, which is crucial now that humidity needs to be kept in check.
Visual Update: From now on, all the images I upload will be from the last day of the week (today) to show the most up-to-date progress.
💧 Watering & Nutrition:
Volume: 1 Liter of water.
The Bloom Cocktail: Today I fed her with a balanced mix: 1 ml/L Bio-Grow (to sustain the stretch), 1 ml/L Bio-Bloom, and 1 ml/L Top-Max.
Temperature: Still using lukewarm water (approx. 21°C) to keep the roots comfortable in the terrace environment.
🌤️ Environment:
Lighting: QBK1500PLUS with the Bloom switch ON (adding Red/IR spectrum). I’m keeping the 100% intensity at a 56 cm distance to maximize photosynthesis.
Bunker Stats: Temperature remains stable at 27°C (ON) and 18°C (OFF). The double-tent insulation is doing a great job against the cold outside.
Aroma: The 'fresh green' scent is turning slightly more complex and sweet.
Summary: The plant is healthy, praying to the light, and starting to show the first signs of pre-flowers. The structure is solid enough to support the future buds. Now, we wait for the real stretch!
Thanks for your support and happy growing! 😉👍


Likes
14
Share
@Kagesan
Follow
Willkommen zur dritten Woche der Wachstumsphase.💚🌱
Hallo zusammen!
Es ist großartig zu sehen, wie sich die Dinge entwickeln, und ich freue mich, euch auch diese Woche wieder ein Update geben zu können. Heute, an Tag 22, haben meine beiden Runtz-Ladies die Marke von 17–18 cm erreicht und sehen wirklich prächtig aus! Beide entwickeln sich nahezu gleichmäßig und wirken gesund und vital – genau das, was man sich in dieser Phase wünscht.
Um den Fokus auf das obere Wachstum und die kräftigeren Triebe zu legen, habe ich die untersten beiden Nodiensätze entfernt, da ich die Erfahrung gemacht habe, dass diese ohnehin keine nennenswerten Ergebnisse liefern.
In der letzten Woche habe ich beide Pflanzen zweimal mit jeweils ca. einem Liter destilliertem Wasser gegossen. Mit dem Düngen warte ich noch – damit werde ich erst beginnen, wenn die Damen in die Blütephase übergehen.
Ich bin sehr zufrieden mit dem bisherigen Fortschritt und gespannt darauf, wie sich die nächste Woche entwickelt. Ich wünsche allen Teilnehmern weiterhin viel Erfolg und Freude bei diesem großartigen Wettbewerb! Bis bald 🌱👋💚
Likes
9
Share
@pzwags420
Follow
On day 1 I transplanted 2 BB clones into 3 gal smart pots with coco coir. I watered them in with veg formula and set up my blumat watering system with week 1 flower nutes. I raised PPFD to 600-700.
On day 2 the reservoirs PH was adjusted from 6.4 to 6.0. The rez is 823 ppm. The tops are 16.5" from the grow light. The blumats have not started watering yet and I will monitor to ensure it goes smoothly. I have the blumats set at 1.25 carrots on left plant and 1 carrot on right plant. The average PPFD of my 16 tops is 703 PPFD. I increased temps to 85 day 81 night to get leaf surface around 80 f during day.
On day 3 the reservoirs PH is 6.2. The rez is 782 ppm. The blumats have started watering and I will monitor closely over the next few days.
On day 4 the reservoirs PH was adjusted from 6.3 to 6.1. The rez is 717ppm.
On day 5 the reservoirs PH is steady at 6.1. The rez is 706 ppm. The highest top is 15.25" from the light. I defoliated to bring in more air and light to deeper into the canopy. I increased the flow rate of blumat by .5 carrot on the right plant as it was a little to dry for my liking. The Clones are preforming well.
On day 6 the reservoir PH is going down so I adjusted up from 6.0 to 6.2. The rez is 730 ppm. The highest cola is 14.75" from the light. The left plant had a runaway so I reduced blumat by 1 carrot. I increased flow of blumat on right plant by .5 carrot as it is still drier than I would like.
On day 7 the reservoirs PH was adjusted from 6.3 to 6.0. The highest cola is 14.25". I reset rez with nutes.


Likes
24
Share
@SmallBatchNugz
Follow
With the new Mars Hydro FC 3000 hanging at full power, I added it 2 days ago and left it at 50% power then up to 75% this morning, and now at 100% after the nute change....
Very nice progress... I will defoilage heavy mid week once they are used to the new light and new nutes then leave it for the remainder.

Likes
4
Share
@DRO420
Follow
Transfered into 5 gallon fabric pots. Pics shown are from the end of week 2 veg.
Likes
10
Share
@Farmron
Follow
Upgraded to a Sanlight 1.5 Evo 4 120 and its such a lovely piece of engineering! I reallly love it! Imo its worth every Penny, especially for the lengthy grow tents like my 120x60 (4x2).
Gave another dosage of the organic phosphor flower booster.
I got kinda scared about botritis/bud rot because she was su bushy snd had overlapping bud sites…. so i defoliated her insides pretty rigorously. Maybe not the best for autos but id rather have sloved growth than a moldy crop lol. Some buds really look very thick and resinous but some lack a bit behind.
Day 63: removed a few more leaves but i hope the airflow in my tent will help me to keep avoid any bud rot.


Likes
59
Share
@1juan420
Follow
Not gonna chop them in the recommended flowering time
There´s still too many clear trichomes, I´m waiting till more become amber
Harvested on flowering day 68. Can´t really find clear trichomes anymore and don´t wanna risk any mold
They are drieing in the tent with 61% humidity and 15°C . Trying to te raise themperature by 2/3 degree, but I don´t really bother because it should be fine like this

Processing
Likes
49
Share
@hawkeye_diesel66
Follow
She is going great. She was a little close to the light so on day 47, I gently pinched her and broght her main down and she is loving it. I was able to move the light lower now and she has responded well to it. This is the biggest autoflower plant I've ever grown.
Day 49; wow this plant is a beauty and a lovely one to grow. Those buds are looking good and it becoming pretty pungent in there when the fans are off.
Likes
31
Share
@Reaper
Follow
week 5 of the flowering period.
the smell is very strong now. if theres no fresh air (during the night) the smell is so intense that it just stinks lol. the buds however smell very nice and sweet up close.
there is a lot of thc visible already aroud the buds.
the night temperatures have dropped a lot the past week but its ok for the final weeks. this strain normally finishes at week 7 but i let her go till week 8 to get extra frost on the buds maybe 9 weeks if the temperatures dont go too low
Likes
1
Share
@crudblowersanonymous
Follow
Plants began showing pre-flowers this week, officially the start of flowering.


Likes
10
Share
@Hashy
Follow
10/5/19 Day 43. Removed a few fan leaves and lowered the height of the lamp to flowering distance. The plant is just starting to show pistals.
No feed today. Think all is good.
11/5/19 Day 44. Fed 1.5L. 3.0ml/L coco A and 3.0ml coco B, 1.0ml silicon, 0.5ml cal mag, 1.5ml boost. Ph 6.0 Ec2.1
run off 0.4L ph 6.4 ec 2.3
So far so good really, if anyone thinks I'm doing anything wrong then give me a shout.
12/5/19 Fed 2L. 3.5ml/L coco A and 3.5ml coco B, 1ml silicon, 0.5ml cal mag, 1.5ml boost. Ph5.9 Ec2.5
run off 1.5L Ph 6.3 Ec2.3
13/5/19 Day 46 fed 1L. 3.0ml/L coco a and b, 1ml silicon, 0.5ml cal mag, 1.5ml boost. Ph6.0 Ec2.3.
run off 0.5L Ph6.4 Ec 2.5
Going to start reducing Coco a and b, then adding Pk9/18 soon.
14/5/19 Day 47. No feed today, just did a little more LST and leaf tucking. Think that's it for the LST. May release all the clamps in next few days and drop my net on it.
15/5/19 Day 48. Decided to release the plant from the LST, I have managed to get the hole canopy level with a cig box, so with it hopefully flower any day now it can stretch evenly (touch wood). Also removes a load of fan leaves.
Fed 2L. 2.5ml/L coco A&B, 1ml silicon, 1ml cal mag, 1.5ml boost. Ph6.0 Ec2.1
Run off 0.7L Ph6.4 Ec2.9. yikes that's a big jump for my run off on the Ec.
So fed again but 1L and changed A&B from 2.5ml/L to 2.0ml/L. Final Ph6.0 Ec1.9
Run off 0.6L Ph 6.3 Ec2.5
Going to try and get the run off down a bit more 2mo. Looks like I might have to feed once a day from this point onwards.
16/5/19 Day 49. Week hasn't gone as expected, I thought pistils would be showing by now. I am going to leave it released from the LST for a while and apply when it starts to get uneven again. I do think I have got the canopy quite even.
Fed 2L. 2ml/L coco A&B, 1ml silicon, 0.25ml cal mag, 1.5ml boost. Ph 5.9 Ec 1.6
Run off 1.4 L Ph 6.3 Ec 2.6.
This is quite high which I think is caused by my boosting agent. I might ditch sumo boost and try something else.
Likes
3
Share
@Redeyebud
Follow
EC Problem not solved yet.
Clear water: 0.67
With nutrients: 2.5
Just trimmed some leafes. Vanilla Kush is slowly getting better but deep cheese is getting really huge.


Likes
33
Share
@StickyFingah420
Follow
Día 88 y penúltimo antes del corte.
Ya se aplicó Flawless Finish para un acabado impecable como su nombre lo indica. Siempre prefiero hacer el lavado de raiz solo aplicando agua en las últimas 2 semanas, pero esta vez lo hice aplicando el finalizador y luego los últimos riegos con agua purificada.
La verdad es que estoy contento con los resultados de esta nena, que es hermosa por cierto, desprende olores ácidos, cítricos, dulces.
Los colores son hermosos y las flores están rebosantes de tricomas, lo que la vuelve muy vistosa.
Es todo por ahora, estaré manteniendoles informados en estos últimos días.
Buenos humos! 👽

Likes
11
Share

