The Grow Awards 2026 🏆 


Likes
Comments
Share
@KannaGrowing
Follow
Ya estamos en plena floración y con las luminarias a max potencia... Evidentemente el aire acondicionado también está trabajando durante la fase de encendido.
Flowa-Bloom es la estrella de los nutrientes a incorporar, pero todos son importantes... Así que sigo la tabla de fertilización de JUJU Royal al pie de la letra.
Eso si, primero humedezco bien el sustrato con agua, para aprovechar bien la solución con los nutrientes y que no filtre por las macetas textiles.
Riego cada cuatro días.

Likes
24
Share
@Aleks555
Follow
Hello. It has been four weeks and we are flourishing. We appear healthy and are eating very well, thanks to Xpert Nutrients. The fertilizer is working exceptionally well. The branches are thick and strong, the leaves are vibrant green, and the overall quality of the fertilizer is excellent.

Likes
17
Share
@NuttyYeti
Follow
She was getting a little pale so I added a bunch on nutes last week to see if it would help. Doesn't seem like it did so I tested the pH and it was pretty high. Added some pH Down this week and got the pH down to 6. She got a good dose of nutes after that. We will see how the week goes. Hopefully next week she'll be a lot happier. 💚
Likes
27
Share
@Smokepurple137
Follow
Final flush done. Turned lights off 14/2/21. Leaving in darkness for 3 days before chop. Room temp 20° humidity 30%. Once hang drying humidity will be 50% and when curing ill be using 62% 2 way humidity packs. Hopefully I'll get some nice dense nuggets. Chopped them week 11 day 6. I'll update more pictures of individual strains when dry and curing.


Likes
9
Share
@CheeRz
Follow
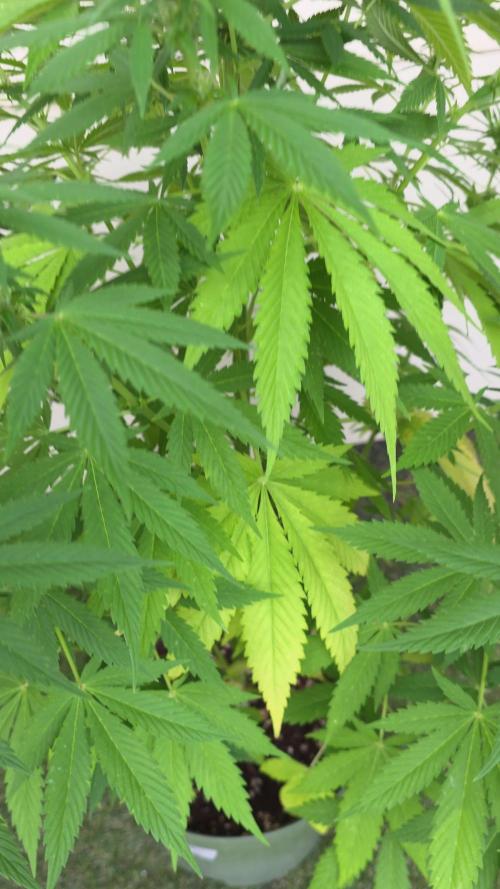
It's week three of flowering, and Divine Rapier is slowly forming buds. She appears to have a slight deficiency, but she looks great overall.


Likes
4
Share
@DRO420
Follow
Plants just received their last feeding. Only ph balanced water for the last 2 weeks to flush out nutrients. Leaves are starting to yellow showing signs of being almost ready for harvest. The trics are about half cloudy.


Processing
Likes
7
Share
@AlpineGoat
Follow
Just a normal week of watering, curing, slow bending and stem arrangement..
Two times water since monday, maybe today (sunday 14) imma water a lil bit :)


Likes
5
Share
@Englandshigh
Follow
This week they are both starting to pre flower and stretch, very good structure and smell ,have loved growing this strain can’t wait to see her go beast mode and swell up

Likes
7
Share
@NG420
Follow
Hi there!
I decided to cut the other plant like I said. I wanted to try the FIM method and I actually missed and did it in two times cut! 😢
From now on plant #1 will be mentioned as FIM and plant #2 will be the TOP.
Lst is a very interesting method and seem to work but I'm not totally sure if I do it right.
Likes
265
Share
@Budz_Bunny
Follow
Week 2: The adjustment
Hello dear growers and groweresses,
it’s time for an update on my grow. My plants have completed the second week and have continued to grow. But they also faced some challenges that I will tell you about.
The adjustment
My plants have adapted to the new conditions in my room this week. I realized that I had my lamps too close to the plants and that they got too much light and heat. This resulted in them not developing as well as I had hoped.
I therefore hung my lamps higher and reduced the intensity of the light. I lowered the PPFD (Photosynthetic Photon Flux Density) from 400 to 280, to give the plants a more comfortable environment. The PPFD is a measure of the amount of light that the plants receive per square meter and second. The higher the PPFD, the more light the plants get, but also the more nutrients and water they need.
The plants accepted the change very well and recovered quickly. They started to grow stronger again and formed more leaves. They also got a nicer color and look healthier.
One plant that suffered a lot was the Frosty Nightmare. She was overwatered and had trouble developing. She was smaller and weaker than the others and had yellow tips on the leaves. I therefore gave her less water and moved her away from the other plants, to give her more space and air. She recovered and grew again. She is still the smallest of all, but she has potential.
I also increased the temperature in my room by 1 degree, to give the plants more heat. I set the temperature from 22 to 23 degrees Celsius, which is still in the optimal range for the plants. The plants liked that and showed me that by their growth. I let them vote democratically, by observing the plants and interpreting their reactions. :D
The water filter
I also want to introduce you to my water filter from Watertrim, which I use for my grow. It is a great product that saves me a lot of time and money and is also better for the environment.
The water filter has only two connections: an inlet and an outlet. So it has no waste water, which would otherwise go into the drain. It has different options of the filter, depending on how much water you want to filter and how high the EC value of the tap water is. The EC value is a measure of the electrical conductivity of the water, which depends on the dissolved minerals. The higher the EC value, the more minerals are in the water, which are not always good for the plants.
My filter filters at an inlet EC of 1.0 1000 liters, before it needs to be renewed. Since my tap water has an EC of 0.5, I can filter 2000 liters with it, until I have to renew it. That costs about 100 euros and works easily and quickly via the post.
The flow is almost 1 to 1 in speed, so no more waiting. I can tap the water directly from the filter and use it for my grow.
I use the filter as follows:
I tap water at the filter.
I pour normal tap water on it, until I have an EC of 0.3.
I add fertilizers etc., depending on what the plants need.
I check the EC again and adjust it if necessary.
I also adjust the pH value, which should be between 6.2 and 6.5, to ensure optimal nutrient uptake.
I give the water to my plants.
The water filter is really a great product, even if it is not very cheap in the purchase with once of 240 - 390 euros. But it pays off in the long run, as it saves me a lot of work and costs and also improves the quality of my water.
u can find it here : https://watertrim.de
The outlook
I am very satisfied with the result of the second week. My plants have adapted well and recovered from the problems. They have grown further and formed more leaves. They have recovered well and showed a great growth. I am very excited about the next week, where it goes to the repotting and the ladies can try fertilizer for the first time.
I will fertilize this run only a little late, even if I use osmosis water this time. The soil from BioBizz is really great and can carry the first weeks well alone.
I look forward to your visits and the next weeks. I will continue to provide you with information and photos and let you participate in my grow.
I wish you a nice day and a good grow! 😊
Likes
4
Share
@Smokiebear_og
Follow
Hey friends, we have hit day 26!
Seemed like close to the right time to throw in some bloom nutes. I decided to add some carbs too. One pheno looks like it's budding already. Let's see how this plays out

Likes
Comments
Share
@Ecu_D_Monkey
Follow
Culture facile sans aucun soucis
belle plante tres esthétique
une merveille pour les amateurs de gout fruité


Likes
5
Share
@Warrior_300
Follow
Domed baby what u guys think the earth is round o flat !?? Was I too early to give the organic soil sum mc lovin ? Wit this Gaia green I blended 20/10/70


Likes
18
Share
@EaRtH
Follow
Entering third week...all of my plants have developed second pair of leaves and third one is growing already!
Had an issue with watering as in first week I have overwatered, last week I have underwatered.
One of the plants is significantly behind other two, however I hope that she will survive.
14.10. - Starting with 1ml/l of Bio Grow and Bud Candy to see how they'll respond. Also done the first LST.
10.10.2023 - 16.10.2023

