The Grow Awards 2026 🏆 


Likes
Comments
Share
@BLAZED
Follow
Germination (4-6 to 16-6)
White Widow - Green House Seeds Co.
Genetics: Brazilian x South Indian.
25.76% THC, 60% Indica, 40% Sativa.
Flowering time: 8 weeks.
I chose this strain because i bought it alot in the coffeeshop in 2018, nowadays the White Widow tastes nothing like how i remember it to be.
So i decided to grow it my self.
I read somewere that Green House has the most original genetics and its the seedbank where i am the most familiar with so thats an easy choice!
4-6
Today i put 2 White Widow seeds into a wet coffee filter to germinate.
6-6
After 48 hours the 2 seeds are ready to be put into a 0.5L pot filled with some Plagron Lightmix.
The lightmix has some nutes for the first 3 weeks or so, i will feed nutes when i transplant them into 18L AutoPots with 70/30 Coco-Perlite.
I made a feed with 0.5 gr Calcium and 0.2 ml Rootstimulator per liter. EC: 0.4 PH: 5.8, and watered the pot a bit.
I let them stay in the dark untill i see them above the soil.
7-6
After 24 hours they are above the ground and i removed the plastic foil covering the pots.
8-6
Temperature: 19.5 to 24.1 degrees
Humidity: 41% to 70%
Watering: 20 ml.
9-6
Temperature: 18.8 to 23.4 degrees
Humidity: 62% to 74%
10-6
Temperature: 19.4 to 23.9 degrees
Humidity: 60% to 74%
11-6
Temperature: 19.4 to 25.2 degrees
Humidity: 43% to 71%
Watering: 25 ml.
12-6
Temperature: 21.2 to 25.4 degrees
Humidity: 44% to 60%
13-6
Temperature: 22.2 to 25.9 degrees
Humidity: 44% to 71%
Watering: 15 ml.
14-6
Watering: 60 ml.
A week later and today is the last day of the germination phase. They are starting to grow faster from now on.

Likes
5
Share
@hi_bengal
Follow
Another week down I think I've already defoliated before about to bit em again this strain can take alot of stress as with most mephistos I've grown.

Likes
10
Share
@TioRandy
Follow
"Delicious seeds" bank is one of my favorite. Every time germinated, impressive results and the taste! All 3 seeds popped and since I have some extra space in my tent, I decided to also stick a plant of AK74 by Trikoma seeds
03/08
Put for germ
04/08
Germinated and put into the growpot!
05/08
The sprouts are here!
06/08
A day off!
07/08
Growing bigger. The stem is getting long if you ask me, but tolerable
08/08
Nothing special here
09/08
Going strong. The leafs are eating well and grow big.
13/08
Had to go out from the city and nobody really took care of the plants. However, they look good enough after my time being off, although Eleven Roses look a bit curled and twisted, AK74 feels fine.
14-16/08
The plants getting bigger, thought I was still adjusting the setup and sometime the temperature was around 30C
16-18/08
Adjusting setup, feeding with RHIZOTONIC and starting vegetation here.


Likes
34
Share
@Salokin
Follow
Hello Growmies,
As we round up week 5 with our Watermelon Candy F1 Hybrid by Zamnesia, the growth has been nothing short of impressive. The choice to employ low-stress training (LST) rather than topping has paid dividends, with the plants responding well to the gentle guidance of their growth, seamlessly integrating into the SCROG setup. This method has allowed for an even canopy spread, optimal light penetration, and air flow, which is critical for the health of the plants and ultimately the yield.
Observing the Watermelon Candy's development, we see a testament to our cultivation methods. The vibrant green leaves reaching skywards, the sturdy stems, and the strategic placement of each branch in the SCROG—every detail points towards a successful vegetative phase.
In terms of environmental control, we've applied the lessons learned from our other strains, maintaining a stable and ideal VPD during the day with the Tent-X system. The nights, however, have brought forth the same challenges we've faced with other strains, showing fluctuations in VPD levels. The integration of the Smart Mars Hydro fan into the Tent-X system is anticipated to solve this, and we are optimistic that this change will bring about the consistent conditions needed for the Watermelon Candy's continual thriving.
Even with the small hiccup in the nighttime environmental control, the plants are flourishing. The robust health they exhibit is a sign they're ready for the flowering phase, and we expect nothing less than a bountiful harvest.
And while we've experienced a bit of frustration with Secret Jardin and Mars Hydro for the integration challenges, we appreciate TrolMaster's efforts to assist. We are hopeful for a resolution soon, or we may revert to the reliable Prima Klima setup.
As we move forward, the focus remains on the consistent monitoring and adjusting of their environment to ensure these Watermelon Candy F1 Hybrids realize their full potential.
Stay lifted,
Salokin

Likes
3
Share
@ChameleonsCannabis
Follow
Really excited for these I got a 3 pack grew the extra 4th one and now growin all 3 of the rest at the same time I can't wait to see what theybbring the first one was incredible


Likes
27
Share
@Smokepurple137
Follow
Stretching really well in 2nd week don't think I will veg them too long, maybe another 2-3weeks, been able to top 2 of them so far. I will be topping all of them just the once. Growing slightly quicker than the last barney's seeds I used. All looking very healthy.

Processing
Likes
12
Share
@2Stones1Bird
Follow
Checkout my Instagram @smallbudz to see the Small budget grow setup for indoor use, low watt, low heat, low noise, step by step.
17/11/2019 - Pot feels light and the is bottom dry to the touch time to water, gave her 1,5l of water PH 6.2 with 0.5ml Grow, 1ml, Bloom and 0.5ml Max Biobizz reduced the dosage from last time, watered util some runoff appeared.
18/11/2019 - Mixed another batch of Alg-a-Mic 2ml per liter to spray on lights off PH 6.2

Likes
54
Share
@Mimi420
Follow
Hi guys!
In the last week I started to train my kushes.In the start of the week i super croped the uper ccola's to stop the grow in the height a litle.After 5 days for recoverin,I put the net in.and starting to filling up the space.
They gettin 3,5l with nutrients every 3-4 days.
I'am amazed othe huge leafs on dutc kush.So far is everything going ok 🙂


Likes
10
Share
@AUTOBUDDHA
Follow
These Blue dream matic Autos are gonna be some absolute monsters! Here we are at 37 days and were sitting at almost a week into flower, qnd the plants are over 17 inches tall.
Looking at a great yielding strain here! Starting to get a good amount of smell to them! Super healthy plants, and super heavy stalks.
First round of nutrients came at 35 days. They were moved to the hps at 32 days. General hydro, flora trio at 5ml each per gallon.
They EXPLODED overnight.
This week, i will begin some light lst and defoliation.
Also, this week I will be hanging my brand new HLG Diablo 650R. These 5 blue dreams will be moved from the hps to the Diablo.

Likes
5
Share
@GreenQueenz420
Follow
2nd Week of Veg decided to start low stress training and see how it affects the plant opposed to waiting until it’s a little older. Giving it water only every other day when soil is dry or pot is light.


Processing
Likes
3
Share
@JJKind
Follow
purple coming in on the star pupil crosses, defoliation I'm happy with the Amount of Bud sites


Likes
22
Share
@sealeater
Follow
just waiting for the clone to root now and give it away then we can beggin flowering added sea algae composte for the first time in a while to the feeding schedule lets see if it does anything i did some defoliating hoping for a quick recovery and am posting photos of that in a few hours
update later day 1 of week 8: as seen from the photo i did i slight defoliation by removing some bigger shaded lower laying fan leaves

Processing
Likes
22
Share
@Wicked_Stix
Follow
Herercane is doing well and putting on some stretch. I can see the sativa traits coming out in the leaves pretty dominate.
I have them on half bloom and half grow now. Will probably cut out the maxigro in about a week and start them in a pinch if flower boosters. Other than that everything is running smooth.


Likes
16
Share
@CheeRz
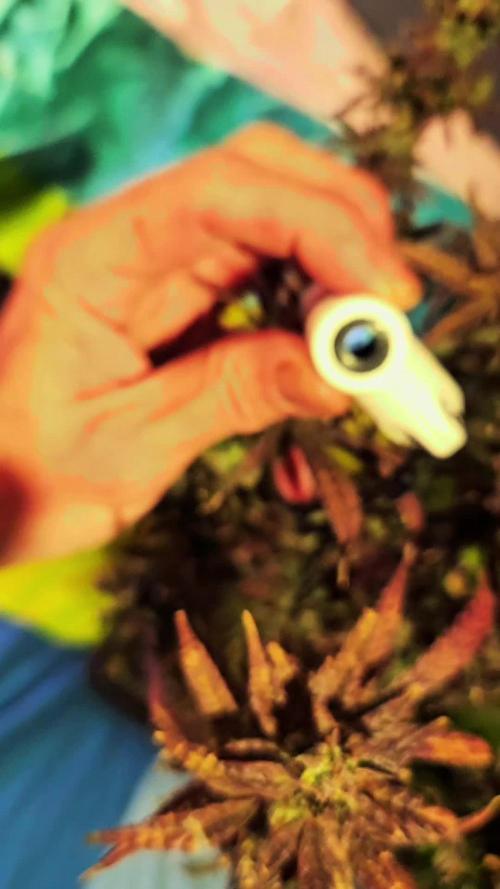
Follow
The ladies doin' good so far and the buds start to getting frosty ❄️. Damn I'm lookin' forward to see these buds gettin' thick and juicy 👆🏼


Likes
28
Share
@MrGrowthSpurt
Follow
This strain was easy to grow, she started flowering on the 5th week and reached maturity on the 13th week (8th week of flowering). I had 2 of these plants growing at the same time. White LSD#2 took on a reddish/burgundy tone which made it look completely different from#1 All in all it was really a easy grow.
