The Grow Awards 2026 🏆 


Likes
Comments
Share


Likes
3
Share
@Esjey
Follow
I have first time plant like this.
This dragon take 4 liters in 20-24 h 🧐🤴
I put some new stuff from GREEN PLANET -nutriens and microbs. I put too nutriens for leavs from OPTIC FOLIAR.
Cleaning box with alcohol "IPA" 99% 🤮

Likes
55
Share
@Xpie77
Follow
Will start defoliation in 2 weeks. Want to try not to do that to soon. Started give some food to the ladies. Some like it, soms its just a bit to much.
💚Please Like This Diary and Leave a Comment!💚
Plants are growing nicely! Just some water @ pH 6.5
Red Wine was created by crossing Rozay F2 with Jet A. They are 2 very powerful aromatic Cali hybrids. This exclusive new Cali strain is a very strong and fast flowering indica-dominant strain. It has an aromatic, intoxicating and relaxing effect. That is comparable to enjoying a good glass of wine.
Red Wine has an average flowering time of about 7-8 weeks when grown indoors. Outdoors it is ready fairly early, usually around the end of September.
The yield is very good. Indoors she has an average yield of 450-650 gr/m². When growing outdoors, 600-800 grams can easily be achieved per plant.
Red Wine has an aromatic scent that can be compared to a full red wine. Her full, purple-green buds are very compact with few leaves. This is very convenient when cutting the plants and saves a lot of time. Smoking this weed gives you a nice high with relaxing properties. The taste of Red Wine is very fruity sweet with an aroma of red grapes.
Flowering time: 7 – 8 weeks
Genetics: Rozay F2 x Jet A
30% Sativa, 70% Indica
Plant height outside: 100 – 180 cm
Outdoor harvest month: from June to October
Yield indoors: 450 – 650 gr/m²
Yield outdoors: 200 – 800 gr / plant
THC: 25%
💸💸💸Wanna Try Red Wine from Seeds Genetics?💸💸💸
https://seedsgenetics.nl/product/red-wine-gefeminiseerd/

Likes
107
Share
@Afterglow
Follow
Всем привет!
Эта неделя началась с того, что мне пришлось удалить штук 20 веерных листьев, потому что растение перестало вмещаться в бокс. Правда к концу недели все вернулось на круги своя.
Полностью перешли на питание во время цветения.
Ко всему прочему начали болеть листья. Пока не разбирался что к чему, но есть подозрения на нехватку кальция и магния, так как я перестал их давать. Сегодня полил обильно Cal-Mag, посмотрим будет или не будет прогрессировать.
Стретч замедлился, но все еще продолжается. Даю 50000 люксов на верхушки растения, это примерно 90 ватт.
Та мутация о которой рассказывал ранее, где шишка начала расти прям из устья листа - все почти также, прогресса нет. Но вот обнаружилась другая мутация - полиплоидия.
Одни из основных веток, в самом начале, была не аккуратно загнута и получила легкий надлом. Этот самый надлом и запустил полиплоидную мутация. Я видел до этого, что листья и боковые ветки растут как-то не симметрично, но особого внимания не обращал. Единственное, что давно заметил, так интересный нарост у одной из больших веток - он какой-то продолговатый и сверху, а не по всему периметру. И вот вчера заметил, что одна из шишек растет не вверх, а вширь.
Стал внимательно изучать всю ветку и понял, что она сама по себе какая-то не симметричная: у основания ветки 3 листа, при чем расположены они на разных уровнях, шишки тоже растут не симметрично, ствол со странным не симметричным узором, а наверху шишка двойная. Кажется дальше шишка будет расширяться все больше и больше.
В общем каждый гровер рано или поздно сталкивается с какой-либо мутация. Я вот за раз столкнулся с двумя. Интересно будет понаблюдать что будет дальше.
Спасибо что заглянули.
Всем большой большой удачи и везения!

Processing
Likes
1
Share
@RawWizardry
Follow
Going into Week 5 of flower for the random strain, ppms are in the 900's. Light feeding 1once a week sunniland 2-10-10 half tblsp for 5 gal. R.o water 13 drops of general hydroponics "pH down" per gallon of water, 5.8-6.1. 1/2-2 gallons every other day along with defoliation/maintenance.
Week 8 for the blackberry kush began flushing, ppms in the 800's at the moment. Only feeding molasses 1once a week about 15 drops per gallon.

Likes
2
Share
@PCZECHGROW
Follow
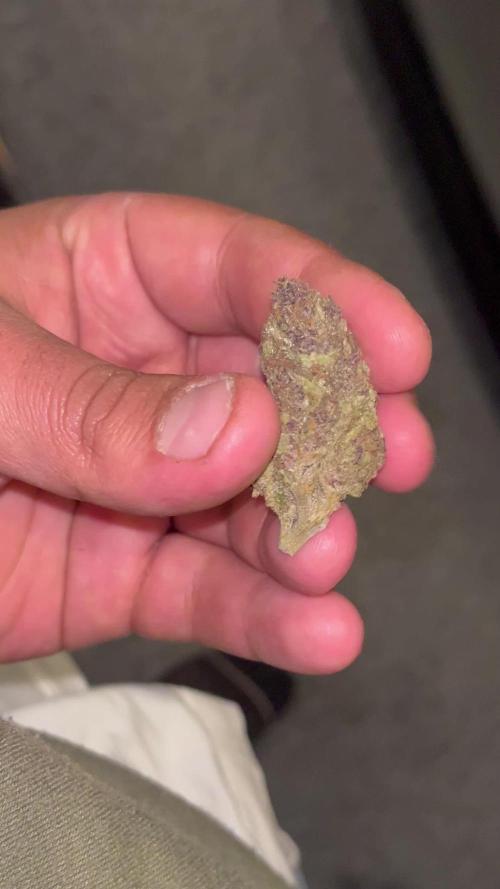
After three weeks of drying, I’m happy with the result – a total of 850 g. Some had to be removed and discarded due to mold, but it doesn’t look like it was grown outdoors at all, more like indoor quality. Definitely repeating in 2026.
Overall – condition and smell 10/10


Likes
17
Share
@m0use
Follow
This was a fun project that was a few years in the making and a year later to see if they would last a season for this upload to happen. Before any of this I would bike aorund town grabbing up all the old Ikea solid pine bed slats that I could find and storing them in the basement. I have a lot of wood down there, any size worked as long as I have enough of them. The hot days to find them were the first and last of the months because that's when people where moving in/out. I also kept an eye on the free section on local online classifieds as well. The entire purpose of this was to recycle as much off the streets as I could before buying anything to finalize the project. In the end I only bought sealer, screws and some takeaway/beers. All the wood was 100% free and salvaged off the streets of Toronto saving it from the dumpster bin.
After collecting all the slats for about 2 years I was playing aorund with them on how I wanted to make this work. I had previously done a little project like this before but I messed it up and the boxes where crap. did not last longer then 2 seasons, they where thin and shallow as well could not grow much of anything in them. I Was talking to my friend who is renovating their house and we brainstormed some ideas on the boxes, I found some designs I liked online and said lets make something like this out of what I have here. We tossed out a few of the design features when looking at them as it would have been wasted wood and extra work not needed. If I had more wood them maybe it could have been an option but simple was the name of the game. They taught me what I needed to know like how the miter saw and sander worked, plus all the other tools I was using. They did help out with a table saw and creating the triangle support joints in the corners, They used some pine left overs they had while making a staircase indoors. I did not feel up to the task of using a table saw given all the relatives I know who have lost a finger to them.
In the end we decided the design would be three boards high and take an alternating pattern on corners. layer one short, layer 2 long, layer 3 short. Went with a galvanized and painted deck screw so it can take the weathering. Ran into some problems like making everything level as some of the boards were warped and other ones had undesired aspects like knots and tacky sticker goo I could not remove. So I used them for the base that will not been seen so much. Clamped everything down and called it a day.
Once it was all done and over with, I then brought them back home from my buddies work garage and started to seal them. I went with a boiled linseed oil as its a food safe option should the wood degrade into the soil I will plant in them. I will need to reapply it to the boxes year after year but the main coat is the most important one and I put it on 3 layers with a good dry in between coats. the inside of the boxes that where coated did not degrade at all as the sun did not hit them so it will not need a new coat just the outside. Overall the end result was very impressive for myself, I've never taken a woodworking class ever and It was a near perfect outcome for me. Heavy Duty Planter Boxes for all my gardening needs. I made a last min decision to add in a plastic liner to preserve the wood even longer and stapled that into the frame. it has held up quite well and may need replacing end of 2nd or 3rd year out in the sun. Used a thick moisture wrap plastic with UV protectors in its formula.
Lets see what I can grow in them this year!
m0use's haus of projects - garden box edition


Likes
1
Share
@Growedbypepper
Follow
Después de la primera semana de floración la planta comienza a mostrar pistilos, lo que significa que tiene una floración rapida, se encuentra saludable aun no tiene presencia fuerte de aroma

Likes
1
Share
@Mythological_Grower
Follow
27/05 - Day 1 of Veg(1L of Nutrients dissolved in water poured into the tray)
1/06 - Day 6 added toothpick to help give support
2/06 - Day 7 checked on their root development, so I can transplant (Tomorrow we transplant)
Likes
8
Share
@RizlaZA
Follow
1st week out of the veg tent, post 1st defoliation. I like to do all my major training in Veg to prevent further stress in flower.
I cut all lower fan leaves off and any unnecessary bud sights (ones that I know will not get any light) - Keep in mind these bitches STRETCH & grow massive fan leaves which block out almost all the light to lower sections of the plant. So you will have to remove leaves, how many is up to your preferred method.

Processing
Likes
12
Share
@Marijuanaisland
Follow
Vamos que vamos posso não ganhar o concurso mais estou competindo
Likes
7
Share
@Jolliejointz
Follow
21 branches over 40 bud sites only to be handled with nylon gloves. Bent the top over slightly to allow better distance from the light she is much taller than I thought I allowed for. Not complaining lol. I stopped adding the fast grow a while back it just never stayed deleted. Also added an extra light down below to give light to the bottom 45watt led at 30 cm away from closest branch. End of next week I will be adding extreme boost and removing the monster bloom.

Likes
38
Share
@Skunkman
Follow
She’s starting to really fatten up now!! The buds feel dense all ready and she’s still got another 3 and a half weeks 👊🏻 She’s mad sticky too 😆😎


Processing
Likes
4
Share
@DRO420
Follow
Magic Melon is taller and has grown faster since the first week, now it's buds are growing twice as fast as the Super Silver Haze. Lights are 12 inches from top of buds.
Processing
Likes
4
Share


