
Likes
Comments
Share


@Horticulturehobbyists
Follow
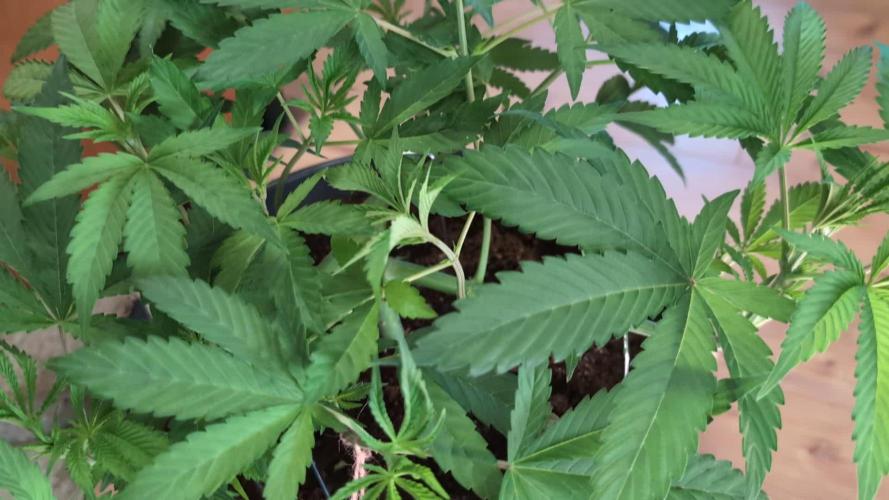
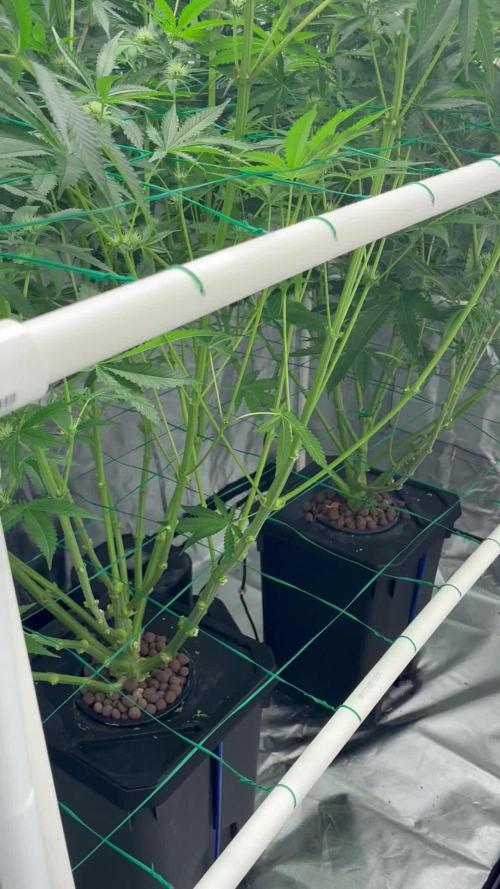
First week of flower is in the books. I posted my feeding schedule in the pics above. If you find yourself looking at it wondering why you're seeing back to back feeds with mycos or teas its because with organics you never want to let your pots dry out. You obviously dont want to waterlog the pots but you need to find that balance with watering so as to keep your ecosystem happy and active. It's not a feed/water/water system where you're watering every other day as you do with salt based bottled nutrients. Always remember you're feeding the microboes/fungi/bactria and they are feeding your plants. If you dry your pots out with organics those elements become dormant and or die off which will lead to deficiencies and a weakened immune system.
The week was going smoothly until last night. The timer for whatever reason didnt kill the lights after 12 hrs had past so they got a little over an hr of extra light. To help maintain consistency with the plants I just altered on/off times to make sure they still recieved 12 hrs of darkness. So I was running 6pm-6am now with the overage last night I'm running 730pm-730am. I have heard some horror stories about how something like this has affected people's plants but they are few and far between. I'm not overly worried about it as a plant thats growing outdoors never gets a true 12/12 lighting period. I caught it early, adjusted my lighting schedule to accommodate a 12 hr off period, and being so early in the flowering stage I should be ok. Obviously it goes without saying but this is taboo and not something you want to be making a habit of with photoperiod plants. My dehumidifier also decided to do it's own thing last night and didn't shut off as per the settings (set to 45%) and as a result it pulled my humidty down to 39% down from the 45%-47% that the room usually runs at. As a result my temps rose into the 28-29 Celsius range overnight up from the 25-26 Celcius (my preferred flowering temps) that the room usually sees. So she was quite the party downstairs while I was sleeping. To my surprise when I turned the lights on the plants looked very happy and healthy and immediately started praying to the sun gods. I got lucky here with respect to what I was speaking about above with watering practices and organics. As I keep my pots in the sweet spot with daily waterings this didnt negatively affect the plants.
I've prepped and am bubbling a compost tea (posted a video) which will be fed tomorrow. I also through some organic popcorn seeds and organic mung bean seeds in the seed sprouter (pic posted above) to make a popcorn/mung bean SST for the plants that's loaded with all kinds of enzymes and goodness. It's also pretty sweet to be able to say you feed your plants popcorn. Like I mean really though 😁. I'll talk a little more about SSTs next week but if your curious about it there are many websites about this topic, homesteadandchill.com would be a great place to start. They lightly touch on topic without diving to deep into the science behind it so it's easy reading to help introduce you.

Likes
9
Share


@Pete420
Follow
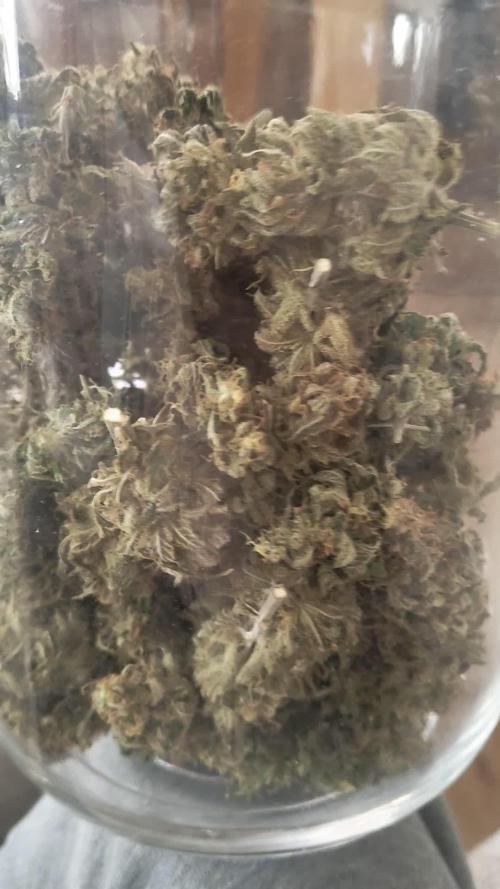
Big Buds, easy to harvest.
This is my first haze plant.
I cloned 22, but all died.
The taste: 60% incense,30% peach, 10% lemon(or something citrus).

Likes
3
Share

@GoodTimesOrganics
Follow
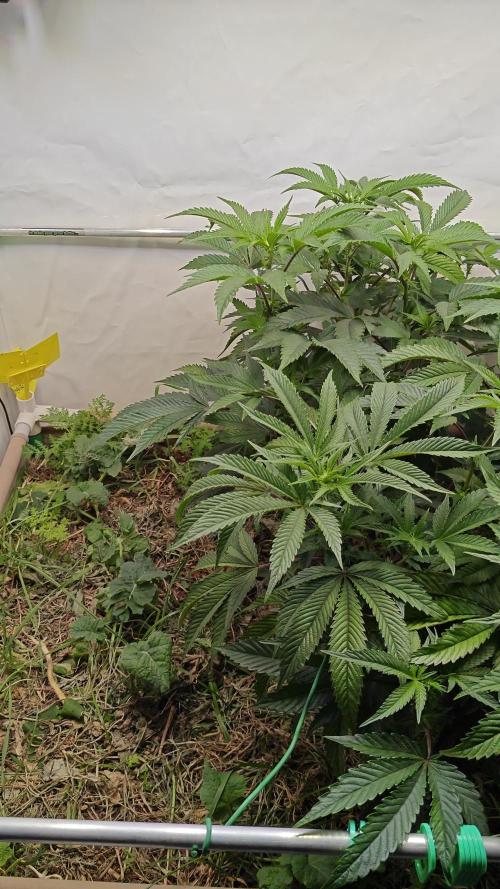
Hi liebe Community! 💚 Nach der ersten Woche des Trainings gab es ein paar Feinheiten zum nachjustieren.
Der Wuchs der Pflanze ist sehr kräftig und nun war es an der Zeit, einige der unteren Triebe noch zu entfernen.
So dass die oberen Triebe sich jetzt besser entwickeln können.
Außerdem habe ich nun einige Sonnensegel zurückgeschnitten, damit die Pflanze ihre kompaktere Wuchsform beibehält.
Auch war es an der Zeit den Green House Feeding Bioenhancer wieder zuzugeben.
Die Wachstumsbedingungen im Growschrank sind optimal:
———————
🌞 Temp: 26°C
🌚 Temp: 20 °C
💨 RH: 66%
VPD: 0,77 kPa
———————

Likes
28
Share


@H2Smith
Follow
Ratio peridoser:
Green house feeding hybrid: 2.33
Green house feeding booster: 1.00

Likes
81
Share


@UnorthadoxDude
Follow
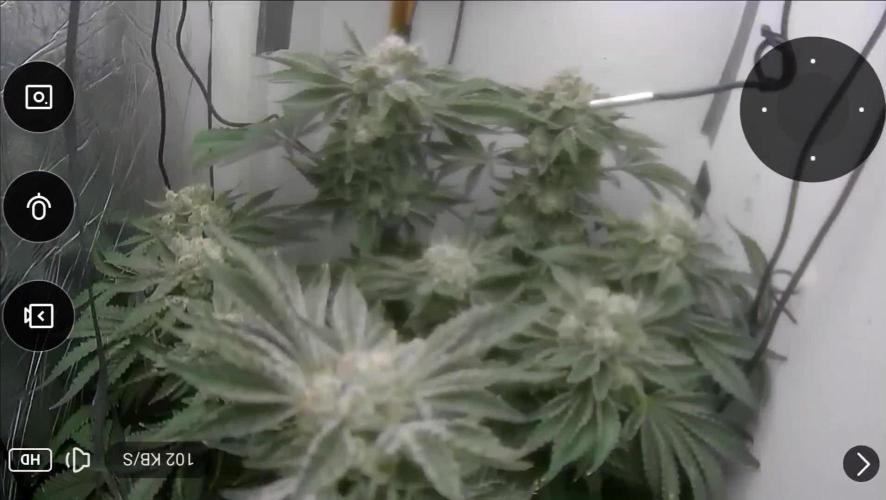
Hello there and welcome to week 12, or the beginning of it anyway. Week 11 is now complete so please check that out!
We start the week with 5l fertigation and some nice photos. Now that Bertha is gone the tent smells Karenish. See you tomorrow!
Day 78: Added several more carnivorous plants to the budding collection. Enjoy!
Day 79: Fertigated 5l. She's starting to mature now. Frost developing slower, buds fattening and ripening faster. Were maybe two weeks away here.
Night 80: Added tent photo and vid. Day 81 update later today.
Day 81: Added a lot of media. Got a cheap digital microscope to try and get better micro shots. As you can see Karen is nowhere near yet.
Day 82: Things are moving very fast, just look at the difference today. I am certain were with 2 weeks of harvest. Does anyone have advice on flushing/not watering. Fertigated 5l.
Day 83: At the current rate of maturation I think the end of next week maybe be harvest time. Height 51cm
Day 84: Karens smell is really strong now it washes across your face when you open the tent.
End of week summary: A full week of nothing but bud swelling and maturation. I still think she needs another 2 weeks. Unfortunately my living situation has rather abruptly changed and now I have a tough choice to make: harvest/destroy or move plants.
There is a strong chance I will chop Karen at the end of next week if she is ready or not.

Likes
37
Share


@Capo420
Follow
This past week has been a blast!
After getting these ladies nutrition straightened out, they are thriving!💚🌱💚
I gave defoliated wayyy more than what I see other growers traditionally doing. After the "3rd and final haircut" I defoliated two more times 😅
Thank you the GD community for the support and resources along the way 🙏
My only concern now is the tent actually becoming too crowded.😆. Other then that I am thinking it should be smooth sailing these next 6 weeks or so. 🏴☠️😎🏴☠️
Happy Growing!
💚💪🌱😎🌱💪💚

Likes
3
Share


@CalGonJim
Follow
3/19 230pm I just got the three new ones and I’m really excited to start them. I’ll be using Cannakan for germination 3pm That was easy all done.
3/20 12am almost ready. 2am poured out the water put in new distilled water below the notch and we are good to go. Set at 88 for 78 target.
130 pm I got the dirt work finished. It’s the part that I hate the most. I try to keep it as clean as I can. They are ready to go. I’ll be putting them in the dirt in a little bit.👍👍👍
3/21 1am..... going to see if they woke up.. I put the dirt in without much mess. The dirt is clean and easy to work with. I poured CAREFULLY in lines in both directions of a red party cup of Rapid Start and pH 6.5 each💦. nothing yet, but gnats...
3/22 Surgery was a success times 3!!!! All delivered happy and healthy!!!!!
3/23 12 am looking great!!!
Likes
12
Share

@ohcibi
Follow
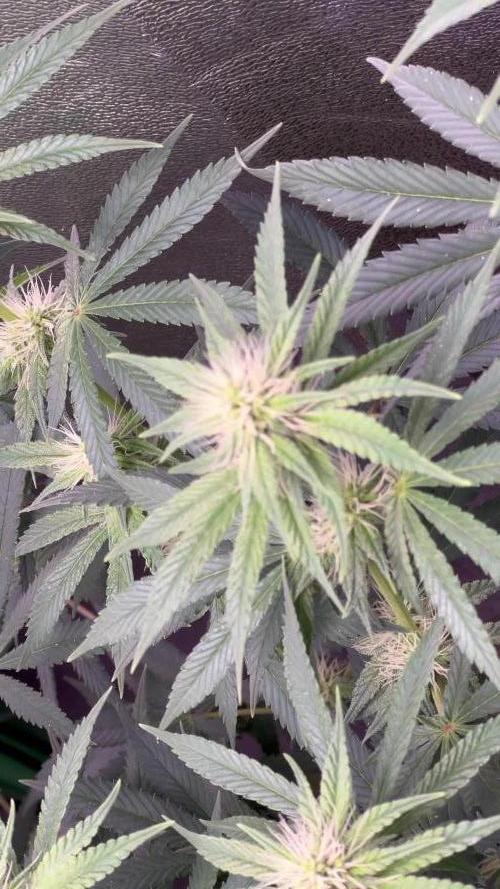
Approaching the finish line. Fertilizer is now at its final dose. Both plants stopped growing now and started to build thick buds. Ken in fact is way ahead in terms of buds but it might be because he Hase a little bit less in number. It’s possible that I trained Ryu too much for his pot size 😆😆. But let’s see. Both looking very good and a lot more powerful than in my first grow.
Water intake is still massive. The top soil is rock solid while draining water super fast which must mean the pots are filled with massive roots. The erected teeth came down a bit but they were never that severe in the first place so I’m still not worried about that. I skipped one day of watering to account for possible slight overfeeding but I mean, today’s watering then was with the increased dose of fert 😆😆. I know I’m pushing it a little bit but that’s deliberate. I have high demands both in mass and quality so my approach is riding the edge as good as possible from the beginning 😆

Processing
Likes
7
Share


@Chronnoisseur
Follow
Well she seemed to slow down and now her roommates have over taken her. But fingers crossed she still put out some nice buds
The cheese candy is starting to become more smelly this week stay tuned....

Likes
8
Share


Likes
3
Share

@Rodburn
Follow
Went out of town for the weekend, things nearly got out of control. Stretch should be near over. Defoliating tomorrow, healthy girls
Likes
15
Share


@Roope
Follow
This is amazing how that led efect all over tent and Wilma ooh its like magik liguid tranfer system and im like a lot,
No going back old methods!
PH is keepeng good 6.1 - 6.3 and tent heat is when open 28 celsius and 30 or 31 when hortimol is on,
And still 20% not use i klic it full on when start blooming,
I havent had to use extra fan upside of led once and still have to get EC meter heard that is like must have eguipment.
So thats my next week projekt.
But overall looking so fresh Green and healty plants that im happy.
Till next week.
ReggeaOkkey!


Likes
10
Share


@BRM_OutDoor
Follow
Se aplico una apical y se afirmaron los brazos para que se vaya abriendo :3
Processing
Likes
4
Share


@Cannibalgardens
Follow
Wow just wow the strain is a keeper so far she stinks ,trains well and grows fast .. The tent stinks and she is really doing her part in that , the plant sucks up a lot of water and nutrients ... The growth is very much so branching out a lot and she loves the lights I have just stretching and praying upwards ...can't wait for next week she gonna be vegging for a while still .cheers


Likes
7
Share


@Papabro2k
Follow
This is the 1st time doing autos from fastbuds I am really impressed by there strains also the 1st time using the easy boost tablets all in all I am very happy and can’t wait to start my next happy growing all and thanks to every one who tuned in on my diary’s it’s been a pleasure
Likes
10
Share

