The Grow Awards 2026 🏆 


Processing
Likes
Comments
Share


@FolloMiSensi
Follow
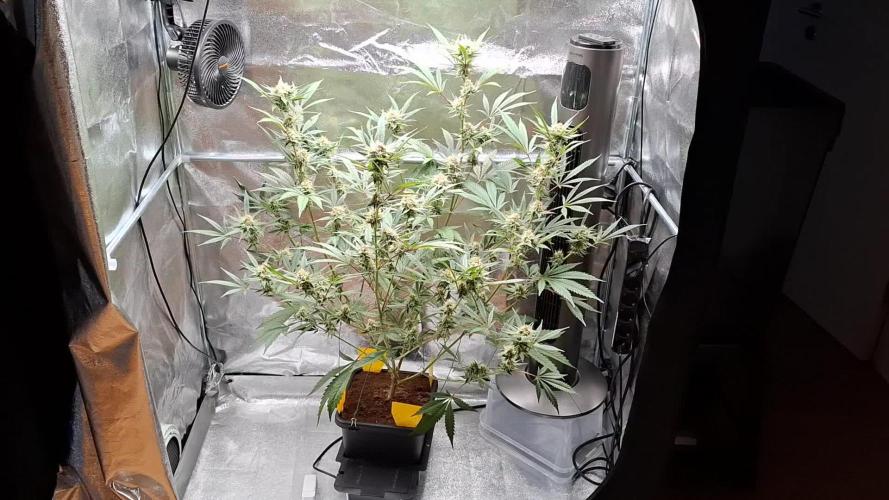
Nice growth this week, lst from last week resulted in more cola growth. Readjusted lst for even canopy.
Both showing sex, treating as pre flower and starting to transition into bloom nutes with a light feed.
Likes
9
Share


@bigolebuds
Follow
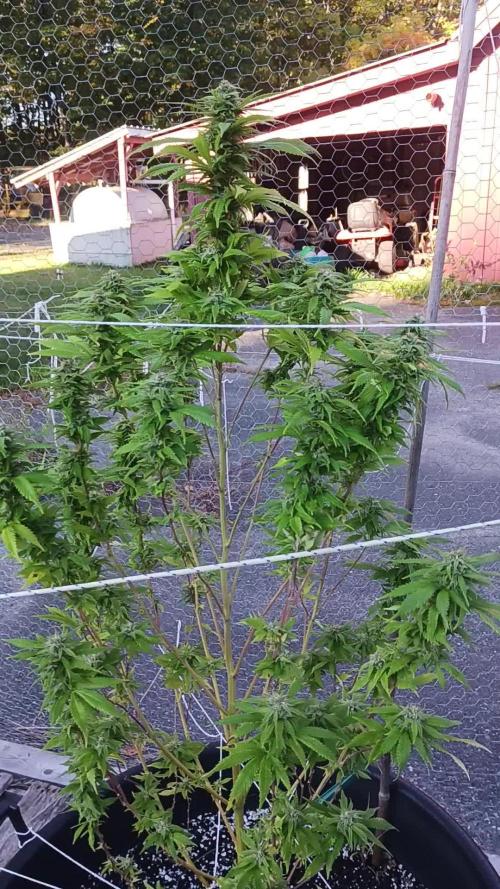
Week 5 (11/30 - 12/6): Things are getting excitingggggggg!! I had to get some gloves because the buds are getting sticky -icky -ickyyyyy. I mean over these two weeks you wouldn't even recognize this tent. The flowers have really packed on some size and the smell is increasing by the day. It feels like we are coasting and just need to keep things watered at this point, but we have our lights up as high as they can go, so we are hoping we don't get too much more of a stretch from the plants. Next week will be our last topdress for these plants with our Gaia Green 2-8-4, and from there we will have about 4/6 more waterings with our terp tea and we will be just about done with our feeding schedule.
We are considering another layer of trellis, and we had to upgrade our PH pen AGAIN.. so to all new growers, don't waist the money, get the Blue Lab from the start and take good care of it. We learned our lesson with $20. Otherwise, I don't have much to say other than stand by for some big ole harvests coming your way.
Check out our before and after pics!
Processing
Likes
20
Share


@Mosquito_Haarlem
Follow
Ik heb wat slechte blaadjes gesnoeid.
Ze groeit, maar er hangen sinds vandaag een paar slappe bladeren bij die naar beneden hangen.
Misschien heb ik haar teveel voeding gegeven met de green sensation en had ik het langzaam moeten opbouwen.
Even afwachten hoe dit zich voortzet.
Likes
19
Share


@A_Rolling_Stoner
Follow
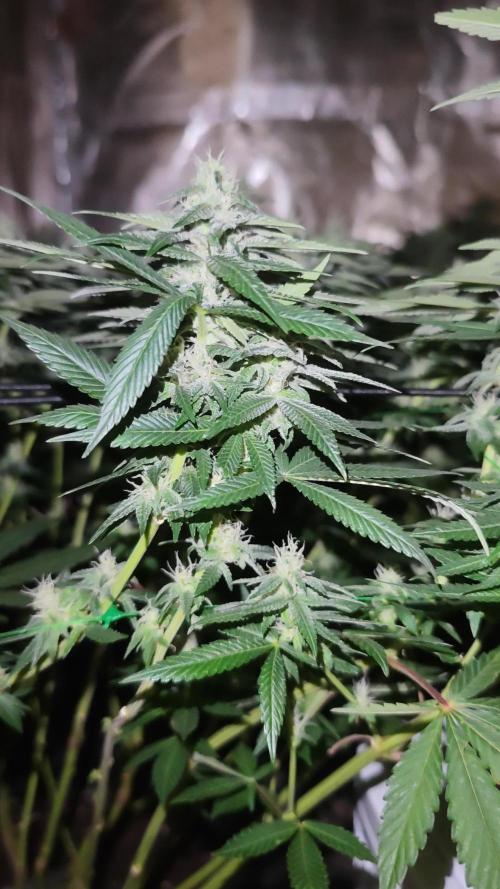
All plants are fully blooming and create frosty leaves.
Caution! Very Sticky!
Amazing smell from the apple fritter and critical.
Really intense.
Likes
9
Share


@DaddyPrime2
Follow
1/11/25 these two phenos are literally the complete opposites. i labeled them from most sativa looking seedling, to the most indica looking. i believe #1 to be the closest to the mimosa parent and #5 may be the closest to the king kush parent. im not positive on this but one things for sure is that these are the most dramatically different phenos out of my 5 seeds. everything else kinda feel somewhere in the middle. its interesting and so far, every pheno has been something great.
1/12/25
checked the trichomes well today.
#1 is interesting, she has a mix of clear and amber but not very many of them are cloudy.
#5 has about 50/50 clear cloudy.
Likes
2
Share


@stadtgaertner
Follow
Started using Canna Boost about a week ago. Noticeable increase in growth and dank. Using 1ml per Liter in the reservoir. I was hesitant because of the high price but this stuff is great.
After playing around with the Masterblend ratios and weights I feel pretty confident in my current mix. What I thought to be tip burn from nitrogen turned out to be the early stage of Calcium deficiency. As Nitrogen and Calcium come in the form of Calciumnitrate you can't drop the N without the Ca. To avoid this I bought Canna Mono Calcium with 11.6% Ca. Now I am able to dial the N down to 120-130ppm and keep my Calcium at about 150ppm. Anything lower than 120ppm of Calcium starts to show deficiency symptoms. Same goes for the Nitrogen, 120ppm is the absolut minimum right now. I am also going to increase the Magnesium to 50ppm with the next tank refill.
I am pretty happy with the Masterblend 4-18-38, Calnit 15,5-0-0 and Epsom Salt bundle. You don't have to buy a seperate flowering blend if you get a mono calcium fertilizer. The plant loves the Masterblend. Looks way better then when using Canna AB...
Likes
73
Share


@Papa_T
Follow
Welcome back!!! It’s the beginning of week four. I now consider this plant to have finished the seedling phase, now move onto the veg stage.
THURSDAY - Day 22
10 October 24
- Switched the blue spec light out for the red spec light.
- 380 PAR/ PPFD at 26 inches distance.
- Topped the two bottom branches.
- Started doing a little LST by adding a few staples and a little bit of branch manipulation.
- She’s slowly shaping to my vision for this plant.
- Gotta start thinking of up potting her soon into her final home.
FRIDAY - Day 23
11 October 24
- Added two more LST staples.
- Just a day under the lights.
SATURDAY - Day 24
12 October 24
Watering day, 1 litre of dechlorinated tap water.
- Base water 1 litre - 61.1 PPM
Final - 1 litre at 6.45 PH at 62.8 PPM
Runoff - N/A
- Thinking of removing those giant fam leaves soon, they’re becoming cumbersome.
- Did my final planned topping of the two top branches.
- I tweaked a top branch and there was a pop at the knuckle, not a complete break but there’s a bit of damage.
- I’m fairly confident that she’ll send resources to fix it and make it even stronger.
- No stress, we push forwards and roll with the punches cause that’s what we do around here.
SUNDAY - Day 25
13 October 24
- Just a day under the lights.
- She doesn’t seem too bothered by yesterday’s branch tweaking.
- There’s a but of a split but it seems to be scabbing over.
- I’ll keep monitoring it over the next few days.
MONDAY - Day 26
14 October 24
- Just a day under the lights.
- Also a good recovery day.
TUESDAY - Day 27
15 October 24
Transplant day into a 5 gallon pot and her final home.
60% Gaia Green Soil
20% Worm castings
20% Perlite
8 Tbsp Gaia Green All Purpose
4 Tbsp Gaia Green Power Bloom
5 Tbsp Diatomaceous Earth
1/2 Tbsp Dynomyco
Amended this mix and transplanted.
Watering day, 5 litres of dechlorinated tap water.
- Base water 5 litres - 61.2 PPM
- Add 2.5 ml Cal-Max - 172 PPM
- Add 5 ml Supermax - 206 PPM
- Add 15 ml Miicrobial Mass - 337 PPM
Final - 5 litres at 6.61 PH at 337 PPM
Runoff - N/A
- Removed the LST staples to let her acclimate to her new home.
- Will resume LST in a few days.
- Removed the lowest fan leaves.
- Some leaves are funky but they also are in the way of the important growth so they may get removed in the near future.
WEDNESDAY - Day 28
16 October 24
- Just a day under the lights recovering from yesterday’s transplant and extended light hours.
- She’s perked back up and looking happy though.
- Probably resume with LST staples tomorrow.
- The tweaked branch looks like it’s going to recover just fine, just a little weary about working it too soon.
This is effectively the end of week four, it’s been quite eventful but we’re done with topping and transplanting so we’ll see how she gets on these next few weeks of pure unadulterated vegetation. Vamos!!
Likes
13
Share


@Andres
Follow
She is a monster measuring 1.94 cm 6'4 ft the same as me. She grew slow due to cloudy days. she is 2 different processes the bottom is the list and with big buds ready to be cut. The upper part has just begun flowering. her buds were cut at the bottom with 5% 15% amber in different buds. There are some big buds. I hope almost all ready as soon as possible this spring
Likes
2
Share


@HeavyHittah
Follow
Chopped the second Frostbanger after a week's flush. As you can see from the pics she is a beauty. Very good leaf to bud ratio will be easy to trim. Smell is strong.
Next up will be the gorilla zkittles. Which is the biggest in the tent by far. But it's taking a while to ripen up.
Then that's just leaves 1 frostbanger which I planted a couple weeks after the rest.
The Frostbangers are just like photoperiods. Even for F3s they have been very stable. I can't wait to try the F8 banana purple punch 😳.
This will be the last update unless I decide to add a week for the plant that's behind. Which also looks very good.
If not I'll do a review and give the final weight in the next update. Very happy with this run. 🌱❄️💨
Likes
17
Share


@masterofsmeagol
Follow
9/27 She made it through the rain! Looking great in the sunshine. I gotta bring the loupe over again. It's smelling really strong and it looks like most of the pistols have changed color. If I wasn't losing more to damage I'd leave it out longer. It will still be a couole days probably because I need to put away what's hanging and make room. This has been one crazy year. Forty degree temp swings. Crazy year and even crazier pot. Can't wait to try them all!
EDIT: I've been trying like hell to update this thing. I've been working my balls off. I ALMOST took the last pink kush. I have a video i'm trying to upload on my computer because I can't even update ANYTHING on my phone. Boy this years weed came out incredible! I've been working hard but as soon as I have a second to myself and get everything at least inside i'll finish the harvest and smoke reports and give some good pics/videos.
Likes
11
Share


@ButterfliesLittleFarm
Follow
Hello Diary,
The harvest is approaching on my small farm.
Actually, one plant is already ripe for harvest and that is Titan F1, So Apollo F1 and Milky Way F1 will be left alone for another week.
As seen in the photos, the Apollo F1 is truly a sight for the eyes.
The flowers are very densely packed, I have never seen anything like that before.
But the plant is low, the branches are strong and there is no bending under the weight of the flowers.
The flowers are full of trichomes that emit a strong fragrance. Here and there a yellowish leaf appears, which I immediately remove.
Watering is a little more frequent due to the high temperatures, but I stopped adding any nutrients.
Here's a quick recap of the week.
26/06/2023 - Day 58.
Watering. Only two days later, the plants drank all the water, so I watered them with two liters for each individual plant.
29/06/2023 - Day 61.
Watering. I repeated the procedure as I did three days earlier.
01/07/2023. - Day 63.
Photographing plants.
That's all for this week, see you soon.
Likes
4
Share


@Blesax_haze
Follow
Esta semana aumenté ml/L de Plagron, Subió la EC de 1100 a 2000 aprox, las plantas reaccionaron bien.
Likes
67
Share


@AwfulBuddy
Follow
Hi buddies im back to the diary
Everything is going well, the girls drink a lot 3 to 5 liters of feed per day, the Ph and EC remain stable.
I see new roots and buds continue to bloom💣 so I think they are fine and healthy.
Sensi Seeds indicates Skunk#1 with 8 weeks flowering
now i am at the beginning of week 7 bloom but I still don't see milky or amber trichomes and not even so many brown pistils, so i will repeat the week 5 feed as AN advice...
maybe from the next one I'll start with overdrive .. who knows? 😁
I made some macro videos of the trichomes, in the next few days I will update the diary with photos.
Thanks for the answers and advices to the grow questions, I know you don't do it for the free seeds, its only love 💚😜 love you too buddies
as usual thanks for stopping by and good growth everyone !!
Update: I need a tripod to take better macro shoots. Sorry for low quality pics
Likes
2
Share


@Seldom_Seen
Follow
Day 64: (Mon) All looking good.
Day 65: Watered small plant.
Day 66: Watered big plant
Day 67: Watered small plant
Day 69: Watered small plant with phd water. Watered big plant with nutrients 1ml B, 1ml GS, 1ml SR


