




Processing
Likes
6
Share


@GrowerGaz
Follow
Day 28 today
The girls are stretching out to a decent size. Except the Cheesy auto which is 10 days behind. They have only had half a scoop of Greenhouse biogrow so far. I am going to try out Canna Flores Organic for flower , boosted by organic Iguana juice from Advanced nutrient, is did a little bit of lst today just tying four branches down on each plant. I'm interested how much I can yield from a 100w led.


Processing
Likes
1
Share


@regionallystoned420
Follow
Had to come
Down early due to poor weather and rot . Wish I got the full flowering cycle but a lot of weed and good smoke. F***ing monster !!!
Cured for 3 months


Likes
8
Share


Likes
65
Share


@Dedon
Follow
Hi everyone !
Everything is OK.
Tank with big plant take 70% of the tent 😅 trunk are very strong now.
They are drinking so much ! i've added 10L in both tank because water level goes under mionimum level ^^

Likes
18
Share

@Chubbs
Follow
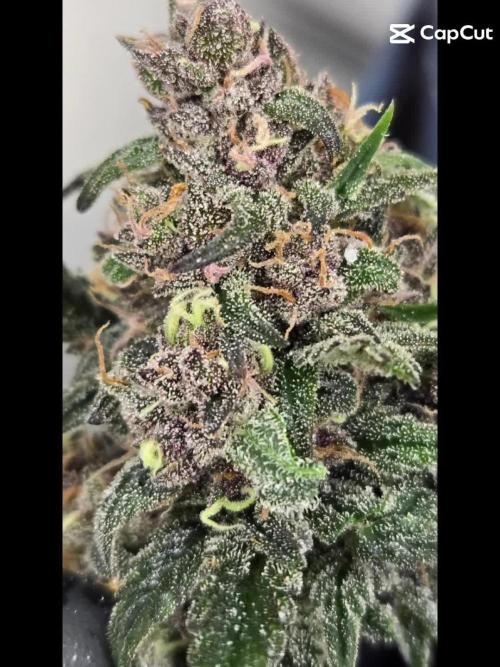
What up fam, harvested these gorgeous ladies for fresh frozen and washed/pressed it. The sweet smell followed by the funkiness of the gorilla is wild. The wash return on this one was 2.5% but what it lacked in the % in made up on the press giving 90% returns. One I'll definitely be growing again as I made carts with it a wow oh wow did the smell transfer over to the taste as it leaves you smacking your lips. Wet weight came out to 2k grams and I got back 45g of fresh frozen live Rosin.
Likes
1
Share


@Zero0
Follow
Kinda didn’t water for a whole been away from the house it’s on week 9 definitely gonna be watering a bit more frequently to get it back to its healthy state

Likes
59
Share


@Bread_n_Buds
Follow
** A tip if you like trichomes have the patience to scroll down to the micro photos, they are scary.
Black Runtz is a crazy beauty, a black isolate phenotype of the very famous Zamnesia Runtz. In the last week before this one you will find the white phenotype with a green apple flavor, but here is the spectacle of nature that manifests itself in the form of a stunning red/purple plant with spectacular trichomes and buds.
**Remember that for all the varieties we have at least two plants, one left to grow straight and one worked with the techniques. This is the plant left to grow straight.
Technique used // In this case we let the plant grow up to the 6th internode then we did the FIMMING or FIM (Fuck the Missed) - This technique by cutting about 70% of the brunch and the leaves growing in the center is going to give the plant the indication to slow down the growth upwards and distribute the power on the lateral branches that with a bit of LST in fact gave some wonderful secondary flowers. No popcorn thanks to Pruning of the things at the bottom, guys leave only everything that sees the light well in flower.
Better with the techniques or the normal ones? This time we have two very different phenotypes, a plant with medium internodal distance. I prefer the plant to grow straight, but I know that it can be obtained very well with a main lining or repeated topping.
Flower quality // From one to 10 stars 15. The plant has resined very well on all sides, the resin is really abundant and above average. The color of the trichomes is something exceptional really we have dark purple heads, light purple, lilac, really a racobalen of shades of red / purple.
The buds were washed as recommended by Zamnesia.
Check the article in your language // https://www.zamnesia.io/it/guida-growing-cannabis/333-lavaggio-delle-ceme
Fertilizers// I am very happy with how I managed to dispose of the plant that at a certain point, before going to the wash, was fed for a few days only with additives and then went to the wash and we are very very well discolored. I predict a very tasty flower, grown organically and washed successfully, the flavor and taste will be epic.
All the Plagron fertilizers and additives in the green / 100% organic version have fully satisfied me. Choose the soil according to your style and calculate the sheet on the website www.plagron.com -
Brother, if you are stubborn use additives, listen every now and then... and then come and tell me about it.
Fertilizers are available in convenient all-inclusive packages on the Zamnesia website.
This strain is already a legend in the normal version, imagine in the Black version... try it!
--- https://www.zamnesia.io/it/11159-zamnesia-seeds-black-runtz.html
Zamnesia Description // Black Runtz comes from a truly legendary genetic heritage. Our breeders used three modern classics from the United States to create this strain: Zkittlez, Gelato and Runtz. With 20% THC and aromas of grapes and berries, Zkittlez has passed on its delicious flavors and relaxing effects. The ice cream contributed to Black Runtz’s immense flavor profile, giving it high concentrations of the terpenes limonene and humulene. Finally, Black Runtz inherited the high potency of the original Runtz, a strain with a respectable 21% THC. The end result of this three-way cross is a strain with 55% indica genetics and 45% sativa. Black Runtz boasts a fast flowering time, very high potency, and contrasting yet balanced terpenes that enhance its delicious flavor profile.
Music and Frequencies // For about 4-6 hours a day, my plants listen to 432Hz frequencies specially designed for their well-being, and sometimes a little black music to give them those vibes that only music can give. www.radionula.com
All the best that mother nature has to offer is available at
---- www.zamnesia.com

Likes
22
Share


@ChachoGreenCrown
Follow
Excelente resultado el que hemos obtenido con estas cepas de kannabia, pero esta se lleva la palma.. para mi, es la favorita del cultivo. Ha sido la más fácil de cultivar, la que mejor se adapto en el espacio de cultivo.. bastante productiva y con una resina brutal.
Sabores cítrico y mango muy acentuado.. es una pasada fumar esta cepa.
Con esto damos por terminado el cultivo con kannabia.. disculpad la tardanza en publicar... tarde o temprano siemore cumplimos!
Hasta pronto amigos! Un saludo growers 💚👨🌾🏽


Likes
6
Share

@CheeRz
Follow
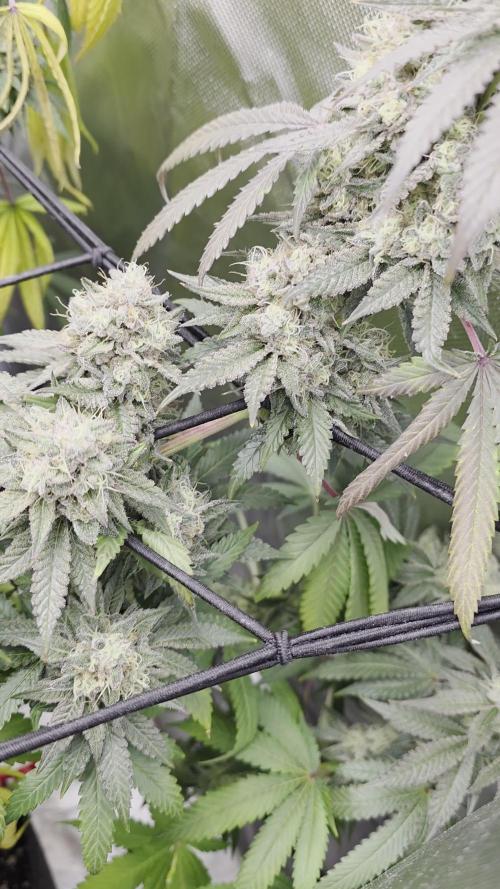
Lemon Cherry Gelato will need a little more time before she is ready. However, the buds are already covered with trichomes and also very sticky. Buds smell very sweet and lemony, with the classic Gelato aroma. 🍋🍋🍋🍒🍒🍒

Likes
9
Share


@0JuJu0
Follow
Planted in 25L Pot with pre-fertilized compost soil and a little bit of coco, perlite and little pieces of old woodsticks.
As a fly protection i use spiders and there web to solve this problem because thats the only one i have. So when you see in my tent, webs and the little bit of soil on the bottom what keeps the tentfloor dry and is also good for the spiders, please keep that in your mind.


Likes
5
Share


@CampaCavallo
Follow
3ª Settimana di Fioritura 💐
Abbiamo sfoltito un po la giovane Sweet Amnesia Haze 💚🤩


Likes
Comments
Share

@jeffbudger
Follow
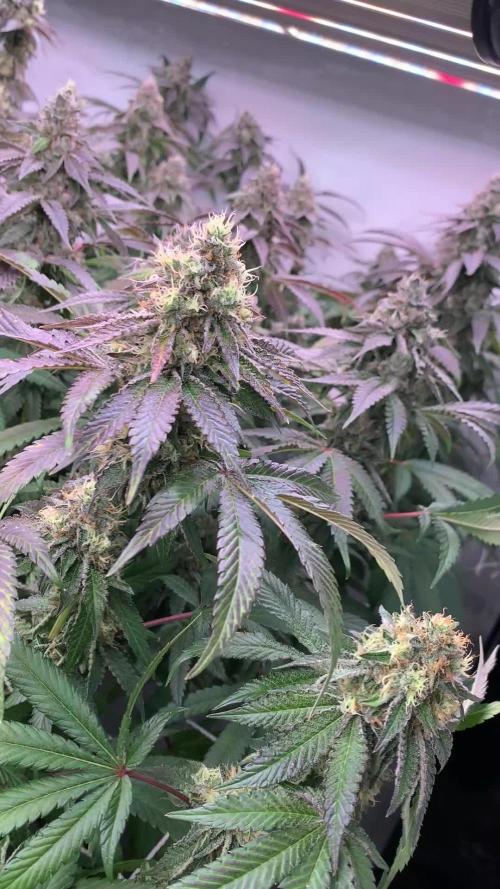
week 8 i harvested yesterday on Week 8 Day 4, they are now drying so i will update in around two weeks after the first puff for each, thanks for following guys and ill see you next grow👉

Likes
7
Share


@skitz
Follow
Switched from acti-vera to bio-grow to trigger flowering. The autoflower is already showing pistils.

Likes
5
Share

@Xpie77
Follow
Strain: 24K Kush (Seeds Genetics) – ook bekend als 24K Gold of Kosher Tangie (Kosher Kush x Tangie)
Genetica: 60% Indica / 40% Sativa
Type: Feminized Photoperiod
Aantal planten: 4
Medium: Potgrond (organisch/basic soil)
Potten: 7 liter fabric pots (stofpotten) – uitstekende drainage en wortelbeluchting
Belichting: 415W Bestva LED full-spectrum, overgeschakeld van 18/6 naar 12/12 na week 4 veg
Setup: Indoor in 120x120 cm tent (1.44 m²) – ruime tent voor 4 planten met LST, goede spreiding en stretch-ruimte
Week: Week 4 Vegetative (eind) + Week 1 Flowering (eerste week bloei na flip)
Update Week 4 Vegetative (eind)
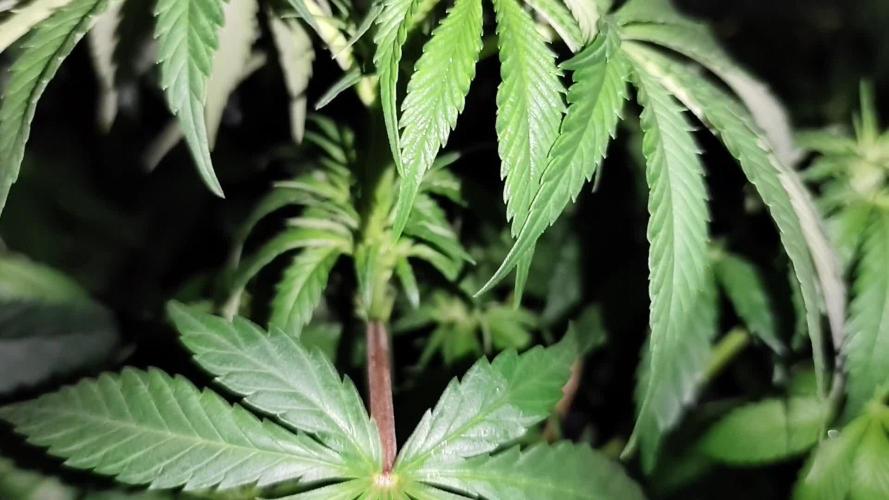
De veg-fase eindigde sterk! De 4 planten stonden aan het einde van week 4 op 25-40 cm hoog (gemiddeld ~30-35 cm). Perfecte timing voor de flip: ze waren bushy, met brede donkergroene fan leaves, dikkere stengels en ontwikkelde zijtakken dankzij LST. De indica-dominantie hield ze compact, terwijl de Tangie-vigor zorgde voor extra side branches – ideale basis voor bloei in deze 120x120 cm tent.
Hoogte: 25-40 cm
Structuur: Brede canopy, nodes dichterbij, LST in volle gang voor vlakke top en betere lichtdekking.
Gezondheid: Diep donkergroen blad, geen issues – fabric pots deden top werk met wortelgroei.
Belichting: Bestva op ~40-55 cm, 18/6 schema tot flip.
Water/voeding: Elke 2-3 dagen water (pH 6.2-6.8), lichte veg-voeding (50-75% sterkte hoog-N).
Omgeving: Temp 22-26°C, RV 50-60%, airflow goed.
LST was key deze week: top gebogen en vastgezet – canopy vulde de tent mooi op zonder overlap.
Update Week 1 Flowering (eerste week bloei na flip naar 12/12)
Flip uitgevoerd aan het einde van week 4 veg – en de stretch is begonnen! In de eerste week bloei (transition/stretch-fase) groeien de planten snel in hoogte, typisch voor deze hybrid (60/40 indica/sativa). Ze zijn nu 35-55 cm hoog (gemiddeld ~45 cm), met een stretch van ~30-50% al zichtbaar. De Tangie-genen zorgen voor wat extra lengte, maar de Kush-kant houdt het beheersbaar (geen extreme legginess). Pre-flowers (pistils) verschijnen bij de nodes – witte haartjes duiken op, en de planten schakelen over naar bloeimodus.
Hoogte: 35-55 cm (stretch ~10-15 cm deze week, verwacht meer in week 2-3)
Structuur: Stretch in actie: internodi afstand groter, side branches rekken uit. Canopy nog vlak door LST, maar top groeit sneller. Brede bladeren blijven donkergroen, nieuwe groei met meer pistils.
Gezondheid: Gezond en groen – geen stress van de flip. Fabric pots helpen bij snelle aanpassing. Check op mogelijke nutrient shift: start overgang naar bloom-voeding.
Belichting: Bestva LED nu op 12/12 schema, afstand ~40-50 cm (iets hoger tijdens stretch om burn te voorkomen). Goede dekking in 120x120 cm.
Water/voeding: Waterfrequentie iets hoger door stretch (elke 2 dagen checken). pH 6.0-6.5 voor bloom. Overgang naar bloom-voeding gestart (hoog P/K, bijv. NPK 2-3-4 of 1-3-2 op 50-75% sterkte, plus CalMag als nodig). Potgrond bufferde nog, maar extra fosfor boost pre-buds.
Omgeving: Temp 20-25°C (iets lager in bloom), RV verlagen naar 45-55% om schimmel te voorkomen bij dichte buds later. Airflow cruciaal tijdens stretch.
De planten reageren positief op de flip – pistils overal, geur begint citrusachtig te worden (Tangie-invloed). Stretch zal pieken in week 2-3, dus blijf LST aanpassen en ruimte monitoren in de tent.
Foto's (voor upload naar GrowDiaries)
Bovenaanzicht canopy: LST-getraind, stretch beginnend in week 1 bloom
Close-up nodes/pre-flowers: Witte pistils en nieuwe groei zichtbaar
Volledige plant shot: 35-55 cm hoogte in fabric pot, stretch duidelijk
Tent overview: 4 planten onder Bestva LED op 12/12, ruimte benut met LST
Vooruitblik Week 2 Flowering
Verwacht piek-stretch (mogelijk tot 60-80 cm totaal, afhankelijk van genetica), meer pistils en beginnende bud sites. Blijf LST/supercropping toepassen om hoogte te controleren. Voeding opbouwen naar volle bloom-dosis. Deze strain flower ~9-10 weken, met potentie voor dense, harsrijke citrus-Kush buds en yield 450-550 g/m² in deze setup!
Run gaat fantastisch – sterke overgang en gezonde stretch.
Volgende update met week 2 bloom pics, stretch progress en training! 🌱
Tags voor GrowDiaries: #24KKush #SeedsGenetics #IndoorGrow #FabricPots #BestvaLED #Flowering #LST #OrganicSoil #IndicaDominant #120x120Tent #Week1Flower #Flip

Likes
10
Share


@Prop207
Follow
Third times a charm for uploading this week's vlog.
15ml Sb
15ml calmag
45ml PBPG


